You’re fed up with seeing the white background in eCommerce photos and you want to try something new. Search no further because I am going to show you 9 alternatives to a white background for your eCommerce photos.
To be honest, white is still the best background if you want to go with the number of sales. eCommerce product photos with white background tend to sell more.
Amazon spends billions of dollars every year on research and it is using a white background then this means that there must be a reason. And I cannot think of any reason other than better sales.
But, there’s a catch. the white background is not always the best background.
The color of the background in eCommerce photos which usually give you better sale results is the one that is the color of your website background.
Amazon’s website background color is white so the white background in eCommerce photos tends to convert better. If your website’s background color is black then black background for your eCommerce photos should convert better.
The goal is to make the product stand out. There should be the least amount of distraction. Having a different background for your eCommerce photos than the website background adds distraction.
In case you’re still not convinced, here are the 9 background that you can use.
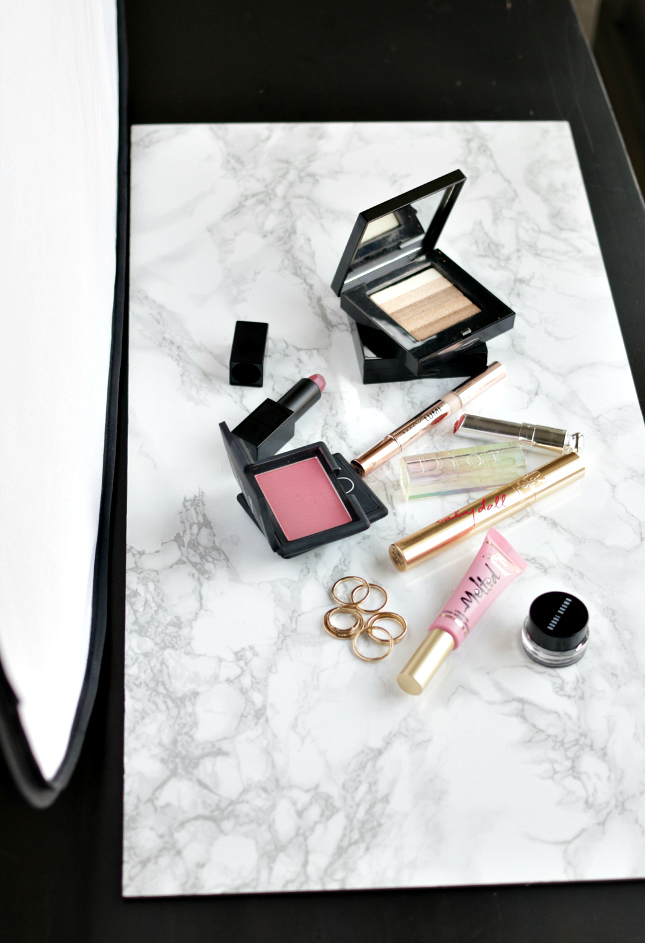
1. Marble
When to use: when you sell luxury items that people wear (for example – cosmetic items, skincare items, etc.)
Marble is associated with luxury and gentleness. When people see a marble background in an eCommerce photo, they immediately think that the cost of the product is much more than the market average and the product is soft for the skin.
This background tends to attract females more.
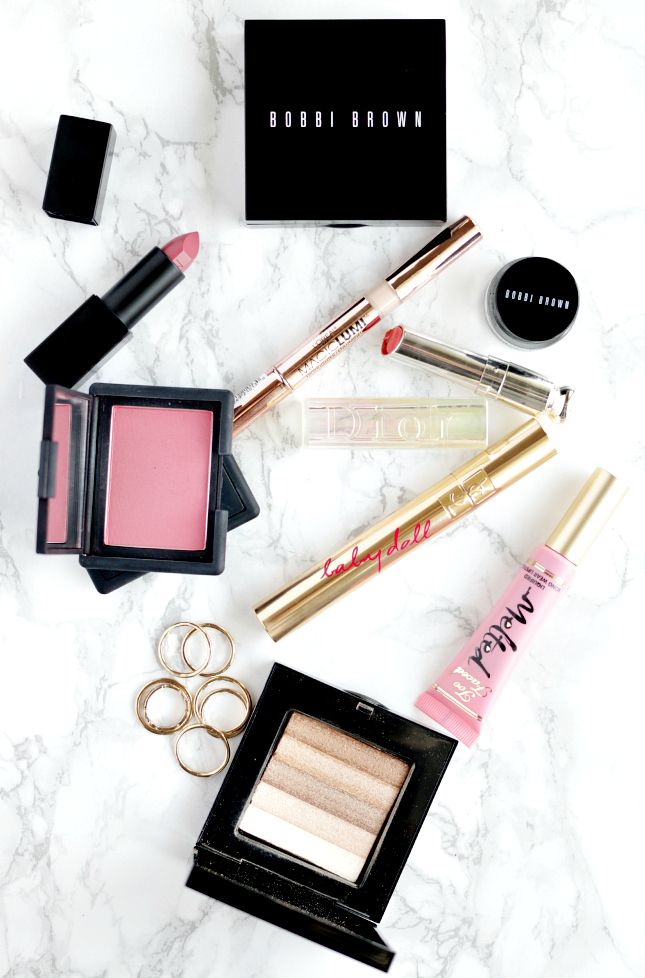
Source – bobbibrowncosmetics.com
How to shoot?
- Method 1: – Get a marble slab or sheet. Place your product nicely and shoot it.
- Method 2: – Shoot on any regular background and then change the background to marble in Photoshop. The benefit here is that you can use multiple textures of marble here unlike method 1. There are a bunch of free stock photos available on the internet. Use them and your photos will not be monotonous with one texture of marble only.
Source: https://www.thirteenthoughts.com/diy-white-marble-photography-background/
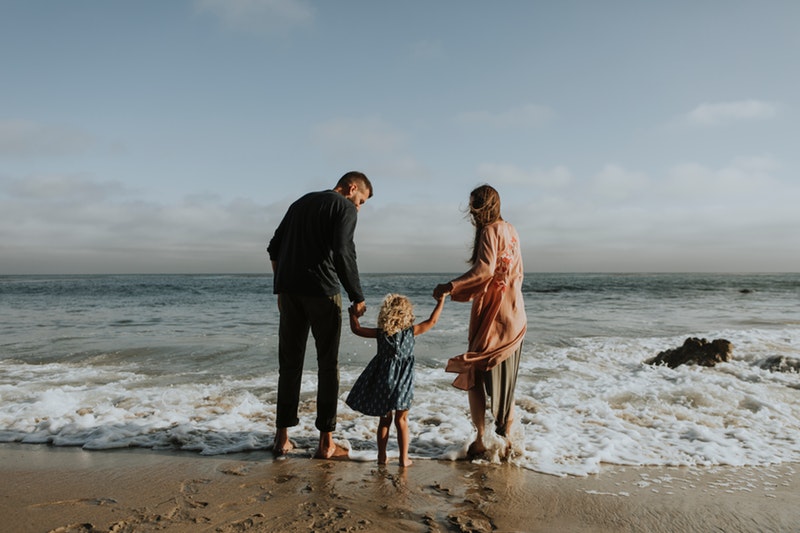
2. Lifestyle
When to use: when you want to show how/where to use your product
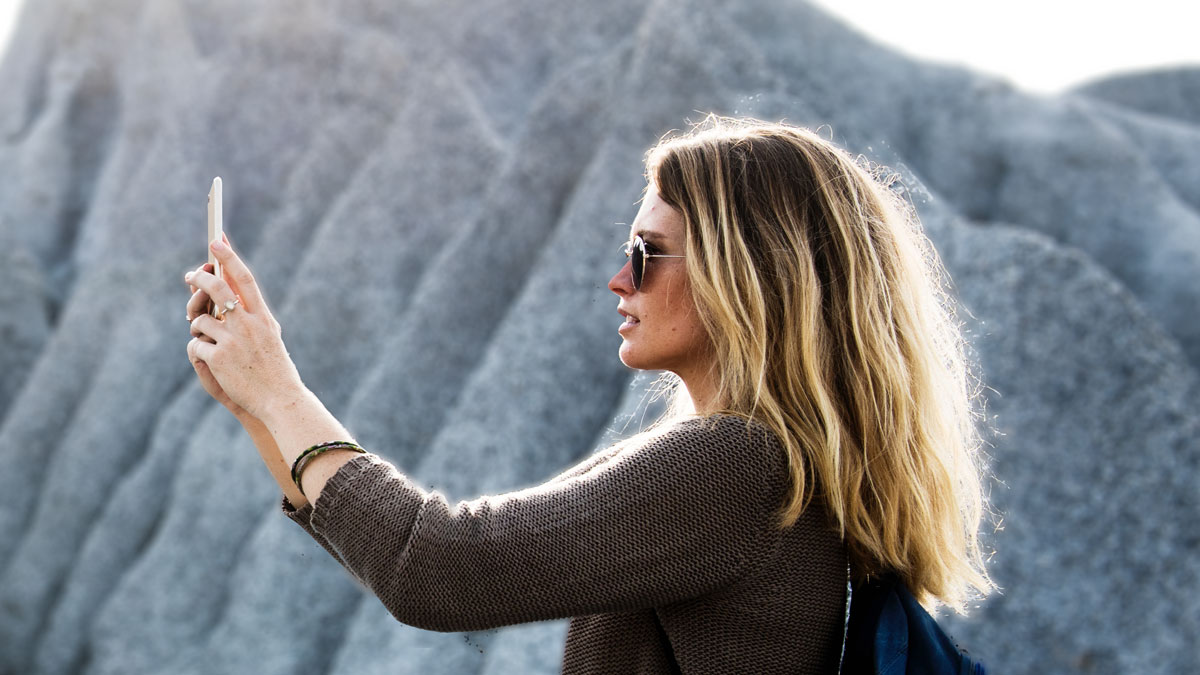
This is by far is the best background to show your buyers how to use your product. Here you choose the background where a person is actually using your product or your product is being used somewhere. You can show a photo like this.
This type of photos works a lot better if you show your product photos against a white or other solid color backgrounds. Don’t expect a good conversion rate if you only show lifestyle photos.
View this post on Instagram
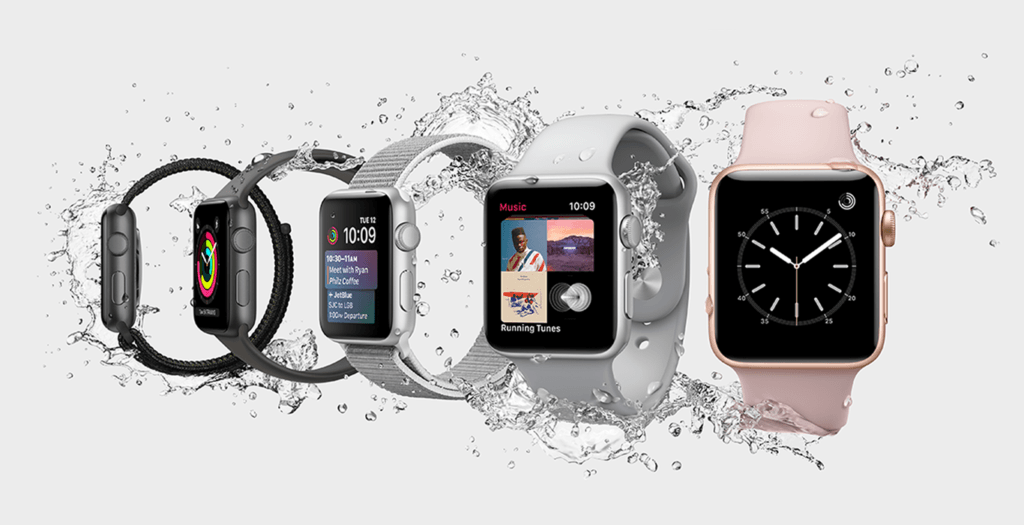
Here’s one more example.
See how good Apple is telling that Apple Watch is waterproof (or basically splash-proof).
How to shoot?
- Method 1: – Shoot your product photos while using them. You can take the backpack photo above as an example
- Method 2: – Shoot a normal photo and change everything in Photoshop. For example, you cannot shoot the photo of the Apple Watch like the photo you are seeing above. The only way to add water splash is to use Photoshop.
3. Light gray
When to use: when you just want to show any other color than white but still want to have a nice conversion rate.
We’ve seen that this is the second-best background for conversion. Yes, the first is the white background but you’re bored with the white color.

How to shoot?
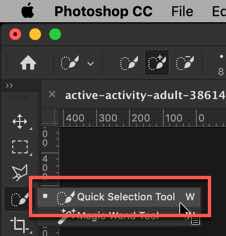
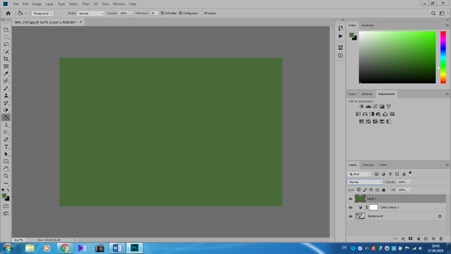
- Shoot the photo against a green or any background and then change the background in Photoshop
4. Gradient
When to use: when you just want to show any other color than white but still want to have a nice conversion rate.
Gradient with a light product shadow also looks good. It’s your personal choice whether you want to go with a solid color or a gradient.
Fitbit uses a nice medium to light gray gradient for its Versa 2 smartwatch. The light watch shadow is also adding beauty to this photo. This makes us think that the watch is floating above the ground.
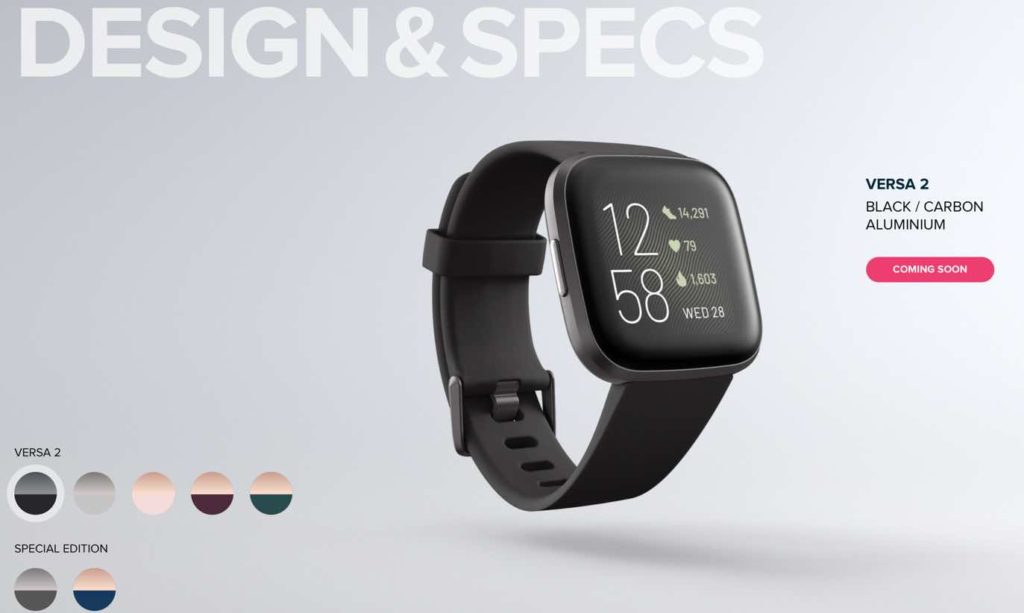
source: fitbit.com
How to shoot?
- Shoot the photo against a green or any background and then change the background in Photoshop
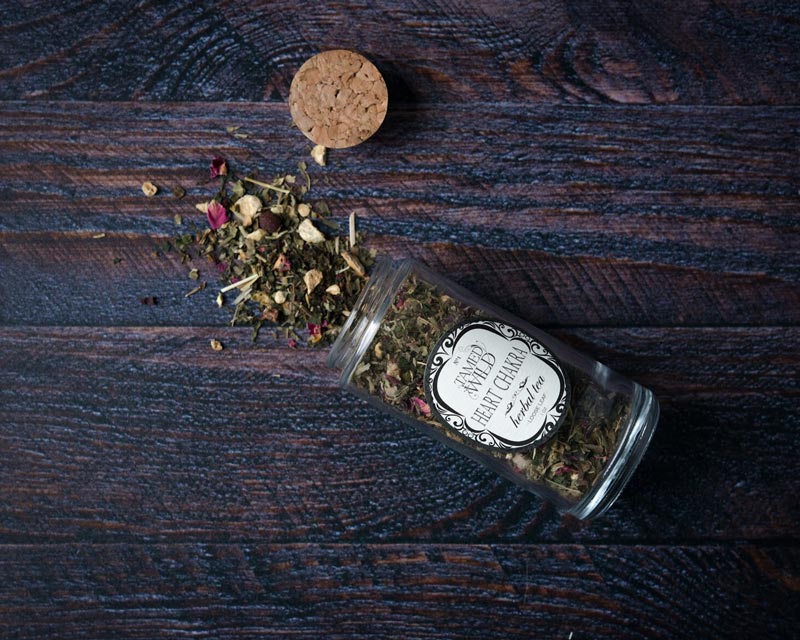
5. Wood
When to use: when your product is antique, hand made, or directly or indirectly related to the trees/plants
You can use the wooden background after showing the close up shots of your products against a solid color background.
Wooden background gives a perception that your product is handmade.
How to shoot?
- Method 1: – Get a wooden slab or sheet. Place your product nicely and shoot it.
- Method 2: – Shoot on any regular background and then change the background to marble in Photoshop.This is what we do for our clients.
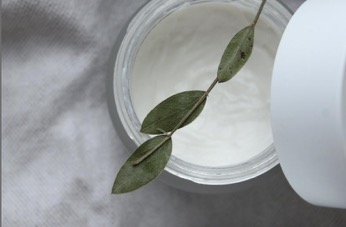
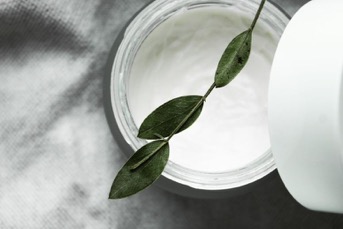
6. Fur/cotton
When to use: when your product is very soft on the skin
You can use the fur background after showing the close up shots of your products against a solid color background. Fur background gives a perception that your product is something that the users will put or apply on their skin and there’ll be no side effects.

How to shoot?
- Method 1: – Get a fur or cotton. Place your product nicely and shoot it.
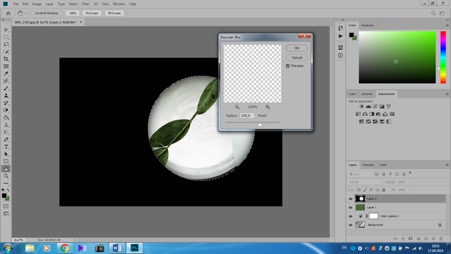
- Method 2: – Shoot on any regular background and then change the background to fur in Photoshop. The benefit here is that you can use multiple textures and colors of fur here unlike method 1. There are a bunch of free stock photos available on the internet. Use them and your photos will not be monotonous with one texture of fur only. This is what we do for our clients.
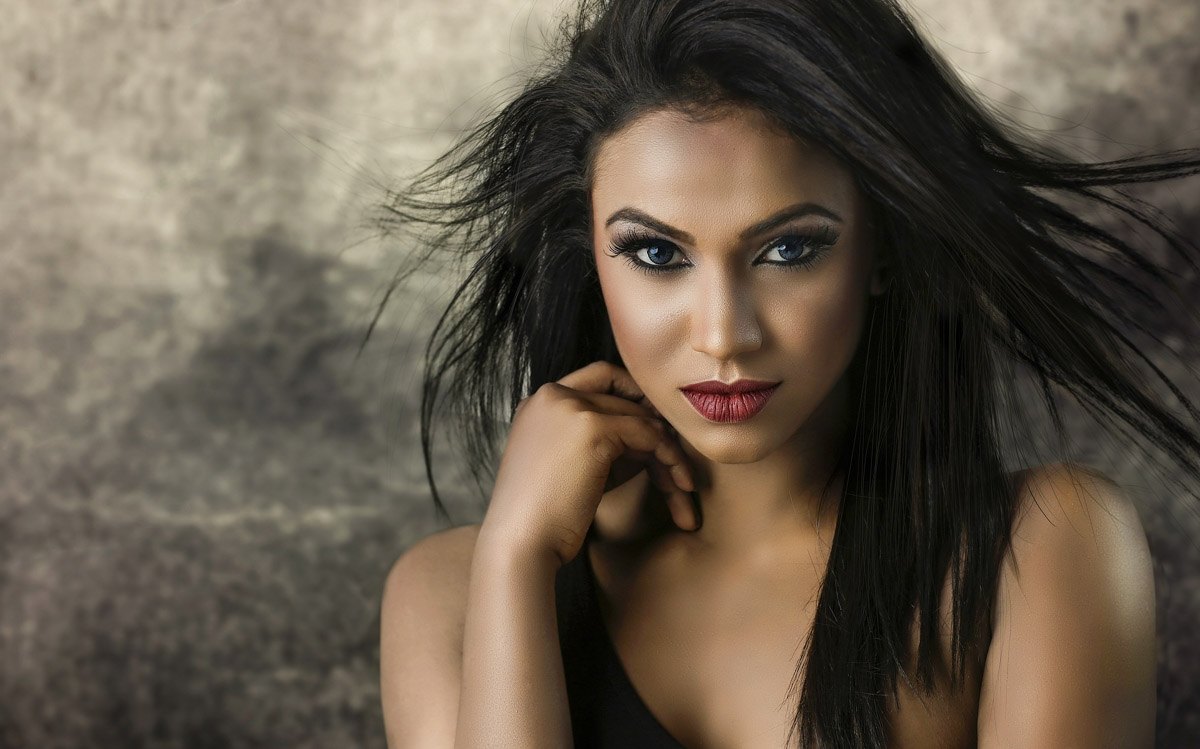
7. Sepia
When to use: when you just want to show any other color than white and gray, or want to increase customer loyalty.
Sepia background works good for female dresses and your customers tend to feel that your company is friendly. This increases customer loyalty and your customers feel that you’re a small company who care its customers a lot.
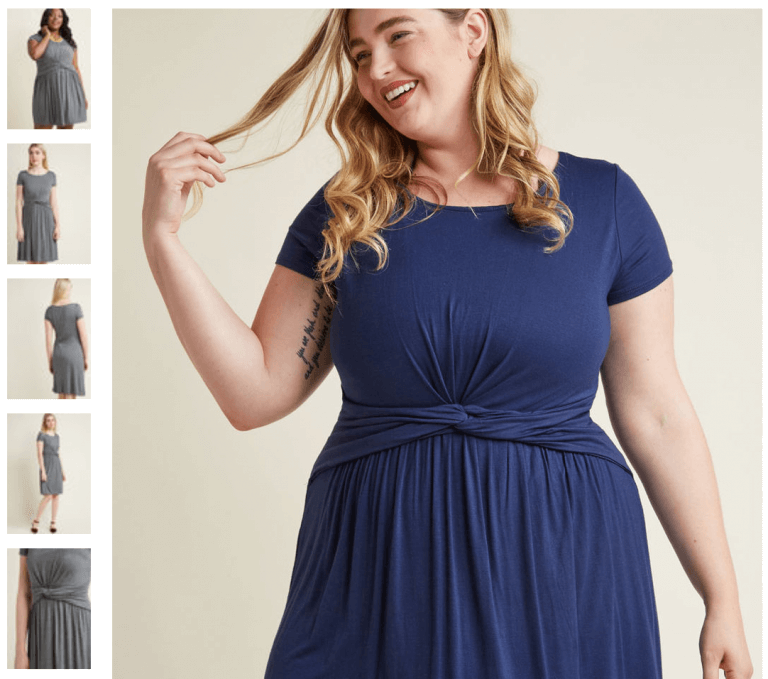
Source: modcloth.com
How to shoot?
- Method 1: Shoot the photo against a green or any background and then change the background in Photoshop
- Method 2: Shoot the photo against a sepia wall
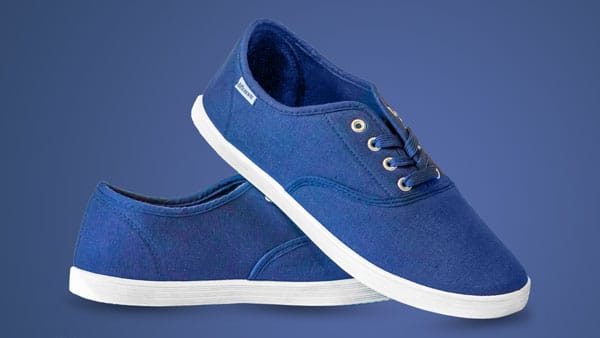
8. Color of the product
When to use: when you want to highlight one of your products
Here you set the background color that is two shade lighter or darker than the product color.
I could not find a good photo to show as an example so I designed this photo in Photoshop for you. Here the background is a gradient and the center of the background is two shade lighter than the color of the shoe.
How to shoot?
- Shoot the photo against a green or any background and then change the background in Photoshop
9. Black
When to use: only for super luxury items
Black color signifies luxury. If you sell luxury items like watches that cost more than $2,000 then you may want to use the black background.
Don’t use a black background on items that are not at all luxury because your price-sensitive customers may exit your site without making any purchase.

Source: rolex.com
How to shoot?
- Shoot the photo against a green or any background in a dim light and then change the background in Photoshop
Do you lack the Photoshop skills?
I help the founders or creative directors eCommerce companies to show beautiful product photos by editing the photos for them. My clients are as small as companies with 2 co-founders and as big as ITT with 10,000+ employees.
If you want, I can show you how your product would look like. I can do it for free.