It’s difficult to capture the actual golden sunset in a photo. First of all, it’s rare to find a golden sunset. Even if you find it, your camera’s auto WB messes up everything. It reduces all the yellow tint from the photo. Even if you turn off Auto WB, the camera still doesn’t capture the actual golden sunset. But, you and I have Lightroom where we can create a sunset effect. So, I bring to you the best tutorial on creating beautiful sunset effect in Lightroom.
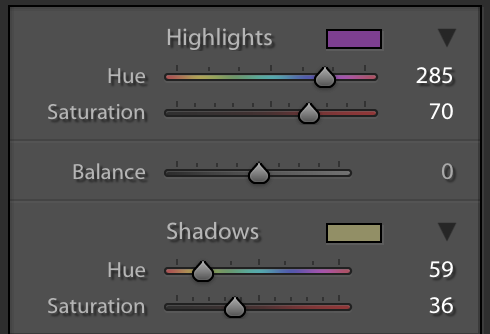
Let’s start with the basics. A golden sunset photo has a golden or yellowish tint. This tint basically covers the Highlight region. The shadow part is covered by a blue tint. We’re going to do the same. The main game changer is going to be the Split Toning and White Balance.
I wrote a tutorial on creating a sunset in Lightroom back in 2013 but it’s 2019 now. Who cares about 2013?
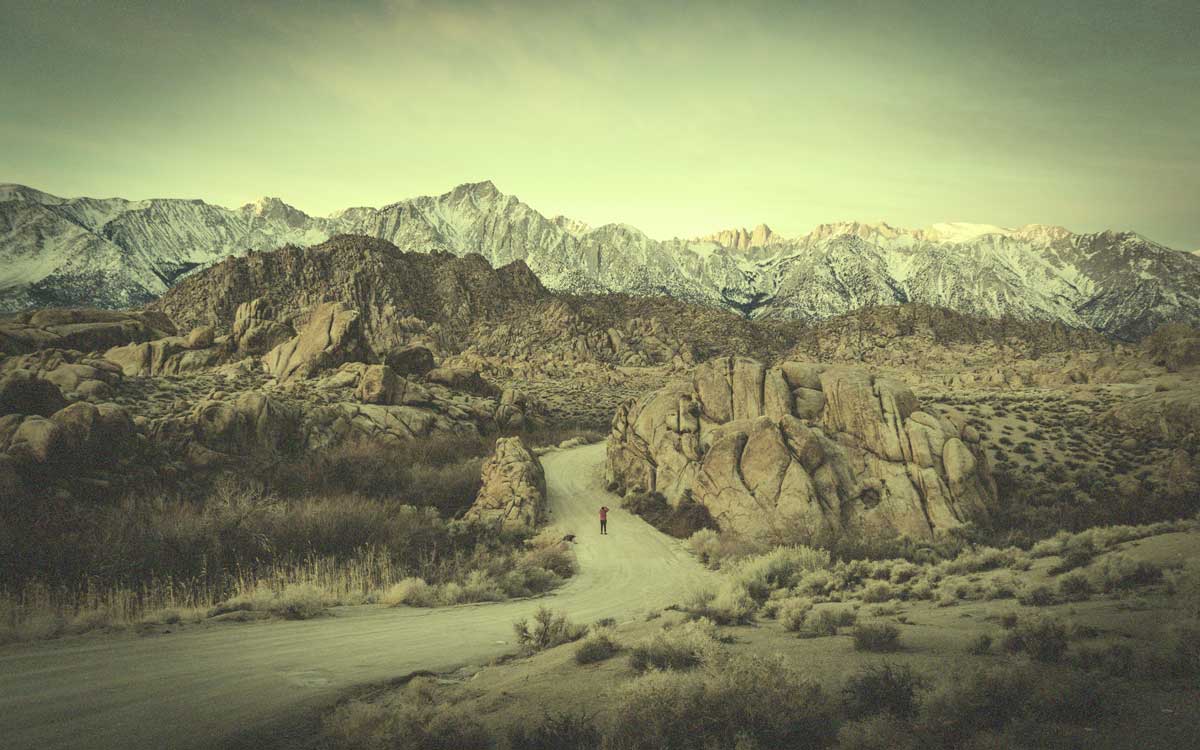
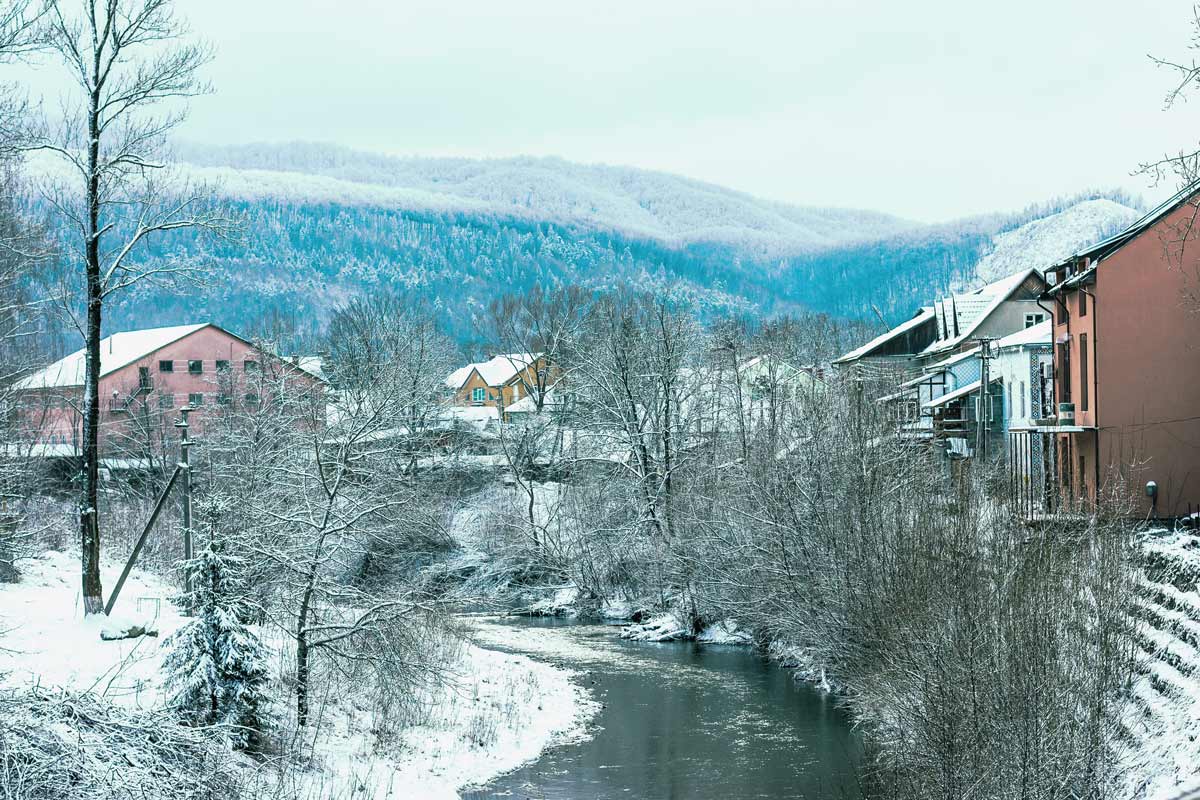
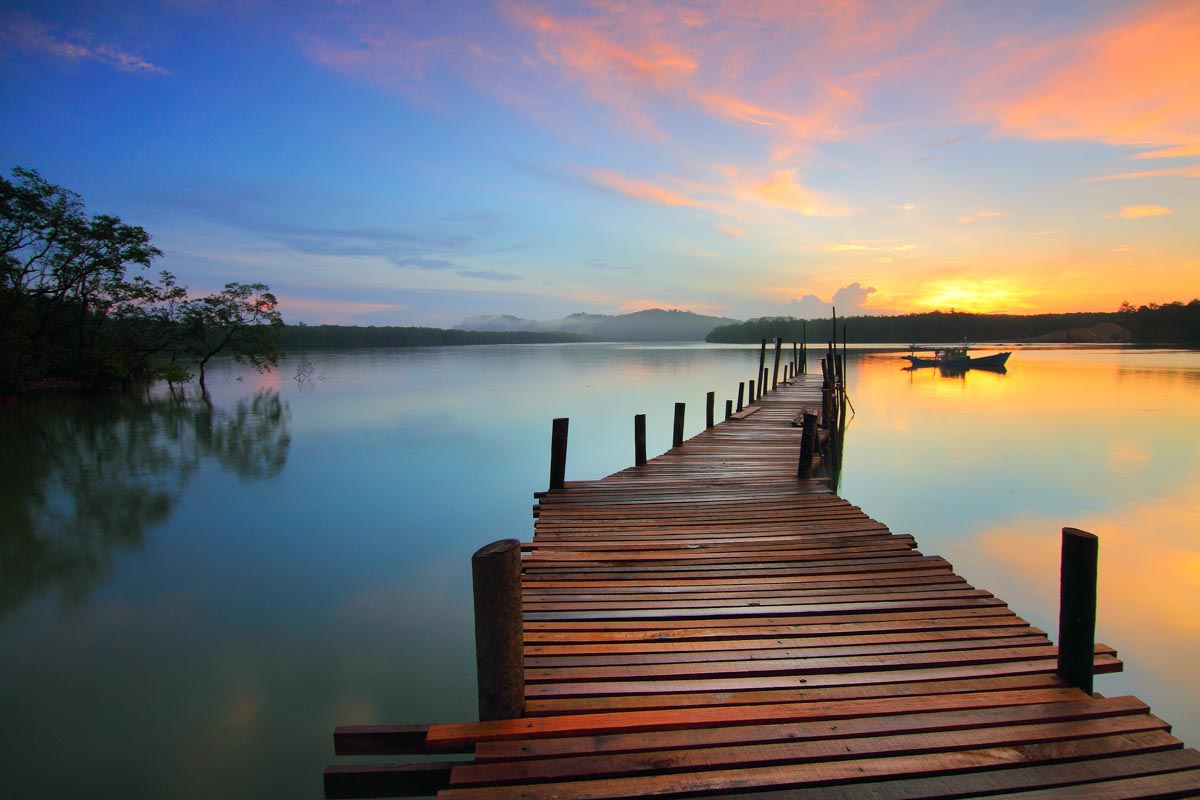
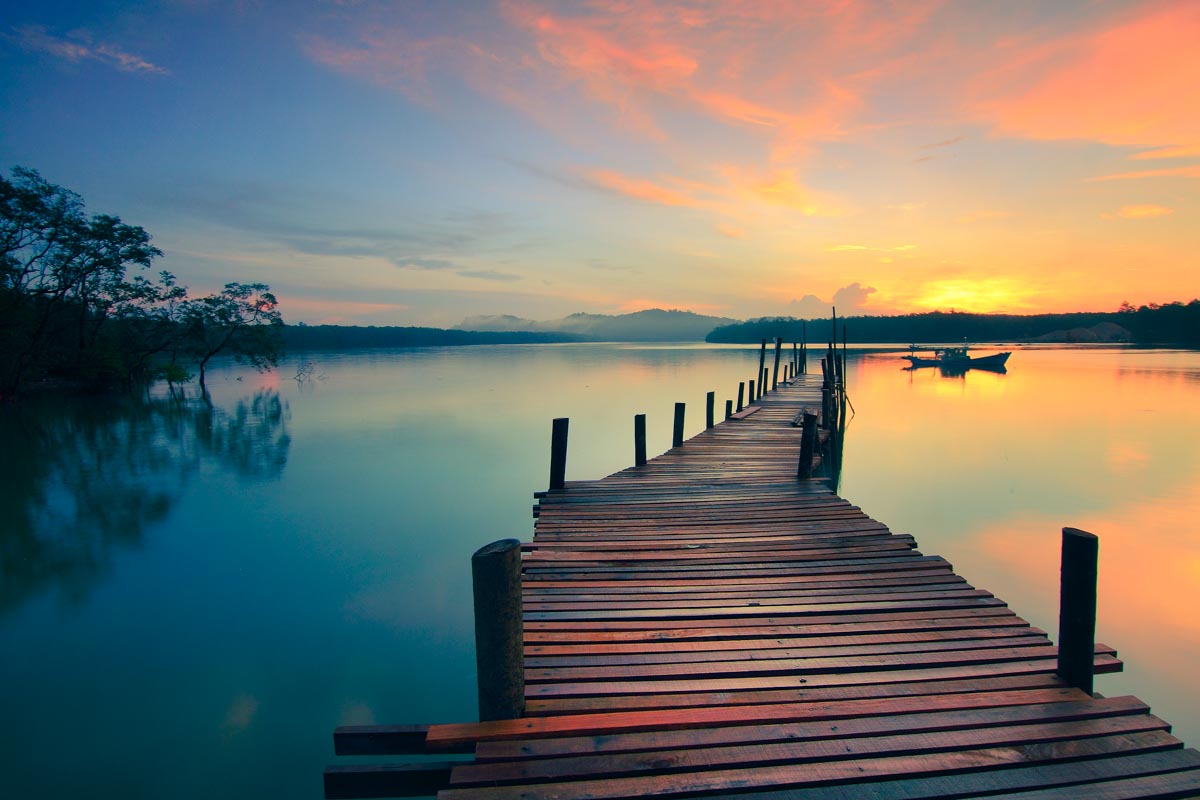
Let’s begin the tutorial. But, before we begin, I want to show you the before and after.
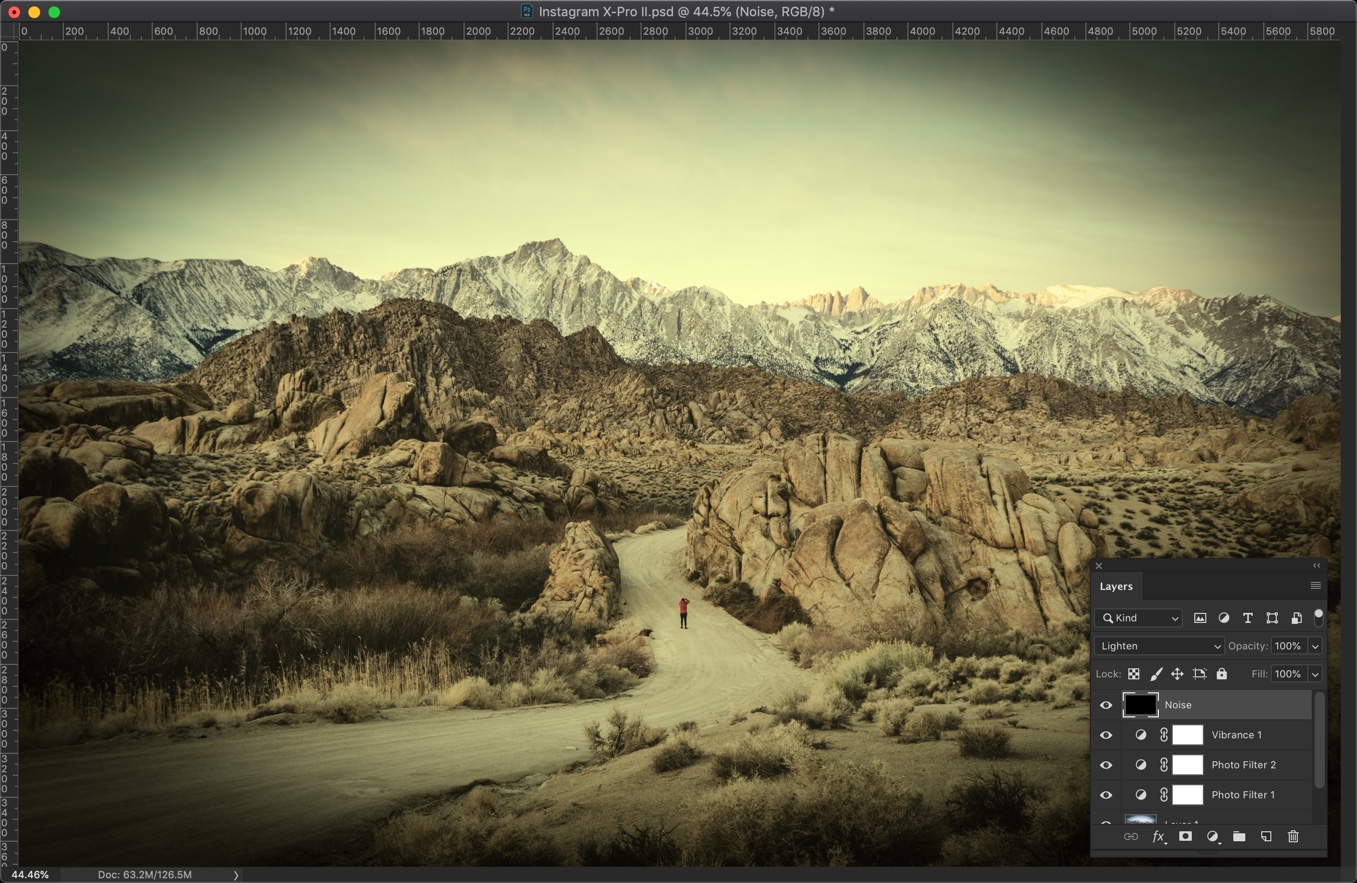
Before
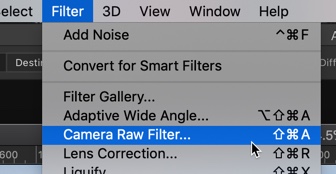
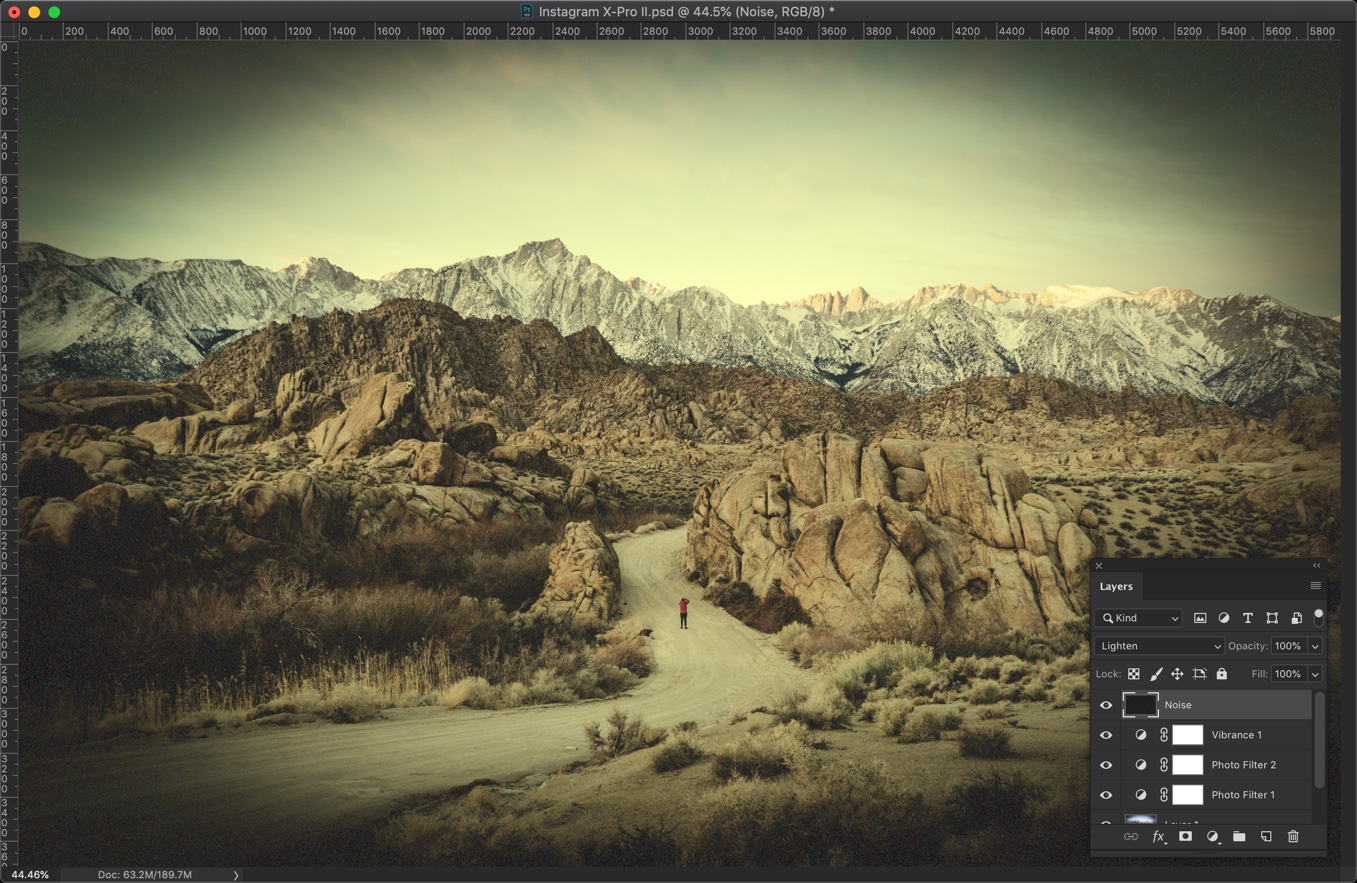
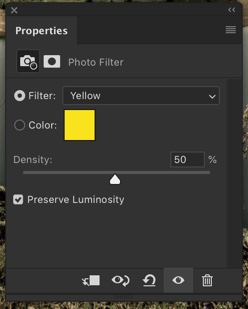
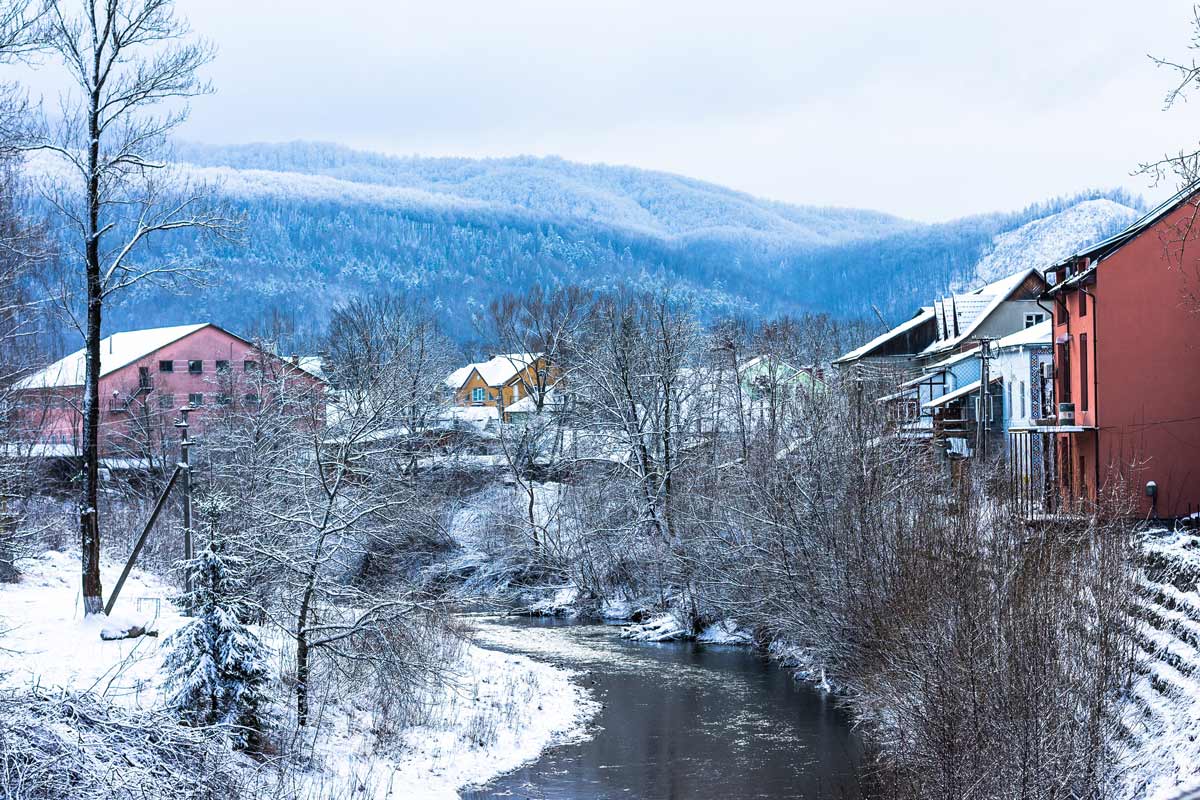
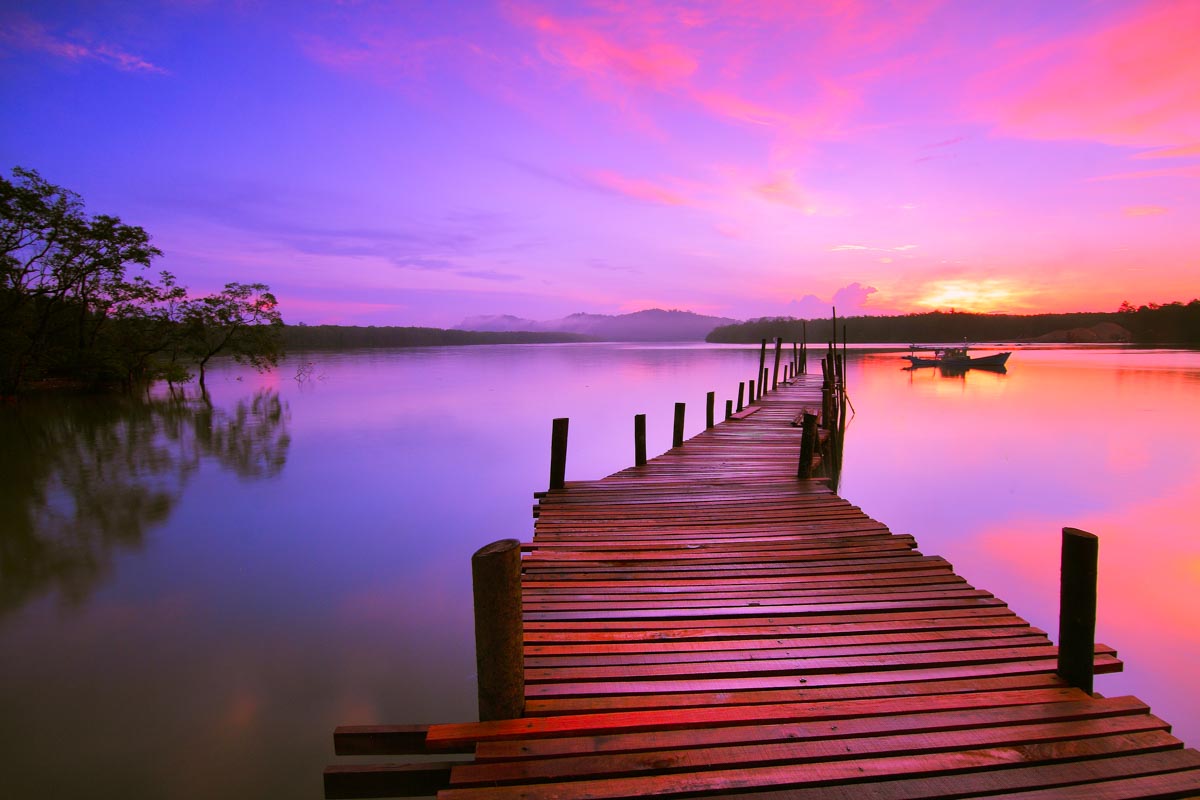
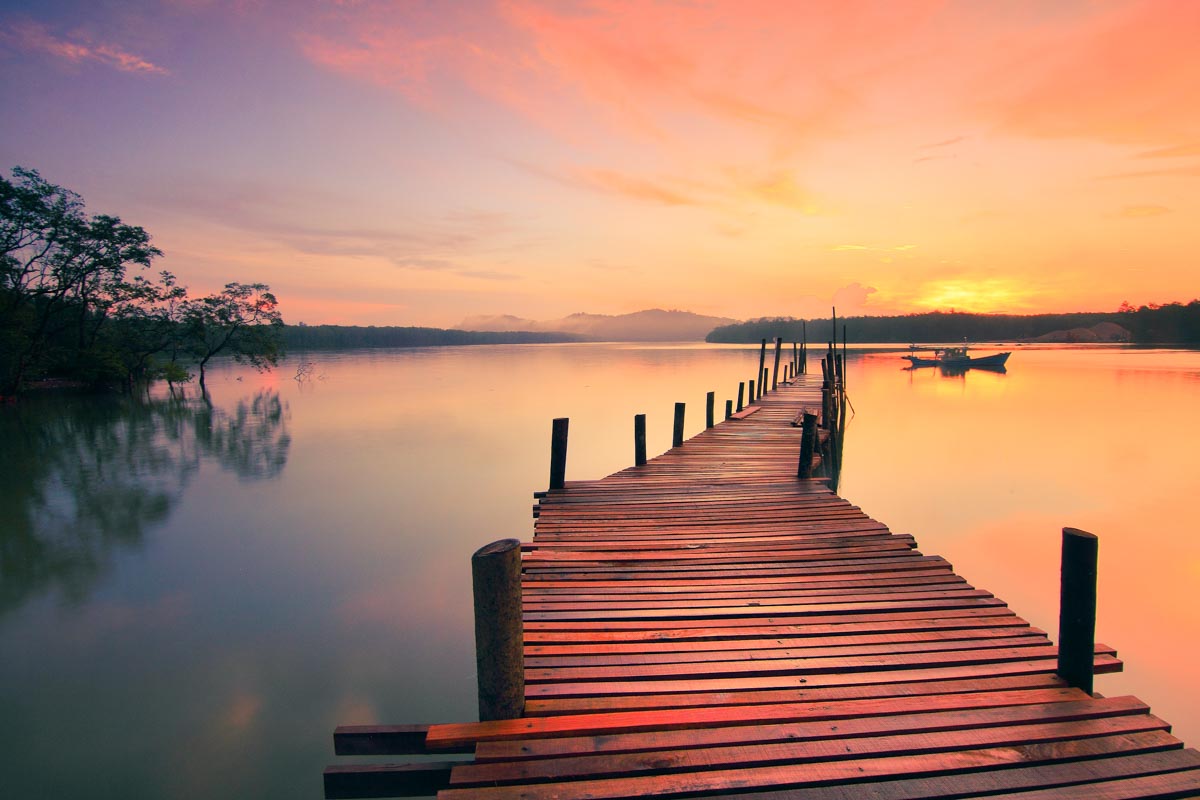
After 1

After 2
Video
If you like watching videos, here’s the video tutorial for you.
Step 1: Create a Sunset Effect in Lightroom using Split Toning
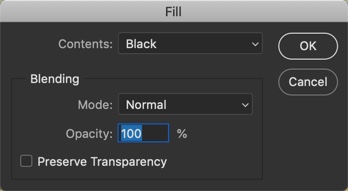
The first thing we need to do is to change the Split Toning. Use below values.
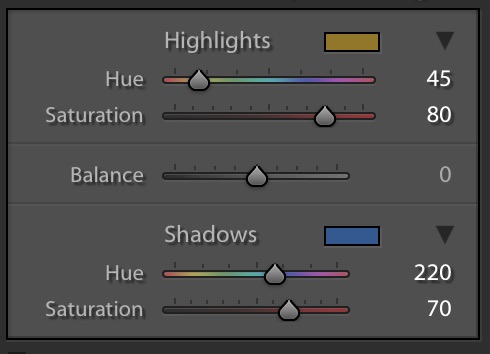
This will give a beautiful tint to your photo.
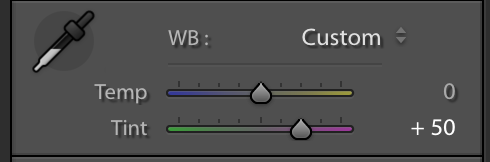
Step 2: Enhance the Sunset with White Balance in Lightroom
Now that we have the color we are looking for, time to enhance the sunset effect.
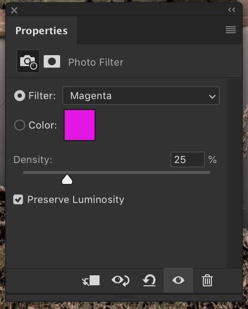
Sunsets have a yellowish magenta tint. We’re going to create the same tint.
Increase temp to 41 and tint to 56.
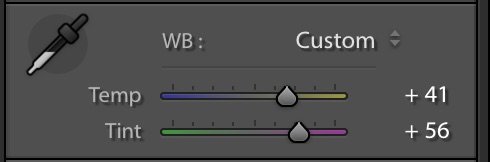
This will further enhance the photo and give you a natural looking sunset effect.
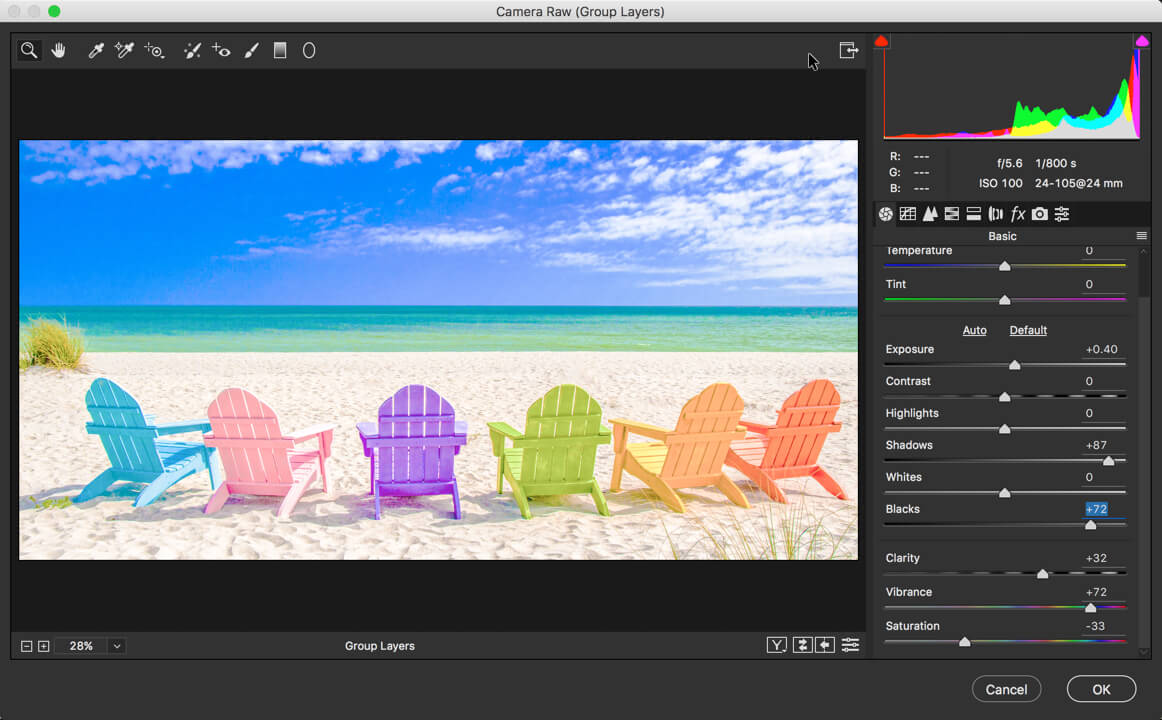
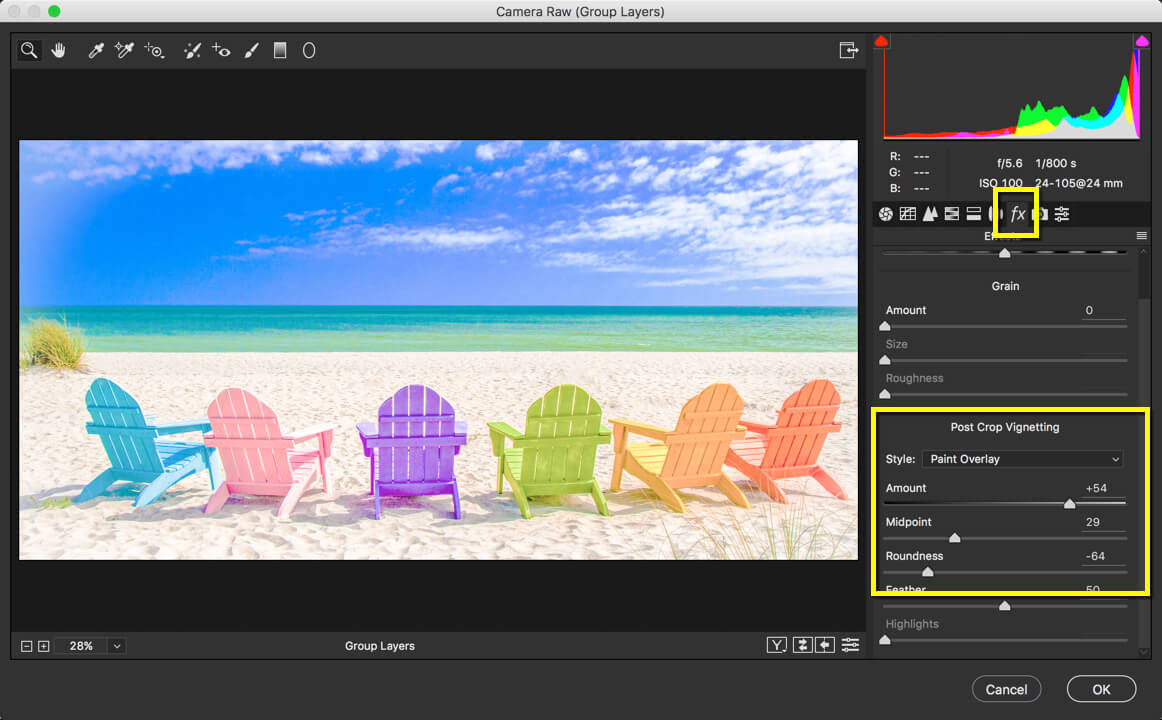
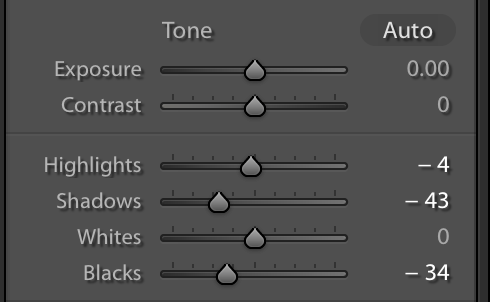
Step 3: Adjust the Tone
Time to change the tone. I am going to change the tone according to my image. The values of the tone sliders may be different for yours.
You don’t need to copy my values if you understand what you’re trying to achieve. Your goal is to reduce the highlights by a small fraction and shadow by a big fraction. This is because the photo is not properly exposed during a sunset. You don’t want the shadowy region to be properly exposed.
I am going to use these values because they suit my image. These may or may not suit yours.
Here’s the image.
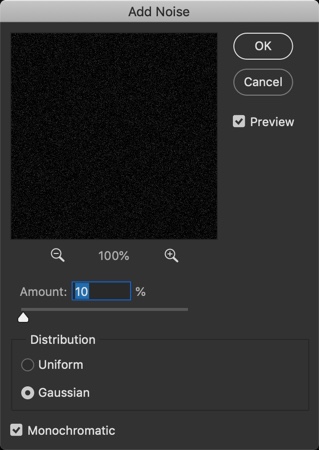
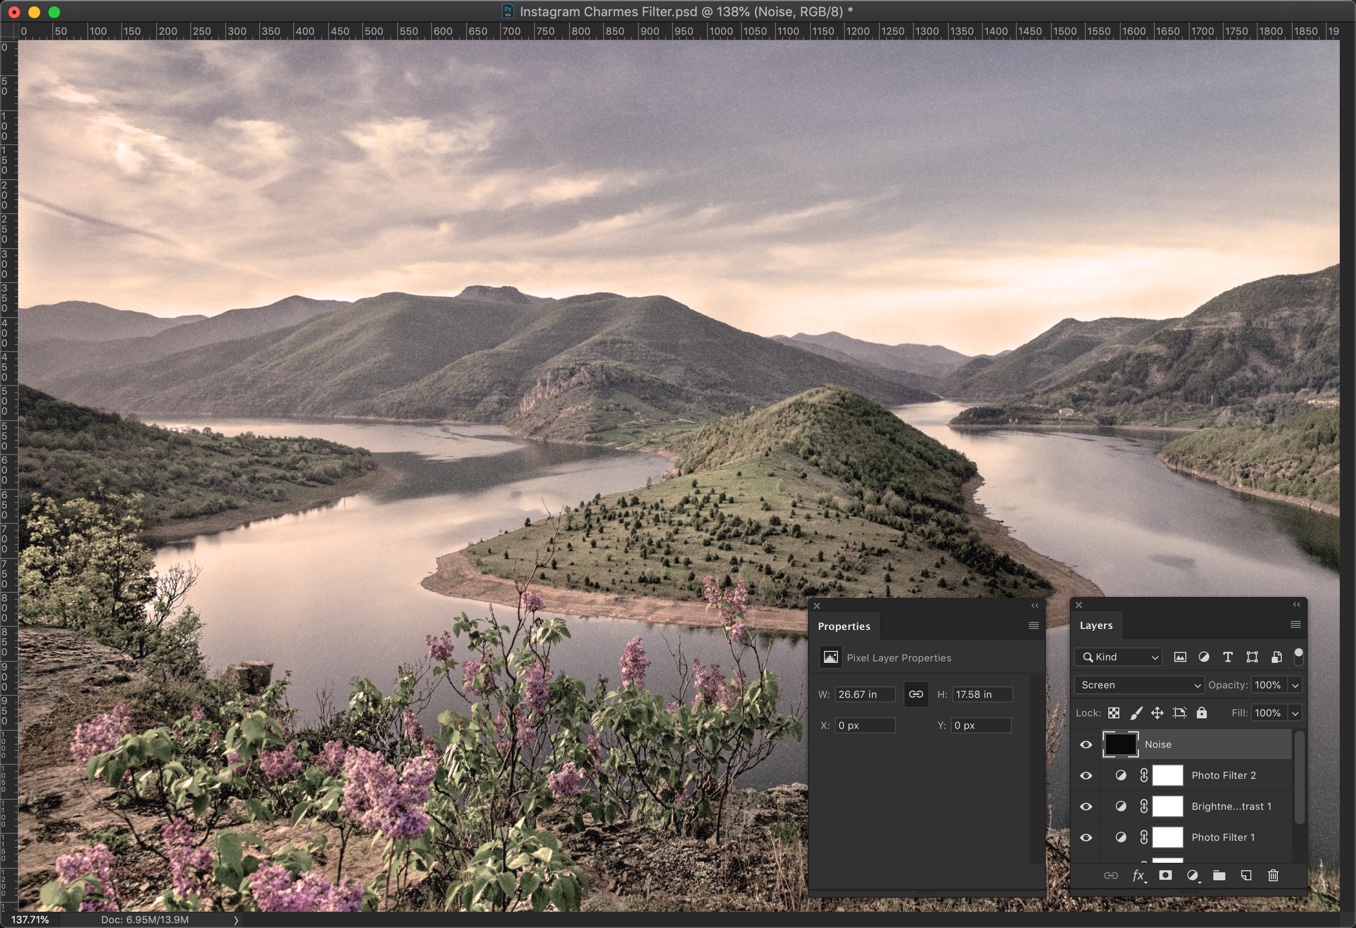
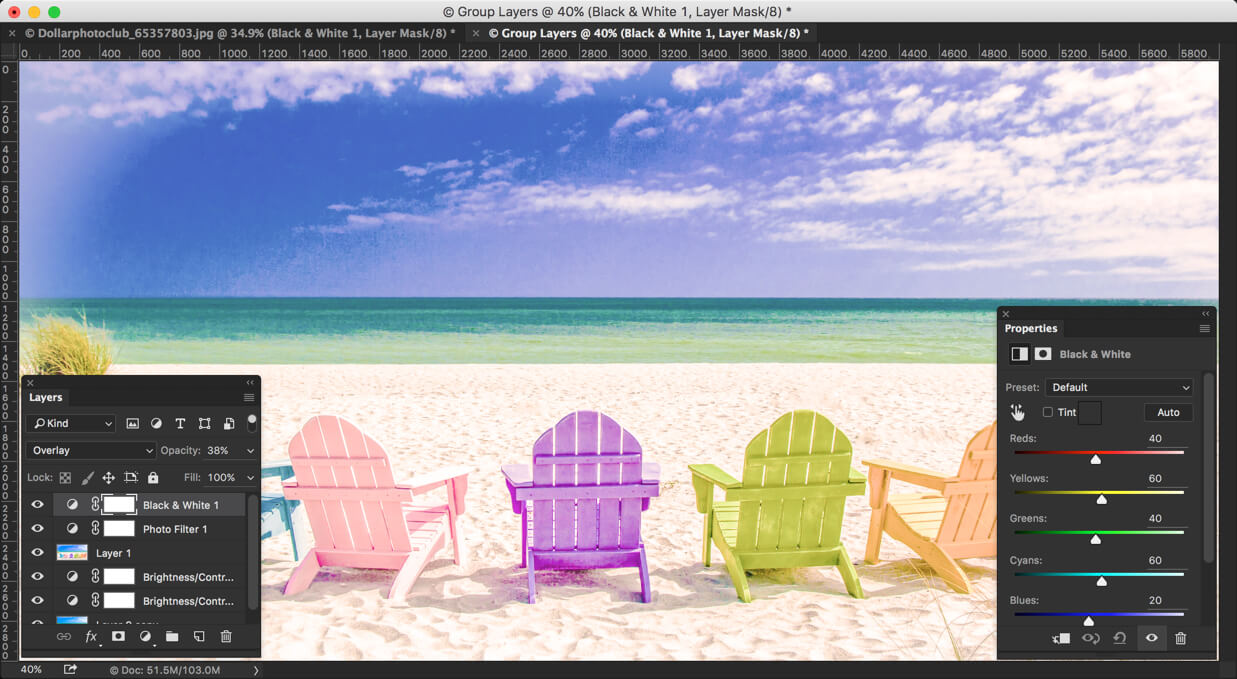
Bonus Step
I also have split toning values for a purple sunset.
and here’s the White Balance value
And here’s the image that you get.