Skip to content

Create Half Sepia Effect using Photoshop CS6 | TrickyPhotoshop

STEP 4

Now again duplicate your “spot healing” layer by pressing Ctrl+J/Cmd+J. Rename the newly duplicated layer to “gaussian blur” because we are going to apply gaussian blur to this layer.

5

Now go to Filter>Blur>Gaussian Blur. Set your radius between 10-15 pixels. Press OK.

6

Now change the blend mode of “Gaussian blur” layer to soft light.

7

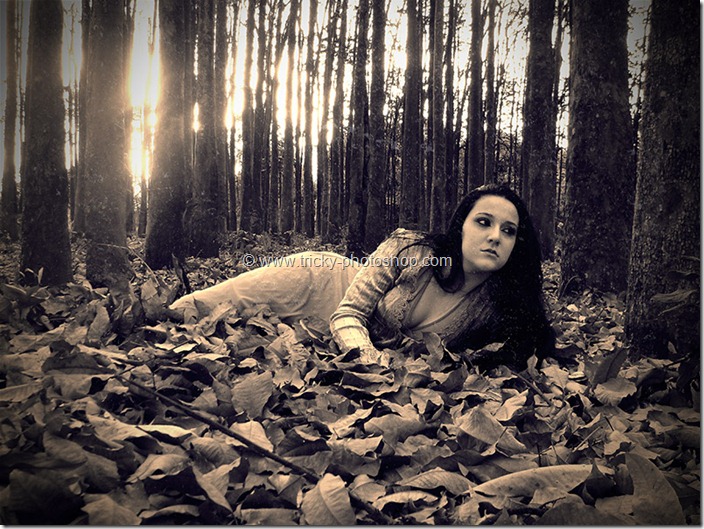
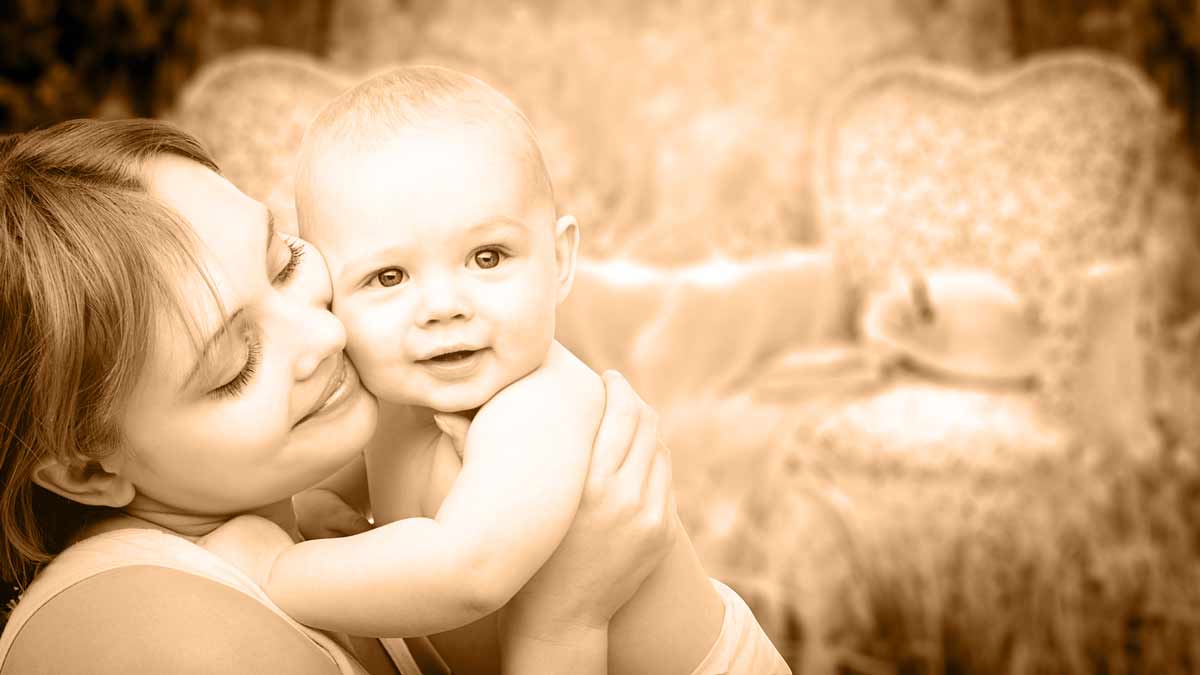
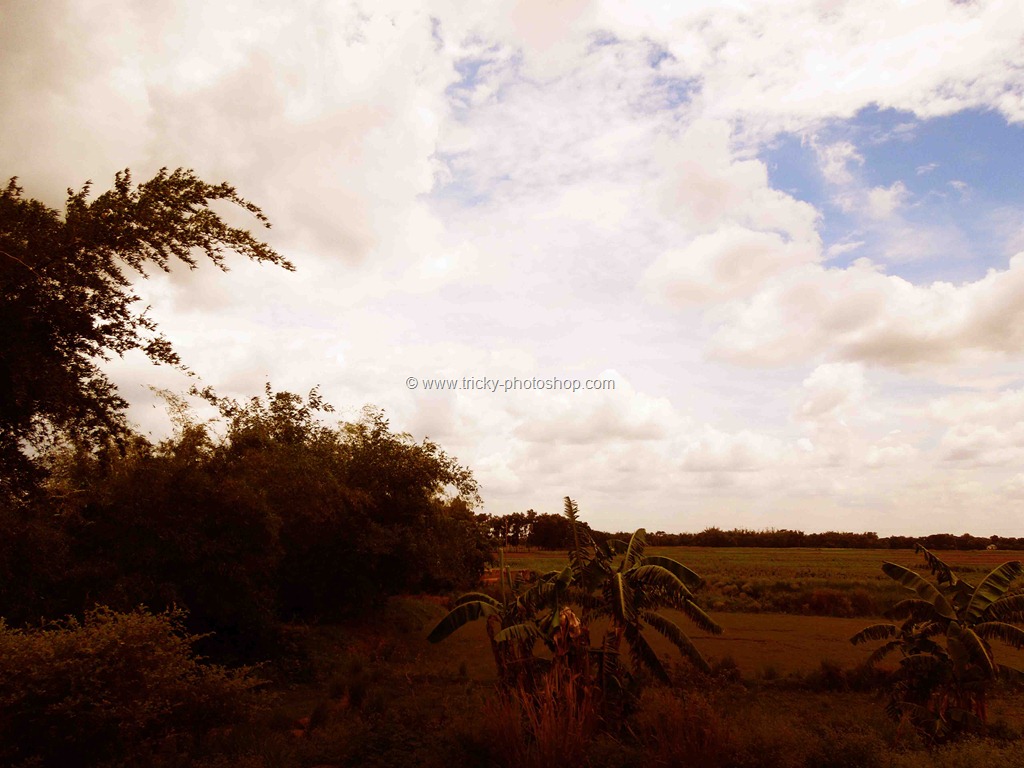
Your image should look like this.

8

Share this post

Contact Us to Edit Your Photos

Google-Review

No credit card or sign up required

Else, you can email us at hello@tricky-photoshop.com

Need help to edit your photo?

We'll edit your photo

Choose your currency

You’ll be redirected to stripe.com

Choose your currency

You’ll be redirected to paypal.com

Choose your currency below