STEP 5
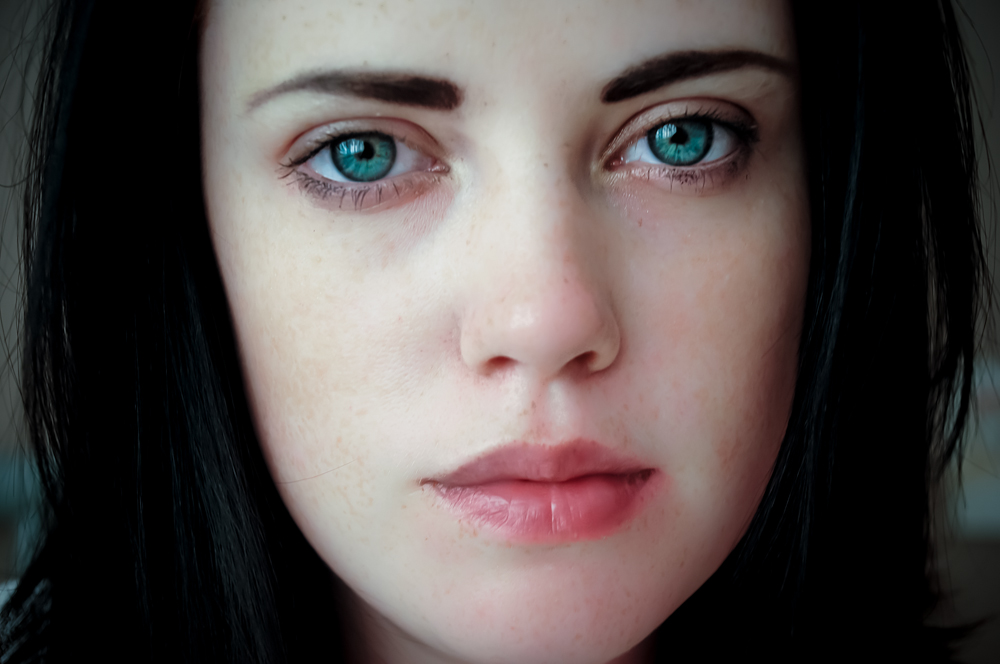
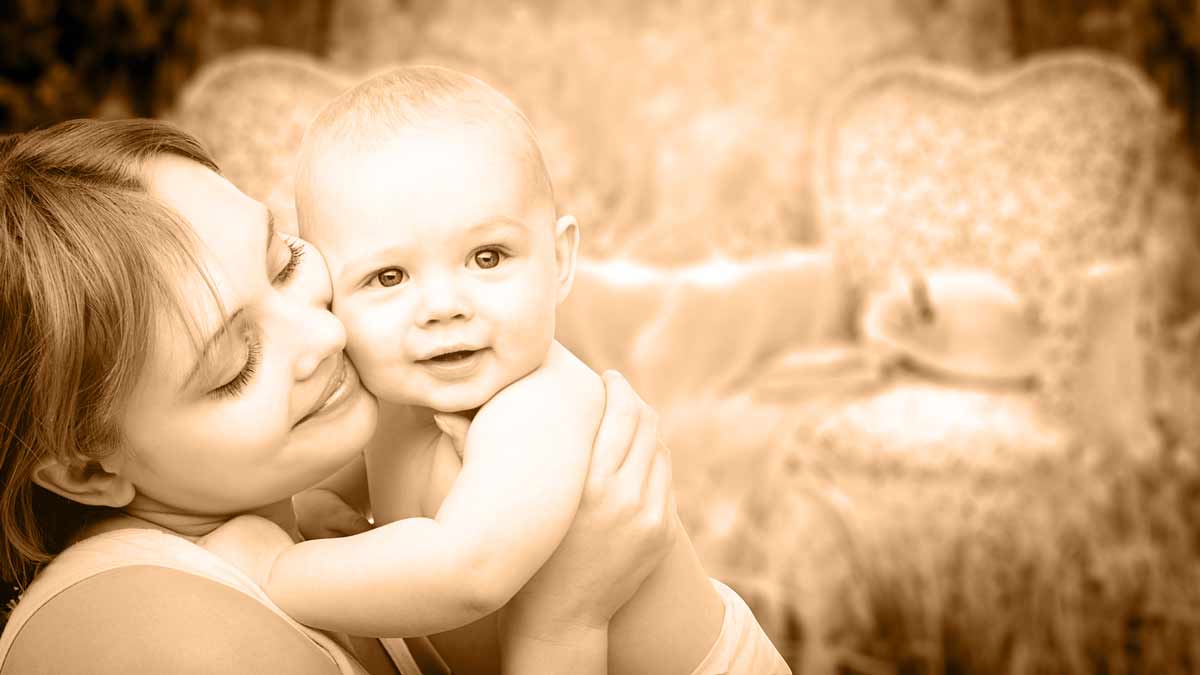
Now we need to apply layer mask to our “gaussian blur” layer. To do this first activate your “gaussian blur” layer by clicking on it. Now go to Layer>Layer Mask>Hide All. After that your photo will revert back to our previous setting. Now grab brush tool from the layer panel by pressing Shift+B again and again until it comes. Change the foreground color to white. Set the brush size to 100 pixels and hardness between 20-30%. Start applying brush on her skin.
Your image should look like this.


