Hey Guys – It’s time for the next tutorial from 30 Days to Learn Photoshop Series. Last time we discussed on Adjustment layers of Solid Color, Gradient, Pattern, Brightness, Levels, Curves, and Exposure. This is the next and the last part of the series where I’ll be discussing Adjustment layers of Vibrance, Hue, Color Balance, Black and White, Photo Filter, Color Lookup, and Invert. There are few more but you are never going to use them.
Part 1 – Everything about Adjustment Layer in Photoshop
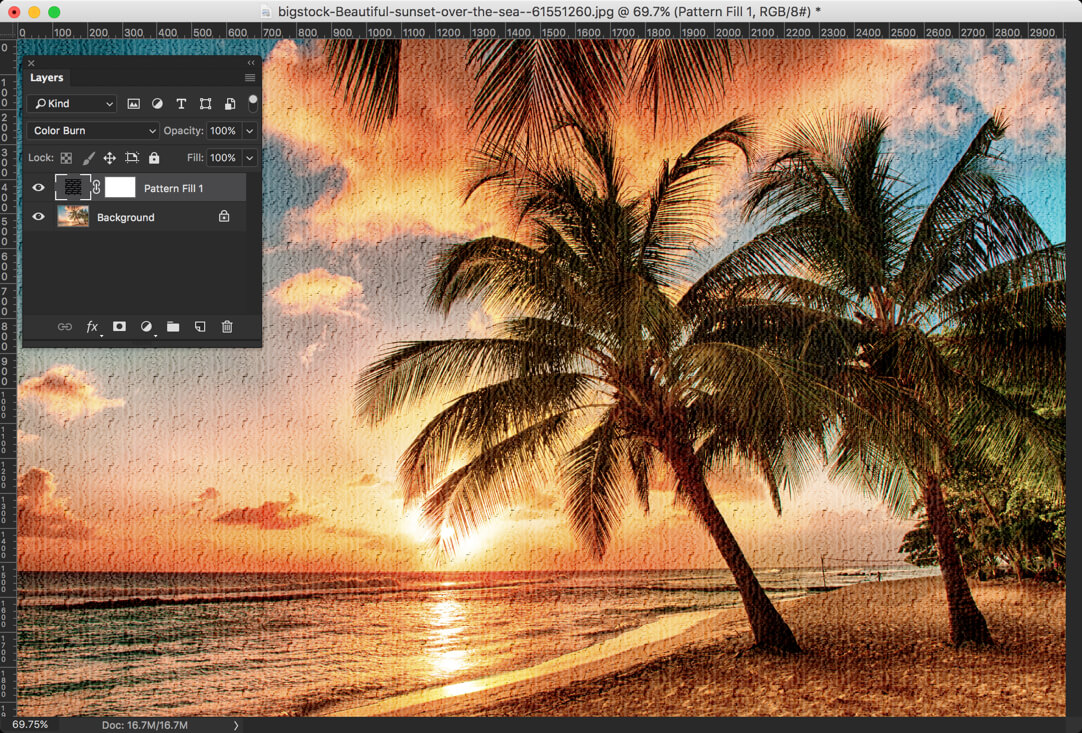
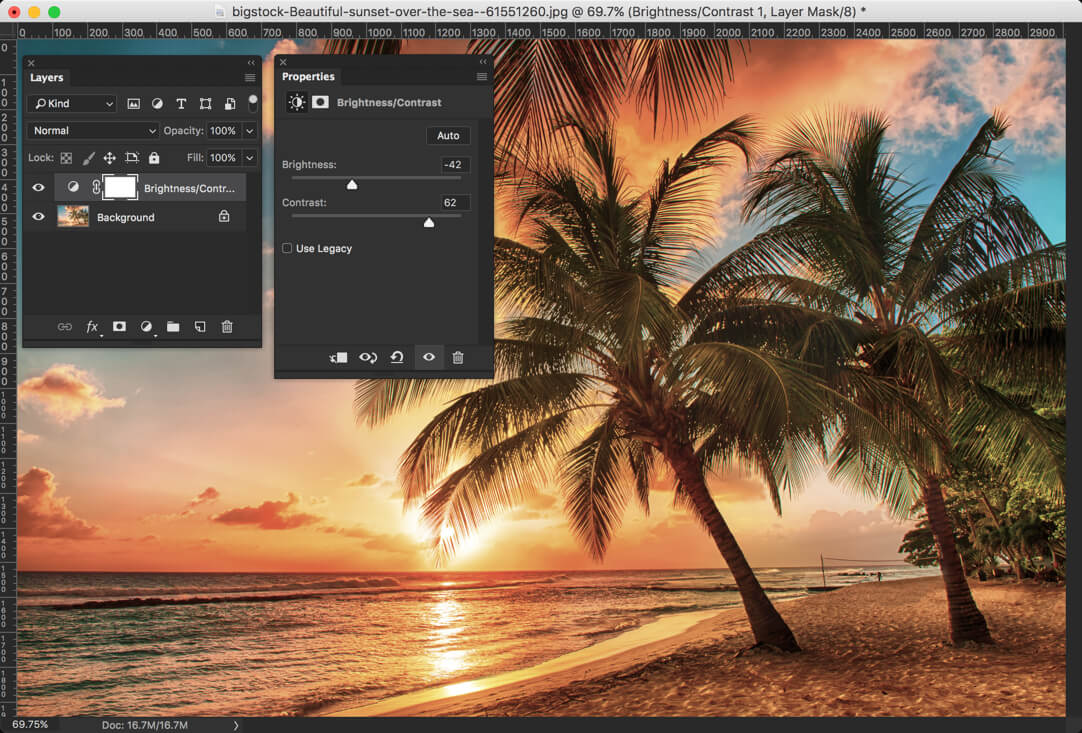
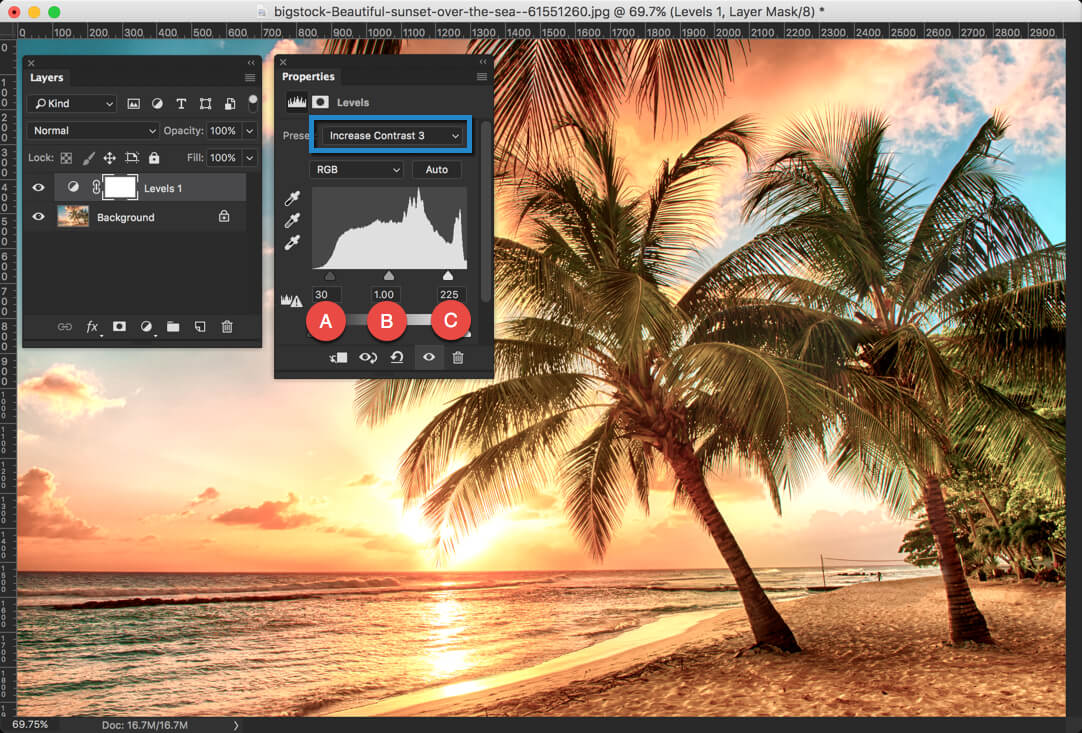
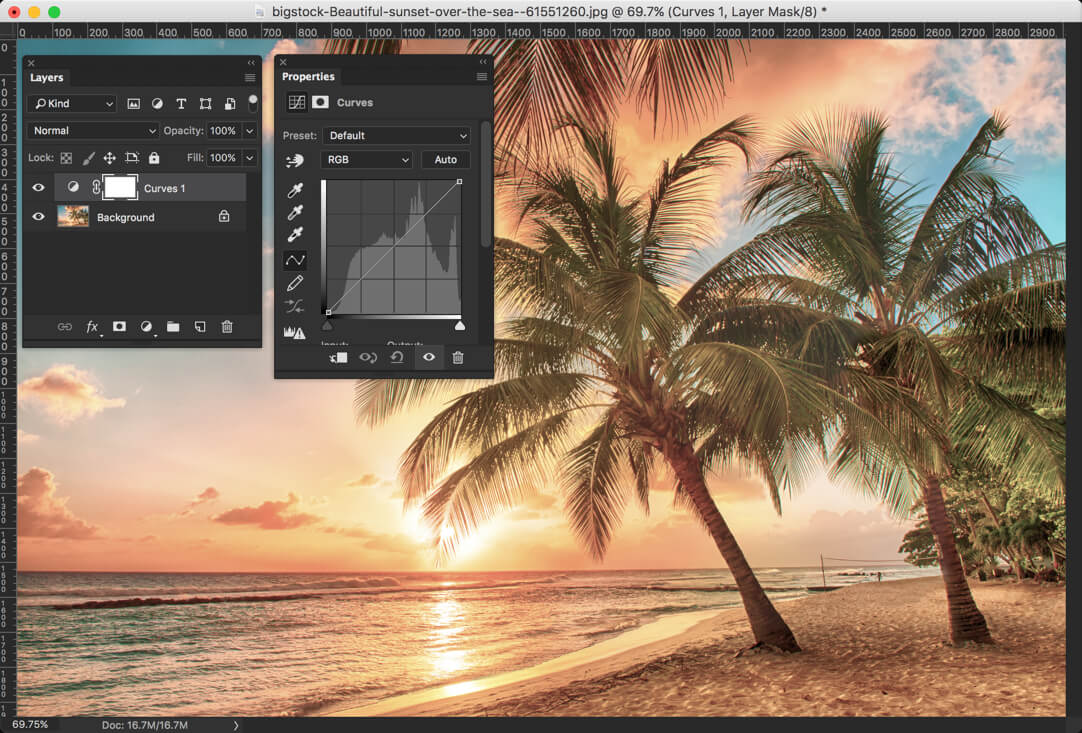
Part 2- Solid Color, Gradient, Pattern, Brightness, Levels, Curves, and Exposure in Photoshop
Before we begin, I want to explain two things again (in case you missed any of the last two parts).
WHAT’S ADJUSTMENT LAYER IN PHOTOSHOP?
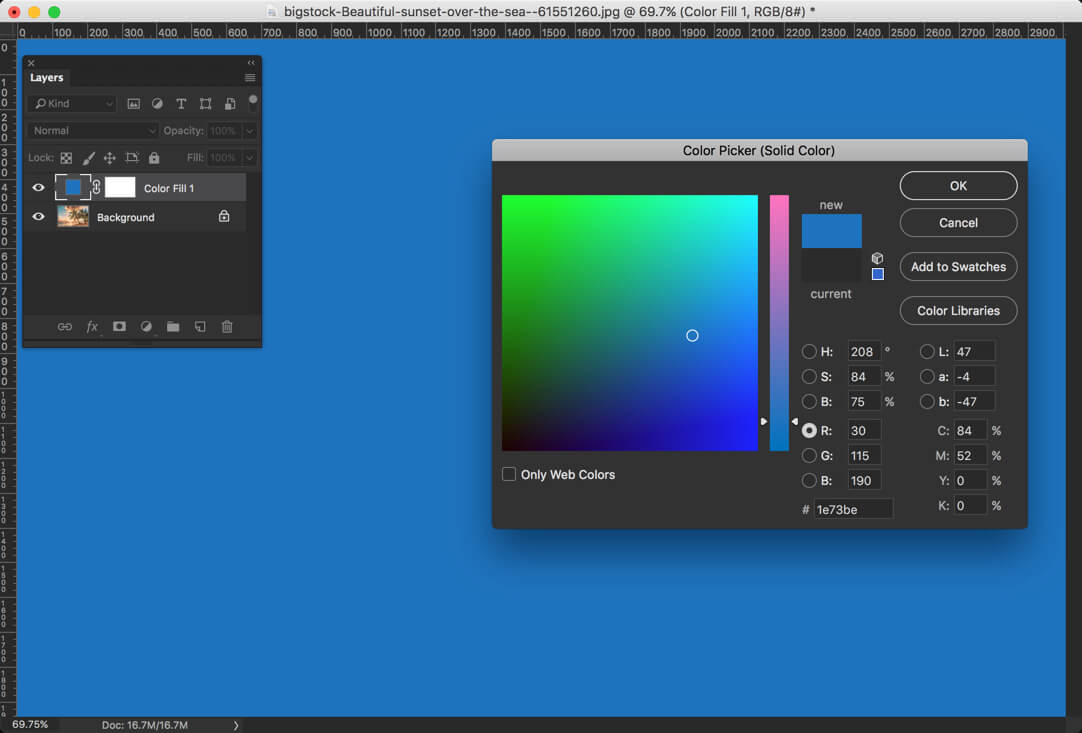
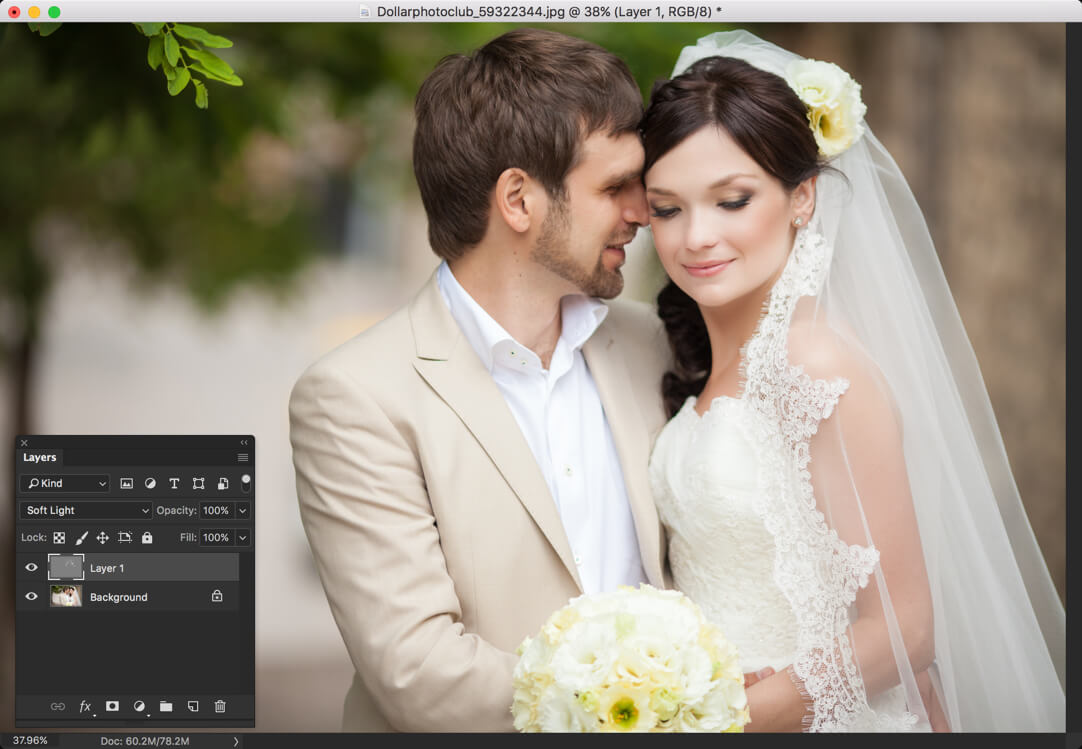
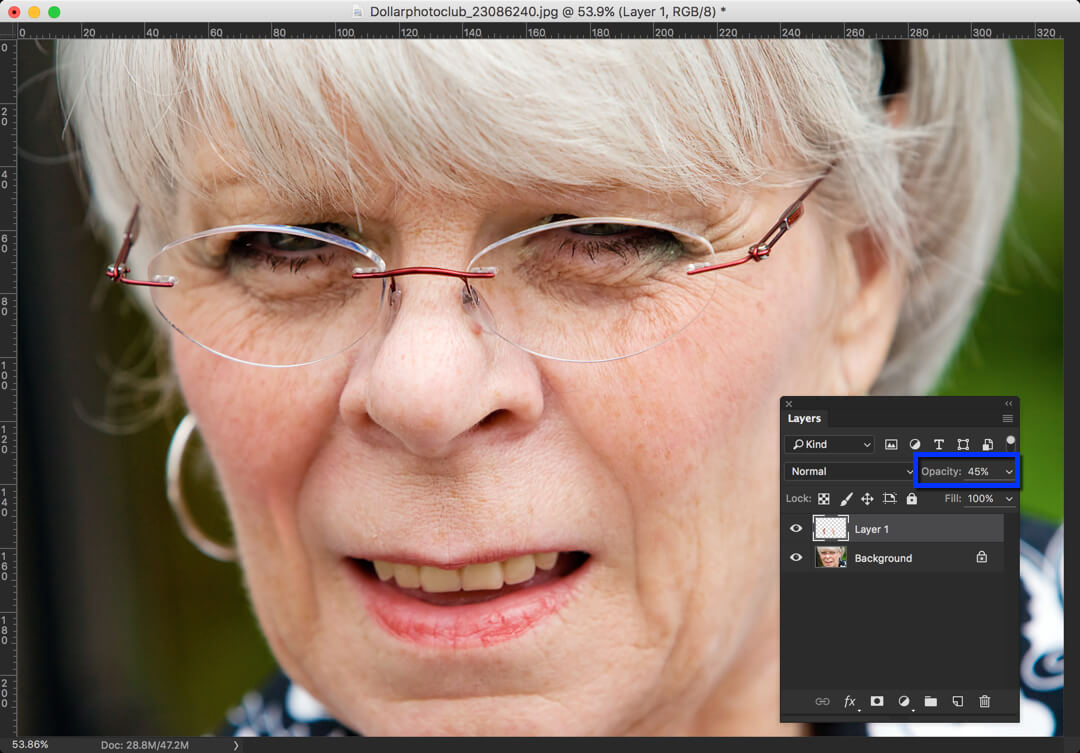
The Adjustment Layers in Photoshop are a group of some useful, non-destructive image editing tools that add color and tonal adjustments to your image. Did you read the word “non-destructive”? Yeah, all of the changes will be done without harming the original image. Means that you can go back to any point in time without any loss. It’s like a Time Machine in macOS and Win7 backup in Windows.
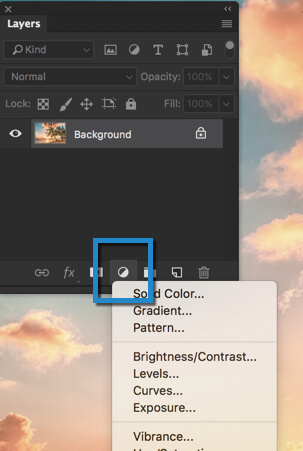
WHERE ARE ADJUSTMENT LAYERS LOCATED IN PHOTOSHOP?
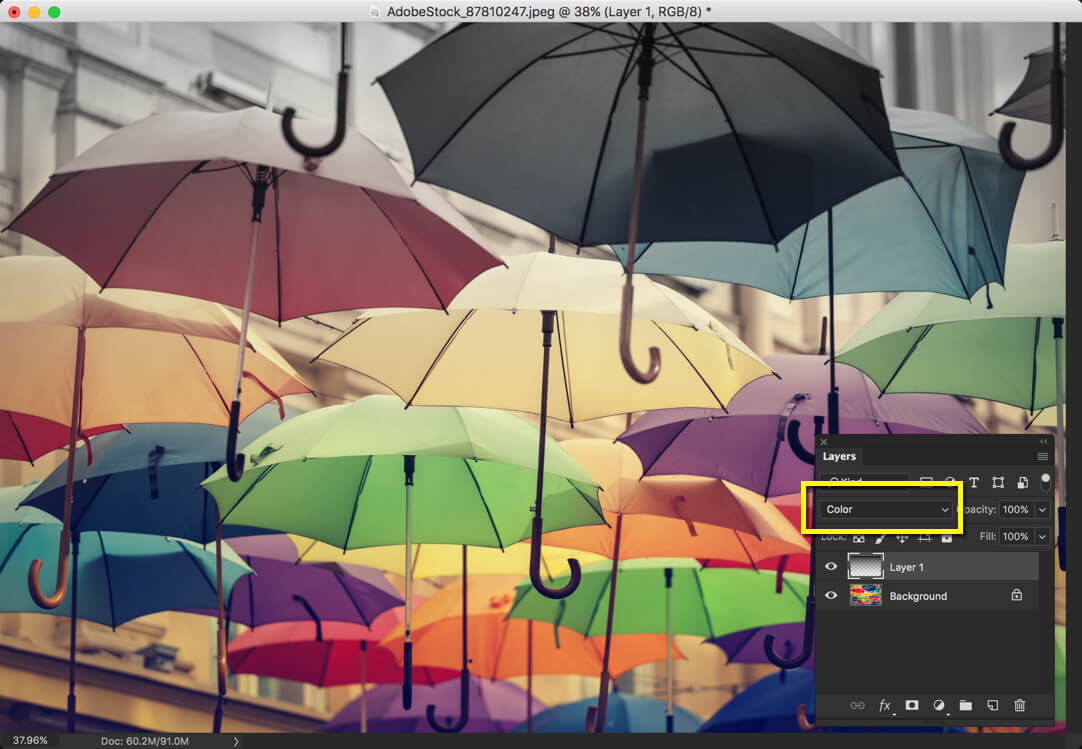
Adjustment layers are located at the bottom of layer panel (press F7 to open).

All the things that you’d use daily are present here. Be it Brightness, Color Balance, Photo Filter, Gradient, or even Invert are present here.
Now that you what and where of the Adjustment layer, let’s explore it. I am going to explain each layer in a two separate tutorial. In the tutorial, I’ll cover Solid Color, Gradient, Pattern, Brightness, Levels, Curves, and Exposure. The rest of the things will be covered in the next tutorial.
What is Vibrance and Saturation in Photoshop?
No photo looks worse than a washed out photo. To give life to a washed out photo, these two adjustment layers come into action.
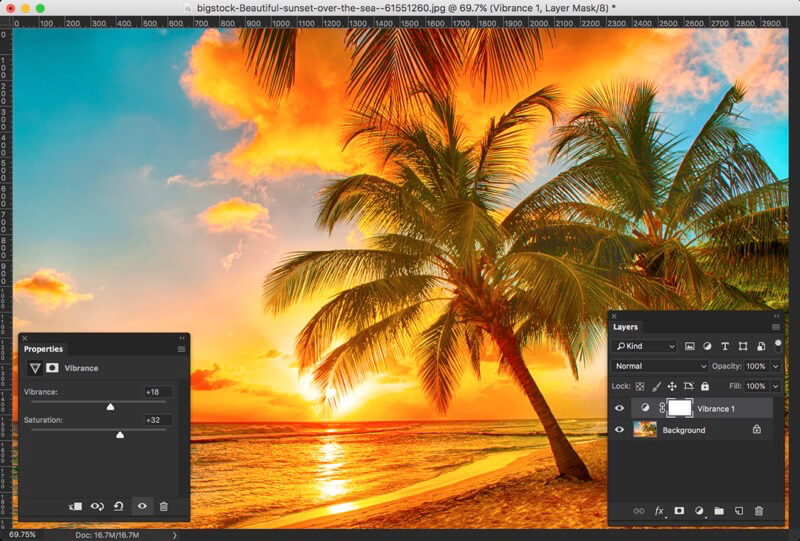
You may feel that both of them works in the same way if you’re new to Photoshop. If you’re not new, you may feel that they work differently but you don’t know how. So, let me quickly differentiate between these two.
Vibrance – This slider only deals with the colors that are saturated. So if you drag this slider to the right, only less saturated colors will pop up. If you drag it to the left, only saturated colors will fade away.
Saturation – This slider does not work smartly. It doesn’t differentiate between less saturated color and more saturated color. If you drag this slider to the right, the entire image will become saturated.
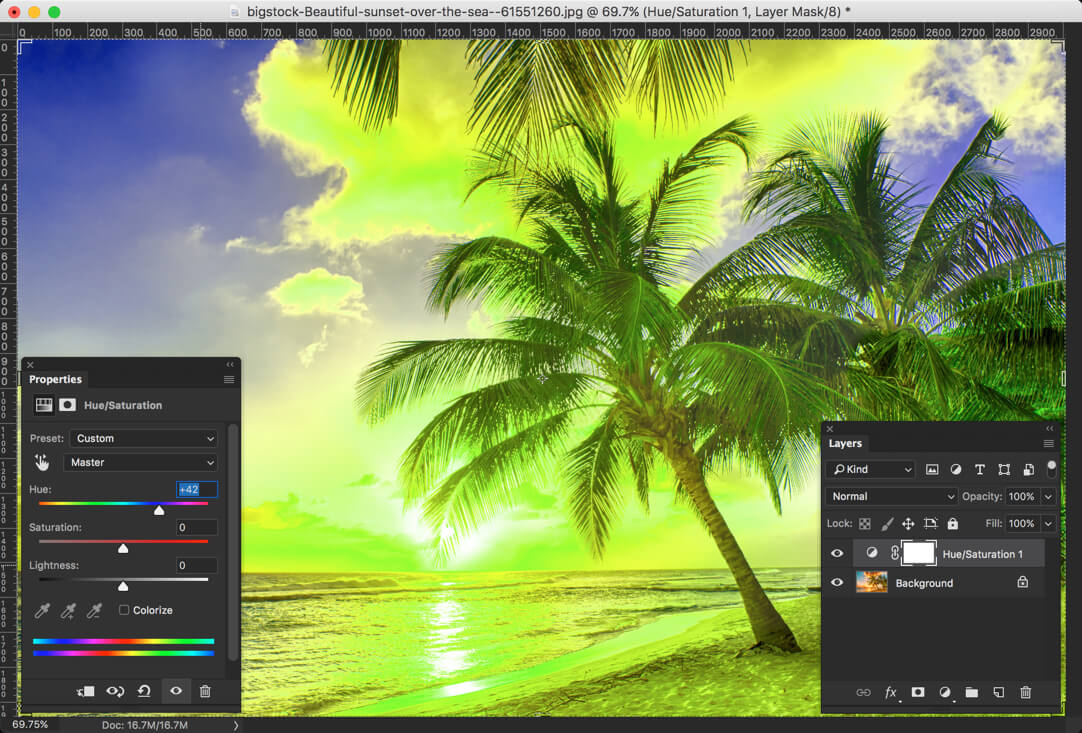
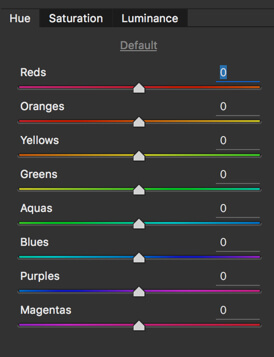
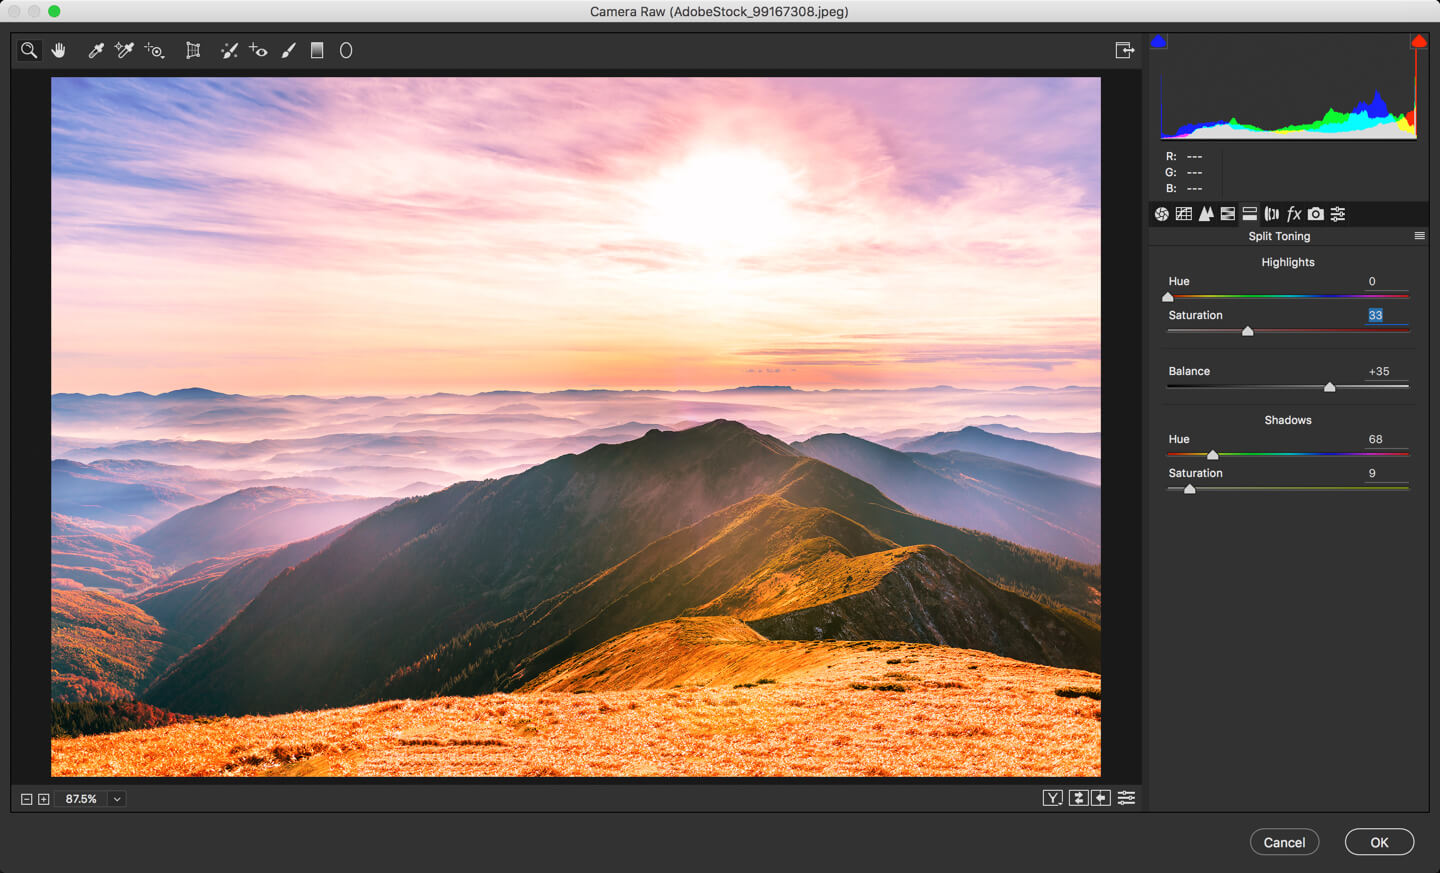
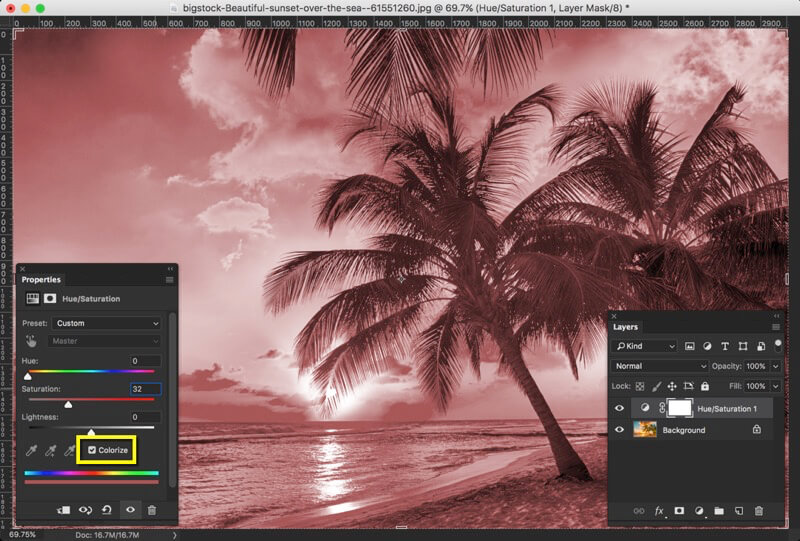
What is Hue/Saturation in Photoshop?
This adjustment layer lets you change the hue of the image. The Hue is basically the wavelength of the image and each color has a different wavelength.
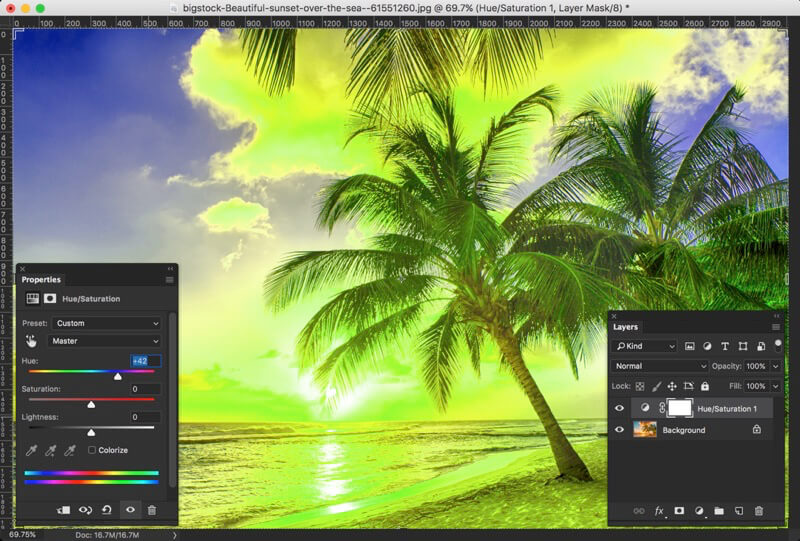
Saturation slider does the same job here.
Lightness increases the white of the color. If you drag the slider to the right, the photo will become lighter.
You can also click on the “Colorize” box to add a tint to your image.
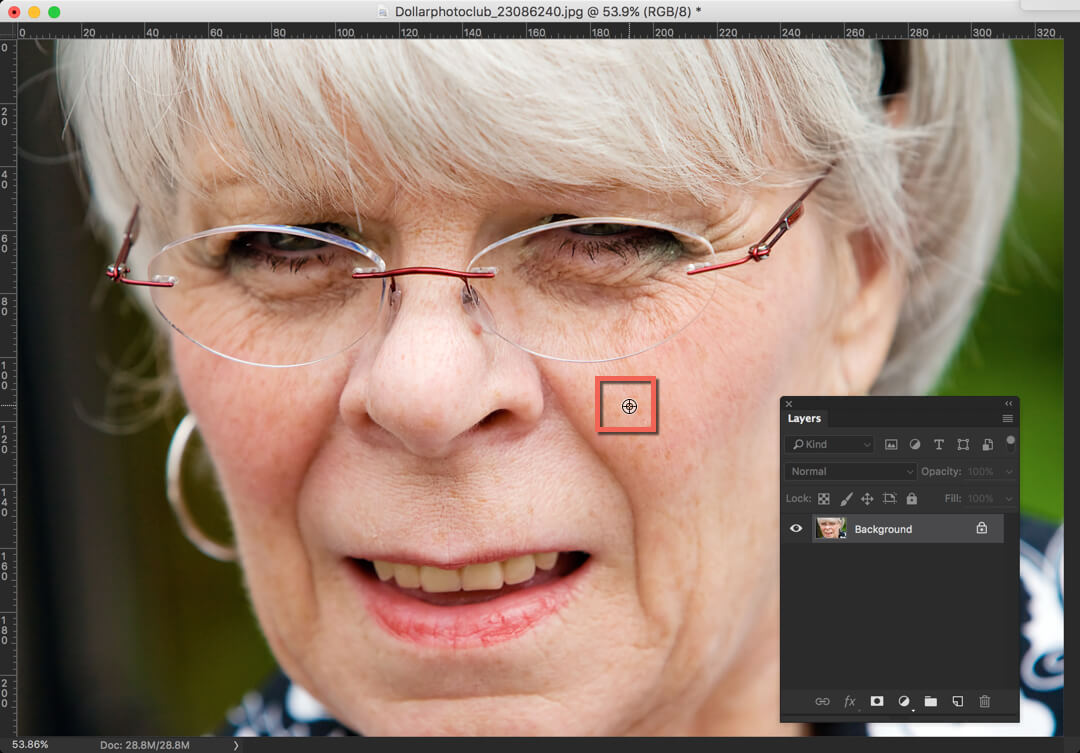
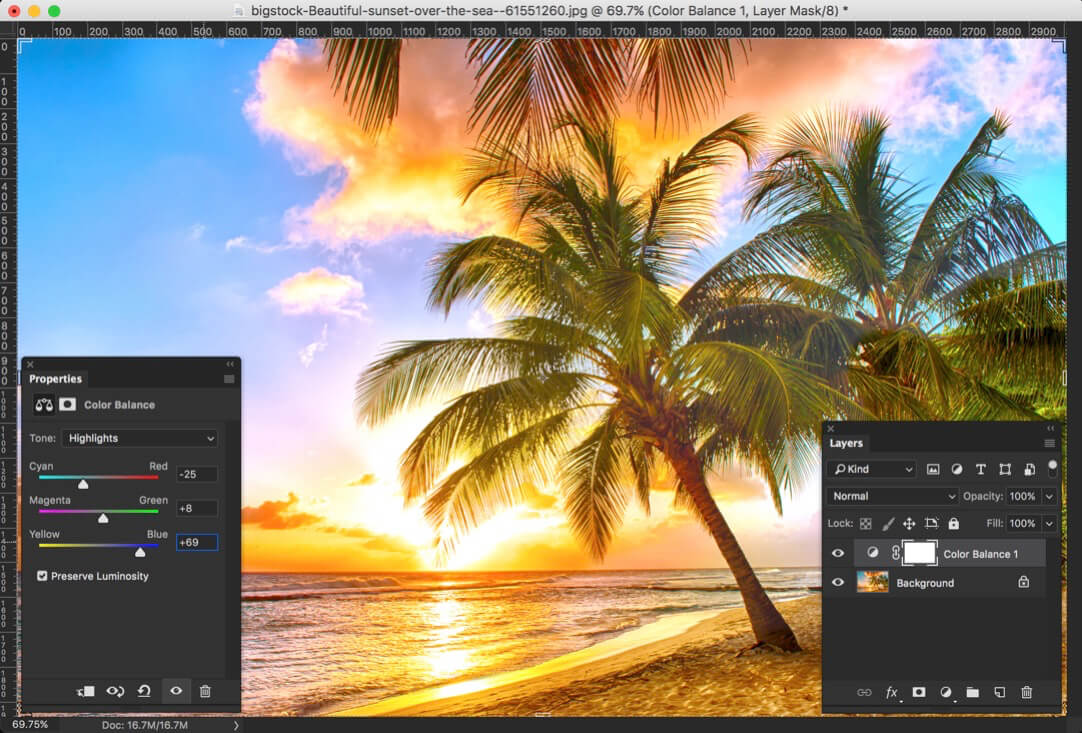
What is Color Balance in Photoshop?
Color balance is the most advanced adjustment layer to remove the tint from an image. Here you can increase or decrease the intensity of Red, Green, or Blue in an image.
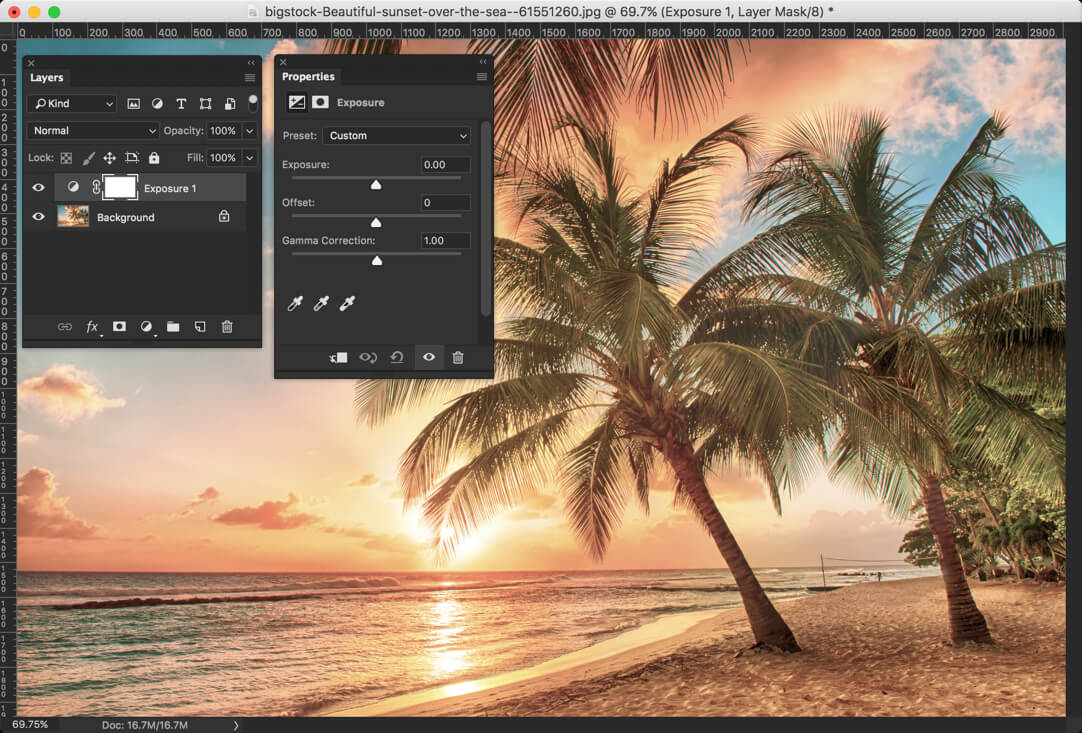
For example, I have corrected the slightly yellow tint in the demo image.
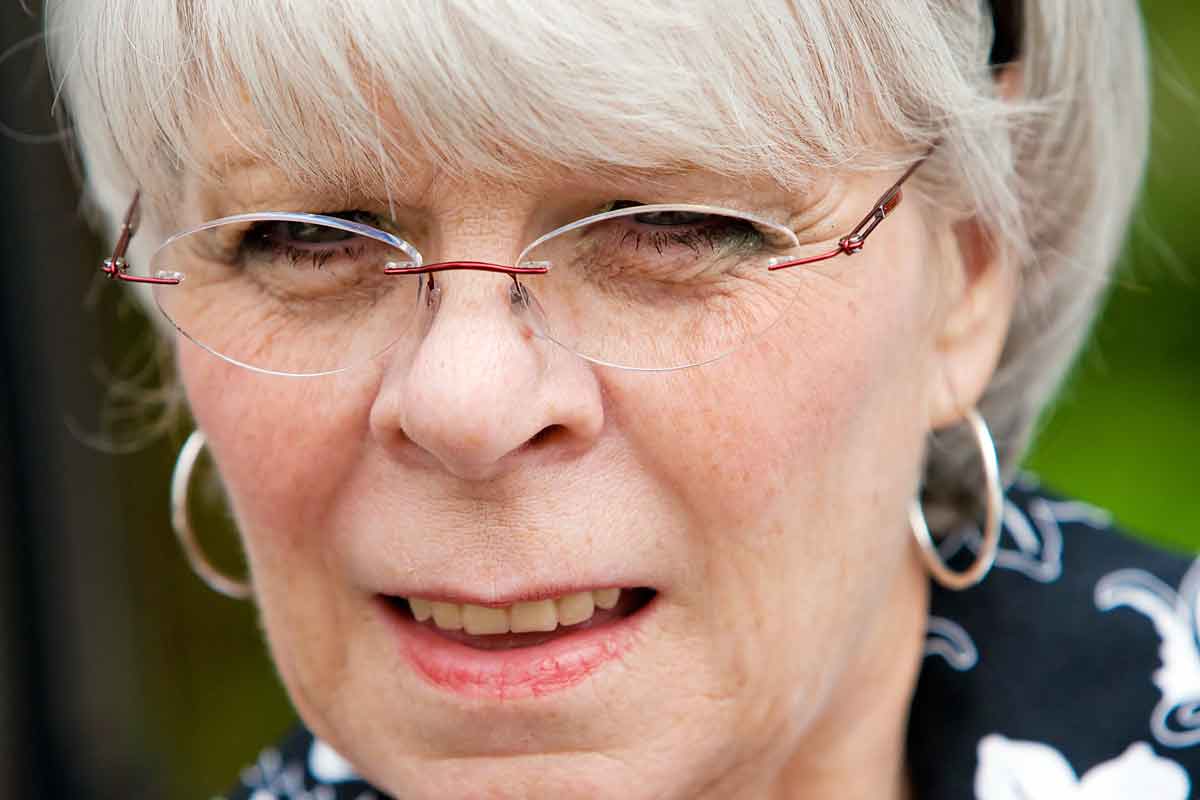
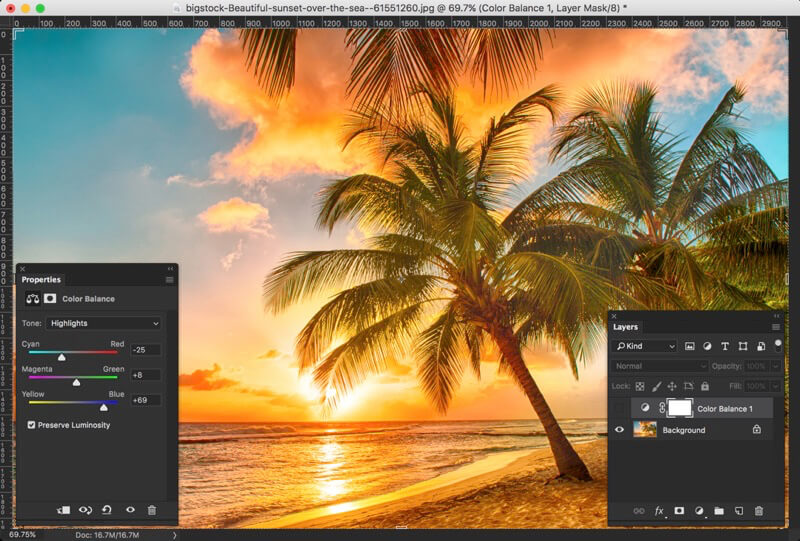
Below is the original image.
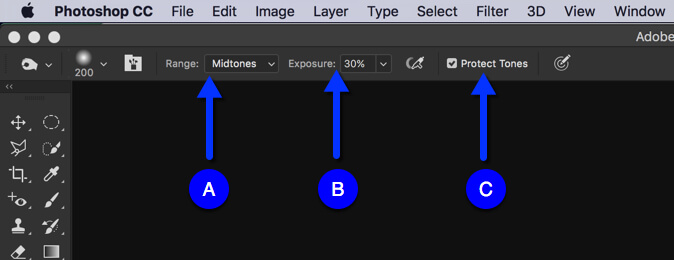
Color Balance layer has three tones. One is Highlights, one is Midtones, and the last is Shadows.
Highlights – If this tone is set, whatever modification you do in the image will be changed only in the highlights part. Highlights part of an image is the part which is overexposed as per the histogram. Sun and sky are the highlight parts of the image.
Midtones – If this tone is set, whatever modification you do in the image will be changed only in the midtones part. Midtones parts are neither bright nor dark. Sea is the midtone here.
Shadows – If this tone is set, whatever modification you do in the image will be changed only in the dark part. Leaves and branches are the shadow parts here.
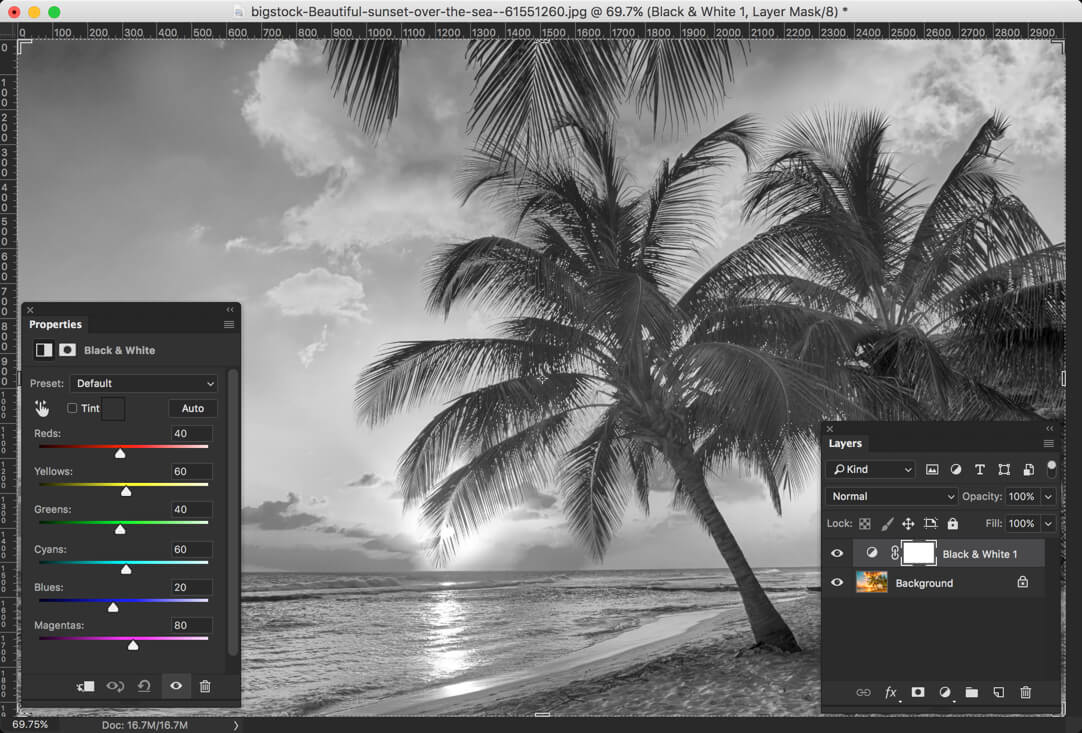
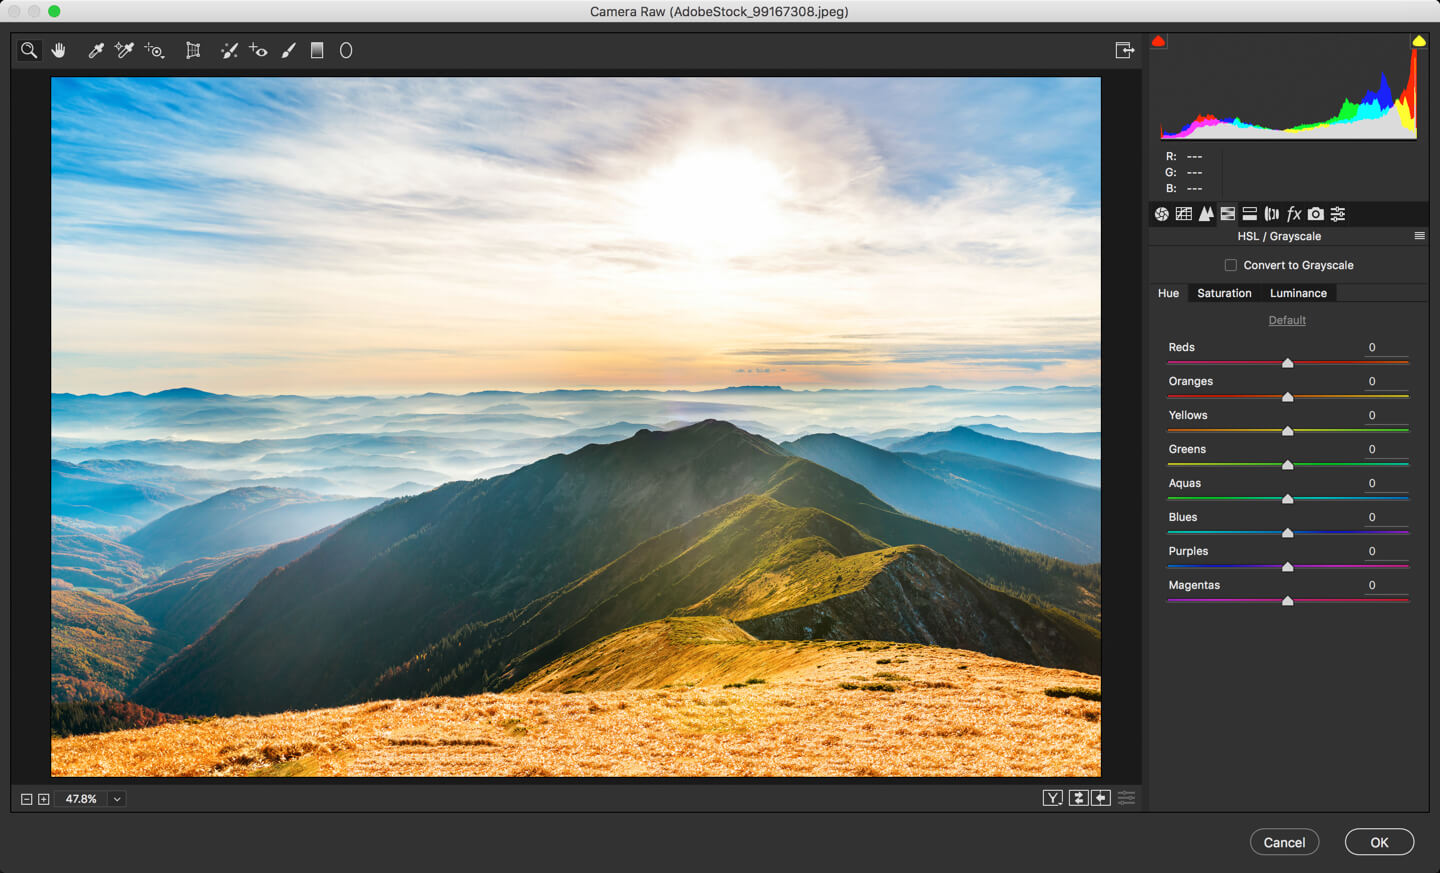
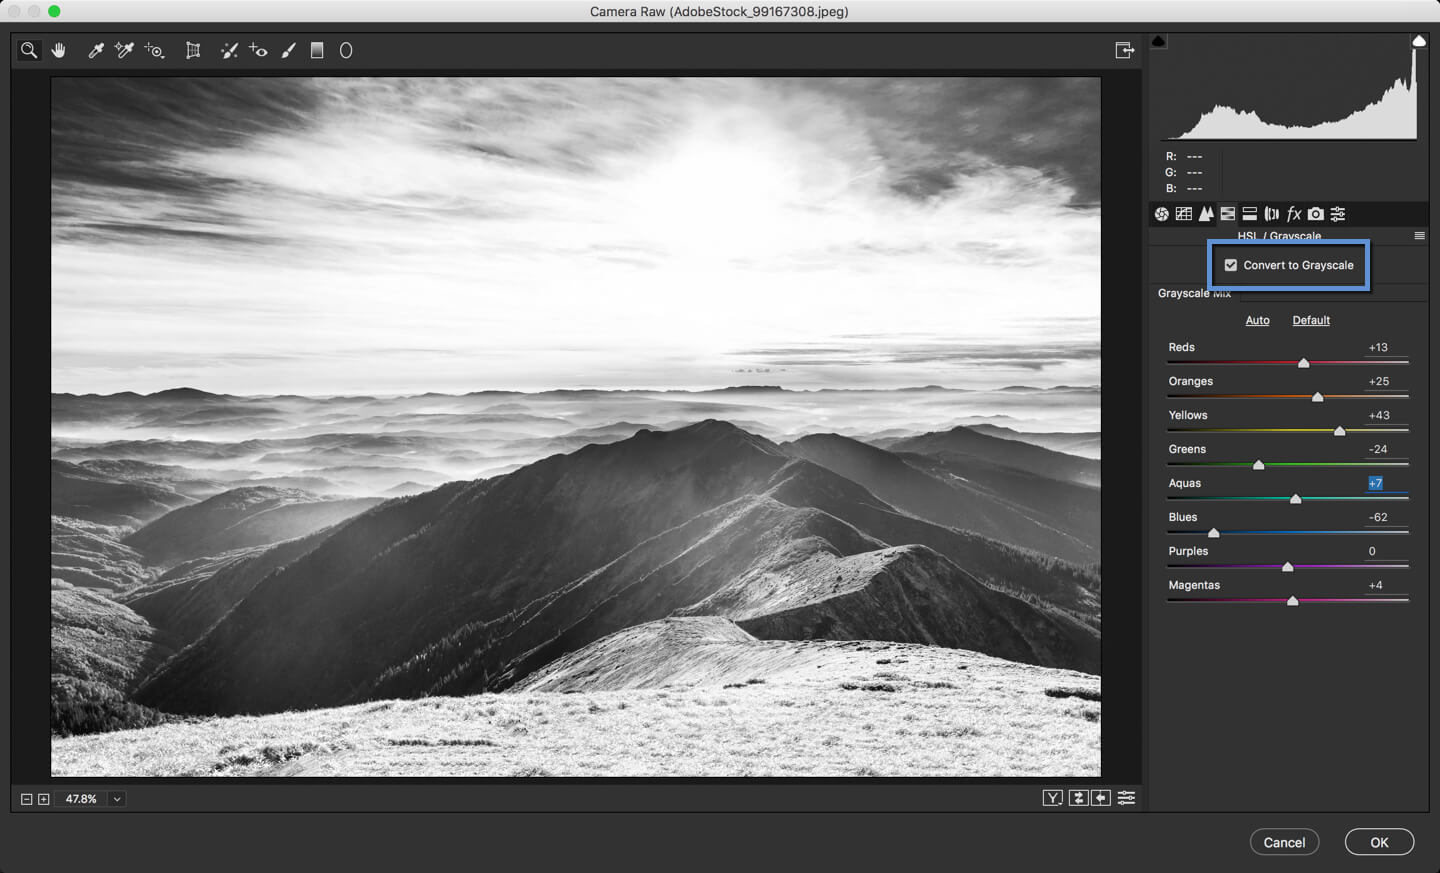
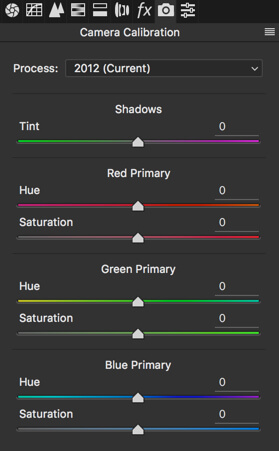
What is Black and White Adjustment Layer in Photoshop?
This adjustment layer converts an image to Black and White. Although this method is not the one which I prefer to convert my images (I prefer Gradient Map because that gives crispier black and white) but this layer gives a good amount of flexibility.

You can also select the amount of luminosity of each primary color.
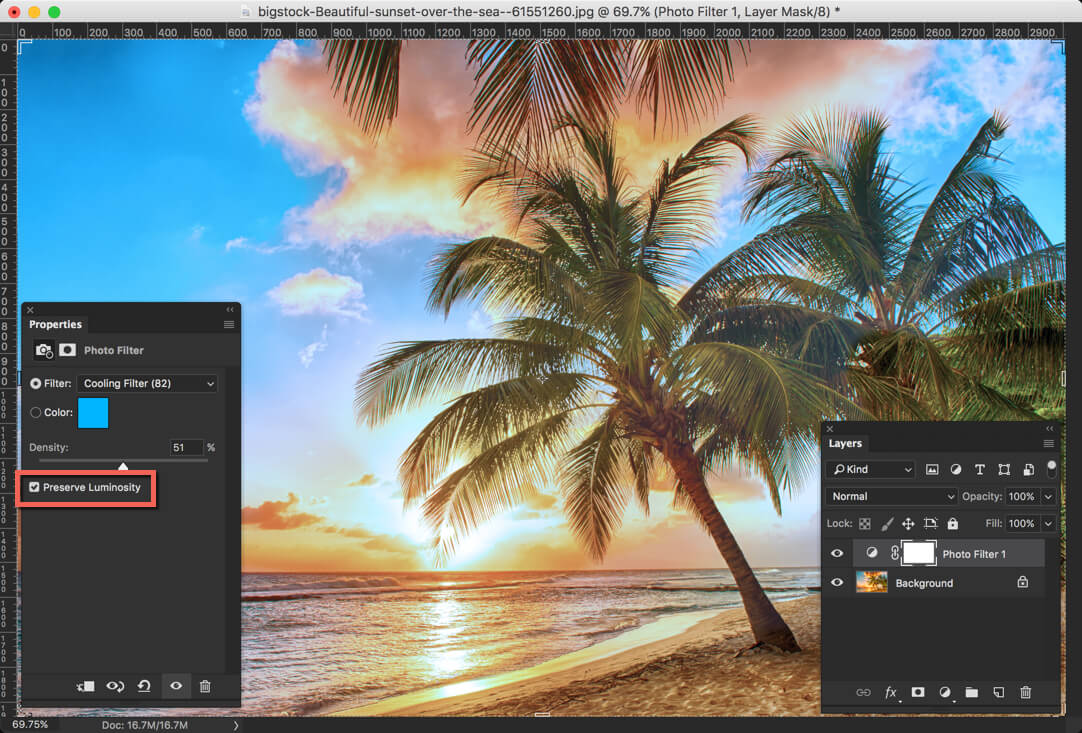
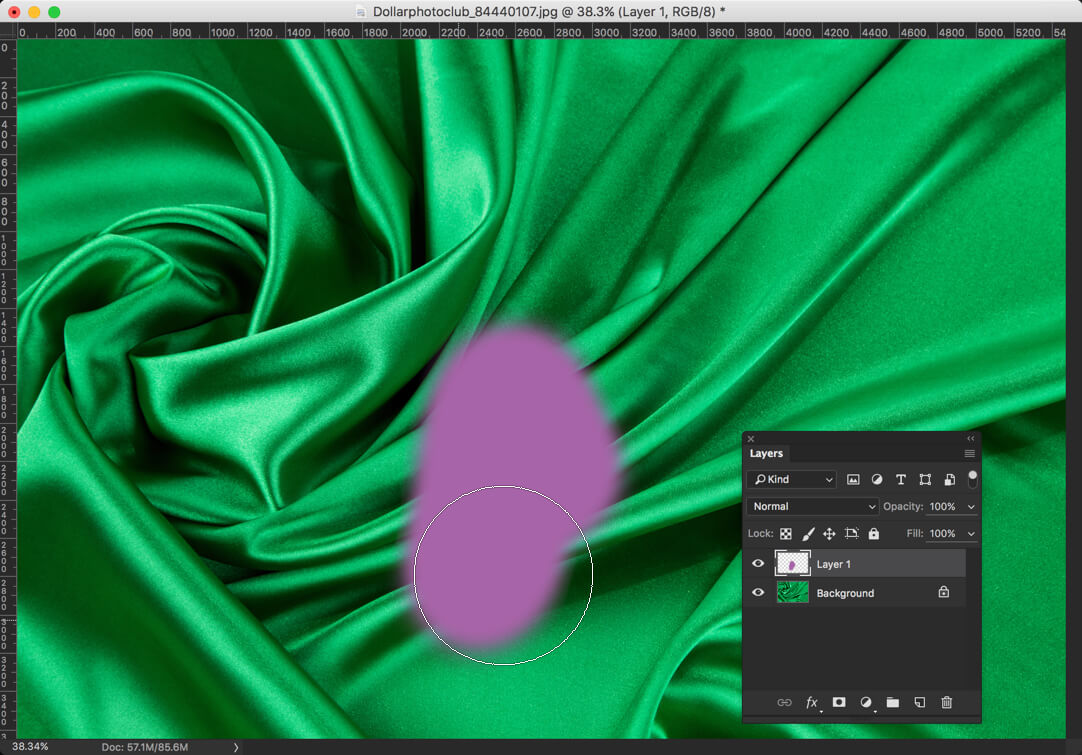
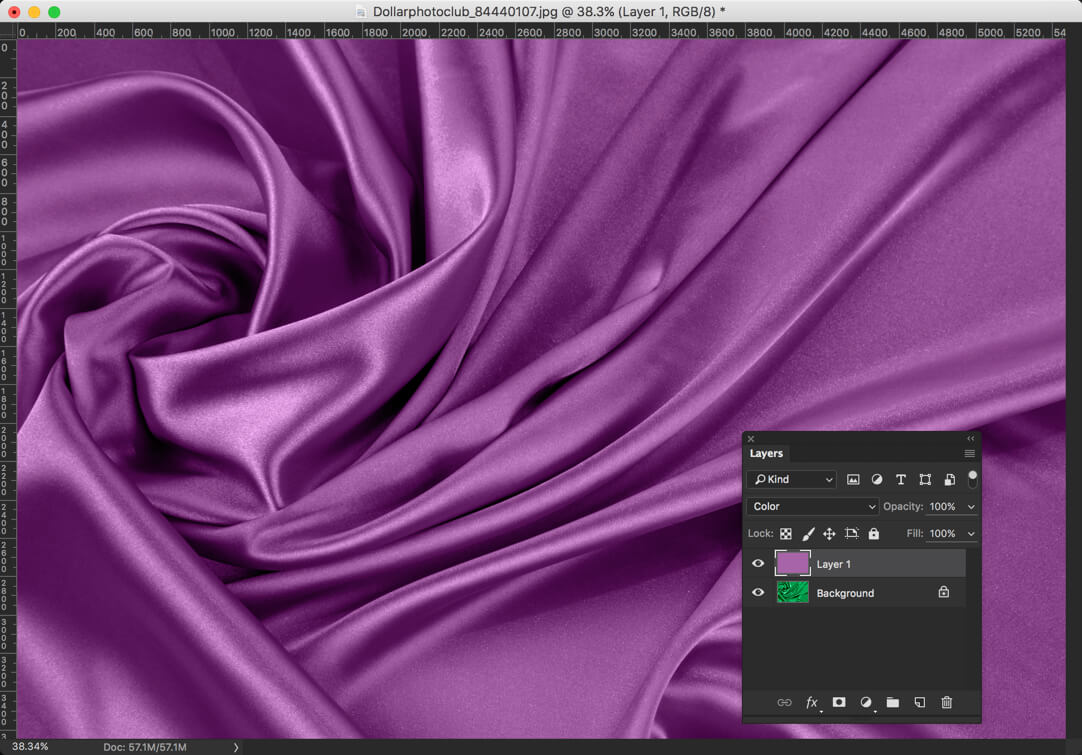
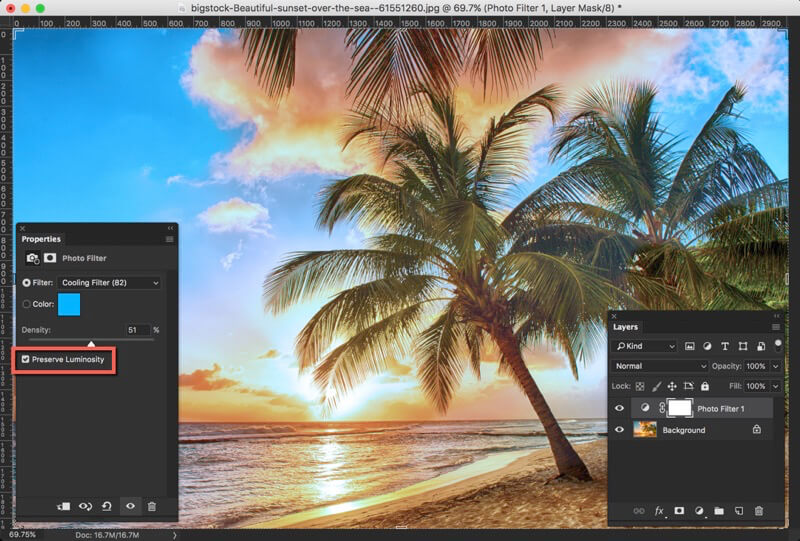
What is Photo Filter in Photoshop?
Photo Filter adds tint to the image.
You can choose the Filter (basically color) and start tinting your image. If your color is not listed, you can also choose some custom color by clicking on the “color” and then choose the color.
You can also smartly use this layer to remove the tint. For example – the original image has a yellow tint. Now we all know that the opposite of yellow is blue. So, if we choose the filter as Blue and increase the intensity then we can remove the yellow tint.
One thing I always recommend is to keep “Preserve Luminosity” turned on. This tool keeps the whites of the image white so that your highlights don’t get tinted.
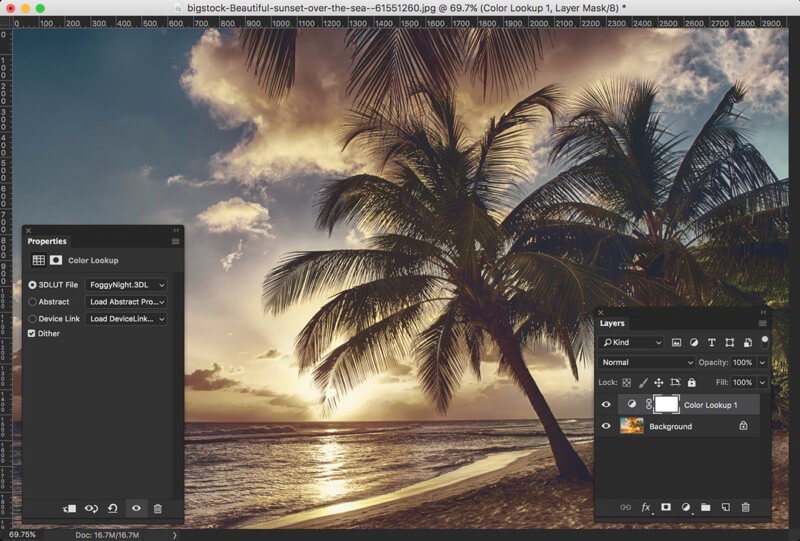
What is Color Lookup in Photoshop?
I have never used this layer much but this gives some cool filters to your image. Below is an example. There’s not much to share about this layer.
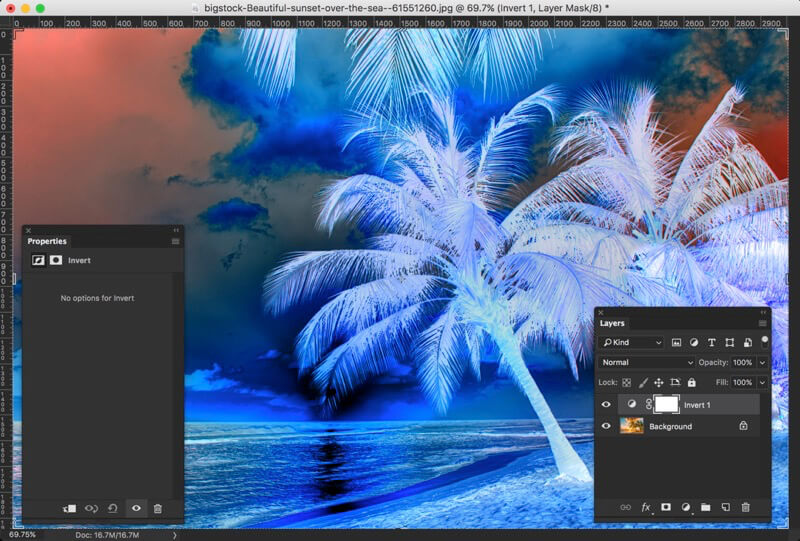
What is Invert in Photoshop?
Invert adjustment layer inverts the image. The Invert command inverts all the pixel colors and brightness values in the current layer as if the image were converted into a negative. Dark areas become bright and bright areas become dark. Hues are replaced by their complementary colors.
This is all for today guys. Check out the rest of the tutorials from 30 Days to Learn Photoshop series.