As a photographer, this means that you will get a lot of clients for your business. One of the questions you will be faced with early on is whether you should be using raw images of Jpeg. It’s basically raw vs. jpg.
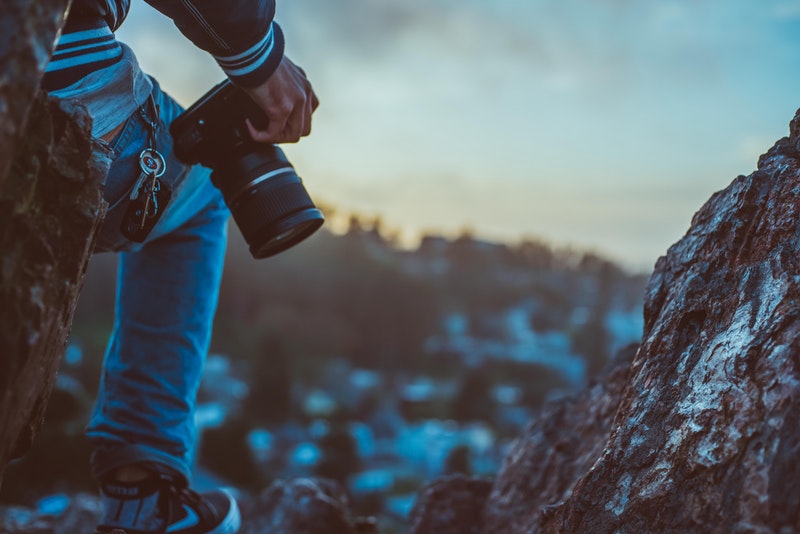
Sometimes living an exceptional moment is not enough. Sometimes you need to capture it all, in a lens, with all its beauty and magnificence. Photography allows you to do so. It doesn’t matter whether you wish to crystallize a moment for your personal use or your business; photographs play a much more significant role in your life than you think they do. Almost all industries use them for marketing their services. On a personal level, people use them to hold on to precious moments.
What are Raw images?
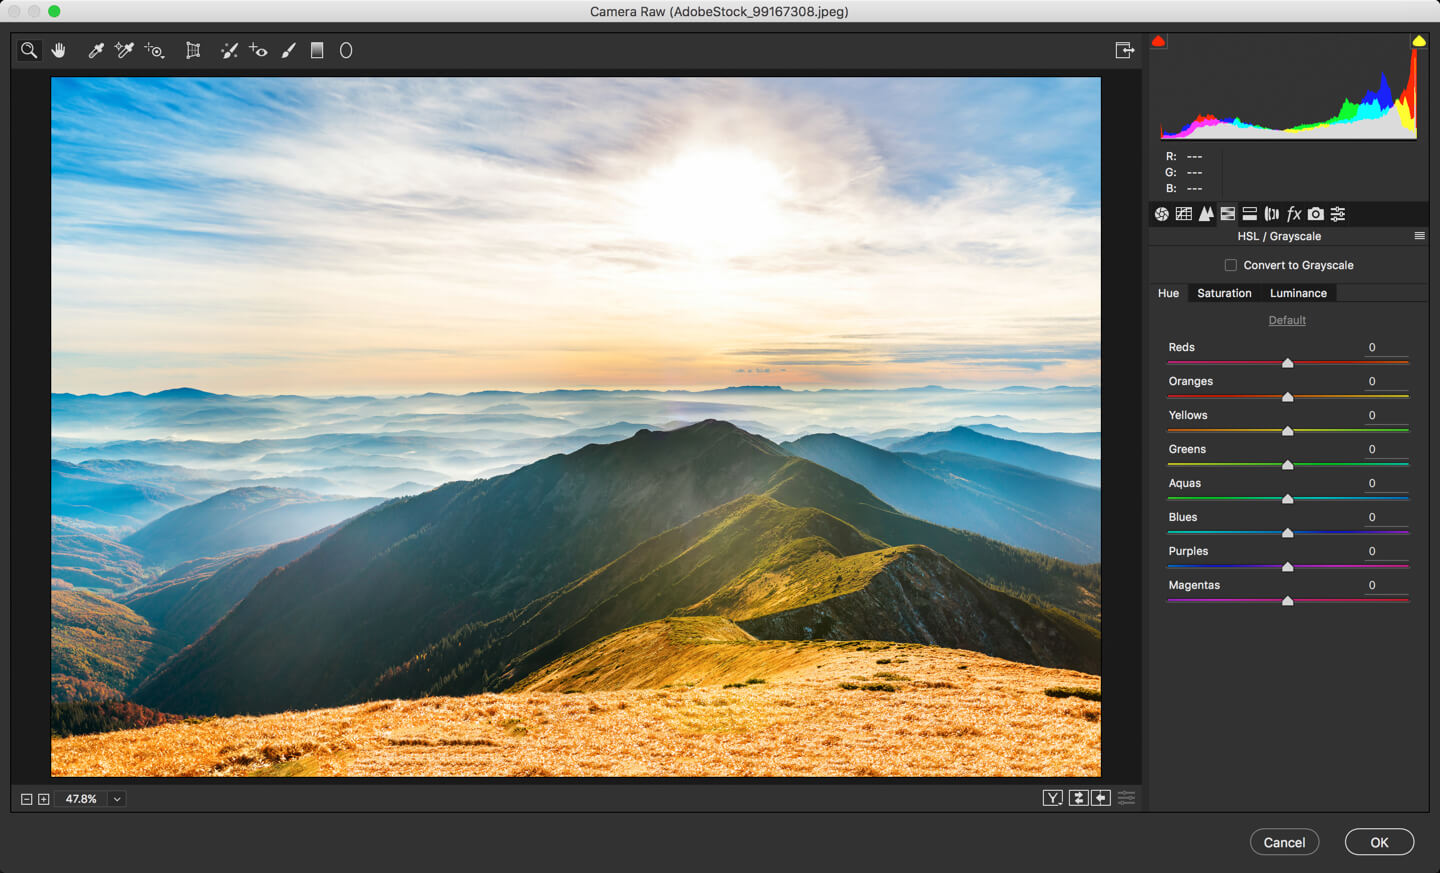
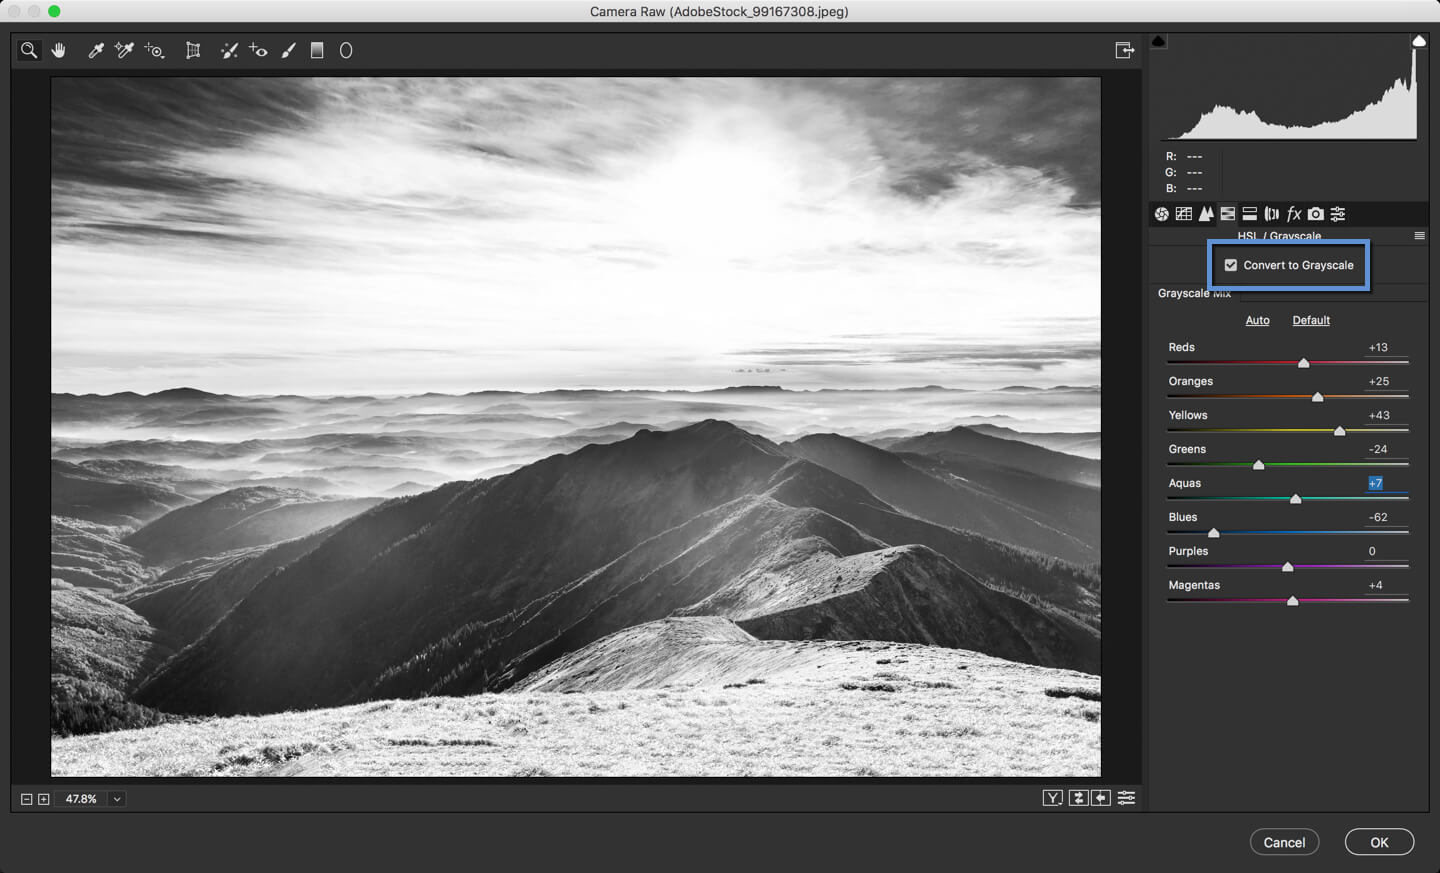
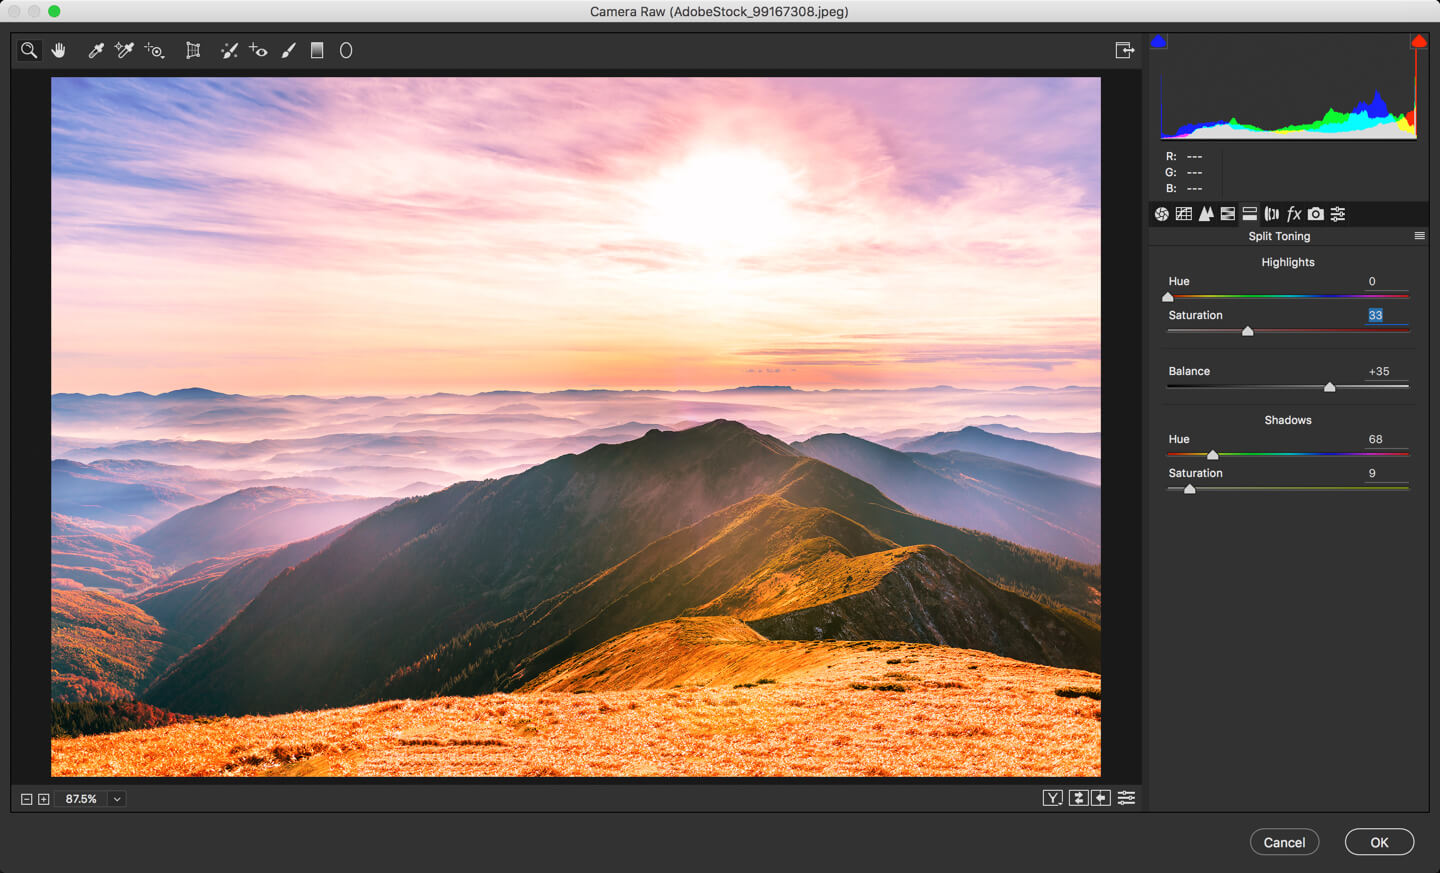
Both Raw and JPEG images are types of file format. RAW is a type of format that captures all the available image data in its entirety. When you take a photo using your camera, the sensor records quite a lot of data.
For instance, let’s say you take a picture of a person. The RAW image will depict every feature of the said person to the tee. This is why it is often said that RAW images have better quality than Jpeg images. Raw images are workable; it is easy to process them afterward. For instance: There is a blog that explains how you can remove dark circles in Photoshop.
Such editing is best done on raw images. Before you think about post-processing, think about the mode of capturing images.
What are JPEG/JPG images?
Contrary to Raw images, Jpeg images are processed in nature. And this occurs within the camera.
Note: JPEG and JPG are the same file formats. They just have a different name. I wrote a tutorial a few months ago and I described why because of Windows we have two names for the same format.
This means that the first output you get after capturing a picture is a compressed and processed version of the photo you took. The level and type of processing vary from one model of camera to another.
Elements like color temperature and exposure are altered according to the settings of the said camera.
Moreover, additional changes like contrast, brightness, sharpening, noise reduction, and addition of blacks are added, and then the file is compressed to deliver the output.
Benefits of Raw Images
To understand which type of format is best for you, it is essential to know the advantages offered by both. Here are the benefits of using raw images.
It produces the best quality images
When you are a professional photographer, the quality of your pictures matter.
Let’s say a company gives you the task of shooting pictures for the website. With their logo design, placed on every picture, they require professional photos as well. Here, quality matters. And the highest level of quality is only delivered by RAW images.
A quality lens can only showcase its full glory through its raw images. After automatically processing it, the results can never be as perfect as they once were.
With raw photos, you are given autonomy to process the images as per your expertise. And your brain is much better than the processing capabilities of any camera.
Greater levels of brightness
There are various stages of turning the black parts of the picture to white. These steps are known as levels of brightness.
All photographers know that the higher the levels of brightness, the better the picture since it ensures smoothness.
Compared to JPEG, which records 256 levels, RAW images tend to record levels between 4096 to 16384. In professional lingo, this is known as “bit.” JPEG is known to capture photos in 8 bit while RAW does so in 12 or 14 bit.
Therefore, additional steps of brightness are much smoother and also allow you to make various alterations to the image without reducing quality. Why? This is because there are more levels available for you to work with.
Easy corrections
As a photographer, you will not just be working in controlled environments. Instead, you might have to cover events where things are dynamic and mobile. Let’s say you get hired to cover a wedding.
It doesn’t matter how great of a photographer you are; some pictures will still come out over or underexposed. It isn’t much you can do if you take photos in jpeg mode.
However, in the case of raw images, you can quickly correct the issues because all the additional information about the image is already stored in the file.
Benefits of JPG
Does this mean that JPEG offers no incentives, at all? No! Here are certain advantages you can only realize if you choose JPEG images.
No need to worry about image processing
If you are new to the world of photography, processing pictures manually might seem like the most laborious task. There are a lot of elements and factors that you need to work with. This is why many beginners prefer JPEG since it does all the processing for you.
When shooting pictures in JPEG mode, all you need to do is focus on your subject and capture the image. All the laborious work is then done by the camera. This includes factors like color saturation, white balance, tone curve, sharpening and color space, etc.
For a beginner photographer, this mode gives them a chance to perfect their photo capturing ability and hence build a sound portfolio. Not only this, but JPEG photos can also help professional photographers with delivering consistent photos, all year round.
It also helps with ensuring quick output, which might be preferred by those who are swamped with projects.
The size of the file is small
JPEG images are compressed files. This means that they take up less space on your memory card. Contrary to this, RAW images are enormous.
After all, they feature every minute detail of the scene they capture. If you are shooting for an event, shooting in RAW mode means carrying a lot of memory cards because they will fill up at a fast rate.
If you have a fast-paced project where you don’t have enough time to keep changing memory cards, it is better to opt for JPEG mode.
Final Verdict
So, which is better? Unless convenience is your priority, it is safe to say that RAW images emerge victorious in this battle. As a photographer, I always try to capture images in RAW mode. This will help you take beautiful portraits that your clients love!
About the author: Michelle Joe is a blogger by choice. She loves to discover the world around her. She likes to share her discoveries, experiences, and express herself through her blogs. You can find her on Twitter, LinkedIn, Facebook