How to draw a straight line in Photoshop?

You just started learning Photoshop and you want to how can you draw a straight line in Photoshop. Though Photoshop is basically designed for photo editing, it also works great for graphic design.

In this tutorial, we’re going to see how to draw a straight line in Photoshop.

You can use three methods to draw a straight line in Photoshop. These are

  1. Brush Tool: easiest to use.
  2. Line Tool: easy to use but not as easy as the Brush Tool. But it’s more flexible than the Brush Tool
  3. Pen Tool: Toughest to use but gives maximum flexibility

Let’s draw a straight line using all these three tools

Brush Tool – Draw a straight line in Photoshop using the Brush Tool

  • Difficulty: Easiest
  • Flexibility: Least

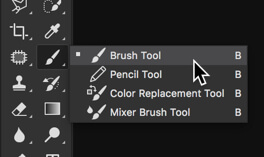
The first thing we need to do is to grab the Brush tool from the Tool panel or press Shift + B again and again until it activates.

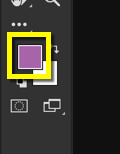
Now, choose the color of the line. I am going with a shade of blue which is also the brand color of my site.

First, click on the dropdown which is marked with “1”. After that, increase the hardness to 100.

Time to change the Spacing to 0. You might already have set it as 1% but let’s double-check that. Go to Windows > Brush Setting.

Grab the round brush (orangish pink arrow) and set the spacing to 1% (yellow arrow).

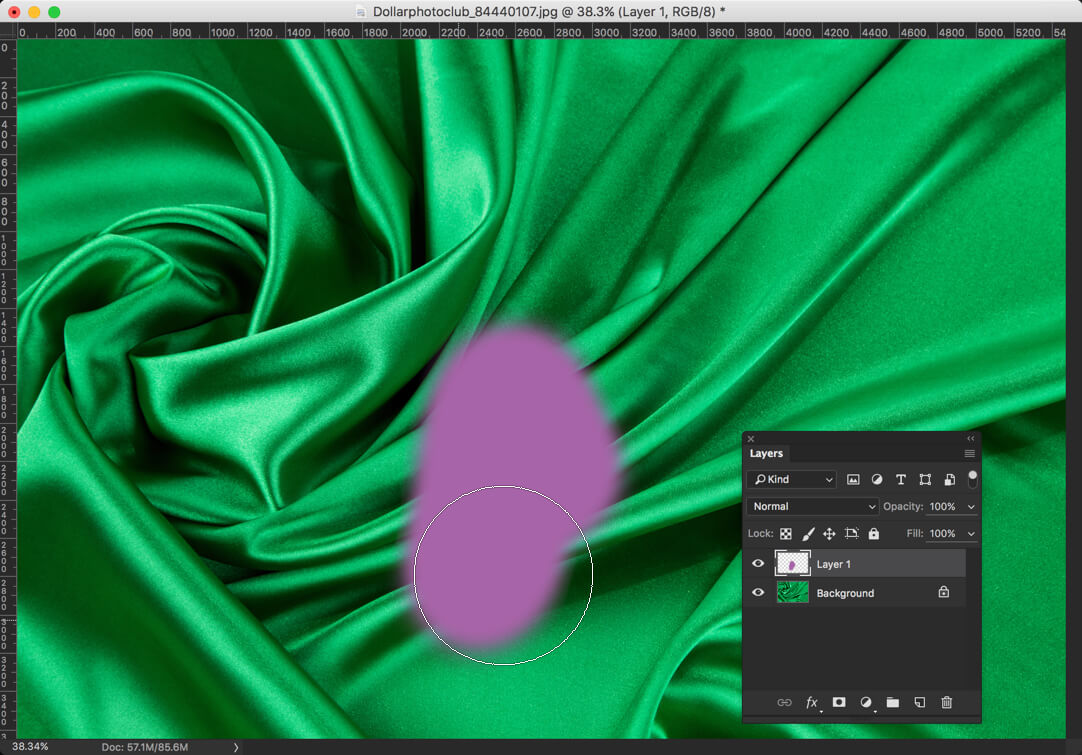
Hold down Shift, press and drag the cursor to draw a straight line. Note that you can draw a line only at an angle of 0o, 45o, and 90o.

Line Tool – Draw a straight line in Photoshop using the Line Tool

  • Difficulty: Easy but more difficult than the Brush Tool
  • Flexibility: Lesser but more than the Brush Tool

Grab the Line Tool from the tool panel or press Shift + U again and again until it activates.

In the Option panel, change it to Shape (yellow arrow) and set the color of the line (blue arrow). Set the width of the line (red arrow).

Now click and drag the mouse cursor to draw a straight line.

Pen Tool – Draw a straight line in Photoshop using the Pen Tool

  • Difficulty: Toughest
  • Flexibility: Most flexible

Grab the Pen Tool from the tool panel or press Shift + P again and again until it comes.

Now, make sure that Path is selected.

Now, click somewhere and then click somewhere else. Photoshop will automatically draw a path (this is not a line yet).

Now, go to Window > Paths. This will open the Paths window.

Now, right click on the only layer and click on Stroke Path.

This will create a line with the settings of the Brush Tool.


Day 17: What is Brush Tool in Photoshop

Brush Tool in Photoshop

Hey, guys! Welcome to another tutorial from 30 Days to Learn Photoshop series. Last time I discussed Patch Tool in Photoshop which is quite useful in facial flaws. Today, I am going to discuss probably the most used Photoshop tool that is Brush Tool in Photoshop.

Brush Tool in Photoshop is used for many tasks. Be the task is changing color, drawing, skin smoothing, etc., Brush Tool will always be there to help you. Alone Brush Tool cannot do many things but with help of other tools and blend tools, Brush Tool can do miracles. In this tutorial, I am going to show you how you can use the Brush Tool to change color.

But as usual, before we begin, let me show you before and after image.

Before

Brush Tool in Photoshop

After

Brush Tool in Photoshop

So, let’s begin the tutorial.

What is Brush Tool in Photoshop

Brush Tool is one of the most basic tool in Photoshop which is generally used for designing. It paints the brushed are with the foreground color.

Where is Brush Tool Located in Photoshop

You need to grab Brush tool from the tool panel. Alternatively, you can press Shift+B again and again until it comes.

Brush Tool in Photoshop

How to Use Brush Tool in Photoshop

Now I am going to show you how you can use Brush Tool in Photoshop.

Step 1: Choose Foreground Color

Brush Tool is probably the easiest tool that we have in Photoshop. You need to change the foreground color. It is present in the toolbar at the bottom.

Brush Tool in Photoshop

Click on the square shape box and choose your color.

Step 2: Paint it

Create a new layer by pressing Cmd+Shift+N/Ctrl+Shift+N. You, of course, don’t want your work to be destructive in nature.

Now that we have already grabbed the Brush Tool, we can simply start brushing.

Brush Tool in Photoshop

As I already mentioned, alone Brush Tool is not of much importance. So, let’s mix it with a blend mode.

Change the blend mode of the newly created layer to “Color”.

Brush Tool in Photoshop

Did you see what happened? Photoshop just changed the green color to purple.

Let’s do it with the whole image.

Brush Tool in Photoshop

Wow! With the help of a Brush Tool, we are able to change the color of an image. Look, how natural the image is looking. No one can say that the image was originally green in nature.

That’s all for today.

Now don’t just go away. Read my other articles from 30 Days to Learn Photoshop series.