How to Change Negative Image Into Positive in Photoshop

This tutorial is contributed by Peter Hill. He is the best editor of BestEssayTips. He is a socially active person, likes traveling and photo/video editing. He finds himself in writing. Feel free to contact him on Google+.

Sometimes you may need to turn a set of negative images into positive those have inverted values, or it may also happen that you have mistakenly scanned a number of negatives without using the appropriate mode. In such a situation, you may feel depressed being unaware of the process of changing a negative image into positive. But, from onwards you don’t have to be so because in this article we have presented a complete guideline that shows you the step by step process of turning your negative images into a bunch of successful positives. We feel delighted to let you know that there is rarely any guideline that is as exact and clarified as this one. So, stay till the end and preserve the article.

Changing of Negative Images to Positives

The changing process is essentially divided into two precise segments where the first one relate how you can invert the image and the second segment tells you about the correction of color. The sole motive of this division is to facilitate the entire thing for you. Let’s begin with the first segment.

Inverting Image

Inverting image refers to the interchange of up and down and right and left of an image.  An inverted image is also known as a reversed image. However, the first segment is divided into the three following phases to present the entire method easily.

Step 1

At first, click the file > option to open it. Then, from there press the open option or Ctrl+O.

Step 2

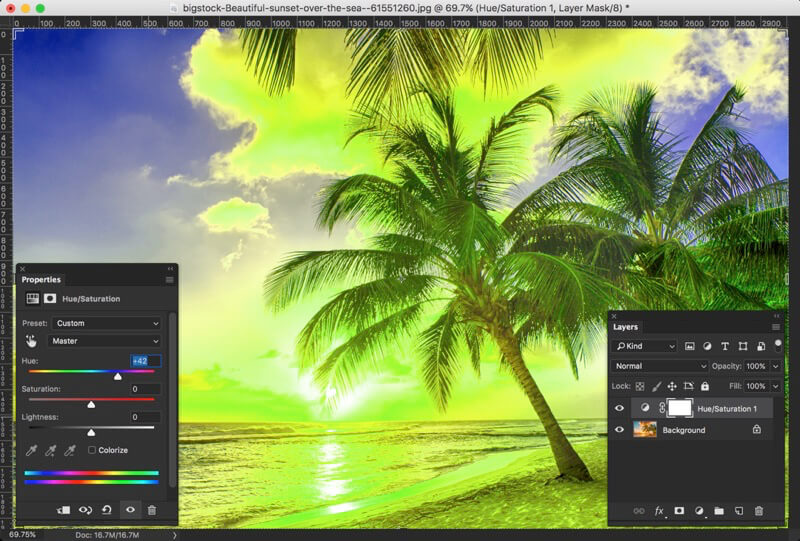
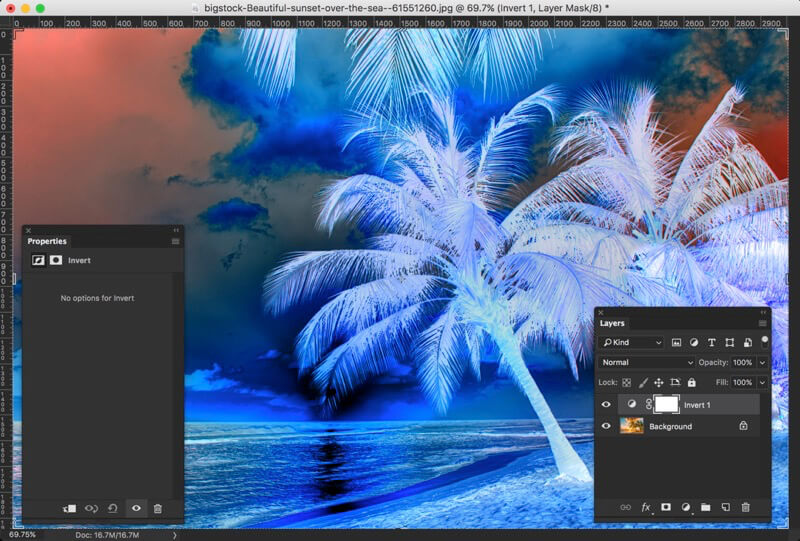
Now, use the following options consecutively: image, adjustment, and invert. Your image will instantly turn into positive. You can even back it to negative using the command once more. Using this procedure, you can change both the color and values according to the complements of them.

Step 3

In this final step of the inverting image segment, you should click Layer, then New Adjustment Layer and finally Invert only if you are interested in completing the action as a segregated layer. You can remove it subsequently if needed.

So here ends the ‘Inverting Image’ part whose successful completion leads to the beginning of the latter segment known as ‘Correction of color.’

Correction Of Color

Correction of color is an attempt to set colors on your positive matching the settings and requirement. Though the phrase sounds to be interesting and exciting, yet it is a matter of great responsibility because a faulty color correction can ruin the entire image or even make it look funny. Like the previous segment, this one also has three significant phases where each phase is connected to one another and remains unfinished when another phase is not performed correctly.

Step 1

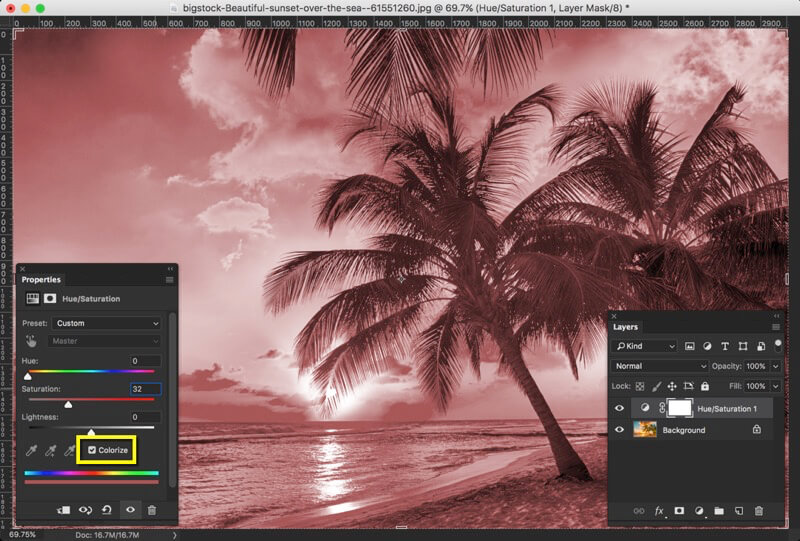
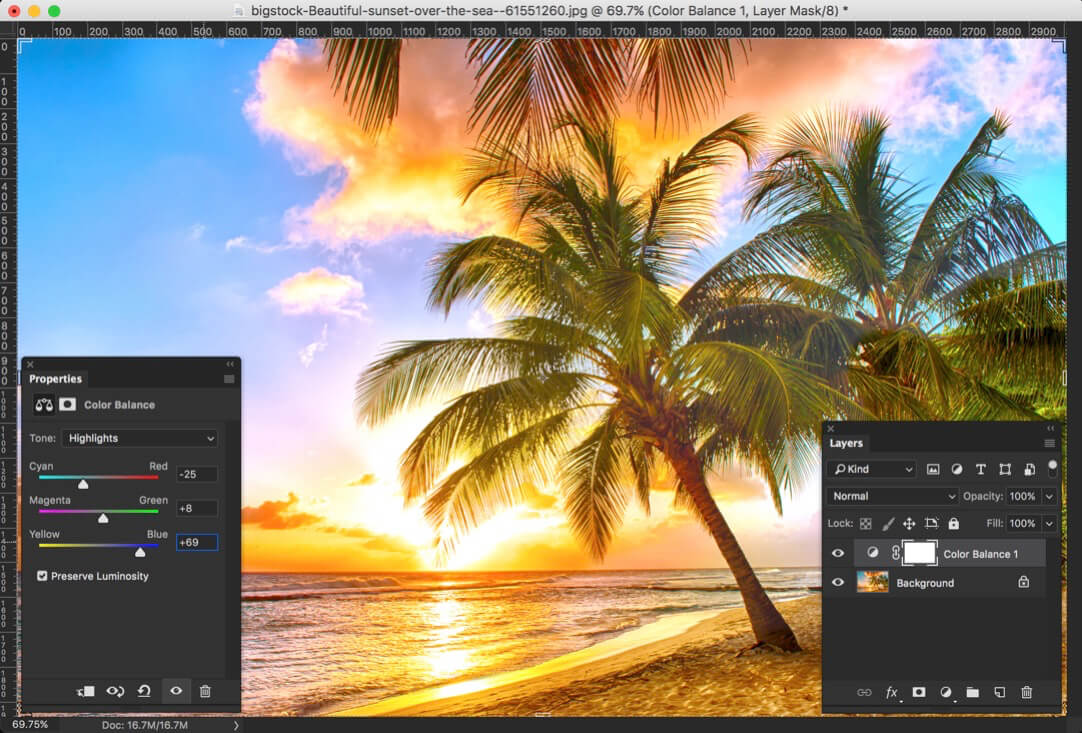
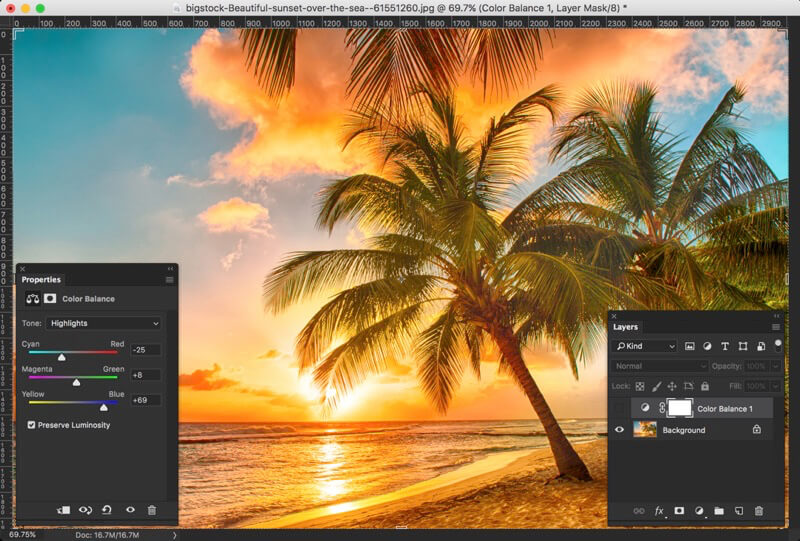
At first, you should open the Color Balance Toolby consecutively clicking Image, Adjustment, and Color Balance. Otherwise, you can simply click Ctrl+Bfor opening the window of Color Balance.

Step 2

Then, draw the descending ruler for Cyan / Red the entire path to the right side toward Red. You should perform this for the midtones, highlights, and shadows by examining each of the choices of Tone Balance at the end of your window and re-performing the action of the sliding ruler.

Step 3

In the end, you should drag the sliding ruler for Yellow / Blue whole path towards Yellow with the Shadows selected. Your image will start looking like a bit well-adjusted at this situation. You can still bring additional slighter modifications for removing any cast of cyan and blue that appears on the image through the inversion of the orange-dyed negative.

With this, the segment of color correction comes to an end. If you can follow each phase meticulously, then there is no doubt that you will be 100 percent successful in creating a great color combination without causing a bit damage to your image.

Pro Tips For You

  • Never perform a subsequent phase leaving the leading one unperformed
  • Never drag the sliding ruler for Red/Cyan or Blue/Yellow in lieu of Cyan/Red or Yellow/Blue

Final Judgment

Though there might be many more ways for changing your images from negative to positive, yet the way mentioned above is the most accredited one all over the world. So, why to take a risk while the best procedure is at hand? Therefore, we humbly recommend you to adopt this methodology just to enjoy the great outcomes that you never have.

How to Invert Colors in Photoshop

Google trend showed me that many people are looking to invert colors in Photoshop. This is quite simple yet I never wrote a tutorial on it. Shame on me. 😅 So, here’s the tutorial on how to invert colors in Photoshop.

The tutorial is quite simple and I am going to show you three ways to invert colors in Photoshop. Two involves Photoshop menu and panel, and one with the shortcut.

So, here you go.

Way 1 – Using Photoshop Menu Bar to Invert Colors in Photoshop

The very first thing that you need to do is to duplicate the layer which you want to invert. Press Cmd + J / Ctrl + J to duplicate. You know that I am a big fan of non-destructive editing, which means that I am going to edit the image without harming the original image which is present in the “Background” layer.

1.jpg

Now go to Image > Adjustment > Invert.

It will affect the duplicated layer because that layer was active. My original image is completely untouched.

2.jpg

I can easily go back to my original image just by clicking on the eye icon at the left of the layer. I have highlighted that icon in the below screenshot. You can’t see the icon because the layer is hidden and the eye icon is disappeared. But, if the layer is visible, you’ll see the icon there.

3.jpg

Way 2 – Using Layer Panel to Invert Colors in Photoshop

This is the best way to invert colors. You don’t even need to duplicate the background layer in this method.

Press F7 to open the layer panel or go to Window > Layers to open layer panel. Click on the “Create New Fill or Adjustment Layer” icon which is fourth from the left. Not choose “Invert”.

4.jpg

This is all. It will create an adjustment layer in the layer panel.

5.jpg

Way 3 – Using Keyboard shortcut to Invert Colors in Photoshop

This is the fastest way to invert colors in Photoshop.

Duplicate the background layer by pressing Cmd + J / Ctrl + J.

Now, press Cmd + I / Ctrl + I to invert the color. It’s this simple and fast

2

This is all, guys. These are the three ways the best ways to invert colors in Photoshop. Let me know which one you think is best.

Make sure that you make the most of the offer below.

Day 26 – Adjustment Layers in Photoshop – Vibrance, Hue, Color Balance, Black and White, Photo Filter, Color Lookup, and Invert

Hey Guys – It’s time for the next tutorial from 30 Days to Learn Photoshop Series. Last time we discussed on Adjustment layers of Solid Color, Gradient, Pattern, Brightness, Levels, Curves, and Exposure. This is the next and the last part of the series where I’ll be discussing Adjustment layers of Vibrance, Hue, Color Balance, Black and White, Photo Filter, Color Lookup, and Invert. There are few more but you are never going to use them.

Part 1 – Everything about Adjustment Layer in Photoshop
Part 2- Solid Color, Gradient, Pattern, Brightness, Levels, Curves, and Exposure in Photoshop

Before we begin, I want to explain two things again (in case you missed any of the last two parts).

WHAT’S ADJUSTMENT LAYER IN PHOTOSHOP?

The Adjustment Layers in Photoshop are a group of some useful, non-destructive image editing tools that add color and tonal adjustments to your image. Did you read the word “non-destructive”? Yeah, all of the changes will be done without harming the original image. Means that you can go back to any point in time without any loss. It’s like a Time Machine in macOS and Win7 backup in Windows.

WHERE ARE ADJUSTMENT LAYERS LOCATED IN PHOTOSHOP?

Adjustment layers are located at the bottom of layer panel (press F7 to open).

1-1 - Day 24 - Adjustment Layers in Photoshop - Solid Color, Gradient, Pattern, Brightness, Levels, Curves, and Exposure

All the things that you’d use daily are present here. Be it Brightness, Color Balance, Photo Filter, Gradient, or even Invert are present here.

Now that you what and where of the Adjustment layer, let’s explore it. I am going to explain each layer in a two separate tutorial. In the tutorial, I’ll cover Solid Color, Gradient, Pattern, Brightness, Levels, Curves, and Exposure. The rest of the things will be covered in the next tutorial.

What is Vibrance and Saturation in Photoshop?

No photo looks worse than a washed out photo. To give life to a washed out photo, these two adjustment layers come into action.

You may feel that both of them works in the same way if you’re new to Photoshop. If you’re not new, you may feel that they work differently but you don’t know how. So, let me quickly differentiate between these two.

Vibrance – This slider only deals with the colors that are saturated. So if you drag this slider to the right, only less saturated colors will pop up. If you drag it to the left, only saturated colors will fade away.

Saturation – This slider does not work smartly. It doesn’t differentiate between less saturated color and more saturated color. If you drag this slider to the right, the entire image will become saturated.

What is Hue/Saturation in Photoshop?

This adjustment layer lets you change the hue of the image. The Hue is basically the wavelength of the image and each color has a different wavelength.

Saturation slider does the same job here.

Lightness increases the white of the color. If you drag the slider to the right, the photo will become lighter.

You can also click on the “Colorize” box to add a tint to your image.

What is Color Balance in Photoshop?

Color balance is the most advanced adjustment layer to remove the tint from an image. Here you can increase or decrease the intensity of Red, Green, or Blue in an image.

For example, I have corrected the slightly yellow tint in the demo image.


Below is the original image.

Color Balance layer has three tones. One is Highlights, one is Midtones, and the last is Shadows.

Highlights – If this tone is set, whatever modification you do in the image will be changed only in the highlights part. Highlights part of an image is the part which is overexposed as per the histogram. Sun and sky are the highlight parts of the image.
Midtones – If this tone is set, whatever modification you do in the image will be changed only in the midtones part. Midtones parts are neither bright nor dark. Sea is the midtone here.
Shadows – If this tone is set, whatever modification you do in the image will be changed only in the dark part. Leaves and branches are the shadow parts here.

What is Black and White Adjustment Layer in Photoshop?

This adjustment layer converts an image to Black and White. Although this method is not the one which I prefer to convert my images (I prefer Gradient Map because that gives crispier black and white) but this layer gives a good amount of flexibility.

You can also select the amount of luminosity of each primary color.

What is Photo Filter in Photoshop?

Photo Filter adds tint to the image.

You can choose the Filter (basically color) and start tinting your image. If your color is not listed, you can also choose some custom color by clicking on the “color” and then choose the color.

You can also smartly use this layer to remove the tint. For example – the original image has a yellow tint. Now we all know that the opposite of yellow is blue. So, if we choose the filter as Blue and increase the intensity then we can remove the yellow tint.

One thing I always recommend is to keep “Preserve Luminosity” turned on. This tool keeps the whites of the image white so that your highlights don’t get tinted.

What is Color Lookup in Photoshop?

I have never used this layer much but this gives some cool filters to your image. Below is an example. There’s not much to share about this layer.

What is Invert in Photoshop?

Invert adjustment layer inverts the image. The Invert command inverts all the pixel colors and brightness values in the current layer as if the image were converted into a negative. Dark areas become bright and bright areas become dark. Hues are replaced by their complementary colors.

This is all for today guys. Check out the rest of the tutorials from 30 Days to Learn Photoshop series.