This is how you change the background in Photoshop

I get a lot of requests to change the background in Photoshop when people approach to hire me. I tell them that I can do it in $10 and they just need to send me the photos. So, after receiving overwhelming number of requests, I decided to write a tutorial by myself on how to change the background in Photoshop.

Difficulty: Moderate
Time required for a first time doer: 15-20 mins (for a beginner)
Total steps: 4
Tools used: Magic Wand Tool, Camera RAW filter, Color Balance Adjustment layer, and Select and Mask

This is going to be a big tutorial. If you want, you can hire me to change the background to you. I can do it in $9.99. Just mail me the photos at hello@tricky-photoshop.com.

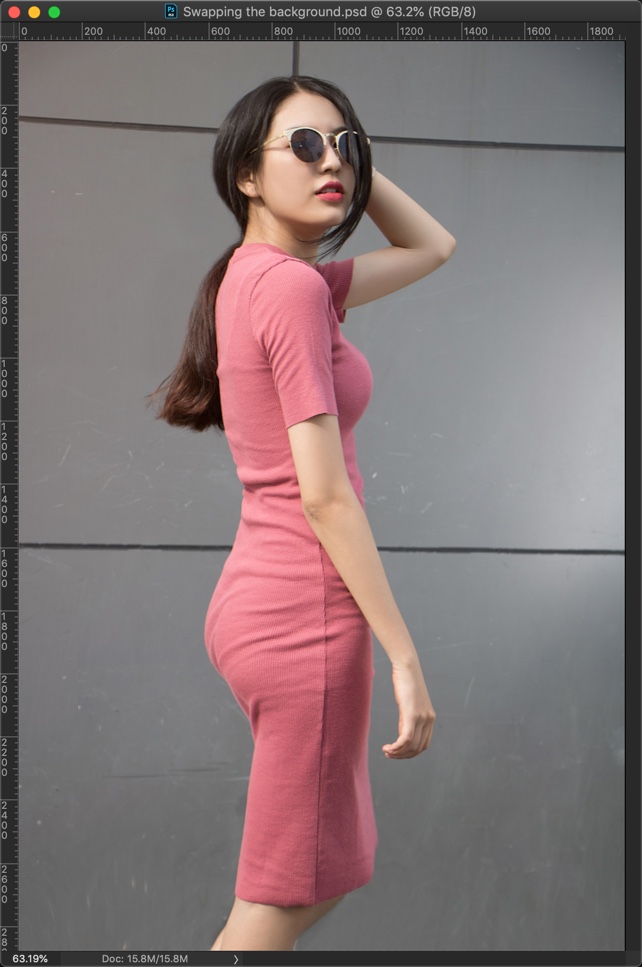
Before we proceed, I want to show you the before and after.
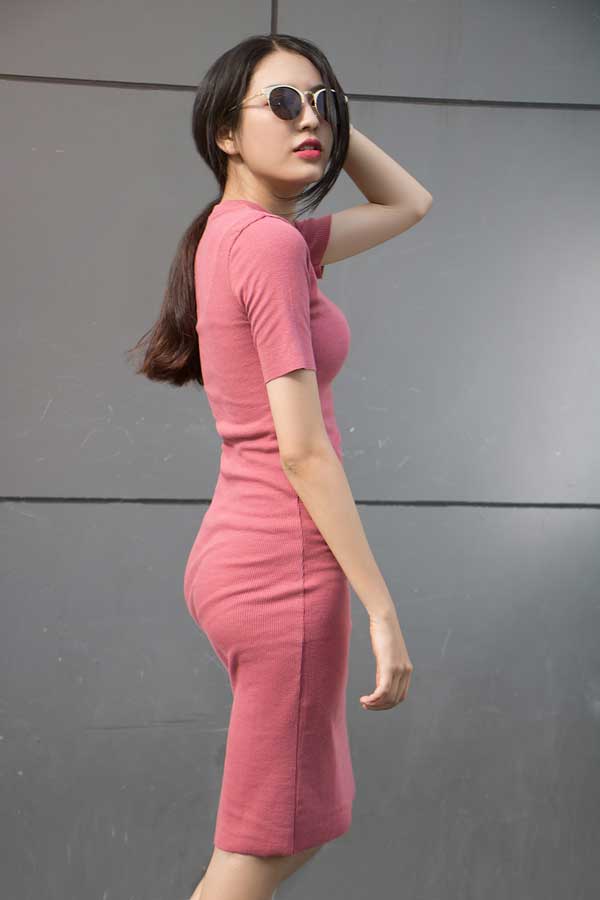
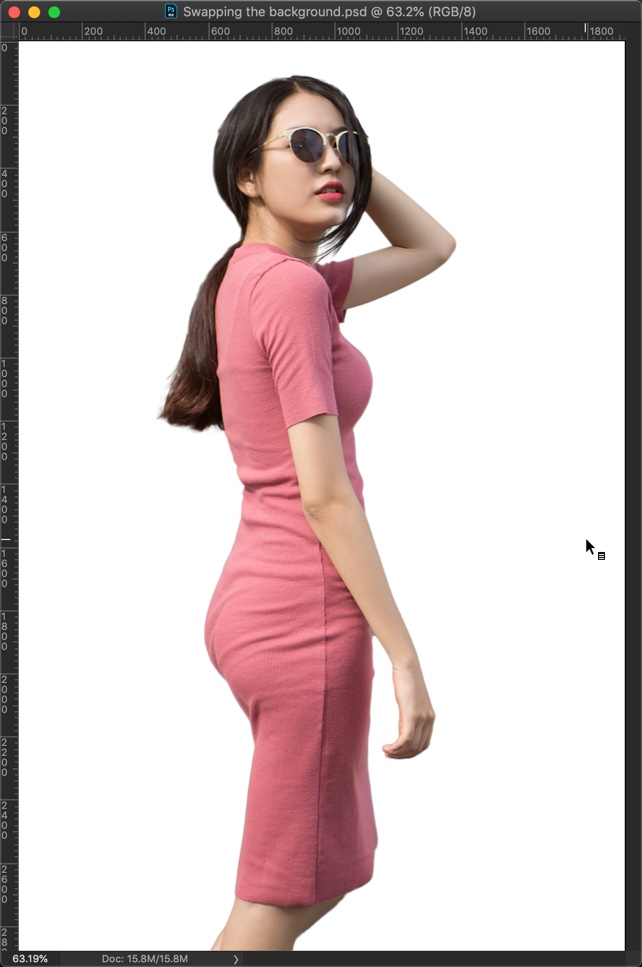
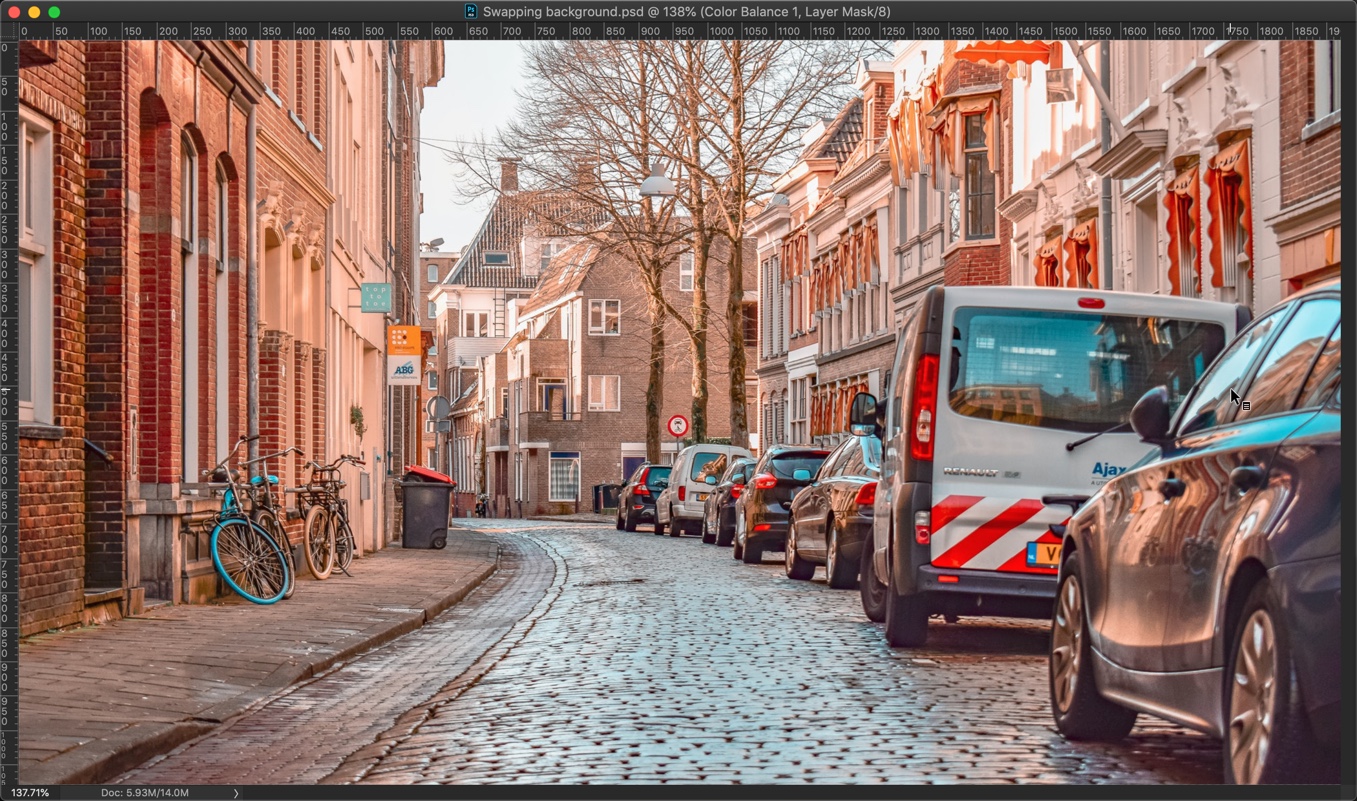
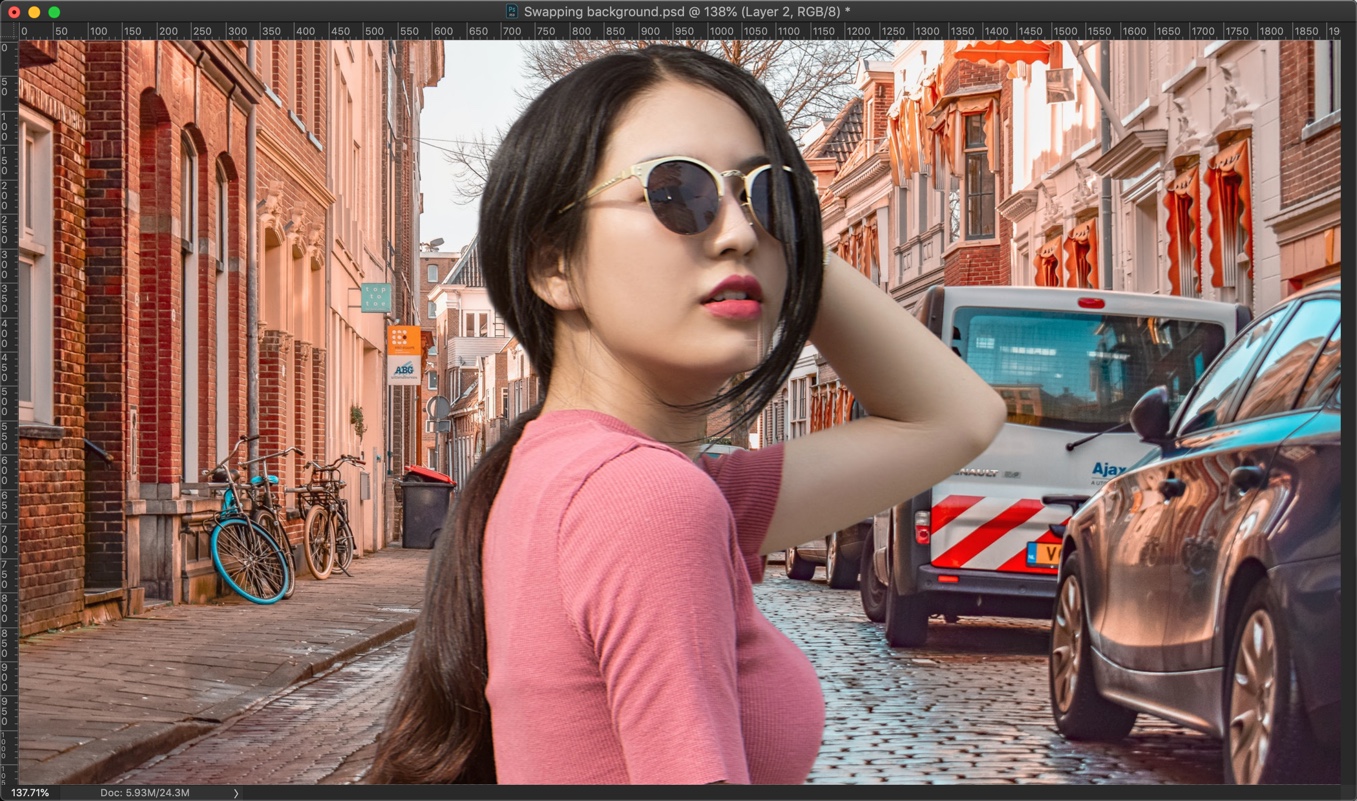
Before

Before.jpg

After

After.jpg

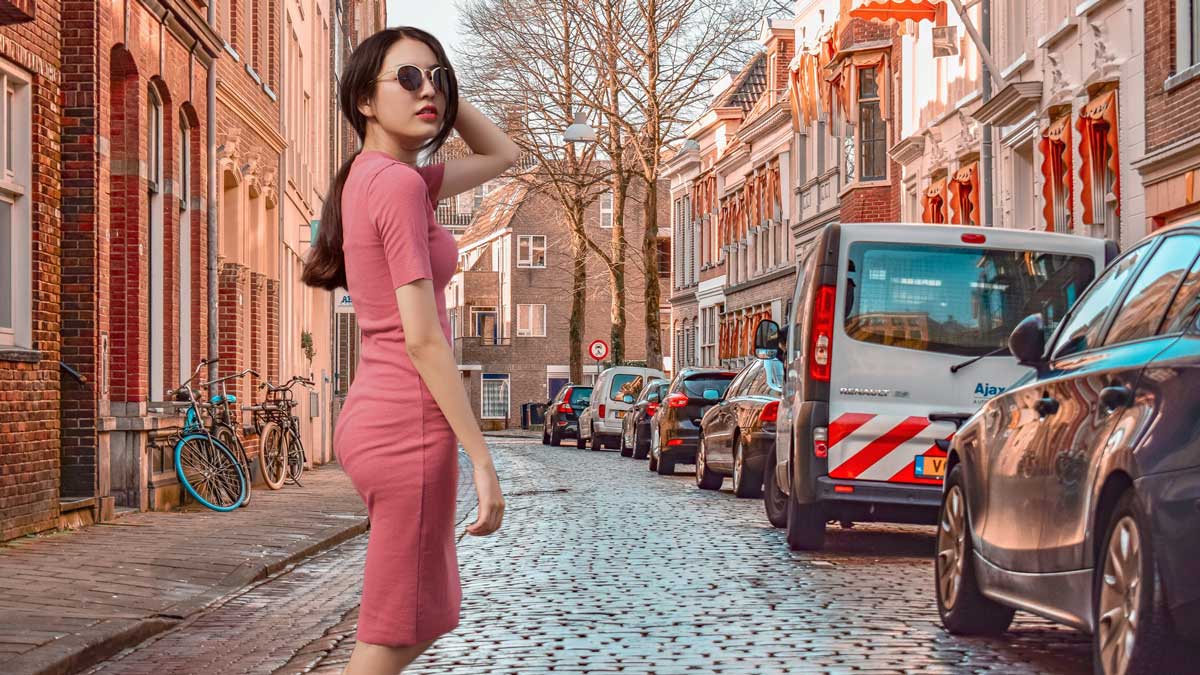
Thanks Pexels for these beautiful photos.

Step 1: Finding the correct background

The first thing that you need to do is to find the correct and beautiful background. There are many sites where you can find beautiful backgrounds.

Some of them are

You don’t need to even sign to download the free photos.

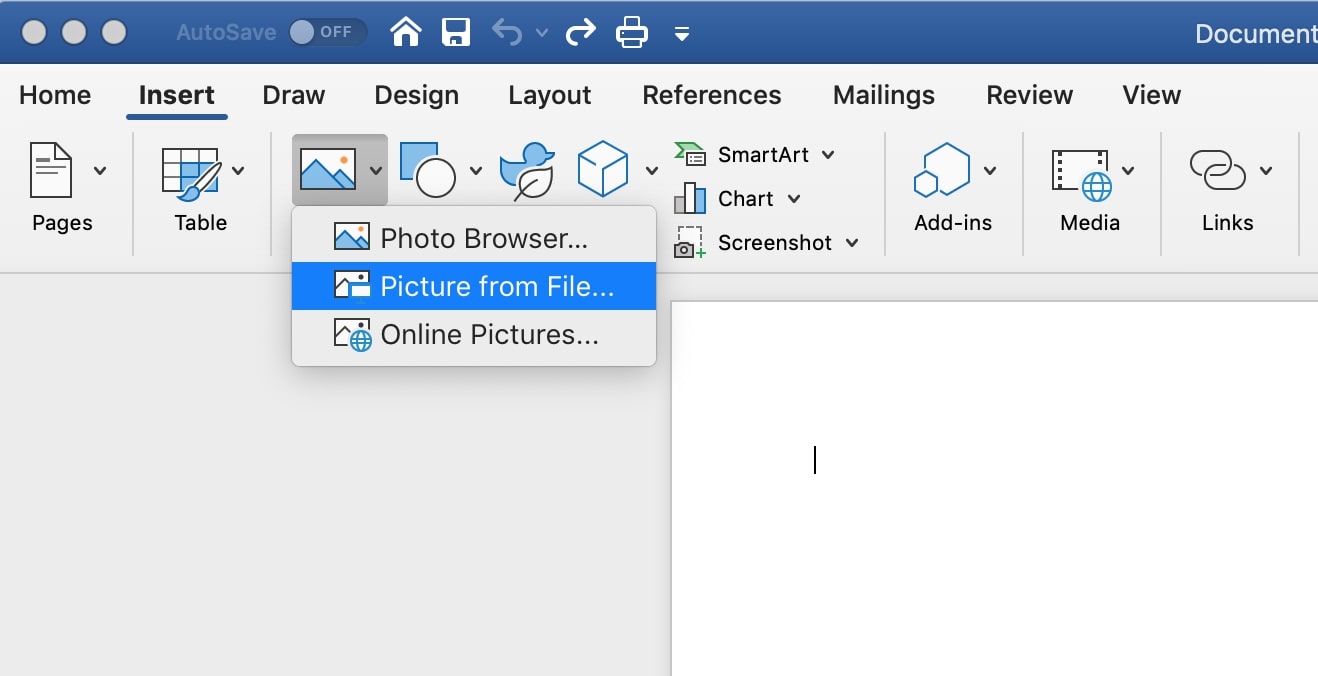
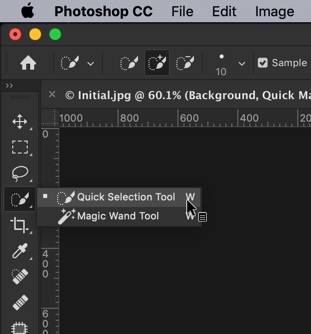
Step 2: Make a selection in Photoshop

Open your photo in Photoshop.

1.jpg

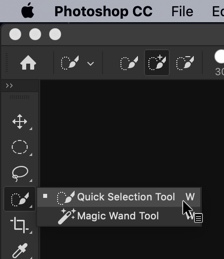
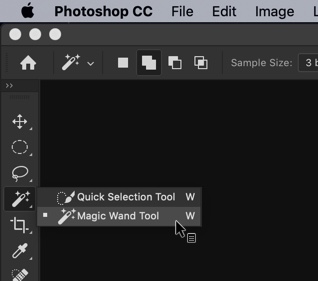
Grab the Quick Selection Tool from the tool panel.

2.jpg

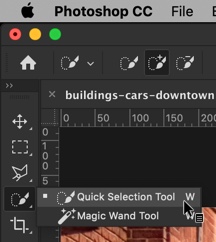
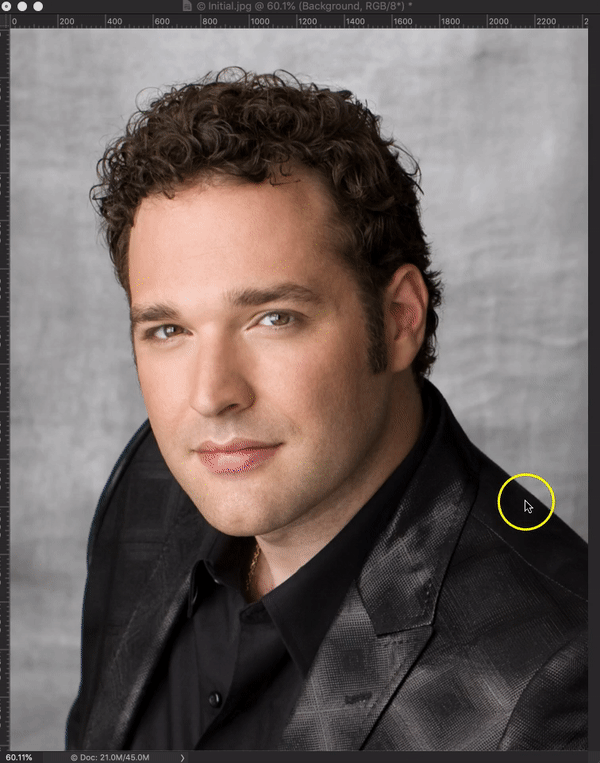
Click on “Select Subject”. Photoshop will used its artificial intelligence to select the most important subject in the photo. In this case, the most important subject will be the photo of you.

3.jpg

See how beautifully Photoshop has selected the person in my photo.

4.jpg

If you can’t fingure out how to do it, I can do it in $9.99. Just mail me the photos at hello@tricky-photoshop.com.

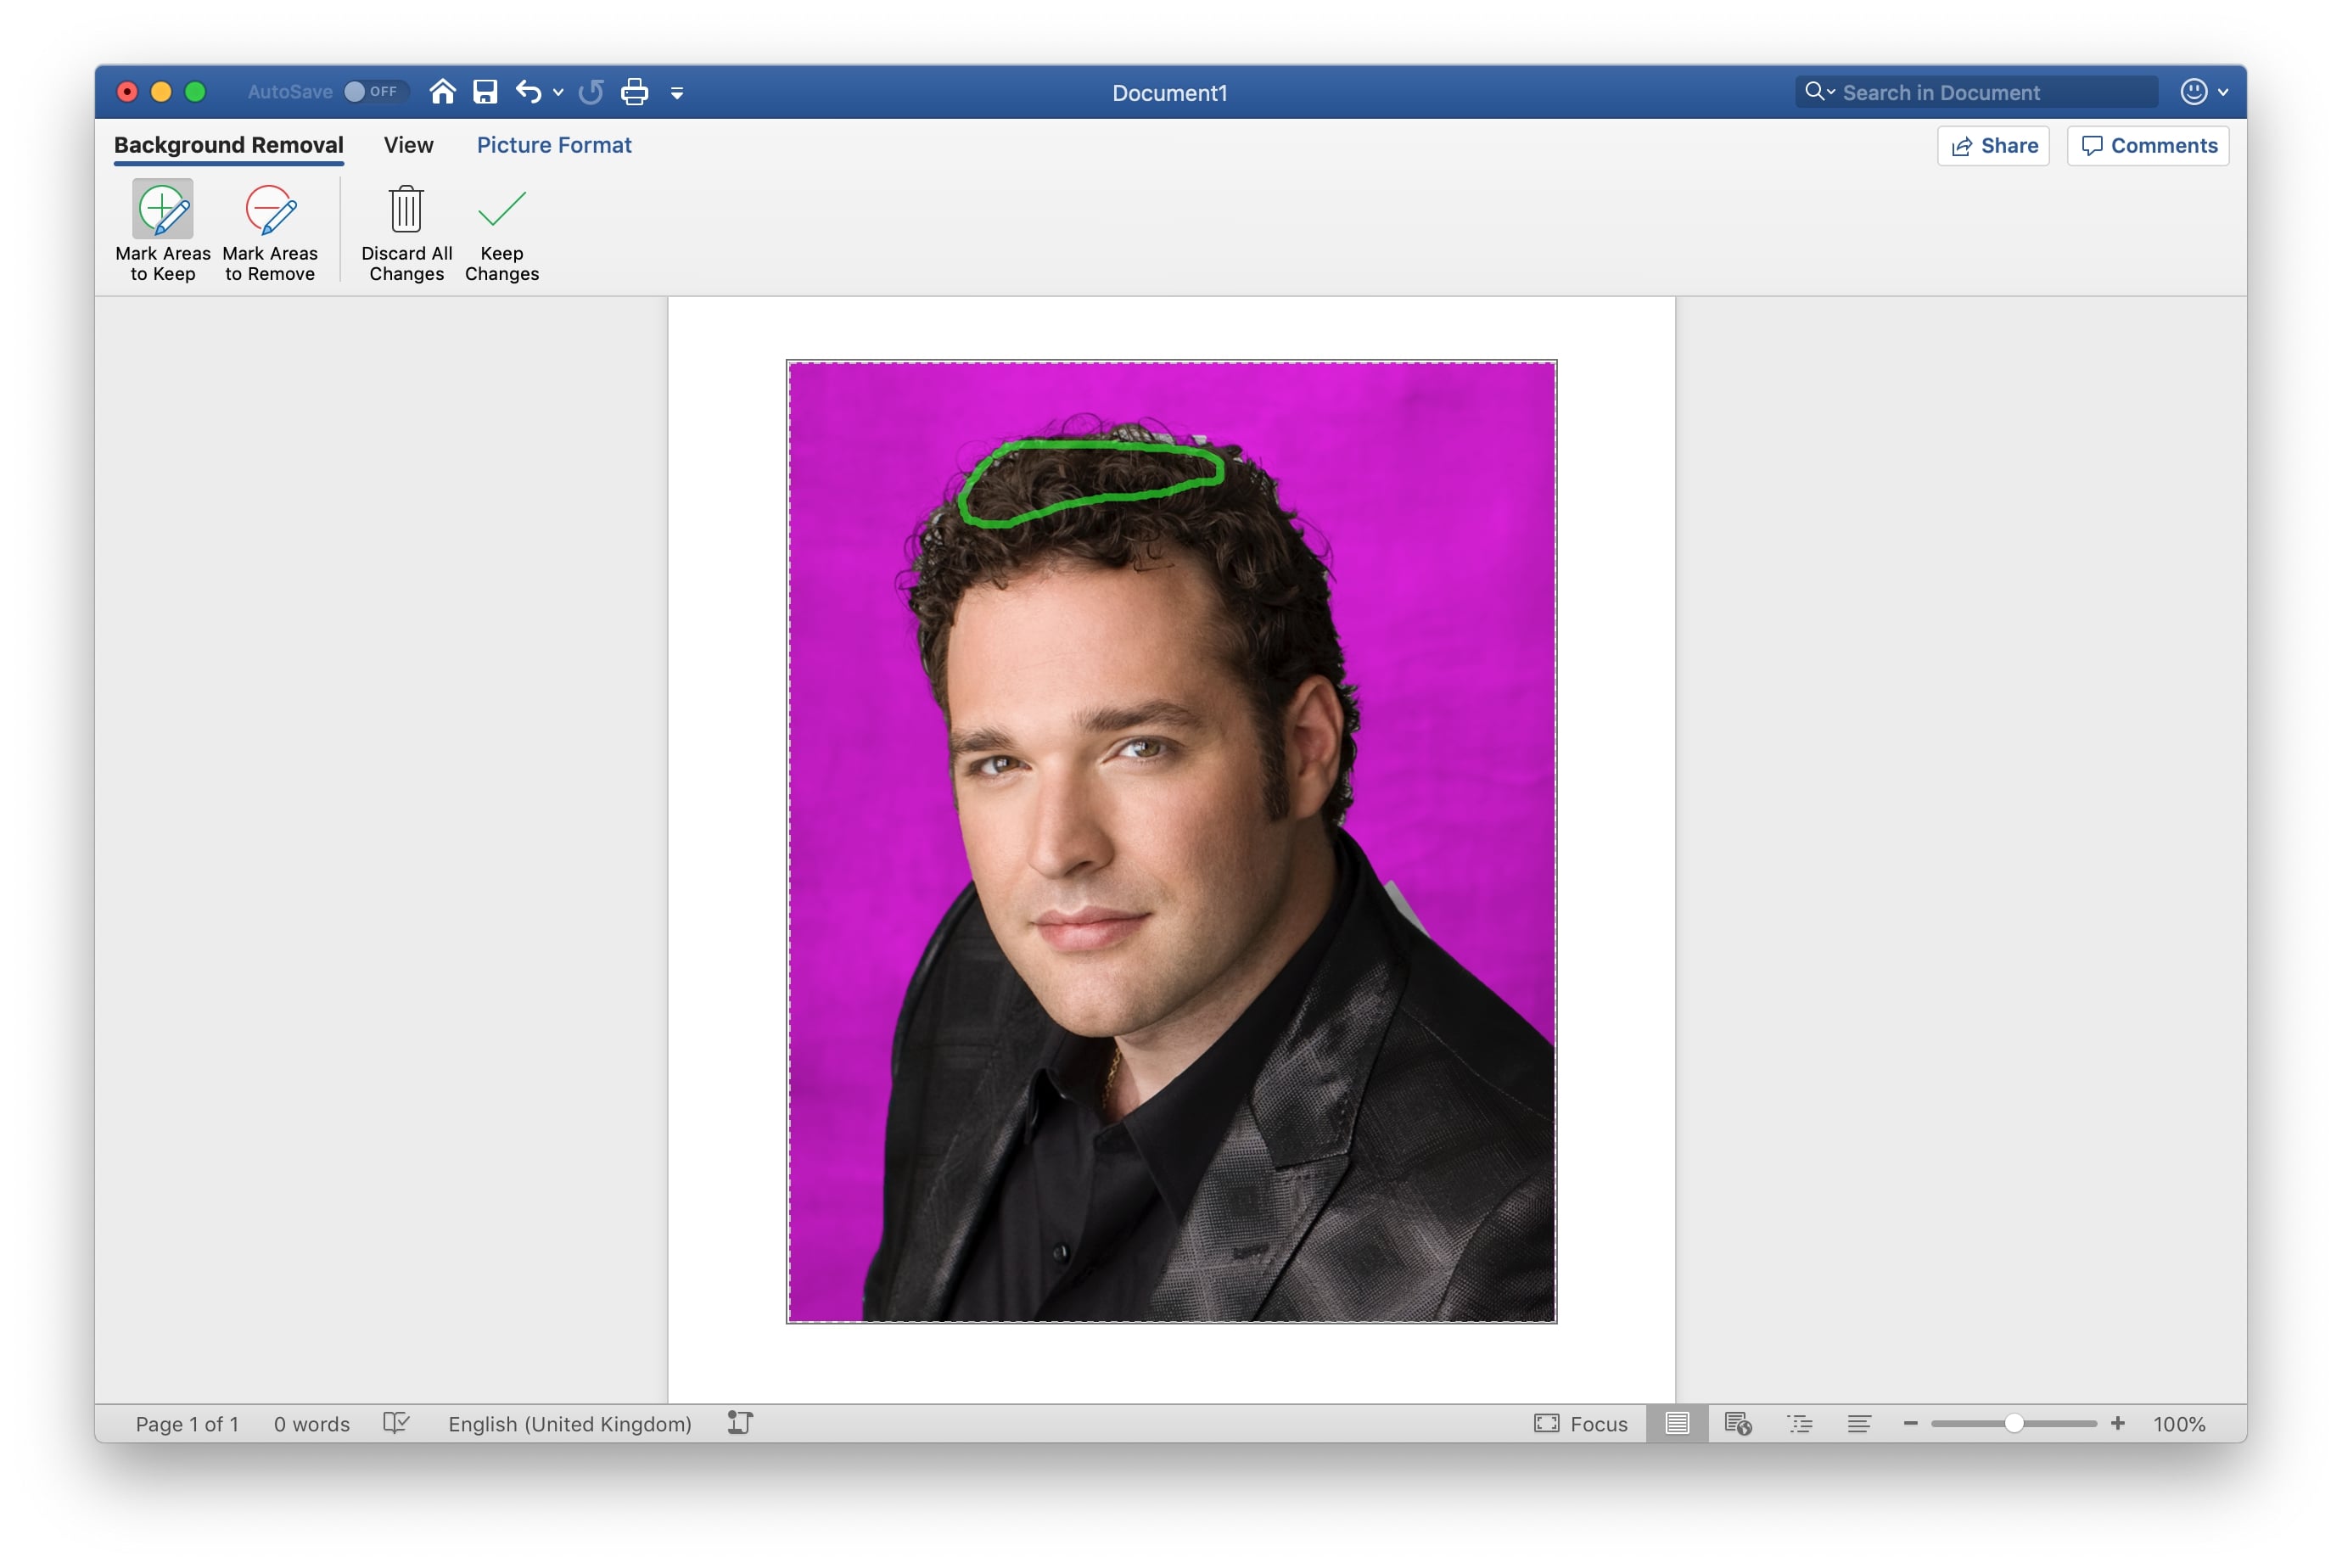
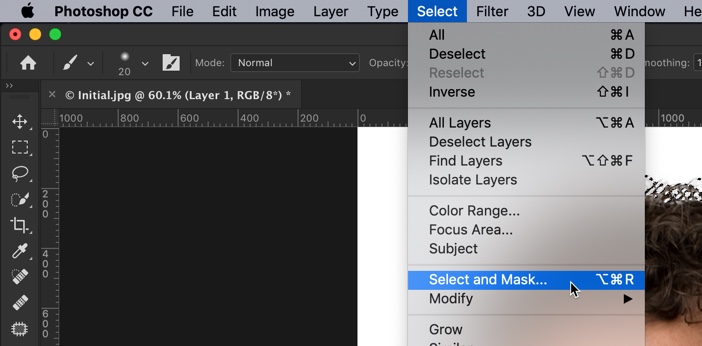
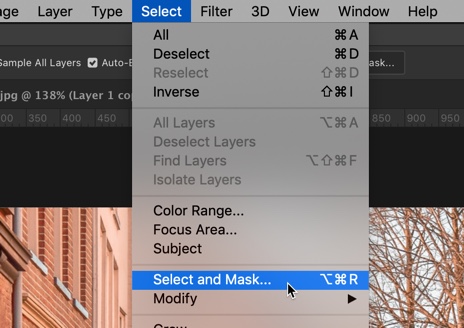
Step 2: Refine the selection

The selection is not perfect. Take a look next to her hair. It’s not properly selected. We’re going to fix that.

Go to Select > Select and Mask.

5.jpg

Grab the Refine Edge brush from the tool panel.

6.jpg

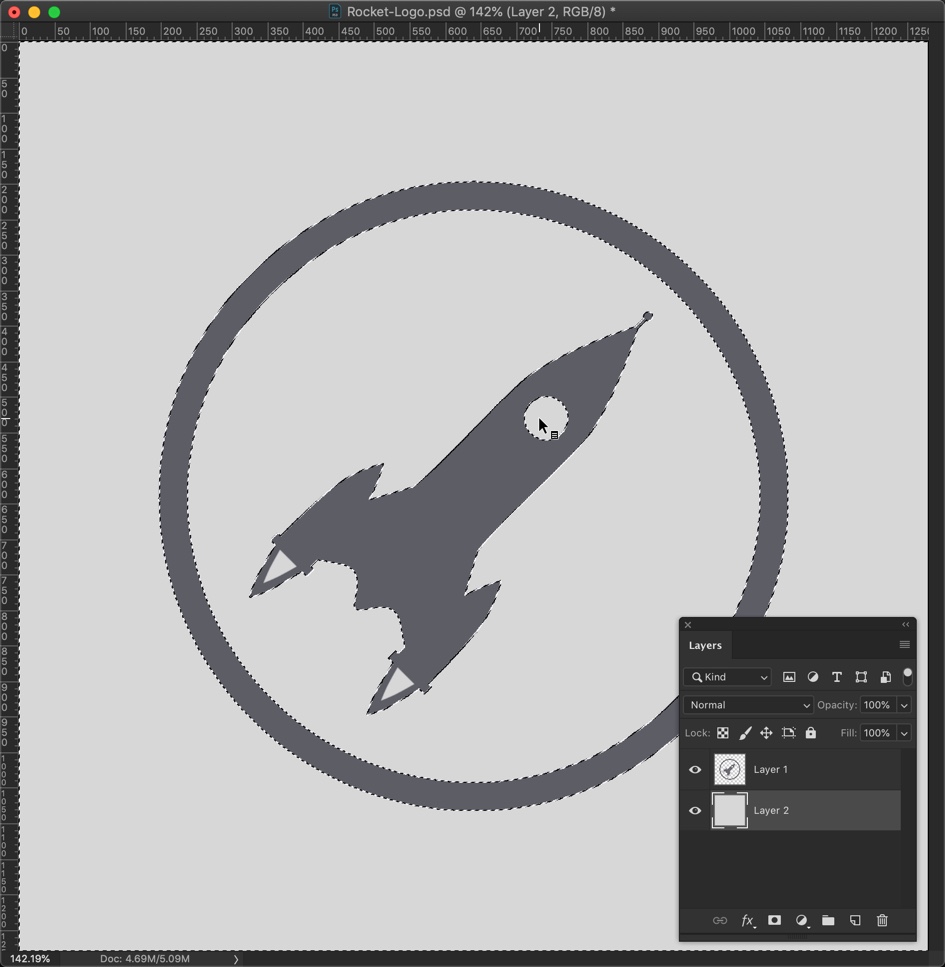
Keep the center of the brush on the hair and perimeter outside the hair. Brush on the hair. See the below GIF.

7.gif

Here’s my version.

8.jpg

Check the right panel. Most of the sliders here are not required. But, if you want then you can copy these. Change “Output To” to New Layer with Layer Mask. Press OK.

9.jpg

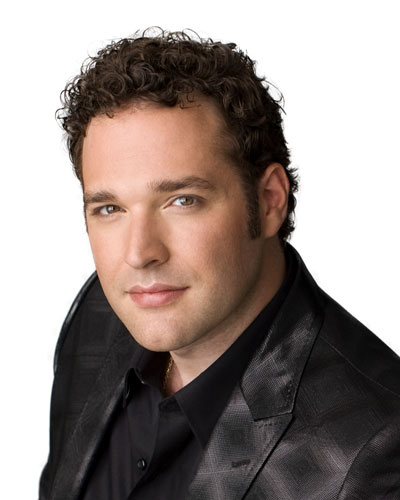
This is how your photo would look.

10.jpg

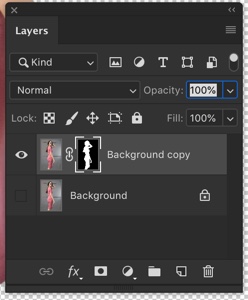
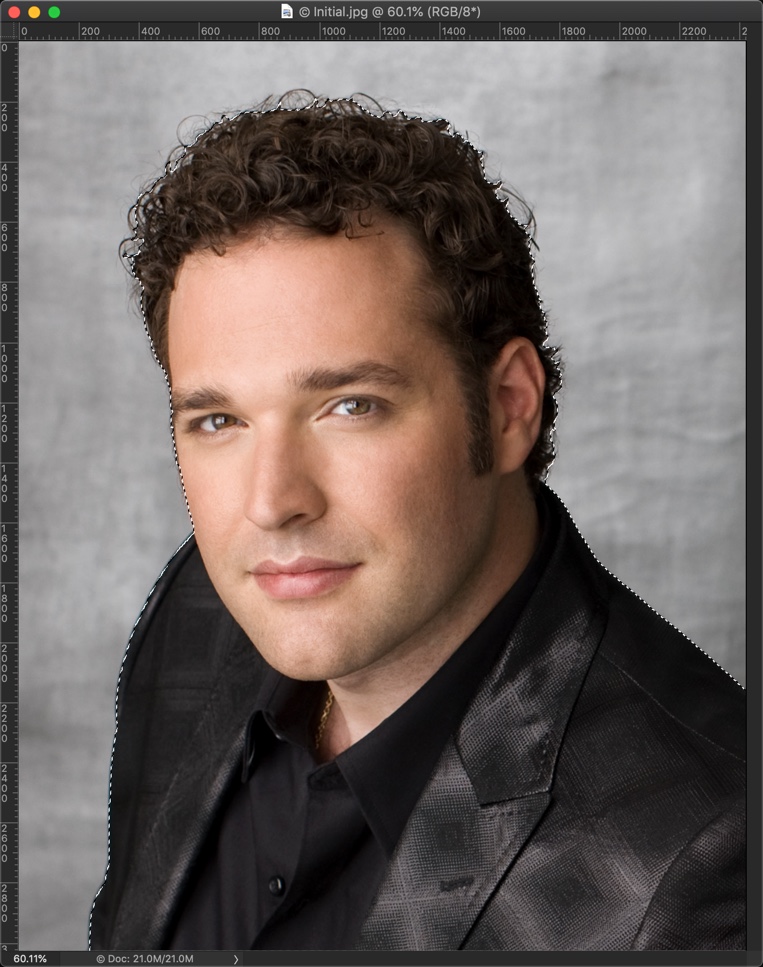
We’re now again going to select the photo. Hold down Cmd/Ctrl and click on the layer mask.

11.jpg

This will select you. Copy yourself by pressing Cmd + C / Ctrl + C.

12.jpg

If you can’t fingure out how to do it, I can do it in $9.99. Just mail me the photos at hello@tricky-photoshop.com.

Step 3: Put the person on a new background

Open the background.

13.jpg

Paste yourself by pressing Cmd + V / Ctrl + V. Photoshop will paste the photo at the center but the photo won’t be aligned.

14.jpg

We’re going to align the photo using the Free Transfrom tool. Grab these handle bars and align the photo. Press Return/Enter when done.

15.jpg

This is how my photo looks now.

16.jpg

If you can’t fingure out how to do it, I can do it in $9.99. Just mail me the photos at hello@tricky-photoshop.com.

Step 4: Fix the colors for better blending

The backgorund is kind of reddish when compared to the girl. Also, the background is a bit dim also.

We’re going to fix it.

First fix the redness.

Go to Layer > New Adjustment Layer > Color Balance

17.jpg

Change the Tone to Shadow and turn on Clipping Mask.

18.jpg

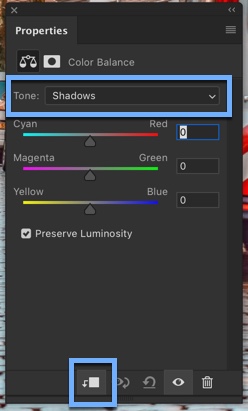
Increase the redness to 10.

19.jpg

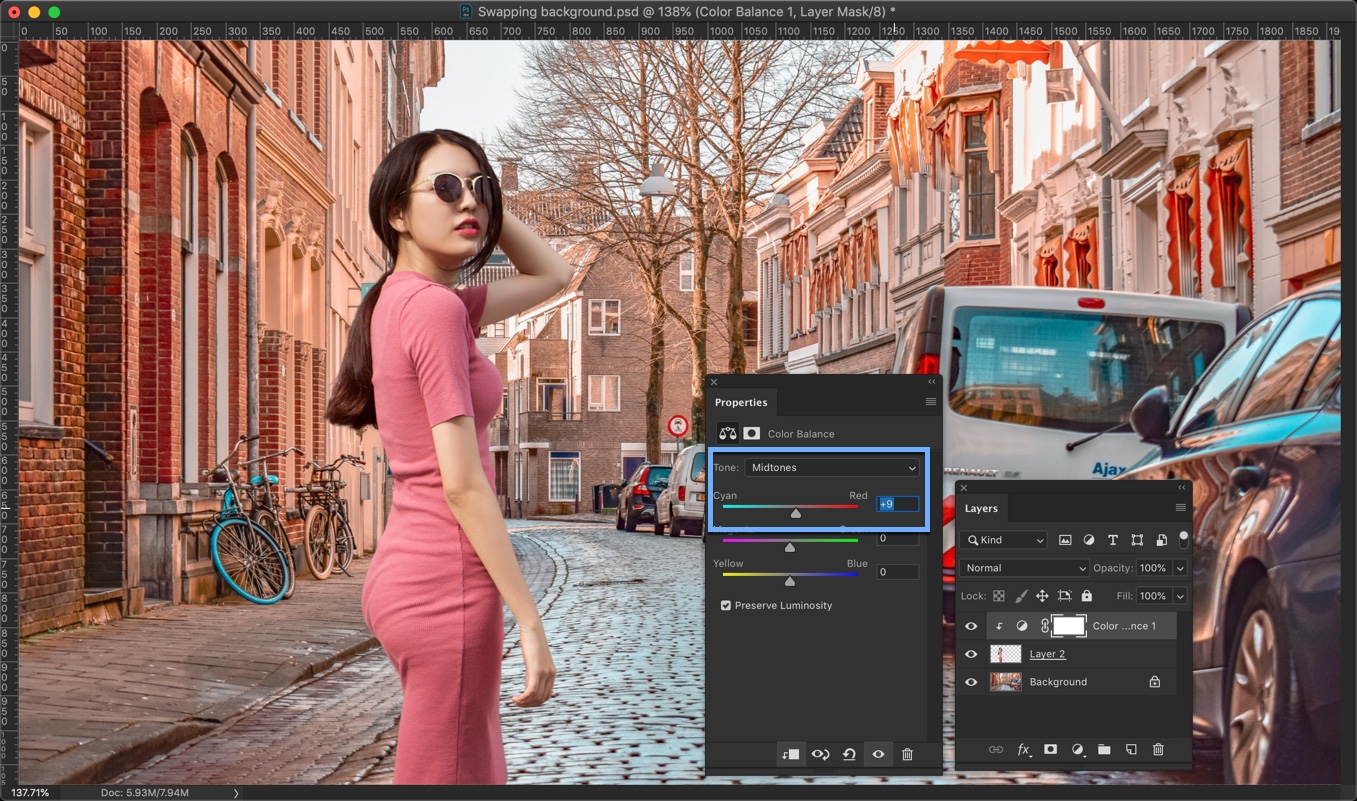
Change the Tone to Midtones and increase the red to 9.

20.jpg

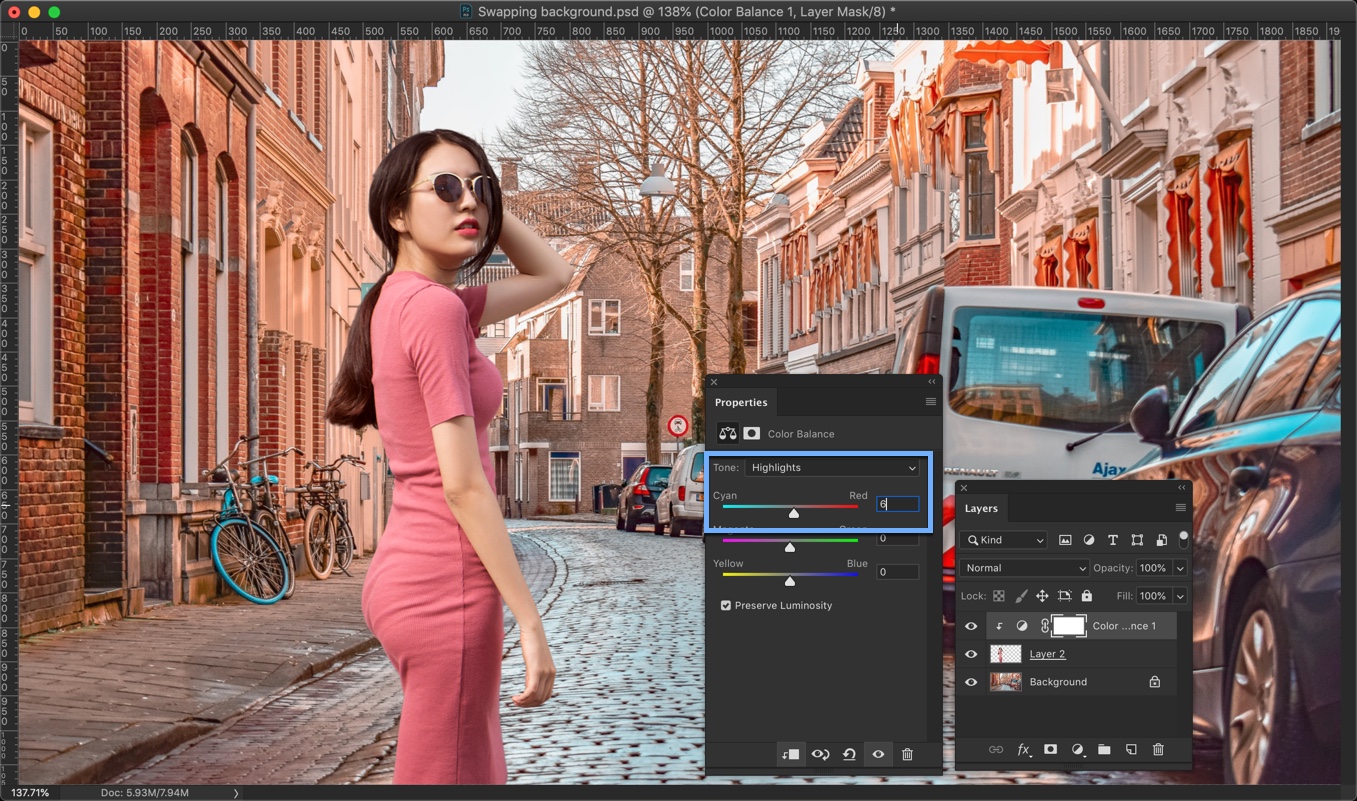
Change the Tone to Highlights and increase the Red to 6.

21.jpg

Time to fix the lightness.

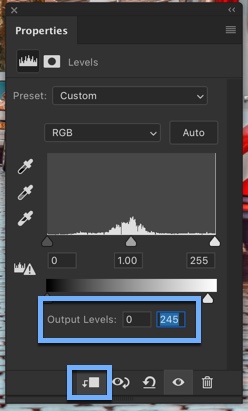
Go to Layer > New Adjustment Layer > Levels

22.jpg

Decrease the Outpul level to 245 and turn on the Clipping Mask.

23.jpg

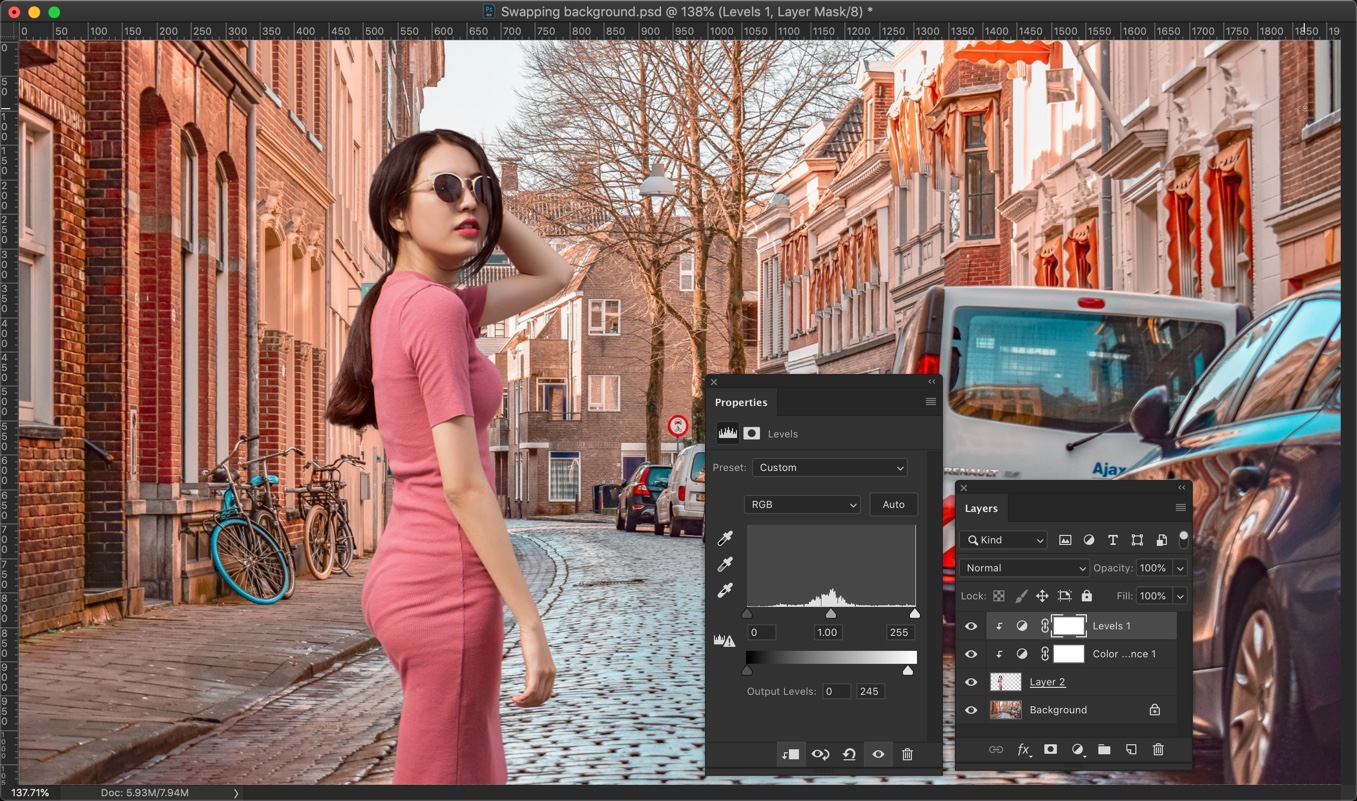
This is how the photo would look now.

24

If you can’t fingure out how to do it, I can do it in $9.99. Just mail me the photos at hello@tricky-photoshop.com.

How to remove background in Photoshop

You have a headshot or a product photo and you badly want to remove the background of that photo. But the problem is that you don’t know how to remove the background. This is why I am writing this tutorial on how to remove background in Photoshop.

I am going to show you three ways to remove a photo. The ways ordered based on their difficulty level. I am going to write the easiest one first.

The easiest one is to use Microsoft Word and the next two involves Photoshop. Out of the two Photoshop methods, one is very easy and takes a couple of seconds.

Video

Here’s the video for you if you prefer videos.

1. Remove the background of a photo using Microsoft Word

Before we go ahead, let me tell you that Microsoft Word does not remove the background as good as Photoshop. If your photo has a simple background then you can use Microsoft Word.

Pros:

  • Super duper easy to use
  • No need to have any knowledge of image editing
  • Easily accessible to everyone

Cons:

  • Does not remove the background completely. Leaves some traces
  • The output file is scaled down. Suppose you want to remove the background of a photo that you shot with a 12MP camera, the output would be like a photo that is shot with 1.2 – 2 MP camera.
If you don’t want the output to be of smaller in size, you can hire me to remove the background for you.I’ll do it in Photoshop which does not scale down the image. The min cost is $4 per image and the max cost is $10 per image. Send me the image at hello@tricky-photoshop.com.

Before

1.jpg

After

Final.jpg

Step 1: Open the image in Microsoft Word

Open the image in Microsoft Word to remove the background.

Open Microsoft Word. Go to Insert > Image > Picture from file. The user interface for Windows would be a little different.

2.jpg

Step 2: Remove background of the photo in Microsoft Word

Go to the Picture tab. Click on the Remove Background button. It is there at the top left.

3.jpg

Step 3: Finetune the removal

In case Word has removed some of the wanted areas then you can fix that. In the next window, click on the “Mark Area to Keep”. Draw a rough line and Word will keep that.

4.jpg

If you think that Word has included some of the unwanted areas then you can remove that using “Mark Area to Remove”.

Once done, right click on the photo and click on “Save as picture”.

5.jpg

That’s all.

Tried yourself and didn’t like the output? You can hire me to remove the background for you. The min cost is $4 per image and the max cost is $10 per image. Send me the image at hello@tricky-photoshop.com.

2. Remove background in Photoshop using Select Subject

Time to use Photoshop.

Pros:

  • Super duper easy to use
  • Does not reduce the size and quality of the photo
  • Leaves no traces of Photoshop
  • Edits the image professionally

Cons:

  • Not free
  • Not the majority of people are familiar with Photoshop

Before

1

After

10

Open the image in Photoshop.

Step 1: Select the Subject

Select Subject feature is available only in the versions that launched in 2018 and after. Go to Select > Subject.

Photoshop will use artificial intelligence to automatically select the subject. The subject is the main focus of the image. Here the man is the subject.

7.jpg

Step 2: Use Select and Mask to Refine the Selection

Time to refine the selection. We’re going to use Select and Mask for this. This option was added in 2017. If you have older versions then you can use Refine Edge. Go to Select > Select and Mask.

8.jpg

Increase the radius to 250px and turn on Smart Radius. This will do your job.

9.jpg

Here’s the final photo.

10.jpg

Feeling frustrated? If you’re having some problem and feeling frustrated, you can hand over this task to me. The max-to-max cost is $10 per image. Contact me at hello@tricky-photoshop.com.

2. Remove background in Photoshop using the Quick Selection Tool

Time to use another method Photoshop.

Pros:

  • Easy to use but not as easy as Select Subject
  • Does not reduce the size and quality of the photo
  • Leaves no traces of Photoshop
  • Edits the image professionally

Cons:

  • Not free
  • Not the majority of people are familiar with Photoshop

Before

1

After

10

Open the image in Photoshop

Step 1: Select the person with the Quick Selection Tool

Grab the Quick Selection Tool from the tool panel or press Shift + W again and again until it comes.

11.jpg

Now drag the mouse over the image of the subject. Quick Selection Tool will automatically select the subject. See the GIF below.

12.gif

This will select the subject.

7

Step 2: Use Select and Mask to Refine the Selection

We’re going to do the same that we did in the previous method.

Time to refine the selection. We’re going to use Select and Mask for this. This option was added in 2017. If you have older versions then you can use Refine Edge. Go to Select > Select and Mask.

8.jpg

Increase the radius to 250px and turn on Smart Radius. This will do your job.

9.jpg

Here’s the final photo.

10.jpg

Feeling frustrated? If you’re having some problem and feeling frustrated, you can hand over this task to me. The max-to-max cost is $10 per image. Contact me at hello@tricky-photoshop.com.