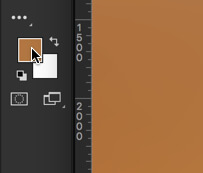
Hey guys, welcome to my another tutorial on creating Instagram Effects in Photoshop. Last time I discussed creating Instagram Reyes Effect in Photoshop, and this time I am going to show you How to Create Instagram Juno Effect in Photoshop.
Instagram Juno effect is pretty much a subtle one. It doesn’t do much more than manipulating contrast and vividness of the photo, which makes it perfect for a selfie that is taken on a properly illuminated place.
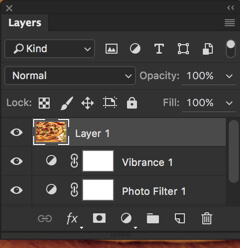
To do so, we also are not going to do much apart from using a few adjustment layers. The adjustment layers we are going to use are Curves, Brightness, Vibrance, and Photo Filter.
Without further ado, let’s begin the tutorial.
Final
Video
If you like watching videos, here’s the video for you.
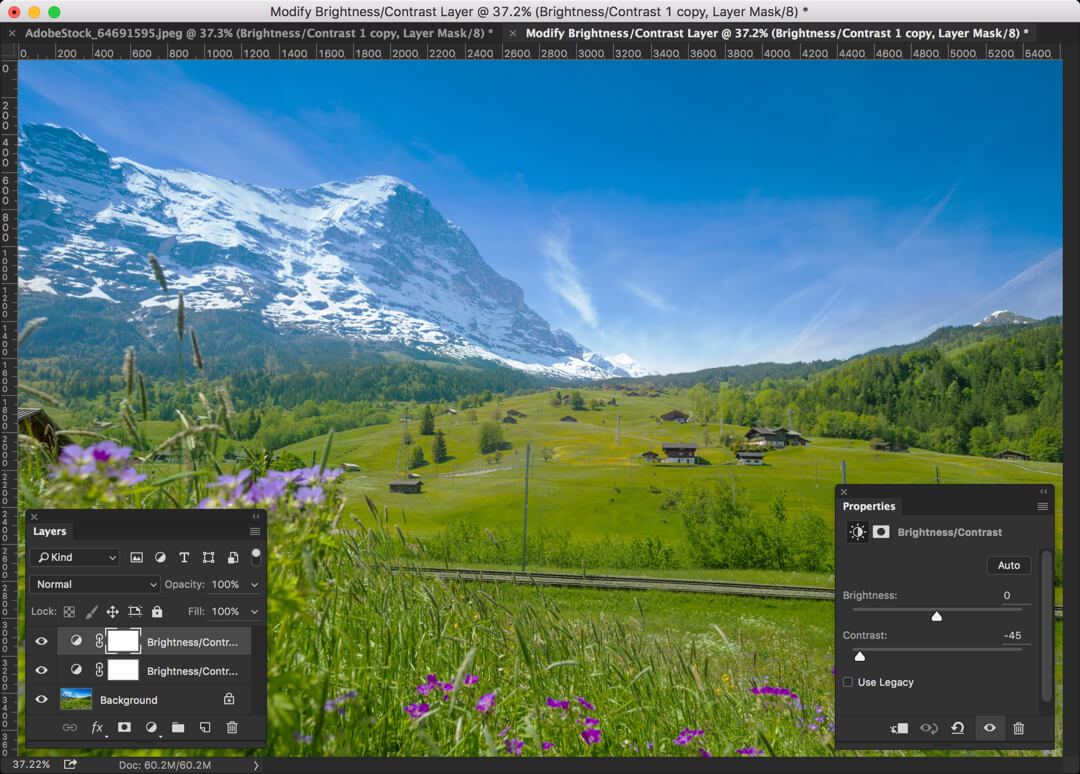
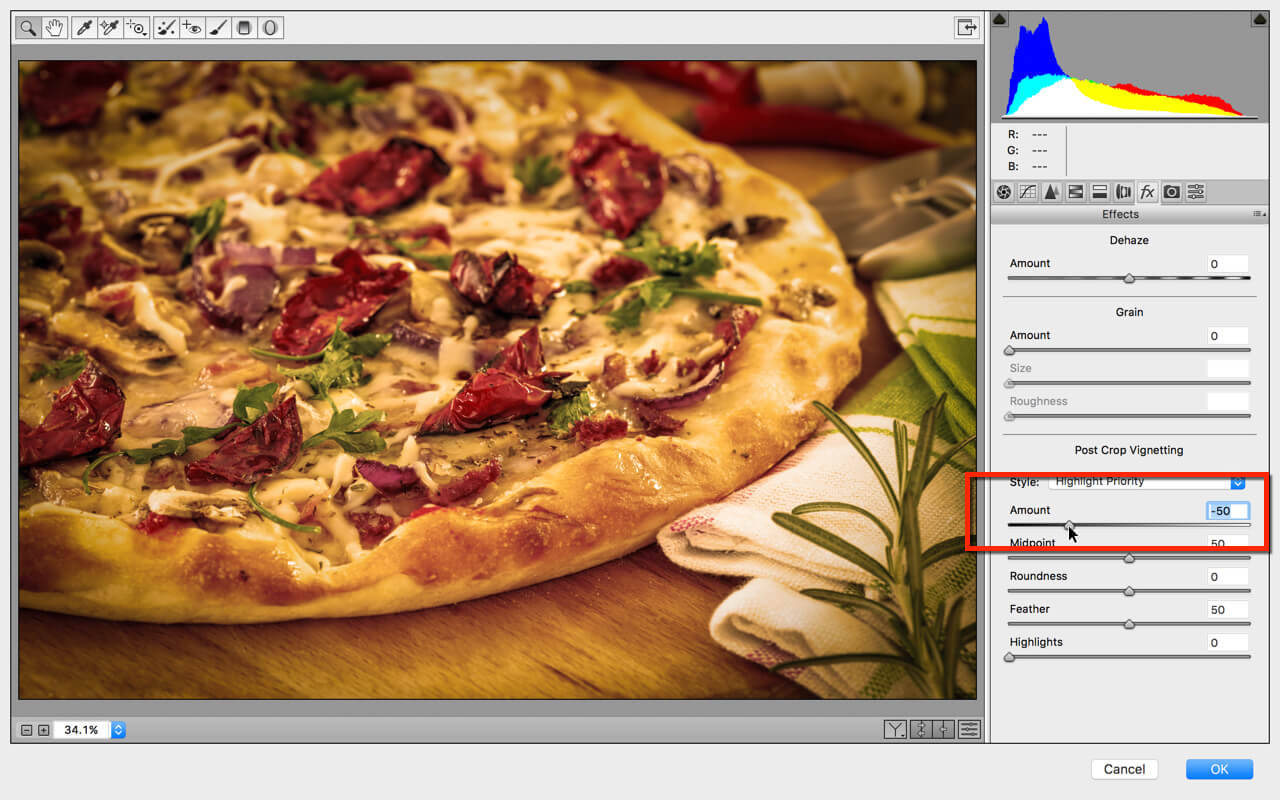
Step 1: Use the Power of Curves
Juno effect increases the contrast of the image. We are also doing the same but rather than using traditional Brightness/Contrast Adjustment Layer to manipulate the contrast, we are going to use Curves Adjustment Layer. The reason behind this is that Curves performs slightly better and gives us more control over the contrast.
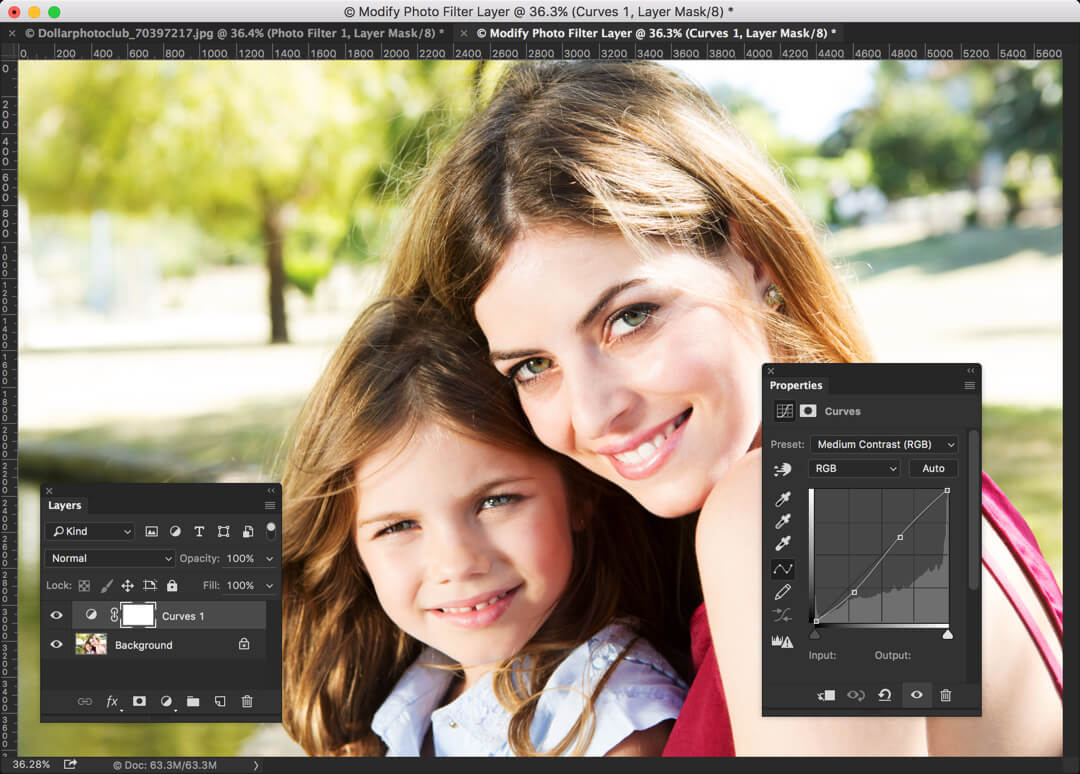
Go to Layer>New Adjustment Layer>Curves.
In the preset dropdown menu in Curves, choose Medium Contrast. It’ll very beautifully increase the contrast of the image.
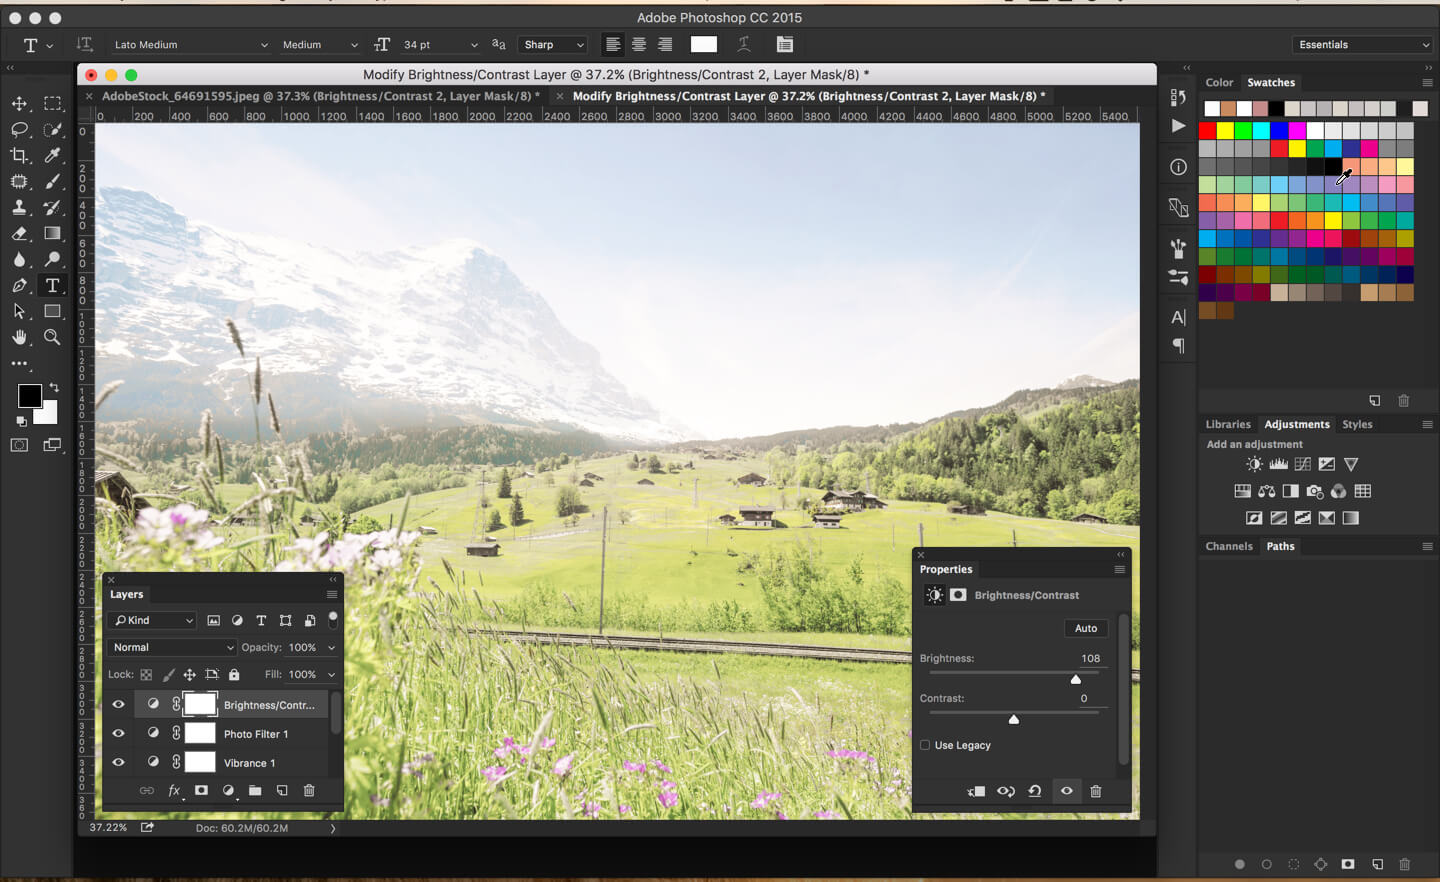
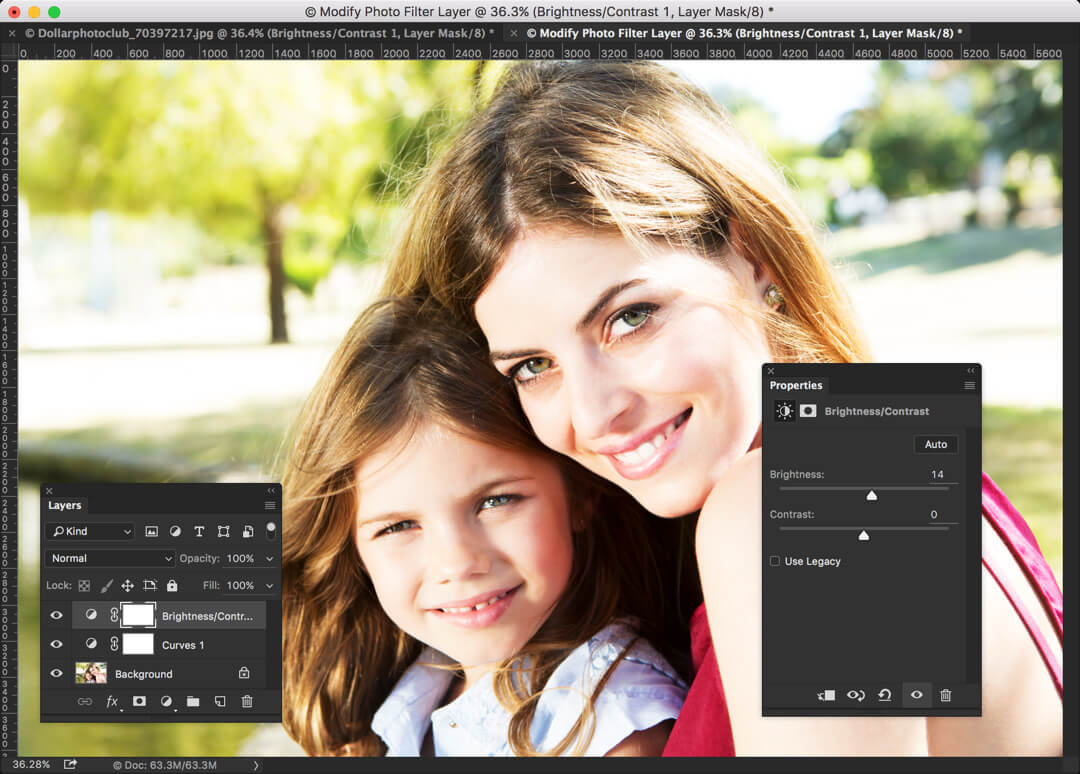
Step 2: Brighten the Image
Let’s increase the brightness of the photo. We are not going to overexpose the photo but slightly more exposed than a perfectly lit photo. So if there are three regions i.e. underexposed, perfectly exposed, and overexposed, the image will lie between perfectly exposed and overexposed.
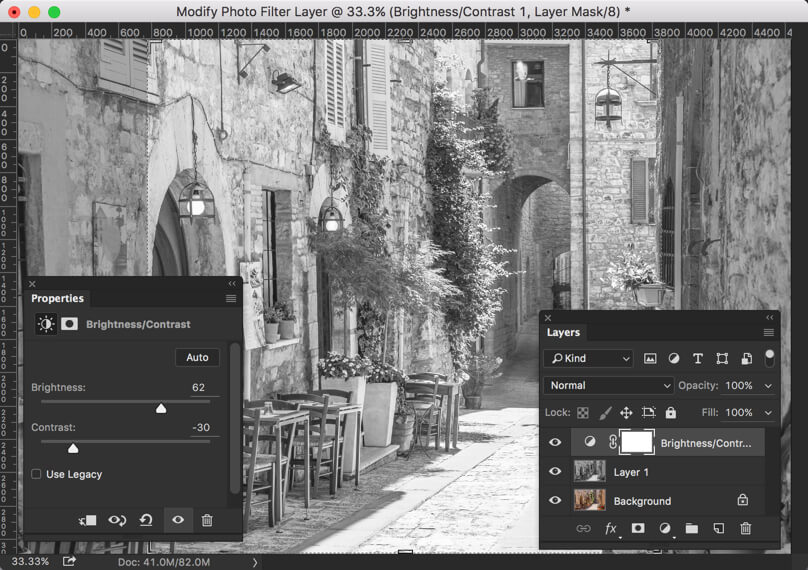
Go to Layer>New Adjustment Layer>Brightness/Contrast. Increase the brightness to 14.
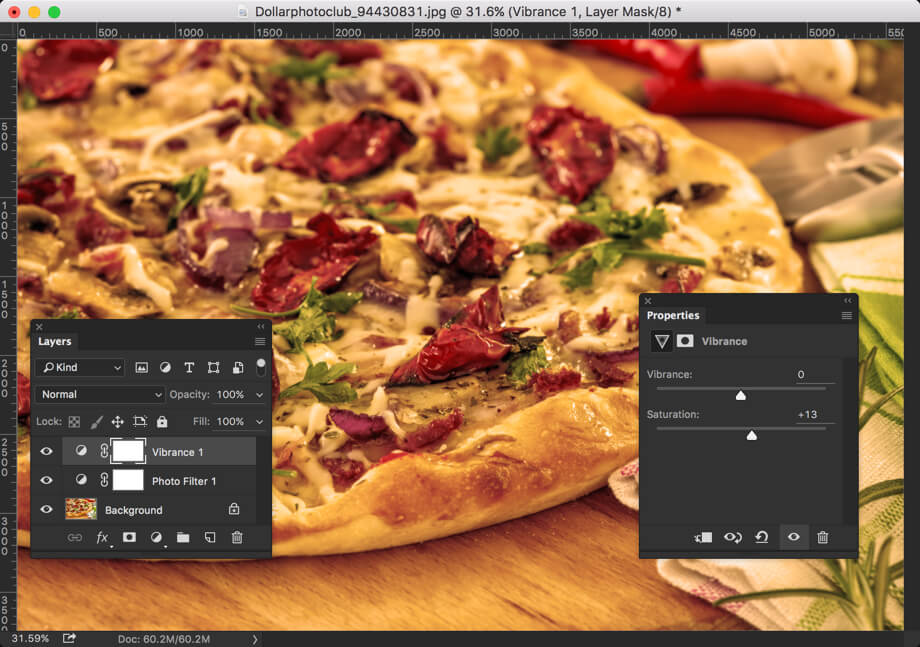
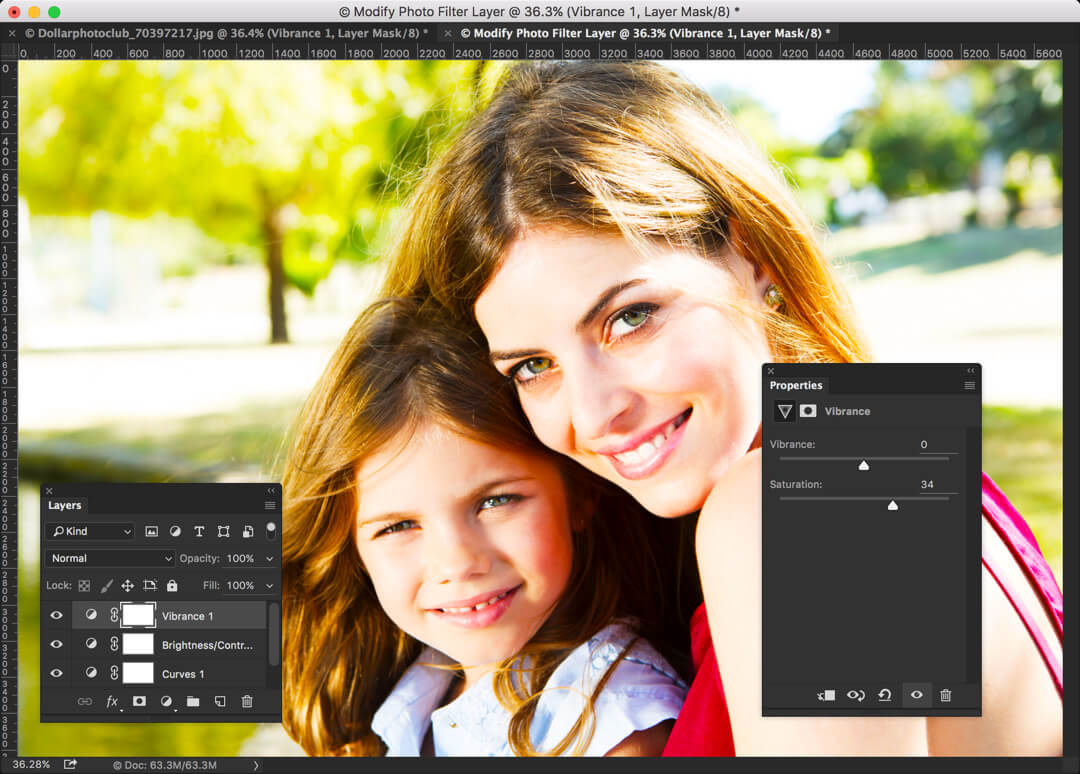
Step 3: Increase the Saturation
Time to saturate the image. In other words, let’s increase the vibrancy.
Saturating an image dramatically increases the look and feel of an image. Almost every filter of Instagram either increases or decreases the saturation of an image.
Go to Layer>New Adjustment Layer>Vibrance. Increase the saturation to 34.
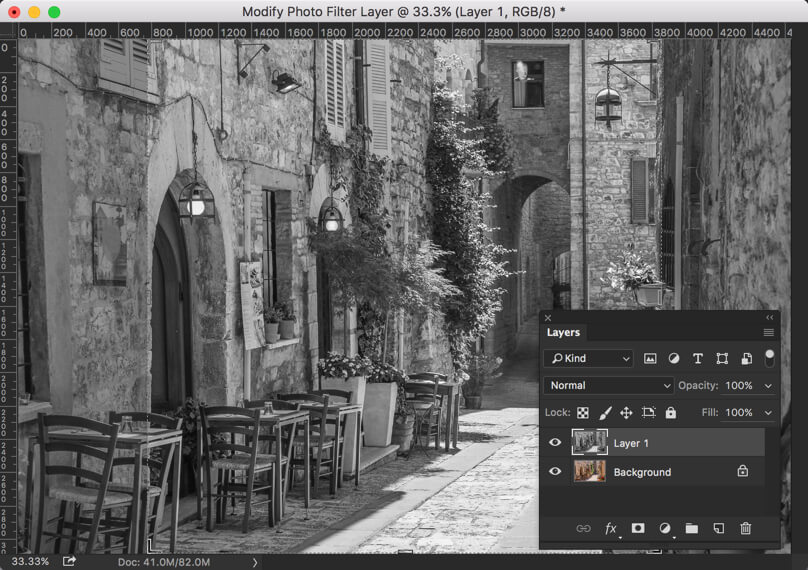
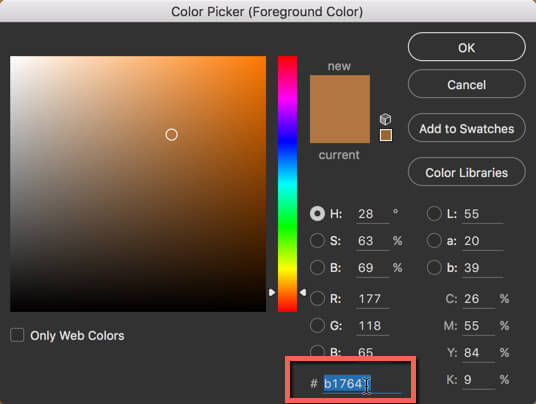
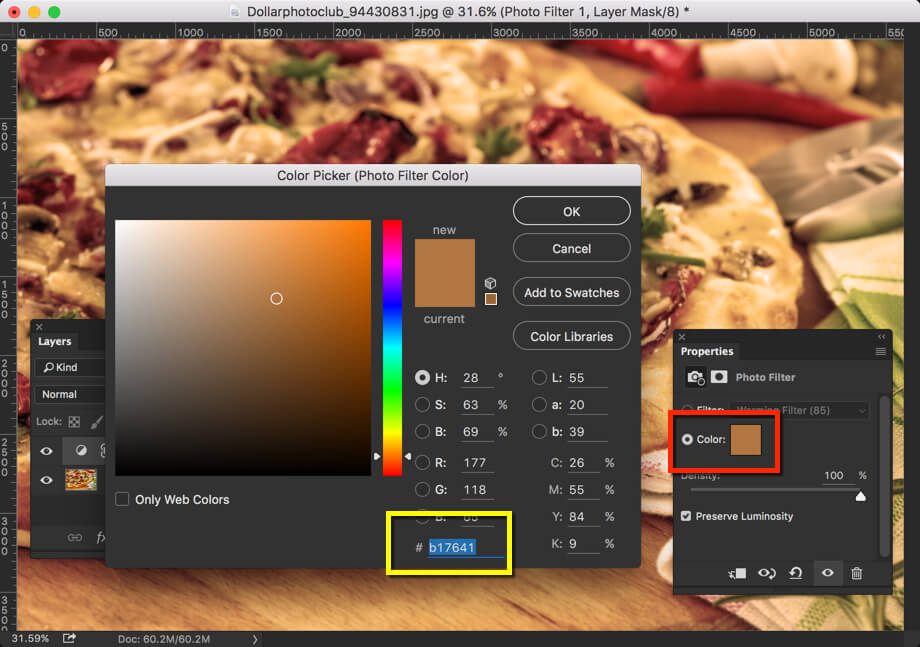
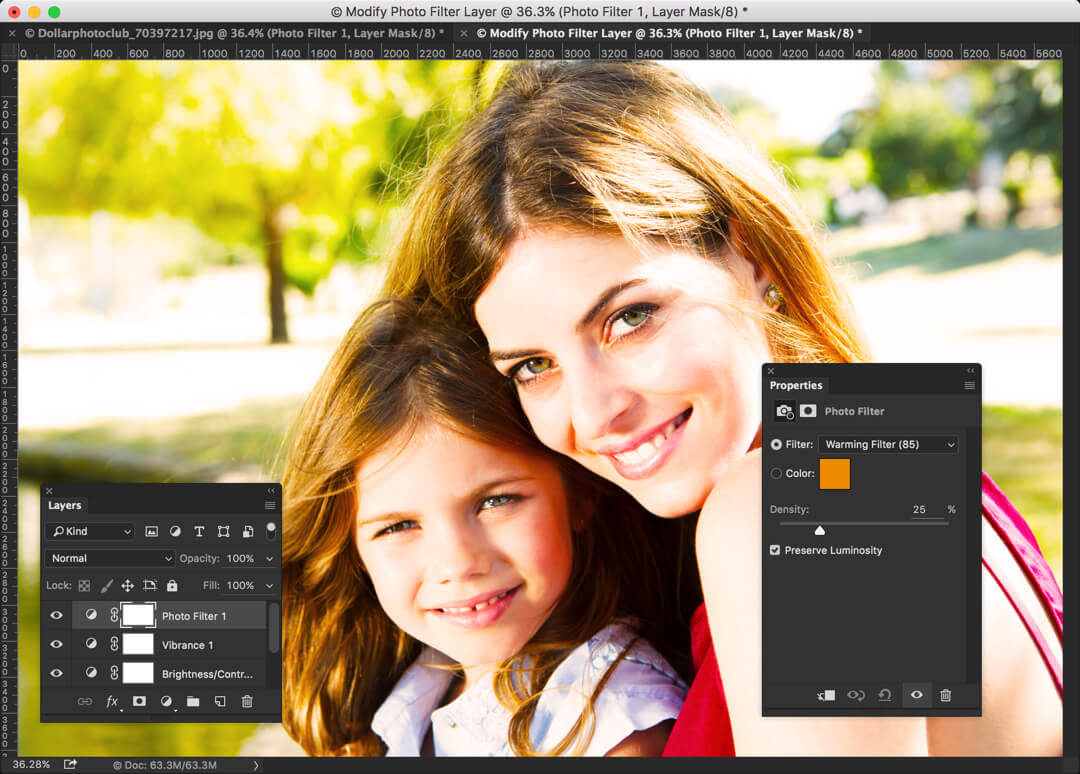
Step 4: Finally Achieve Instagram Juno Effect in Photoshop
Time to add a nice warm looking effect to the image.
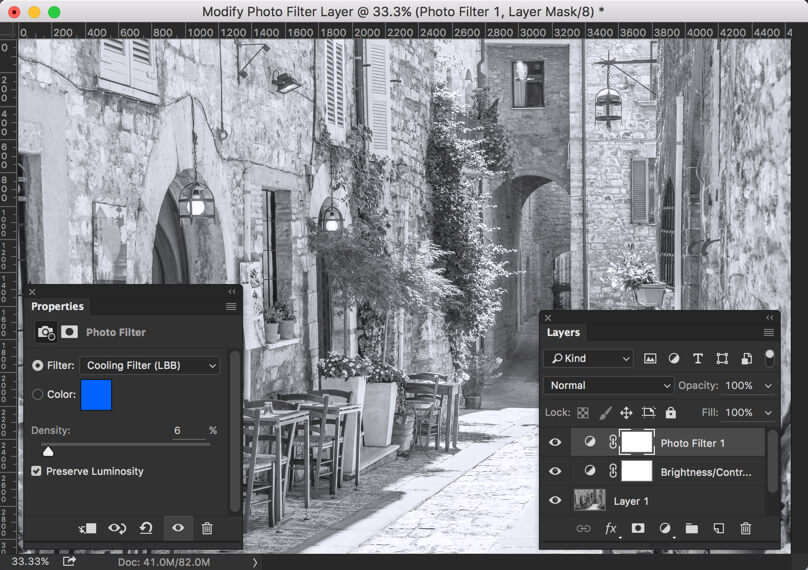
Go to Layer>New Adjustment Layer>Photo Filter.
Choose the preset as Warming Filter (85), and increase the density to 25%.
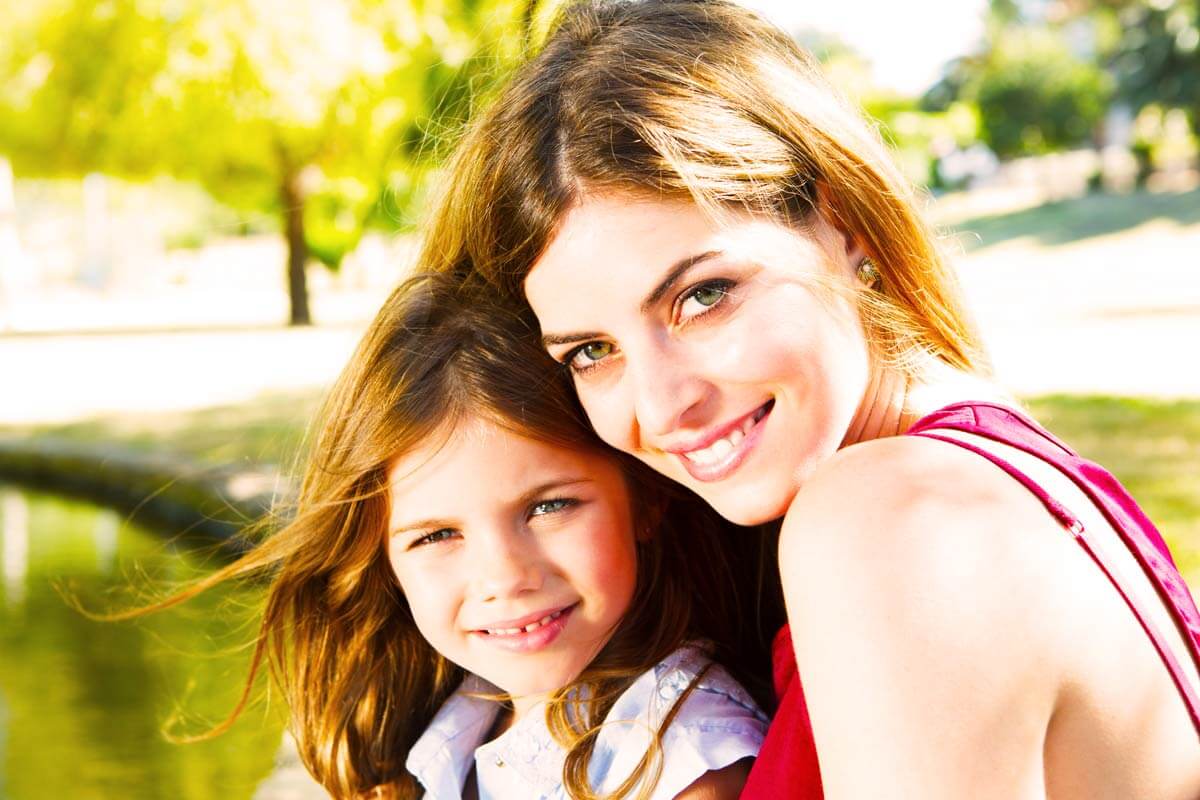
And we are done here. We have successfully created Instagram Juno Effect in Photoshop. Let me show you the final picture again.
FINAL