I know that pain of not having the correct icon to complete a design. I have been there and I know that you search a lot just to find the right icon for your designs. You get frustrated sometimes. Frustration even increases if that right icon that you find is not free. This is why I have compiled 14 websites where you can download free icons. Bookmark this page and make sure that you come back tomorrow to check the sites. Here are the 14 best websites for free icons.
Related: If you’re looking for premium icons, go to the page where I gave a list of 14 websites to download premium icons.
Some of the websites on the list are popular and provides you more things like photos, PSD, and vectors. I guess that’s a positive point.
List of Websites for Free Icons
Here’s the list
1. Freepik
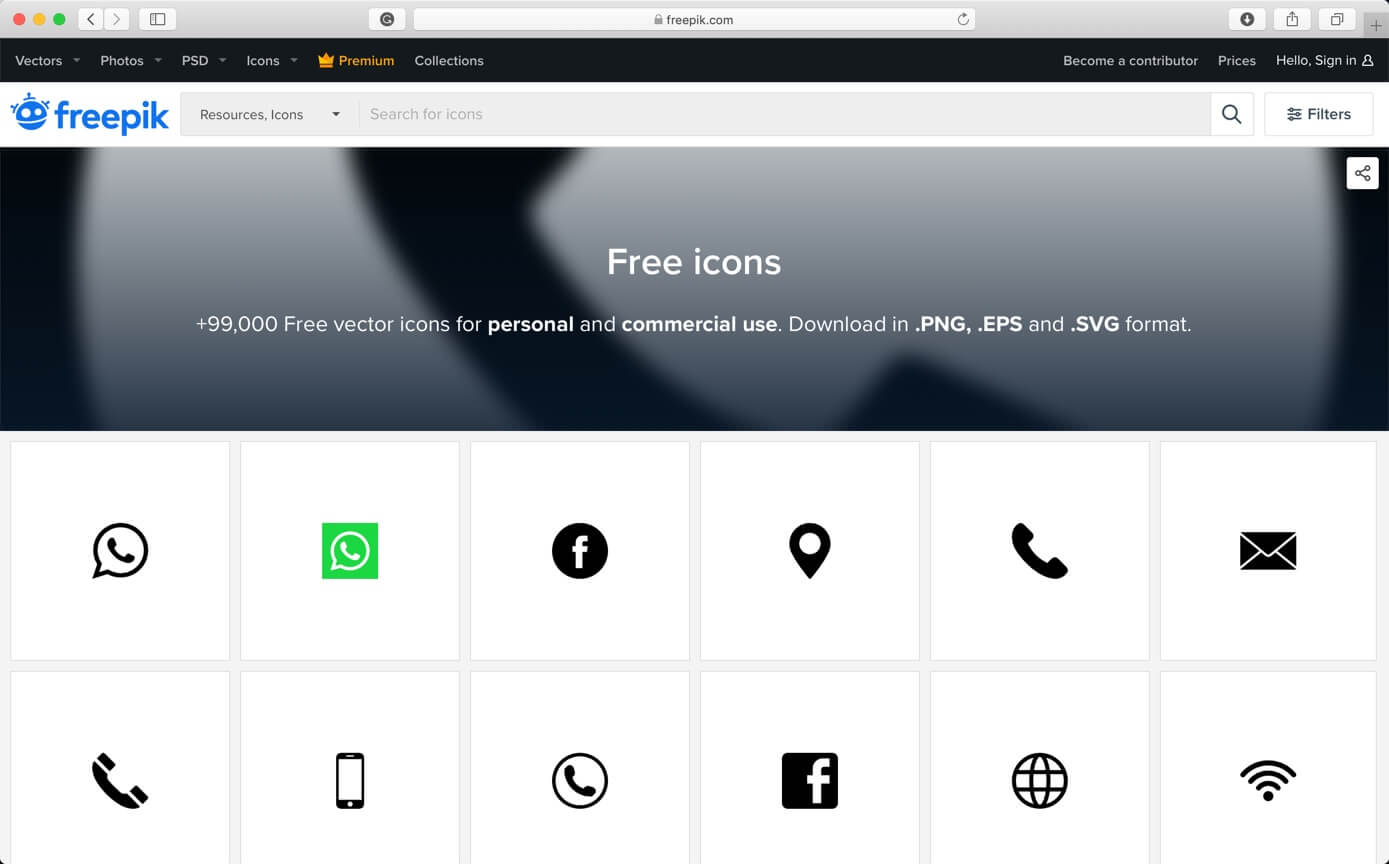
Freepik offers users high quality graphic designs, exclusive illustrations and graphic resources carefully selected by our design team in order to provide great content that can be used for both personal and commercial projects.
[mk_button dimension=”flat” corner_style=”rounded” size=”large” icon=”mk-moon-new-tab” url=”https://www.freepik.com/popular-icons” target=”_blank” align=”center”]Visit Freepik[/mk_button][vc_column_text] [/vc_column_text]
2. IconArchive
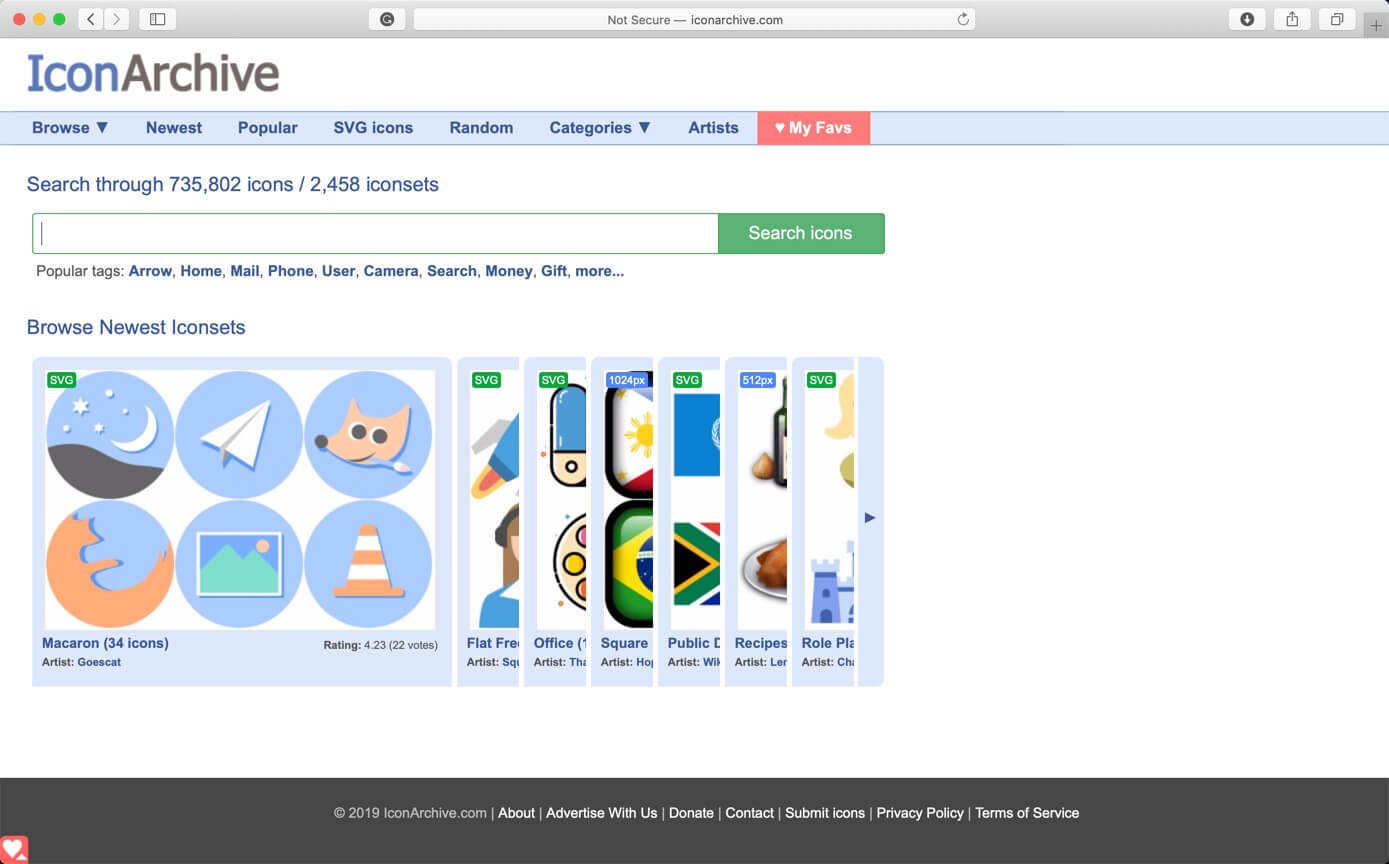
IconArchive is a professional tag based icon search engine with more than 600,000 icons for web developers, end users and graphic artists. Also it is an inspiration source for new design ideas and a place to enjoy beautiful icons. You can collect, organize & share your favorite icons here with ease.
[mk_button dimension=”flat” corner_style=”rounded” size=”large” icon=”mk-moon-new-tab” url=”http://www.iconarchive.com/” target=”_blank” align=”center”]Visit IconArchive[/mk_button][vc_column_text] [/vc_column_text]
3. Flaticon
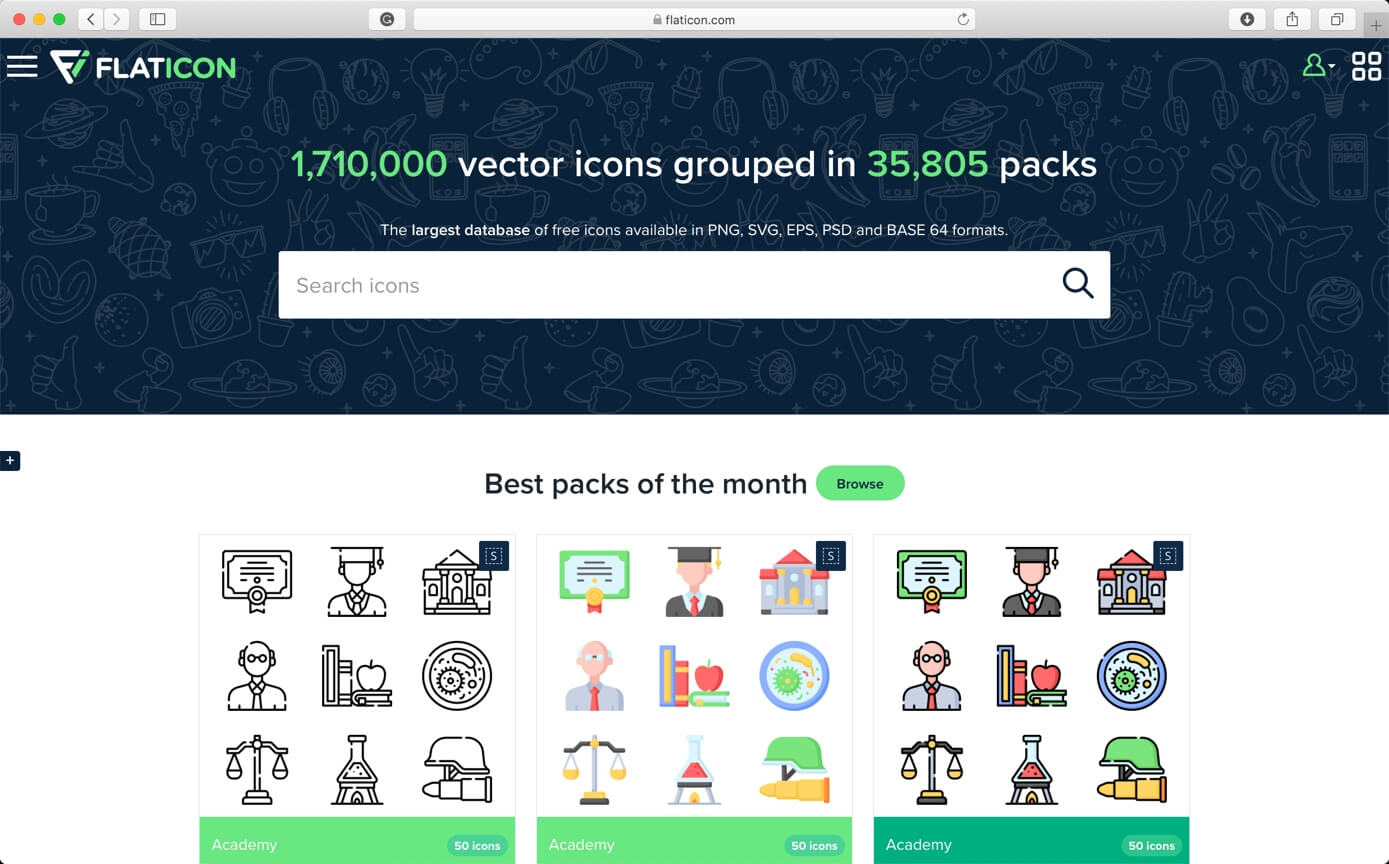
Flaticon offers users, high-quality graphic designs: totally editable vectors carefully selected by our design team in order to provide our users with great content that can be used in both personal and commercial projects.
In 2010 a group of entrepreneurs joined forces to create Freepik, the largest search engine in the world of free vectors. These were the brothers Alejandro and Pablo Blanes with Joaquín Cuenca, creator of the successful startup acquired by Google, Panoramio. And given the high level of search done for icons, they decided to launch Flaticon three years later, a platform which specializes and focuses majorly on vectorial and editable icons.
[mk_button dimension=”flat” corner_style=”rounded” size=”large” icon=”mk-moon-new-tab” url=”https://www.flaticon.com/” target=”_blank” align=”center”]Visit Flaticon[/mk_button][vc_column_text] [/vc_column_text]
4. Icons8
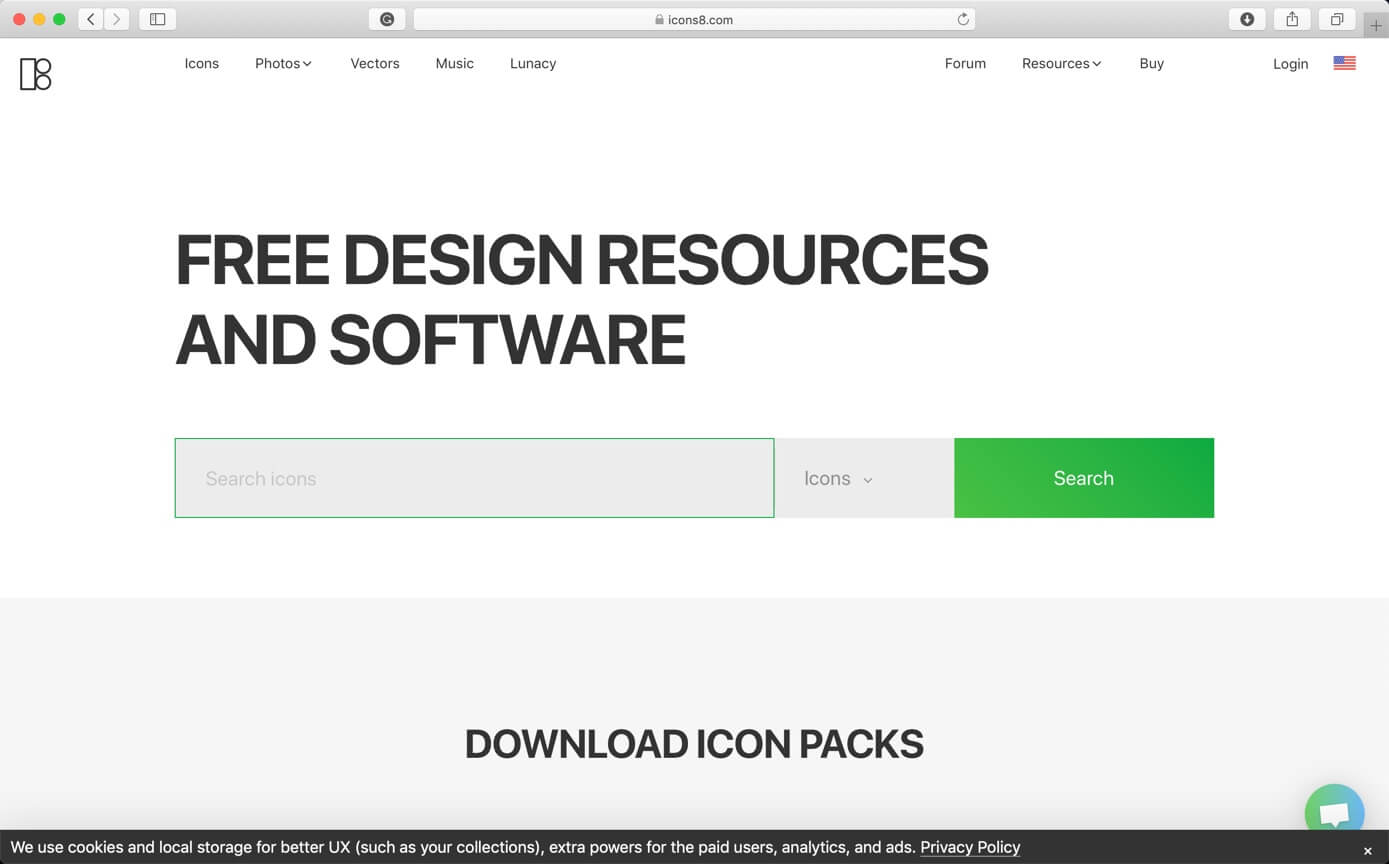
Icons8 allows designers to express their ideas giving the right design elements at the right time.
[mk_button dimension=”flat” corner_style=”rounded” size=”large” icon=”mk-moon-new-tab” url=”https://icons8.com/” target=”_blank” align=”center”]Visit Icons8[/mk_button][vc_column_text] [/vc_column_text]
5. iconmnstr
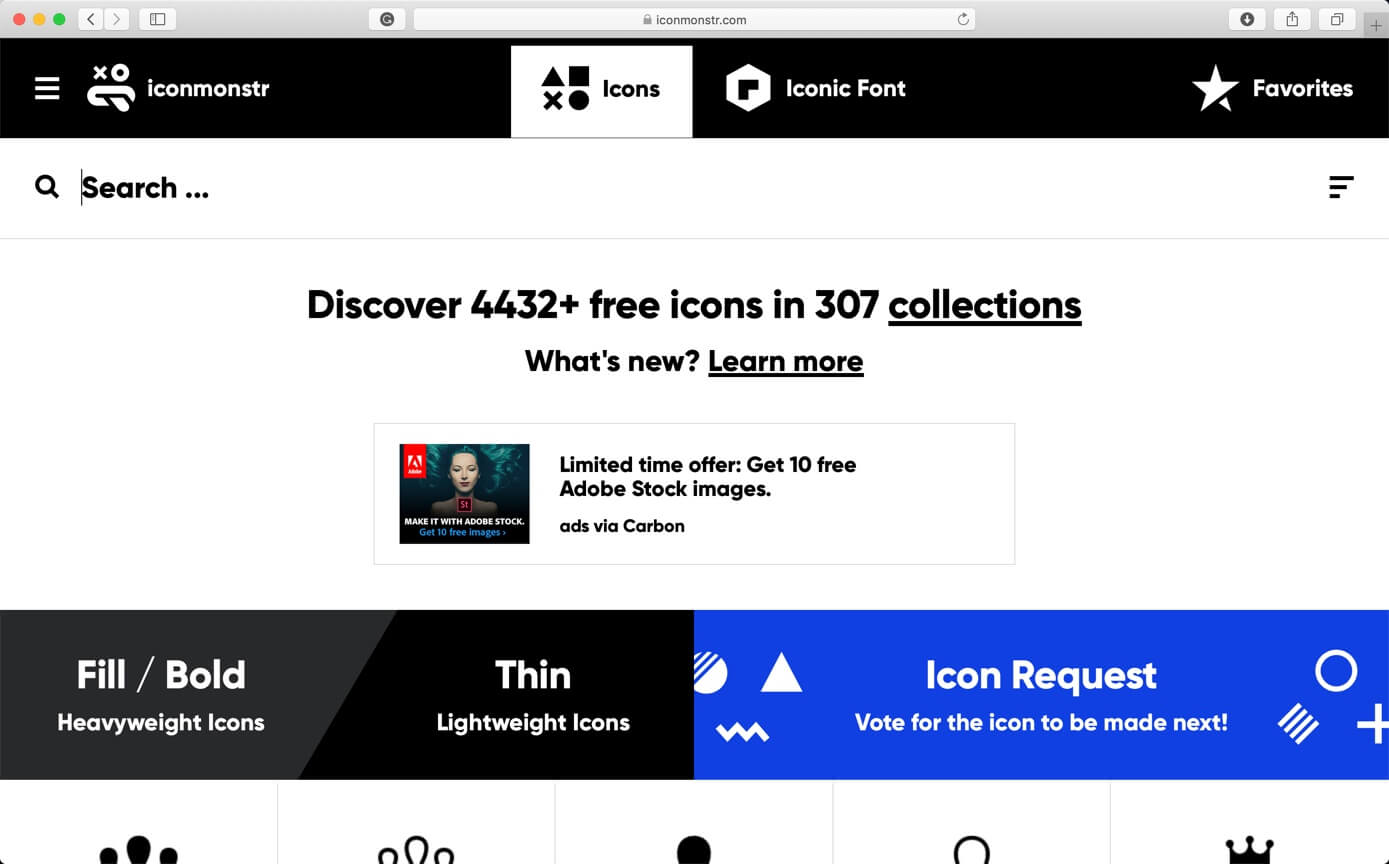
iconmonstr – free, monstrously big and continuously growing source of simple icons run by one creator. It is Created by Alexander Kahlkopf, a senior designer from Germany with over 15 years of professional experience in icon design.
[mk_button dimension=”flat” corner_style=”rounded” size=”large” icon=”mk-moon-new-tab” url=”https://iconmonstr.com/” target=”_blank” align=”center”]Visit iconmnstr[/mk_button][vc_column_text] [/vc_column_text]
6. DeviantArt
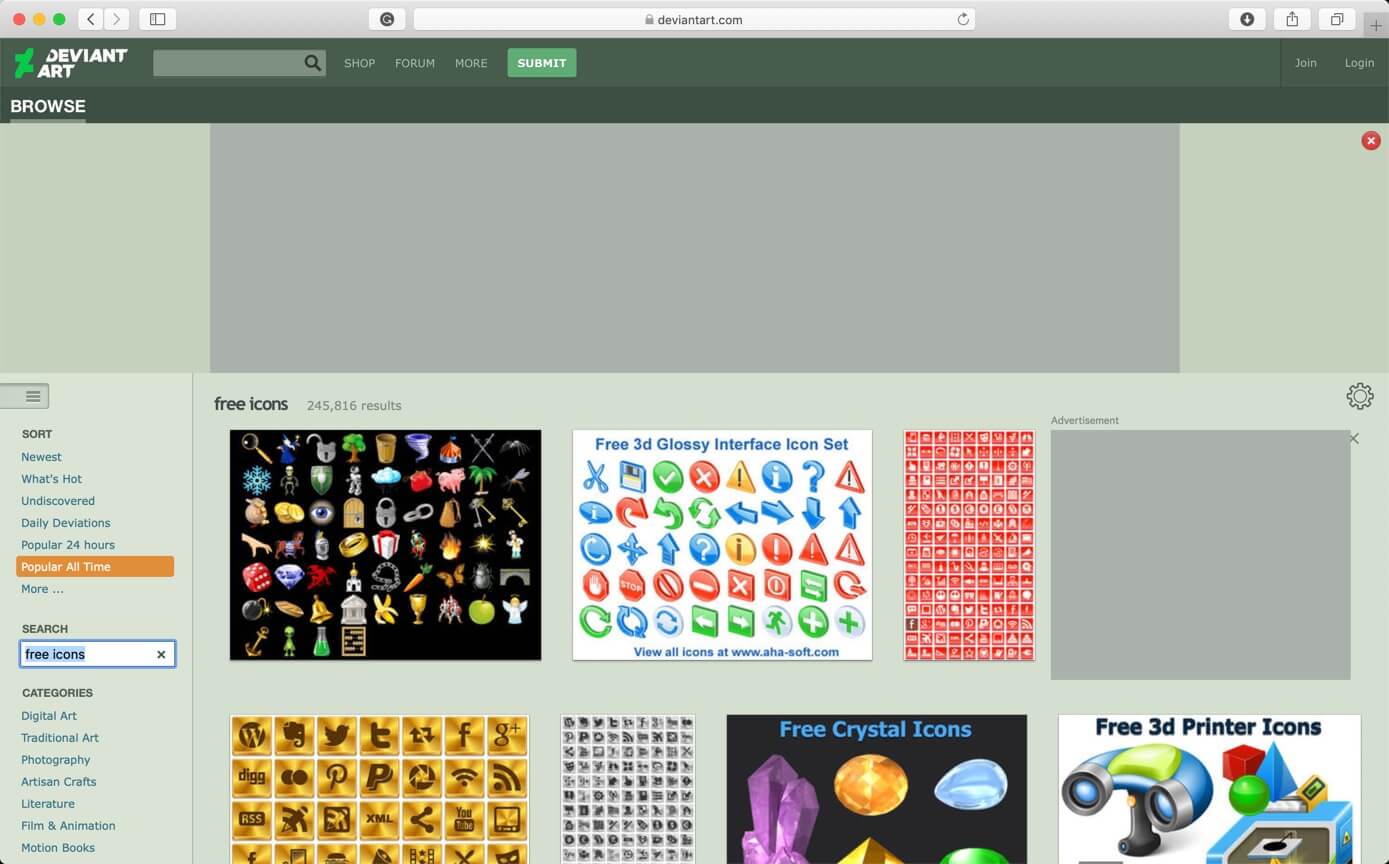
DeviantArt is the largest online social network for artists and art enthusiasts, and a platform for emerging and established artists to exhibit, promote, and share their works with an enthusiastic, art-centric community. We have over 44 million registered members and attract over 45 million unique visitors per month.
Their members — known as deviants — upload tens of thousands of original pieces of art every day, everything from painting and sculpture to digital art, free icons, pixel art, films, and anime.
[mk_button dimension=”flat” corner_style=”rounded” size=”large” icon=”mk-moon-new-tab” url=”https://www.deviantart.com/browse/all/?q=free+icons” target=”_blank” align=”center”]Visit DeviantArt[/mk_button][vc_column_text] [/vc_column_text]
7. Dribble
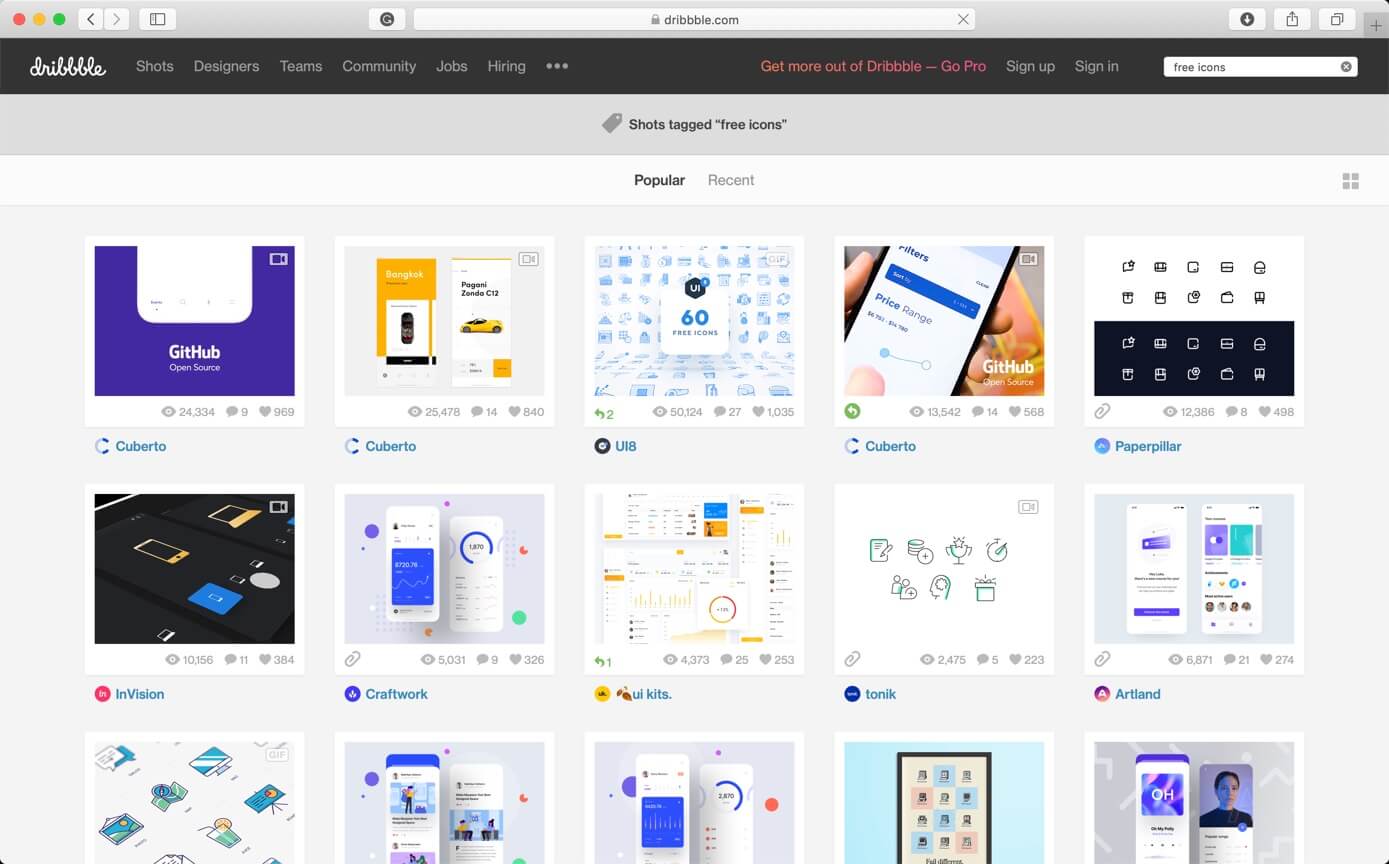
Dribble is the go-to resource for discovering and connecting with designers and creative talent around the globe. You can downoad icon, Photoshop brushes, vectors, and so many things.
[mk_button dimension=”flat” corner_style=”rounded” size=”large” icon=”mk-moon-new-tab” url=”https://dribbble.com/search?q=free+icons” target=”_blank” align=”center”]Visit Dribble[/mk_button][vc_column_text] [/vc_column_text]
8. Fontello
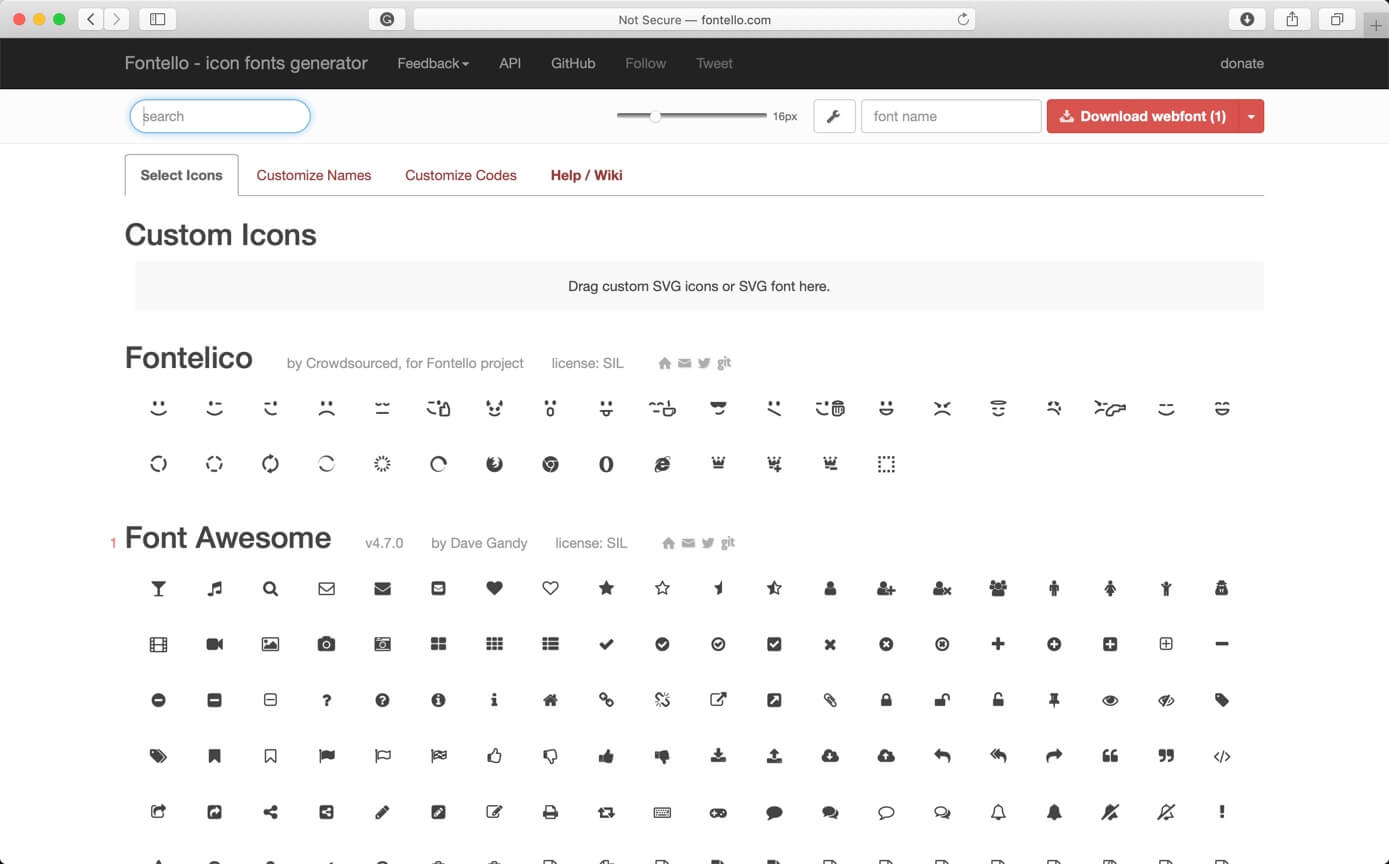
Fontello is a tool to quickly pack vector images into webfonts. Consider it like Twitter Bootstrap, but for images. It builds everything necessary to include graphics into your web pages. Also, fontello has a big built-in collection of open source artworks.
[mk_button dimension=”flat” corner_style=”rounded” size=”large” icon=”mk-moon-new-tab” url=”http://fontello.com/” target=”_blank” align=”center”]Visit Fontello[/mk_button][vc_column_text] [/vc_column_text]
9. GraphicBurger
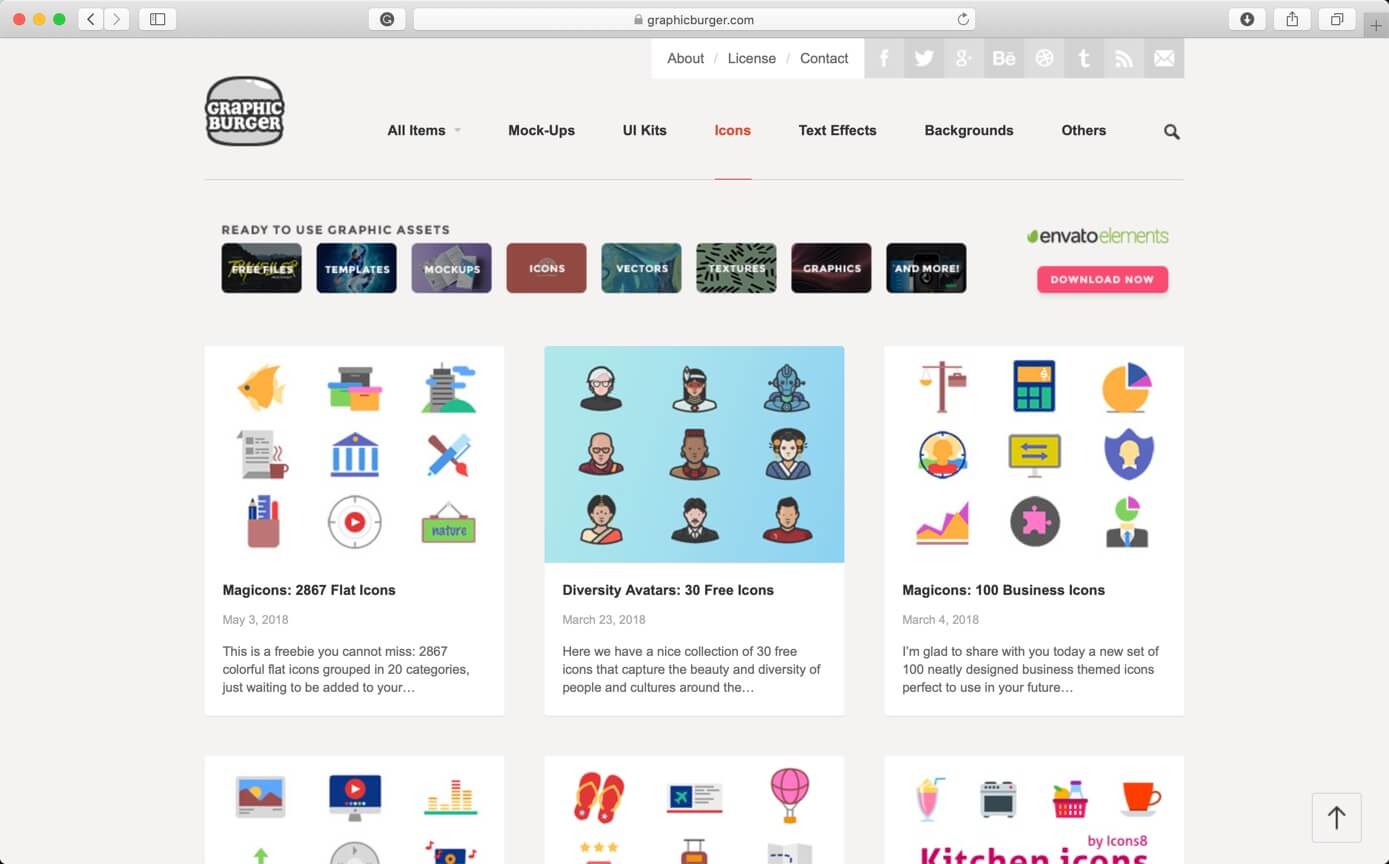
GraphicBurger is a buffet of premium quality design resources offered for free to the community. Here you’ll find exclusive PSD files “cooked” in-house along with featured
top-notch freebies from creatives around the world.
[mk_button dimension=”flat” corner_style=”rounded” size=”large” icon=”mk-moon-new-tab” url=”https://graphicburger.com/icons-set/” target=”_blank” align=”center”]Visit GraphicBurger[/mk_button][vc_column_text] [/vc_column_text]
10. Premium Pixels
![]()
![]()
Premium Pixels is a collection of free design resources created and curated by UK based Web Designer Orman Clark.
[mk_button dimension=”flat” corner_style=”rounded” size=”large” icon=”mk-moon-new-tab” url=”http://www.premiumpixels.com/?s=icons” target=”_blank” align=”center”]Visit Premium Pixels[/mk_button][vc_column_text] [/vc_column_text]
11. 1001FreeDownloads
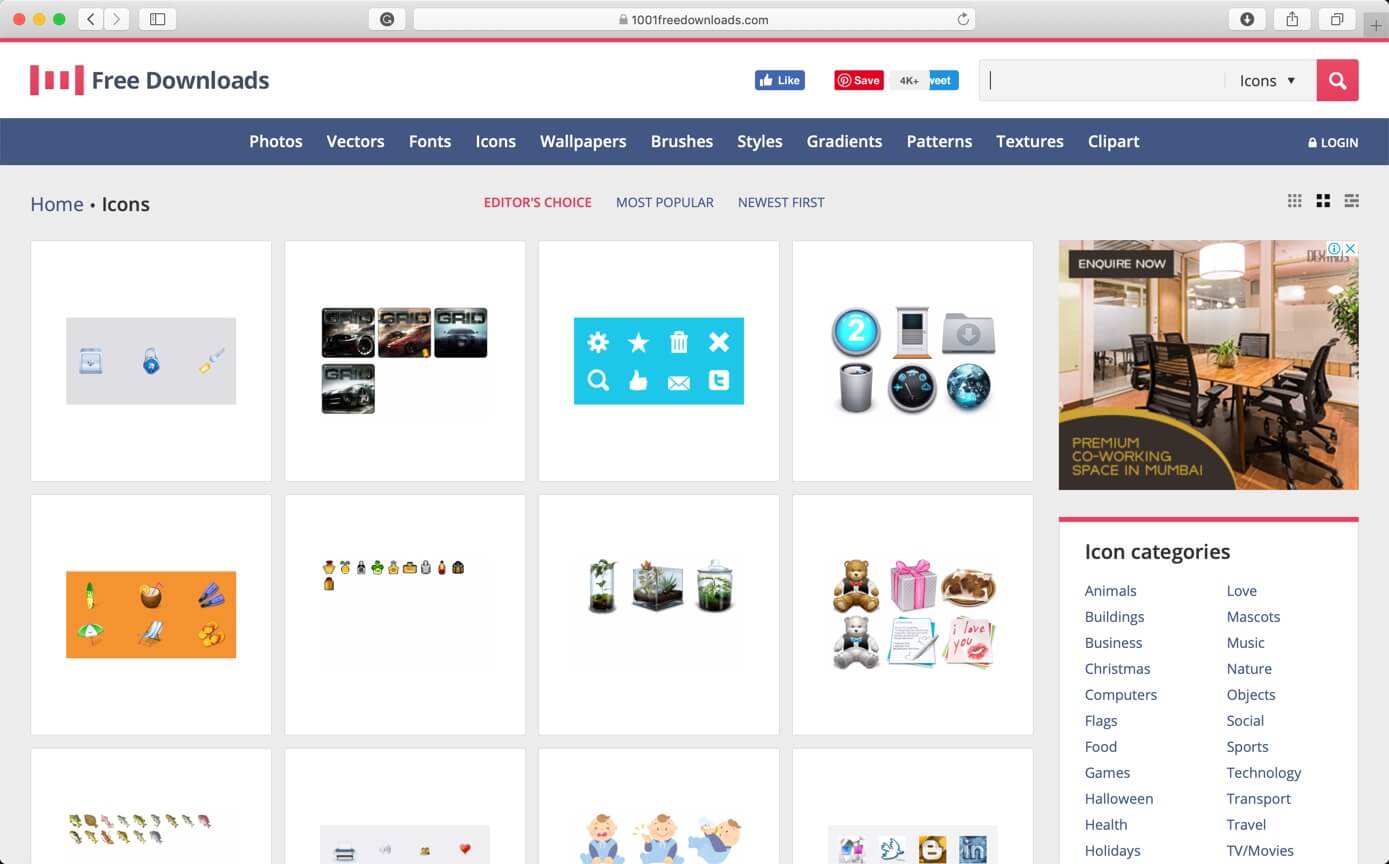
1001FreeDownloads is for the best and most attractive free graphics for designers. They currently feature thousands of free vectors, photos, brushes, gradients, fonts and they have much more to come. They also produce their own exclusive graphics.
[mk_button dimension=”flat” corner_style=”rounded” size=”large” icon=”mk-moon-new-tab” url=”https://www.1001freedownloads.com/free-icons/” target=”_blank” align=”center”]Visit 1001FreeDownloads[/mk_button][vc_column_text] [/vc_column_text]
12. Behance
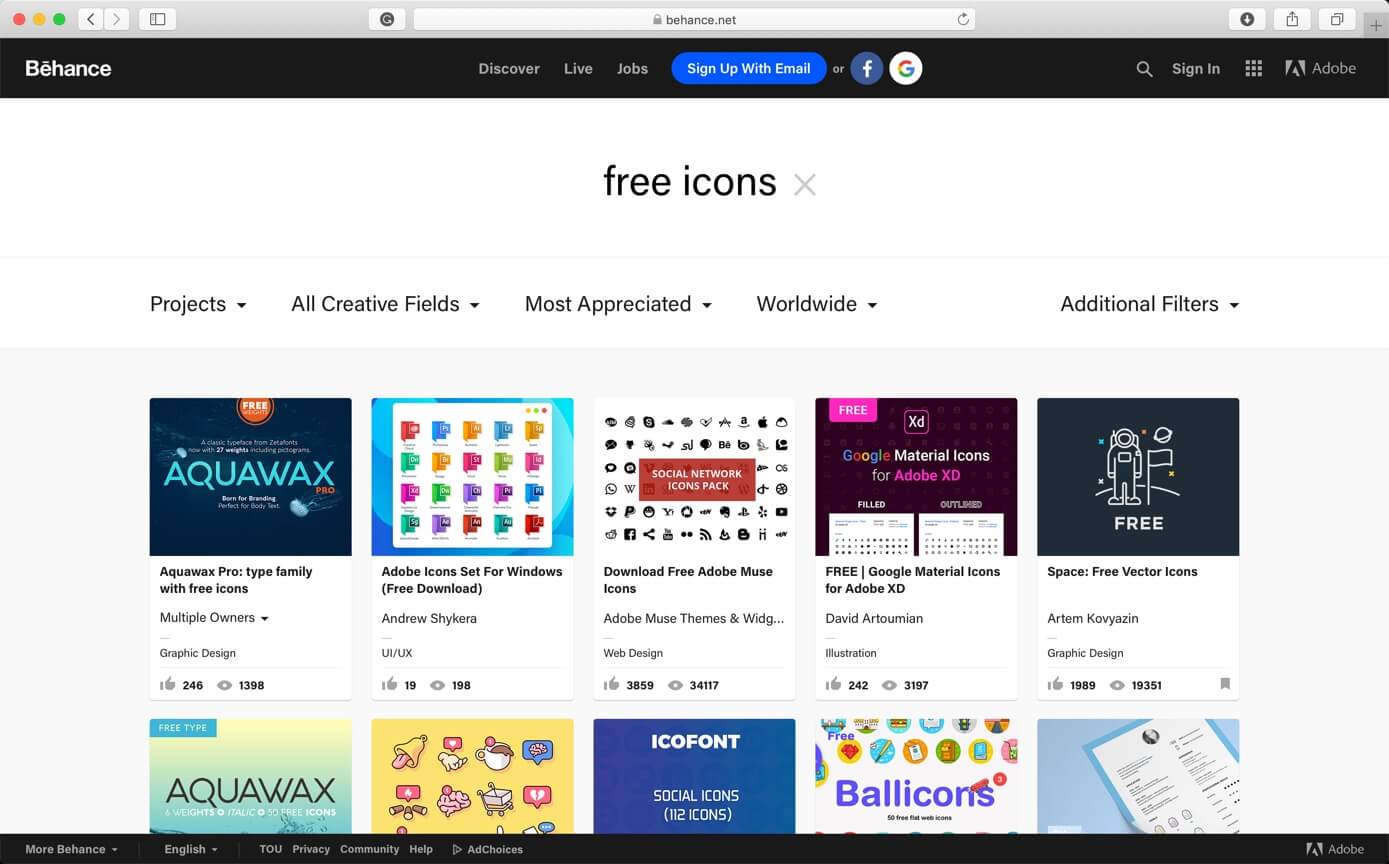
Behance is an online platform to showcase & discover creative work. It is owned by Adobe. You can download lots of free icons here.
[mk_button dimension=”flat” corner_style=”rounded” size=”large” icon=”mk-moon-new-tab” url=”https://www.behance.net/search?content=projects&sort=appreciations&time=week&featured_on_behance=true&search=free%20icons” target=”_blank” align=”center”]Visit Behance[/mk_button][vc_column_text] [/vc_column_text]
13. Pixabay
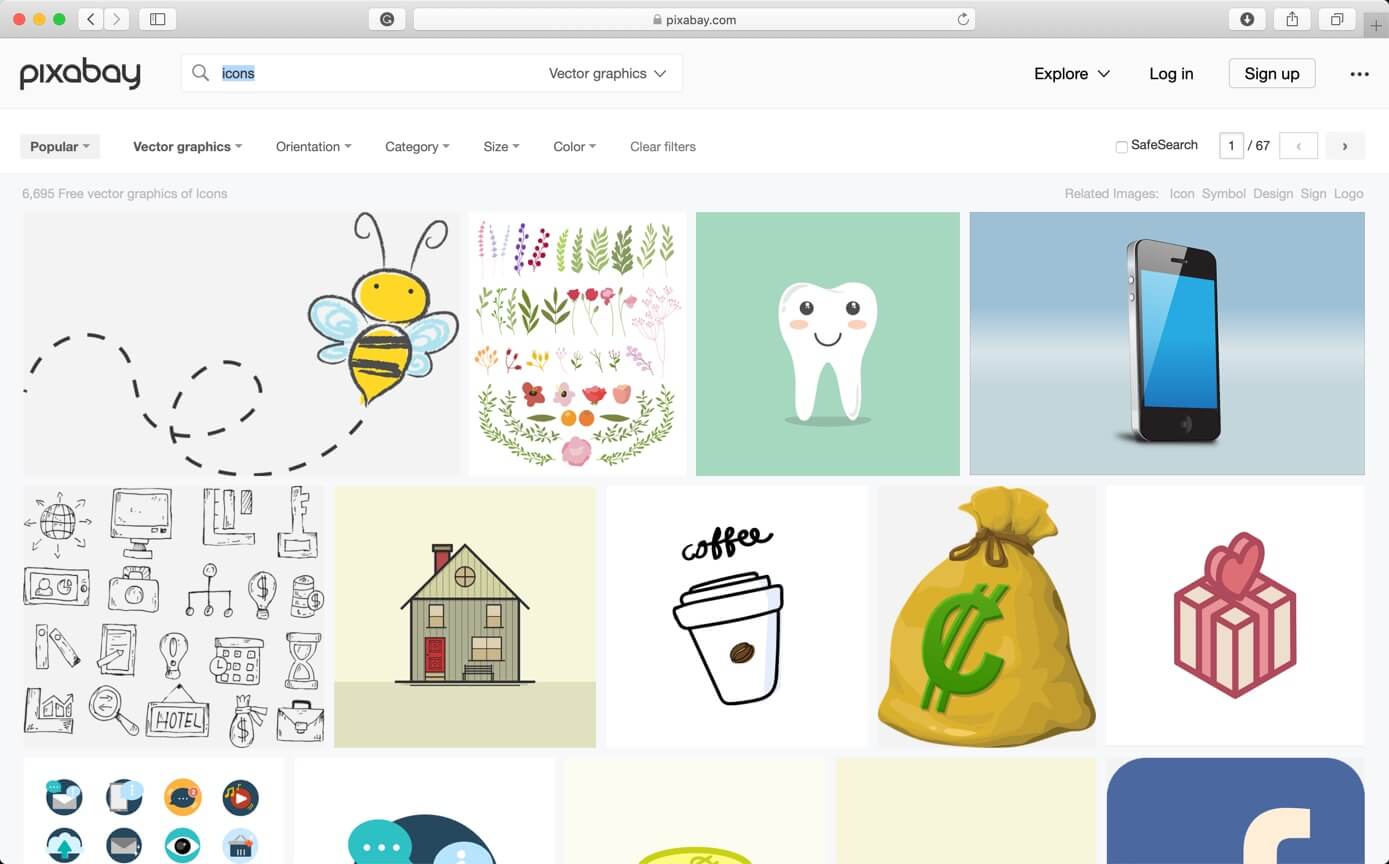
[mk_button dimension=”flat” corner_style=”rounded” size=”large” icon=”mk-moon-new-tab” url=”https://pixabay.com/vectors/search/icons/” target=”_blank” align=”center”]Visit Pixabay[/mk_button][vc_column_text] [/vc_column_text]
14. Font Awesome
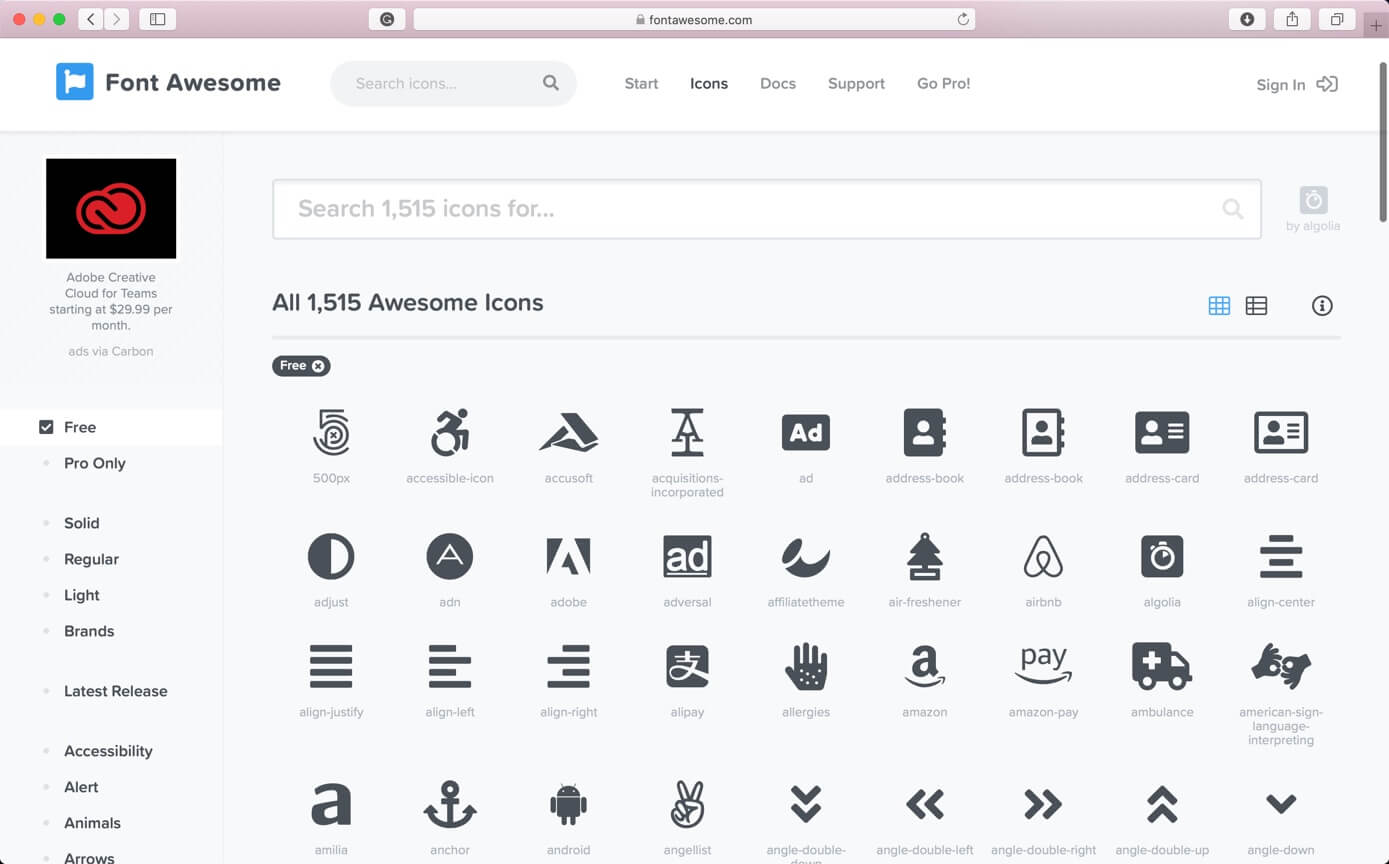
[mk_button dimension=”flat” corner_style=”rounded” size=”large” icon=”mk-moon-new-tab” url=”https://fontawesome.com/icons?d=gallery&m=free” target=”_blank” align=”center”]Visit Font Awesome[/mk_button][vc_column_text] [/vc_column_text]

 [/vc_column_inner][/vc_row_inner][vc_column_text][/vc_column_text][/vc_column][/vc_row]
 [/vc_column_inner][/vc_row_inner][vc_column_text][/vc_column_text][/vc_column][/vc_row]
 [/vc_column_inner][/vc_row_inner][vc_column_text][/vc_column_text][/vc_column][/vc_row]
 [/vc_column_inner][/vc_row_inner][vc_column_text][/vc_column_text][/vc_column][/vc_row]
 [/vc_column_inner][/vc_row_inner][vc_column_text][/vc_column_text][/vc_column][/vc_row]
 [/vc_column_inner][/vc_row_inner][vc_column_text][/vc_column_text][/vc_column][/vc_row]
 [/vc_column_inner][/vc_row_inner][vc_column_text][/vc_column_text][/vc_column][/vc_row]
 [/vc_column_inner][/vc_row_inner][vc_column_text][/vc_column_text][/vc_column][/vc_row]