Is your double chin bothering you? Do you want to remove your double chin aka face fat or chin fat? Does your face fat look ugly to you?
Worry no more. I’m here for you. I’m going to show you how can you remove double chin in your photo fabulously. We’re going to use an app for it. Plus, removing double chin is totally free.
Before we show you, let me show you what info you can get from this tutorial.
What causes a double chin in photos?
The most obvious answer is that almost all of us have a double chin. You have it, I have it, and even my mom has it.
But we see more double chin in our photos than we see in the mirror. Why so?
- When we take photos, we generally draw our heads back a bit. This causes a more double chin.
- If we take photos from the upward angle, this also causes a double chin.
How to avoid double chin in photos?
It’s easy to guess the answers as we already know what causes face fat in photos.
- When you are being photographed, don’t hold your chin in its everyday position. Draw your chin forward in a slight arc, as though you have a peach tucked under it. Renata gave this answer on Quora. And this method works.
- Take photos from a downward angle.
How to remove double chin in an app for free?
Let’s see before and after photos first.
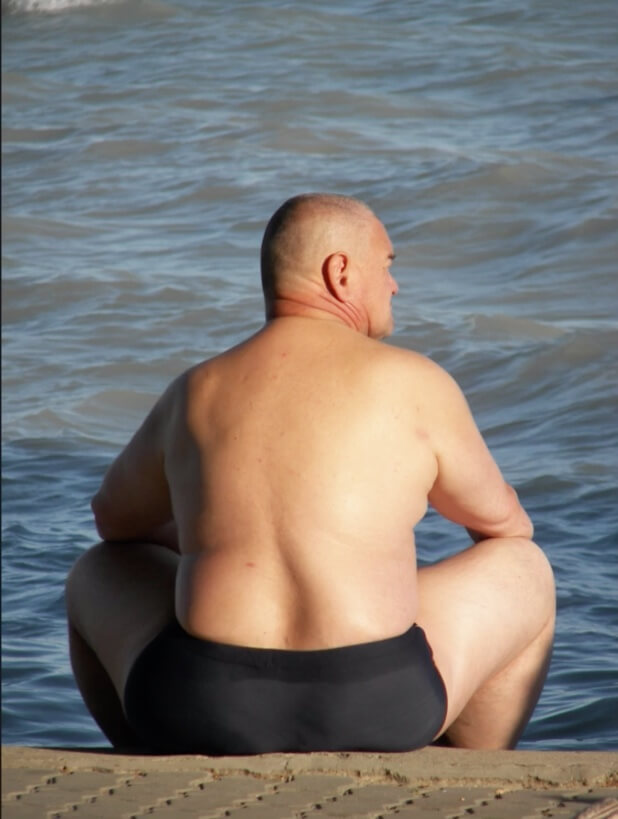
Before removing the double chin

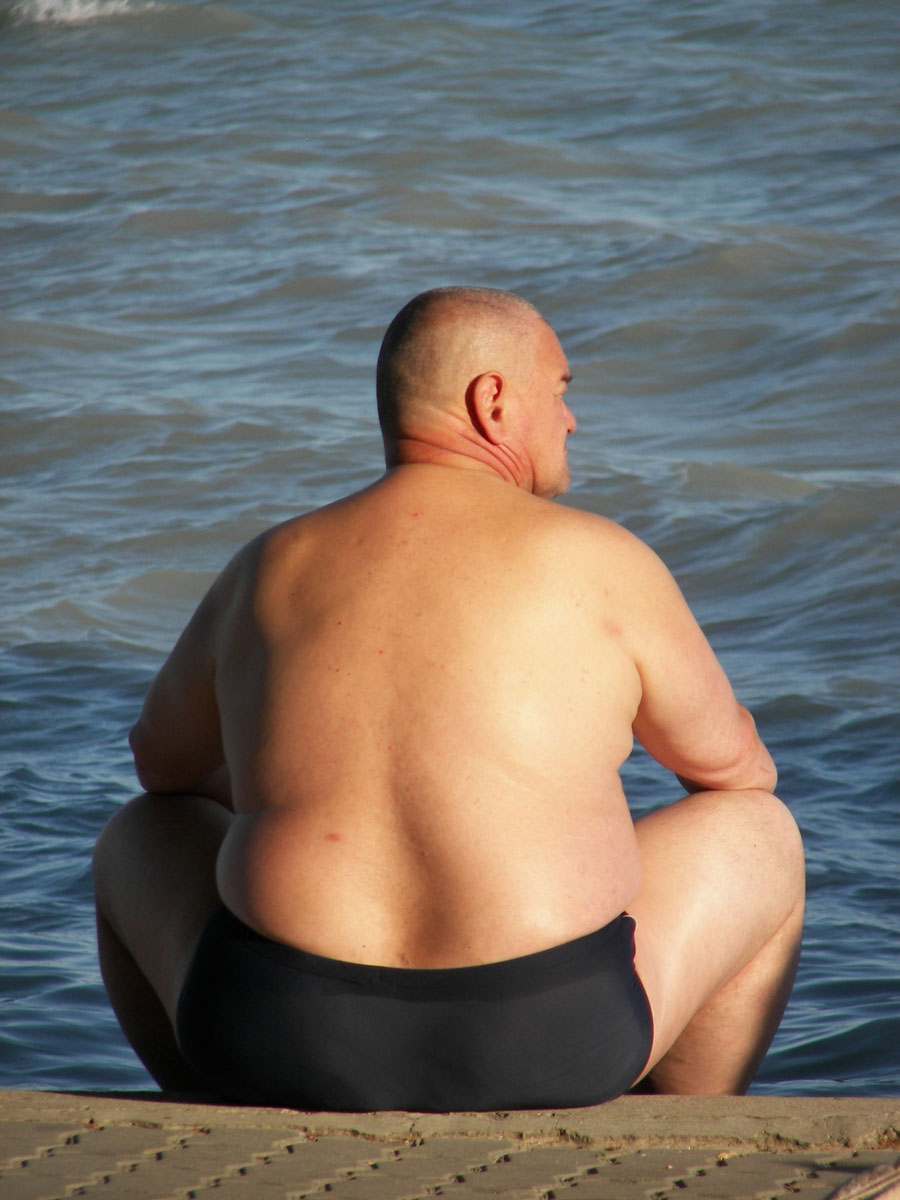
After removing the double chin

Didn’t we remove the double chin flawlessly?
To remove double chin in pics, we’re going to use a free app. We’re going to use PicsArt.
It’s a free app. You can download it from the Apple App Store or Google Play


We have a tutorial on removing double chin on YouTube. Let me put that video here first.
If you like to watch a video tutorial, go ahead and watch the video I put above.
If you’re like me who likes to read, keep on reading. I’m going to show you a step-by-step tutorial on how to remove double chin in PicsArt for FREE.
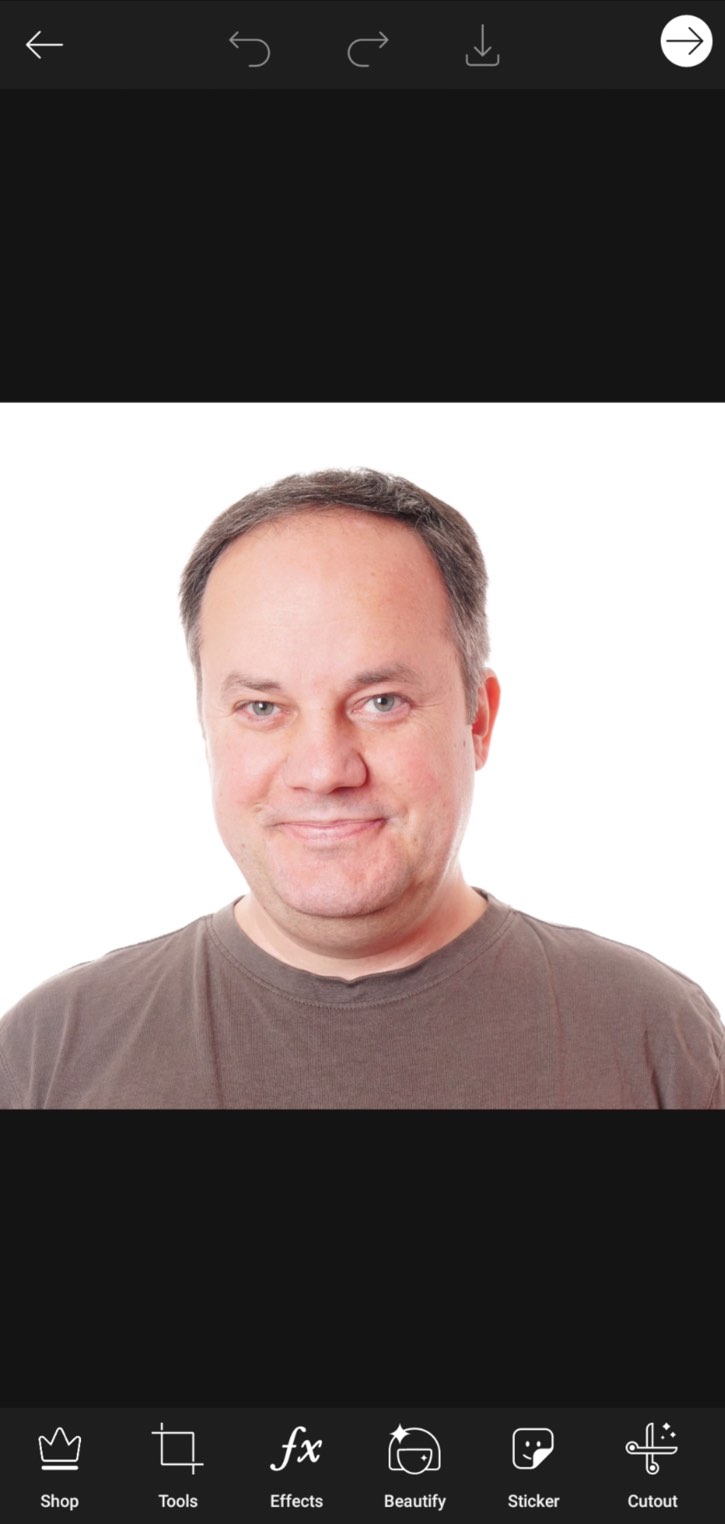
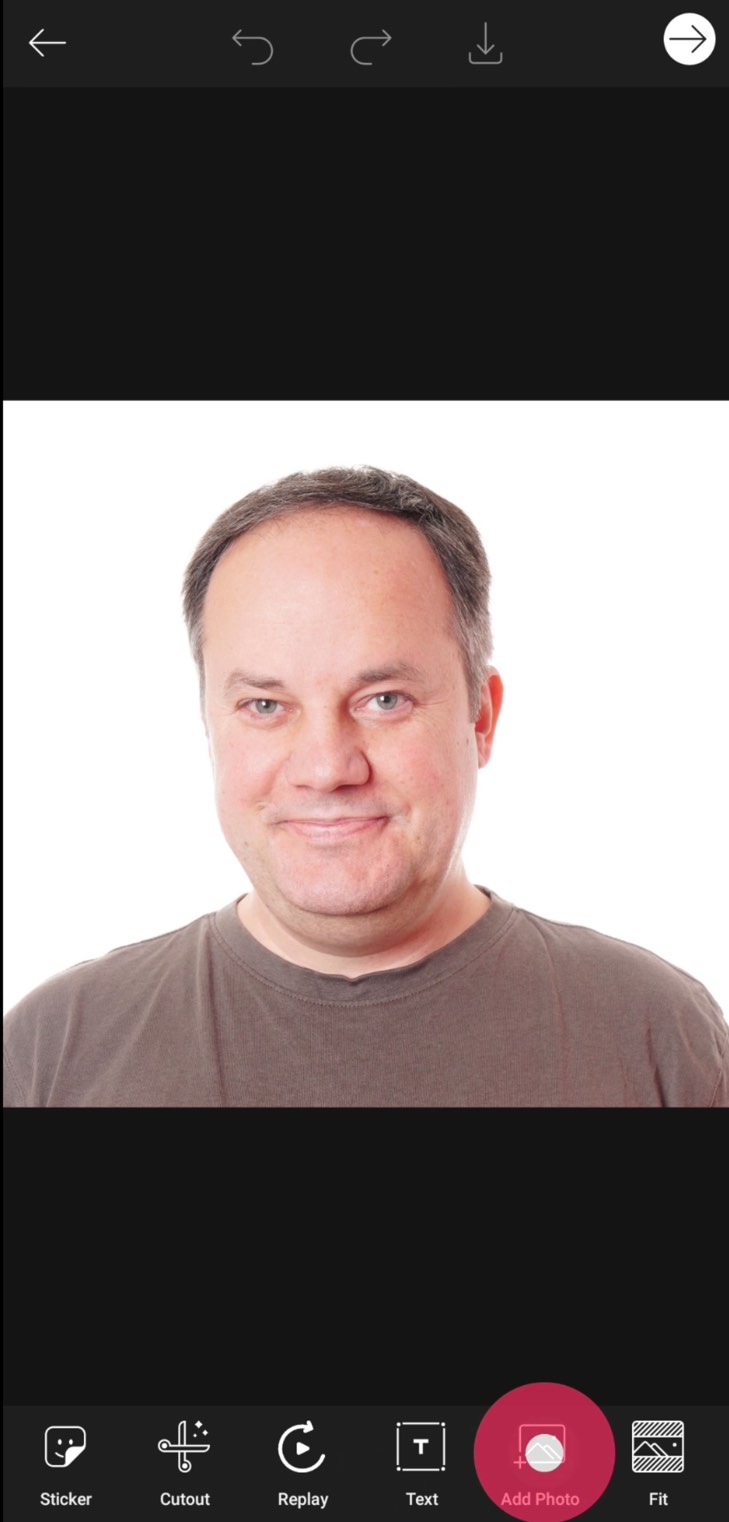
Step 1 – Open the photo in PicsArt
The first thing we need to do is to open the photo in PicsArt.
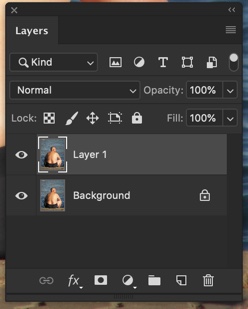
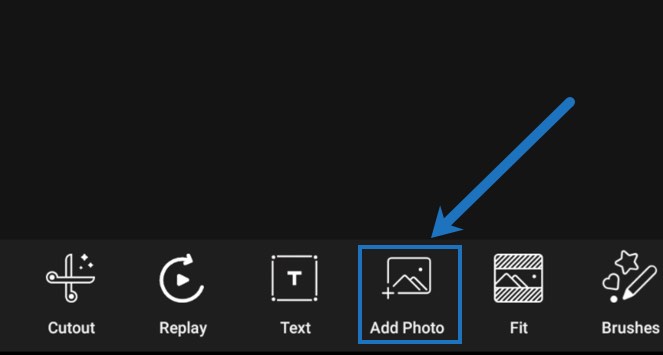
The next thing you need to do is to add the same photo again. I’ll tell you why in the coming steps.
Click on “Add Photo” icon.
Now, add the same photo. Enlarge the newly added photo.
Play the below video to see how.
Reduce the opacity of the newly added photo to 50-60%. Move the newly added photo a bit above.

Now, increase the opacity back to 100%.
Step 2 – Erase all the parts of the newly added photo except the neck
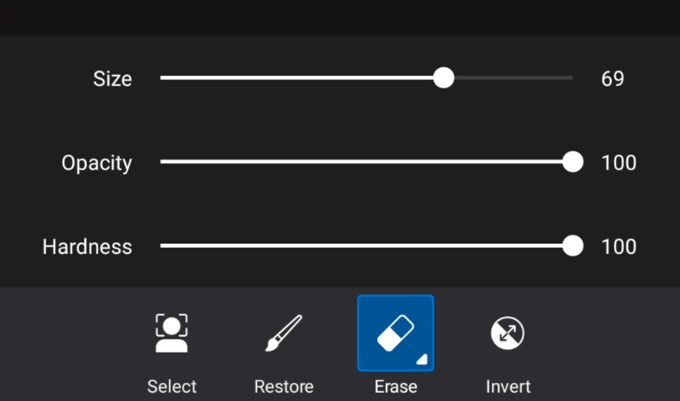
Tap on Erase icon. Change your settings to this
- Size: 69
- Opacity: 100
- Harness: 100
Start erasing all his body. You can increase/decrease the Size and Hardness accordingly. Removing all of his body will take some time. Have some patience.
Now also erase his chin. I know that the photo will look awkward but we’ll fix it.

This will reveal the chin that was there in the photo that we opened in the very first step.
Note: Don’t erase his neck.
See. We’ve already removed the double chin by 50%.

This will be enough for most of us. But if you want to remove the double chin completely, sit back.
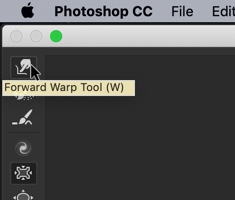
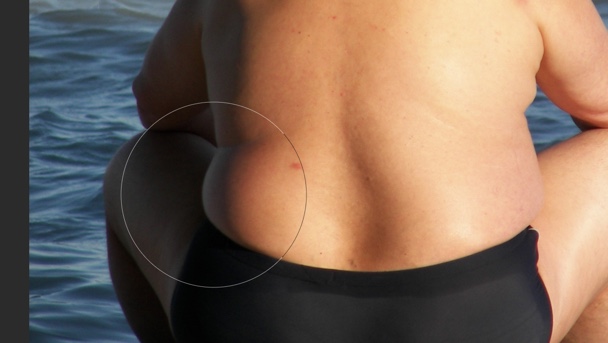
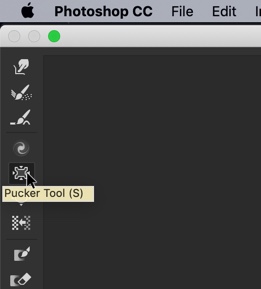
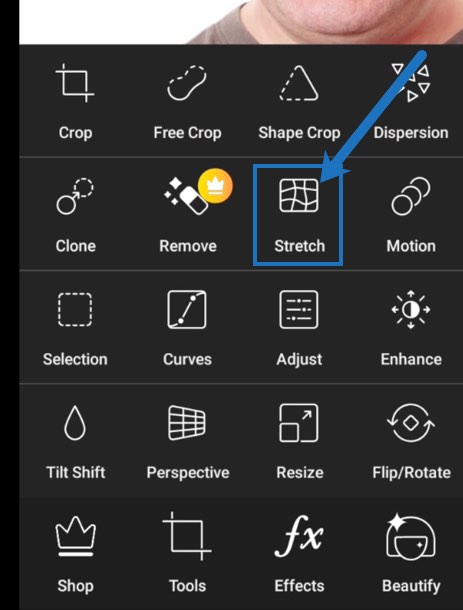
Step 3: Reduce the double chin with the stretch tool
Tap Tools > Stretch.
Then keep the “Warp” tool selected.
Change
- Size: 100
- Power: 33
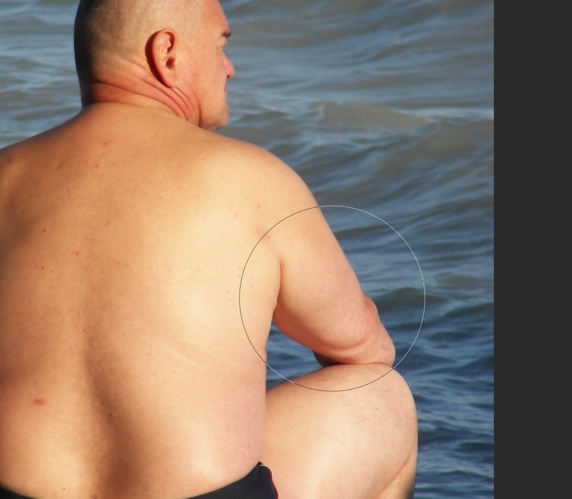
Start warping the chin inwards.
It’s ok if the face is now looking weird. We’re going to fix it in the next step.

Step 4 – Repeat Step 1
Again tap on the “Add Photo” icon and add the same photo.
Place the photo. Align it. The chin should be there at the same point where the original chin was.
Tap on ‘Invert”.
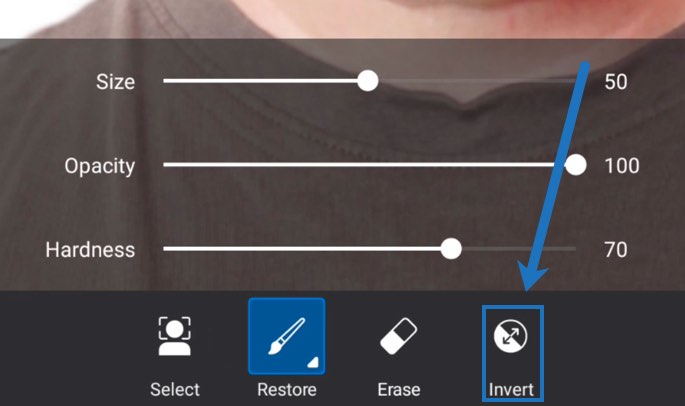
Tap on “Restore”.
Change the below settings
- Size: 37
- Opacity: 100
- Hardness: 70
Start revealing only the chin.
This will take some time. Have some patience.
That’s all! You have removed the double chin successfully in your photo.
See the Before and After.
Before removing the double chin
After removing the double chin
Other apps you can use to remove your double chin
If you don’t use PicsArt, you can use these apps also.
The steps will be the same. Only the UI will be different.
- Snapseed
- Photoshop Express
Let TrickyPhotoshop Remove the double chin in your photos
I understand if you’re not getting a good result. This is a complex tutorial for many of us.
I’m here to help you. My team will remove double chin from your photos. We provide photo editing services. We’d love to keep our services free like we kept this tutorial free, but we won’t be able to pay our editors and bills.
Exercises to Remove Double Chin
Content creators on YouTube will give you 1 billion exercises to remove your face fat. But the only way to remove double chin is to reduce your body fat.
Burn more calories than you take to remove your double chin. This is the only way.
You can do the below exercises to burn calories.
- Brisk walk
- Jog or Run
- Cycling
- Burpees
- Push up
- Squats and many more compound exercises
Surgeries to remove double chin
I’m not a doctor. So, please consult with your doctor before proceeding.
I found three surgeries to remove double chin on Healthline.
- Chin liposuction. This procedure removes excess fat from under the chin.
- Submentoplasty. This surgery combines chin liposuction and smaller incisions under the chin to tighten muscles.
- Neck lift. This surgery, called lower rhytidectomy, involves removing excess skin or tightening the neck skin muscles to give the face a more contoured appearance.
The price ranges from $1,200 to $12,700, according to the American Board of Cosmetic Surgery.
I won’t be using surgery to remove my double chin. Nutritious food and exercise should be good enough for me.
Conclusion
- You saw how to remove your double chin in a photo using an app.
- You can also reduce your face fat in photos by drawing your head forward while taking your photos.
- Or you can use our photo editing service if you’re not getting a good result.