You asked for it and I am giving it. Finally, here’s my tutorial on how to make a logo in Photoshop in less than 4 minutes. All you need is a Photoshop and this tutorial to design your first ever logo.
It’s never been easier to create a logo. Today there are many tools that do it automatically but I still prefer to craft my own with Photoshop. It just adds that personal touch.
I have made this tutorial by keeping you in my mind. I know that you’re new to Photoshop and don’t know much. I will explain each small step in details so that you can follow along.
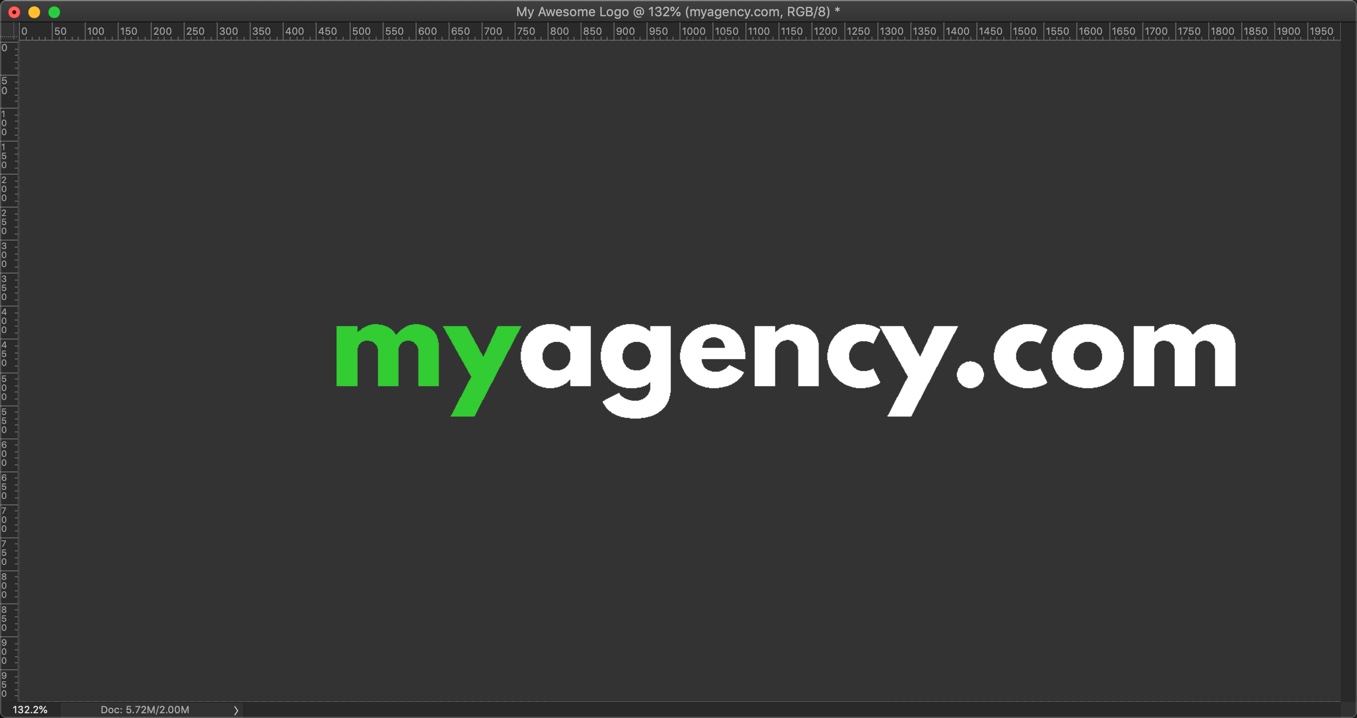
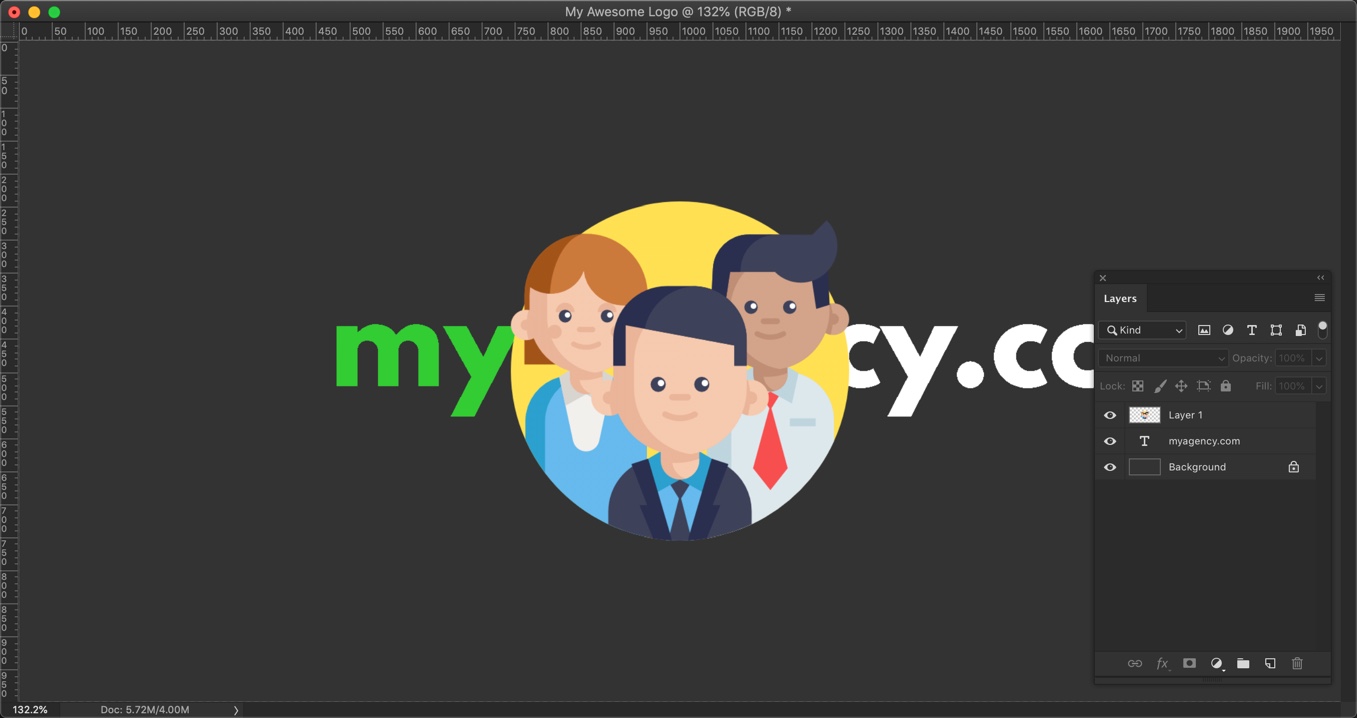
In this tutorial, I am going to show you how to create the below logo.
The best part is that even a beginner can create this logo in less than 4 minutes.
Let’s start. Here’s the logo that we’re going to design. Look how clean it is looking.

Step 1: Create a new document
The very first thing you need to do is to create a new document. Go to File > New Document or press Cmd + N / Ctrl + N.
Set the width as 2000 pixels and height as 1000 pixels. Set the resolution to 72 pixels per inch. Press Create. If you’re using versions of Photoshop that are older than Photoshop CC 2015 then you would see a different interface.

This will create a new document.
Step 2: Make the logo in Photoshop
We’re going to fill this white color a dark gray color.
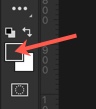
Click on the foreground color.
Write #333333 in the field. Photoshop will automatically choose the Gray color.
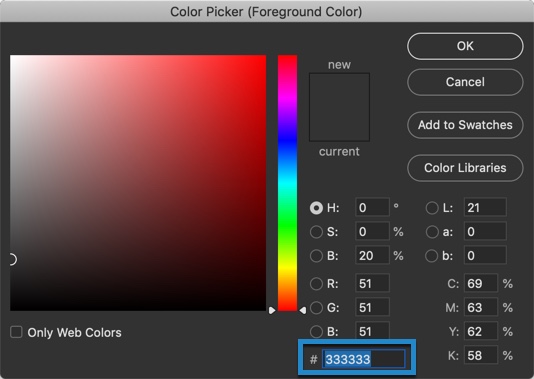
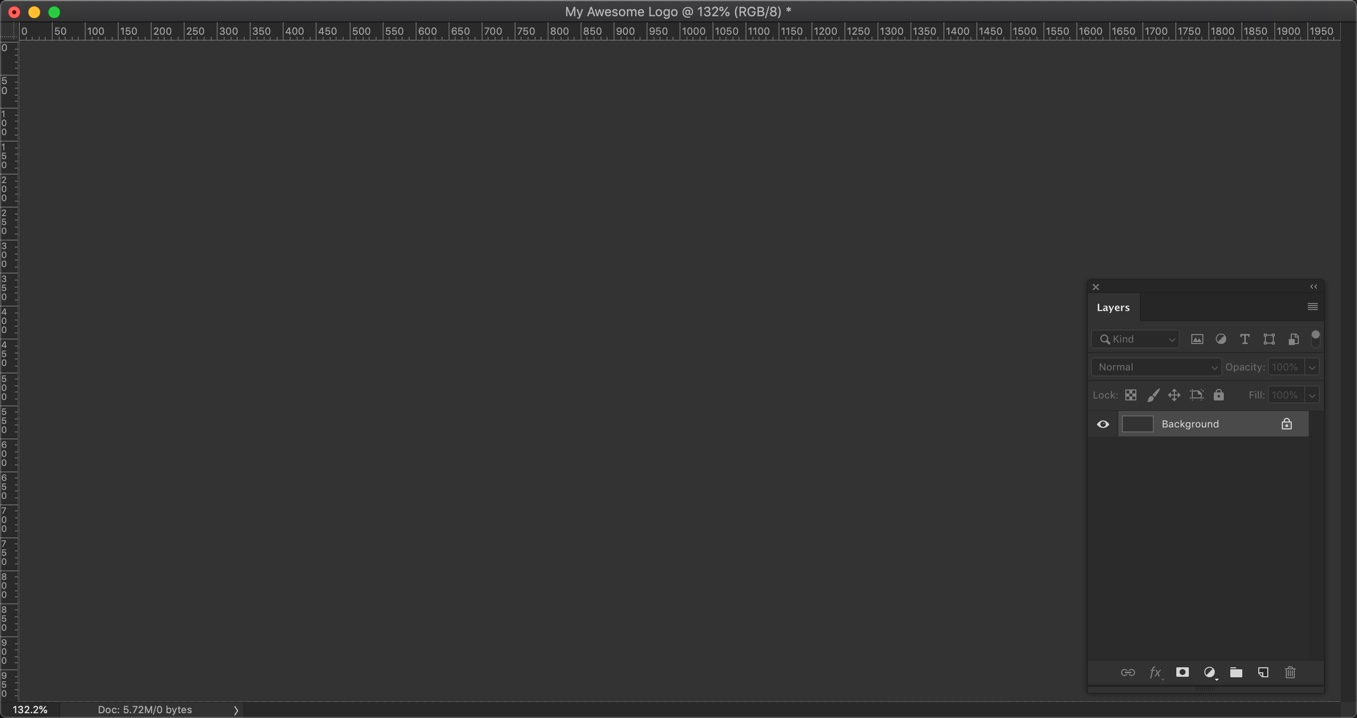
Press Opt + Delete / Alt + Backspace to fill the white color with gray color.
Grab the Horizontal Type tool from the tool panel or press Shift + T again and again until it comes.
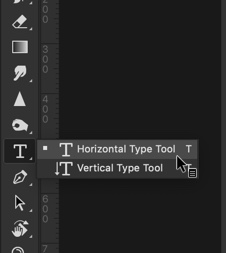
Choose a beautiful font in the option panel. I am going to choose League Spartan font. Change the font color to White.

Click anywhere and write the text. Once written, hold down Cmd / Ctrl key and drag and drop the text to your desired position. Refer the below GIF.
Step 3: Format the text
We’re going to color the “my” with green.
With Horizontal Type tool still activated, select the “my”.

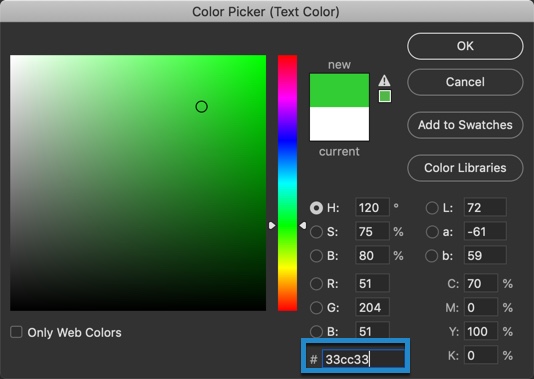
Click on the color icon in the option panel.

Change the color to #33cc33. Photoshop will select a nice green color. Press OK.
Here’s the logo.
Step 4: Add an icon
There are some cool and awesome fonts on Flaticons (this tutorial is not sponsored by Flaticons). Download the one that you like. They’re free to use.
I am going to use Icons made by Freepik from www.flaticon.com is licensed by CC 3.0 BY.
In the download screen, choose the 512 px PNG version.

Open this icon in Photoshop once it’s downloaded. Simply copy (Cmd / Ctrl + C) and paste (Cmd / Ctrl + V) icon.
This is how the image will look. We’re going to align the logo.
Open the Layer panel by pressing F7 or by going to Window > Layer.
Make sure that the icon layer is activated in the layer panel. Press Cmd / Ctrl + T.
Here’s a GIF for you.
And, this is all.


