Photoshop is one of Adobe’s most appreciated and popular software solutions, suitable for a broad range of digital art creation and editing purposes. Its influence on the history of photography is immense, and since its invention, Photoshop has affected the way we perceive and process photographs significantly.
In February of 2019, Photoshop turned 31. Taking a look back to understand its journey so far, what can be said about its impact on photographers and their work today? Here are the 10 most essential ways in which Photoshop has changed and shaped the history of photography as we know it.
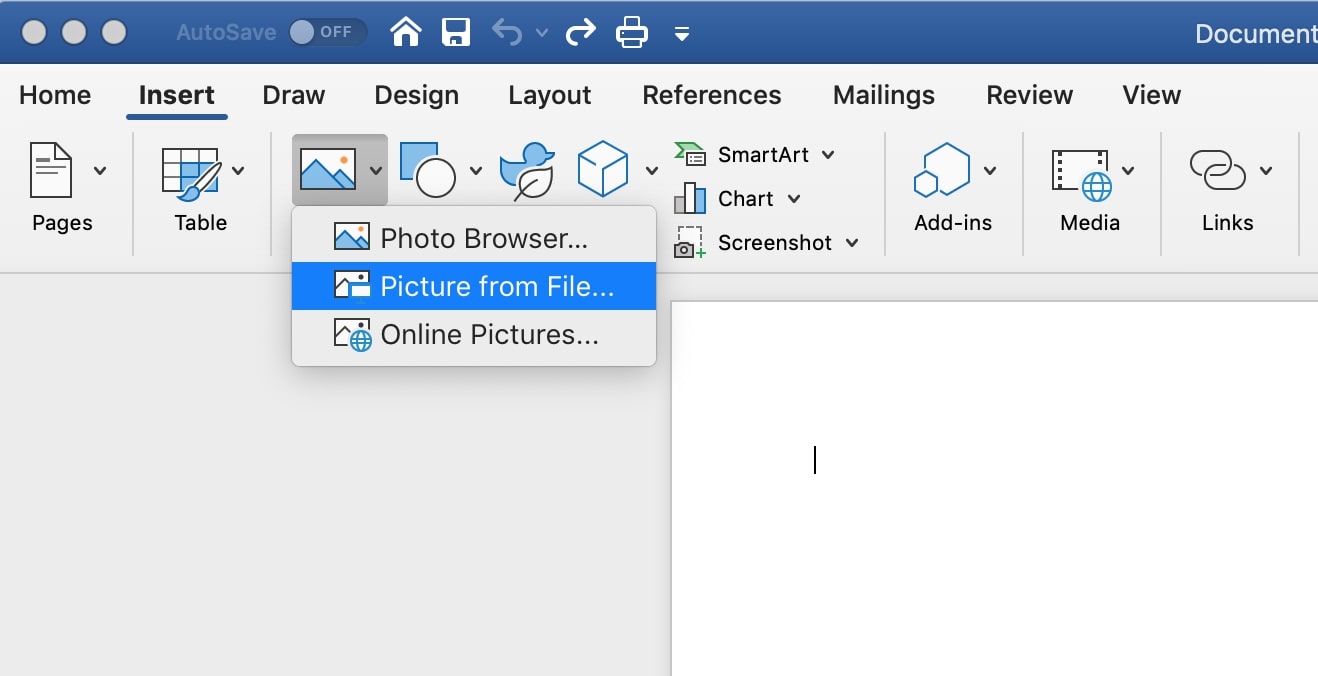
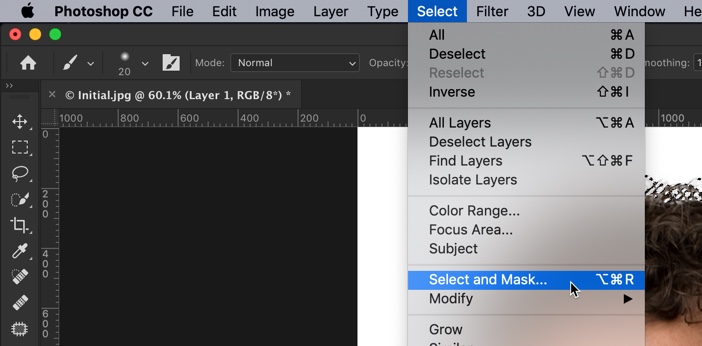
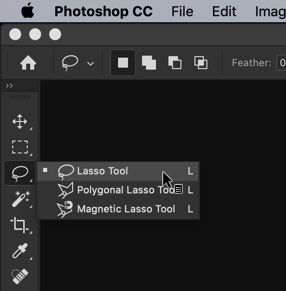
1. Ease of operation
The term “photoshopped” has become so widely spread, that it’s basically considered synonymous to the term “processed” in terms of photo editing and manipulation. And yet, photo manipulation processes were popular and explored long before Photoshop was even an idea.
However, to make even the simplest changes to your photographs, you once needed a whole set of skills, specific physical tools, and immense patience. With the arrival of digital photography and PS, altering photos became a lot quicker, easier, and cheaper to do, as photographers no longer had to make entire rooms the dedicated spaces where they would review and develop films.
2. Perception of human history
With the rising popularity of Photoshop, we became familiar with the fact that photographs can be easily altered to match reality, although not showing it. Therefore, it’s no surprise that Paperwritingpro.com specialists emphasize that Photoshop created a massive shift in the way we see current events, causing us to question our knowledge of history as well.
3. Perception of “ideal” human appearance
Hollywood stars and fashion models are real people, too. However, their (often heavily) altered faces, skin, and curves on magazine covers led us to believe that beauty equals perfection. Beauty became an unrealistic goal, and although we can’t blame Photoshop for such turn of events, this is one of the not so favorable effects of its frequent uses.
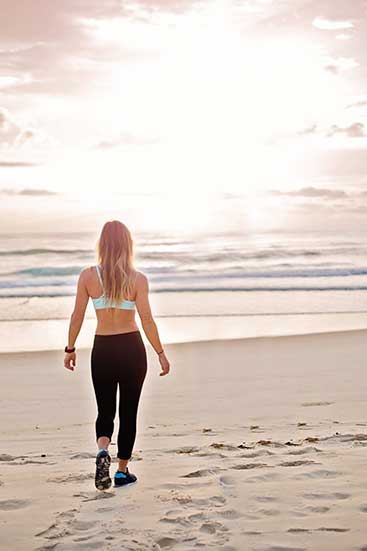
4. Highlighting the beauty of nature
There are so many exquisite places on the Earth’s surface. Thanks to Photoshop, the results of capturing stunning landscapes and rich, fantastic wildlife can be tweaked to enhance the beauty of the versatile, heavenly nature of our beautiful planet.
5. Advertising game-changer
The visual appeal of the ads created today is often a result of advanced Photoshop usage. From adding, removing, and relocating parts of photographs, graphics, and text, whatever your ad needs to shine, Photoshop can do it for you.
6. Tool for personal expression
Photographs are not merely documentation of the world that surrounds us. They are also a way an artist expresses their own, individual perception of life. With Photoshop, this vision can be changed to fit a photographer’s specific sensibility and a message they want to send through their work.
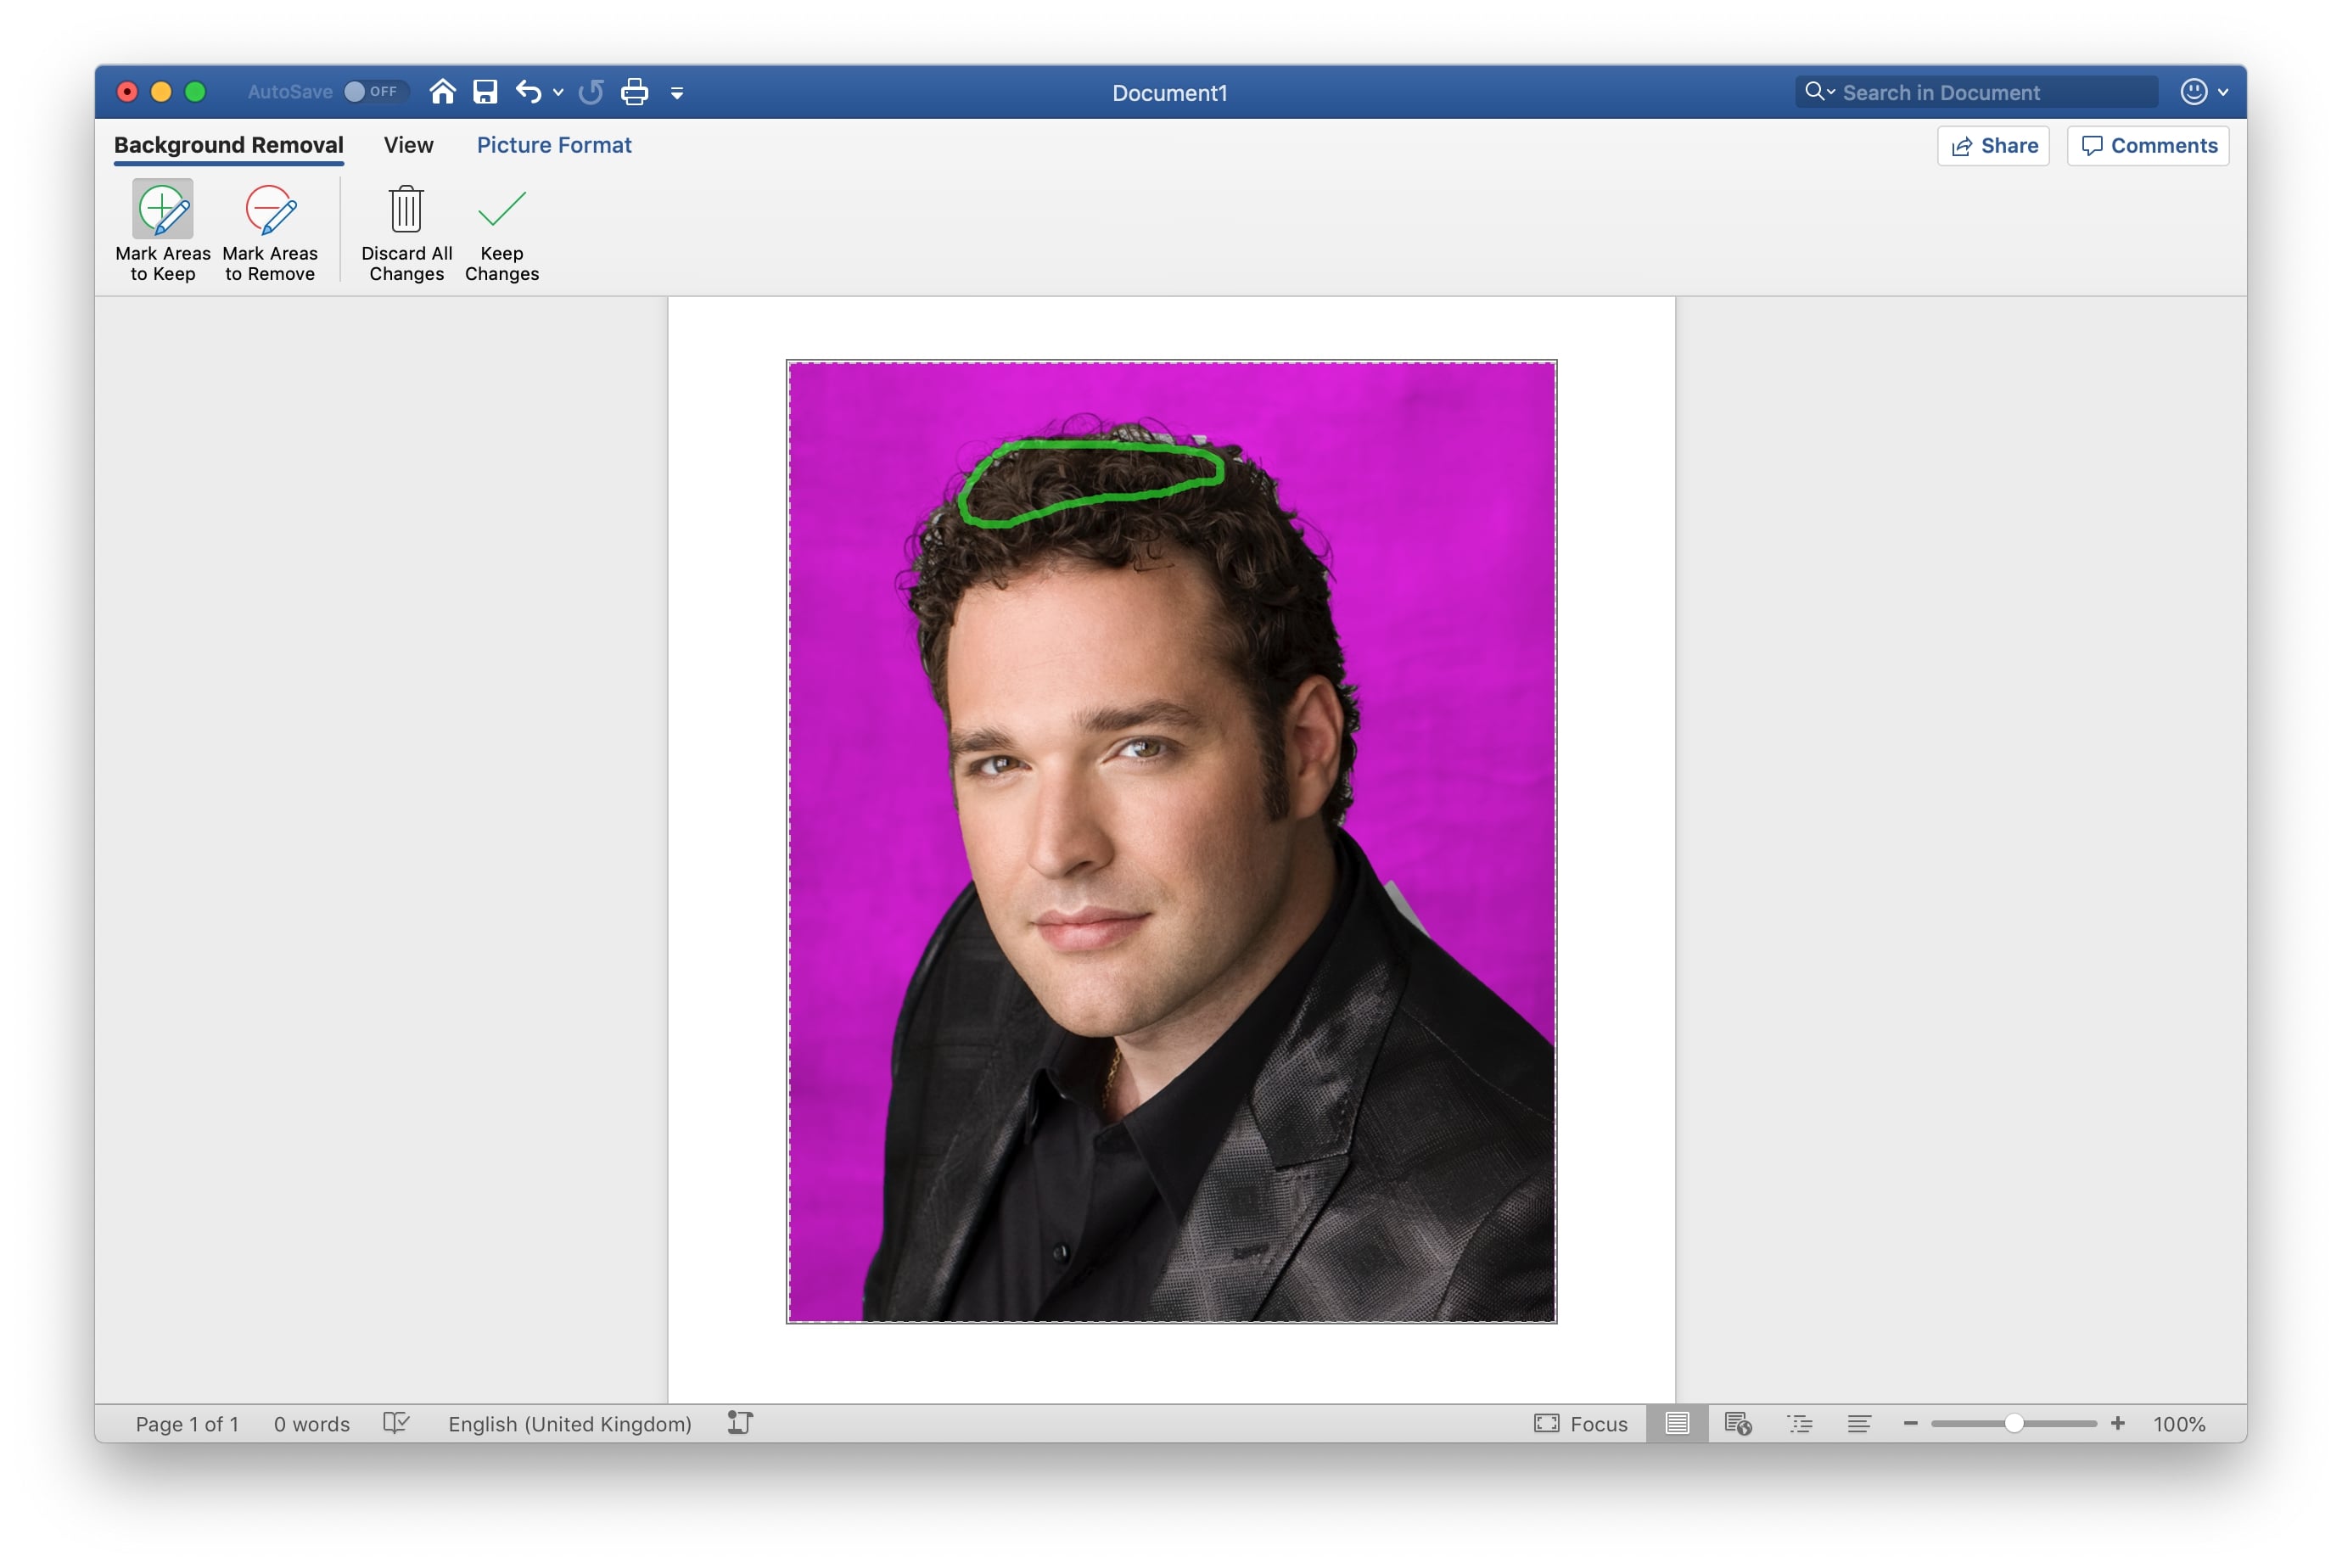
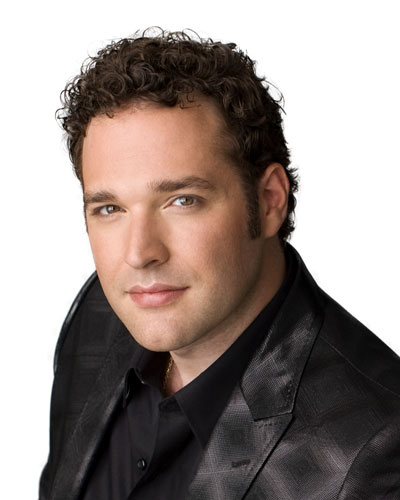
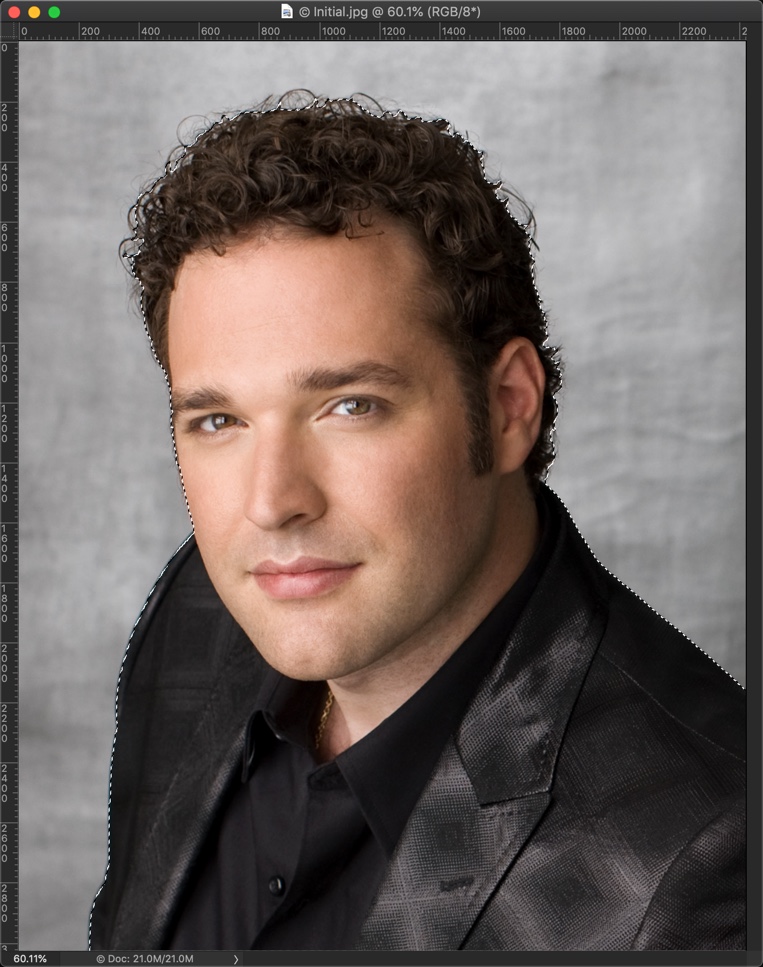
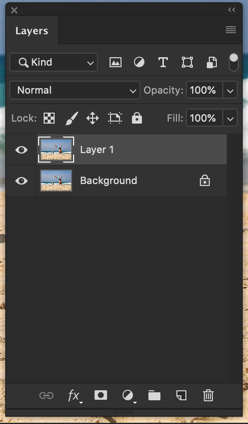
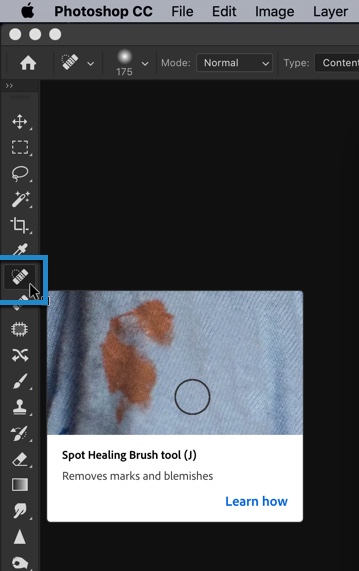
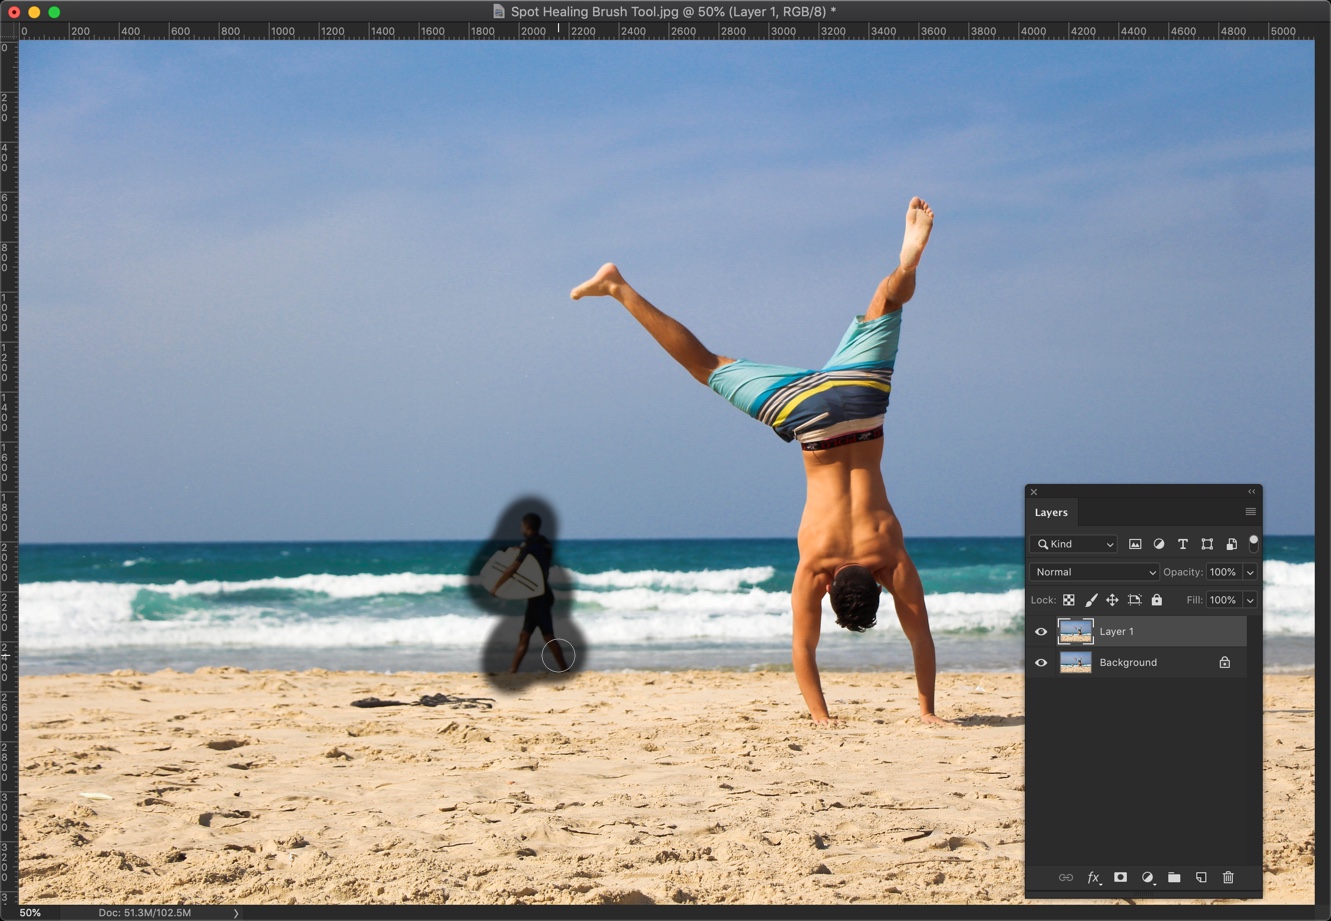
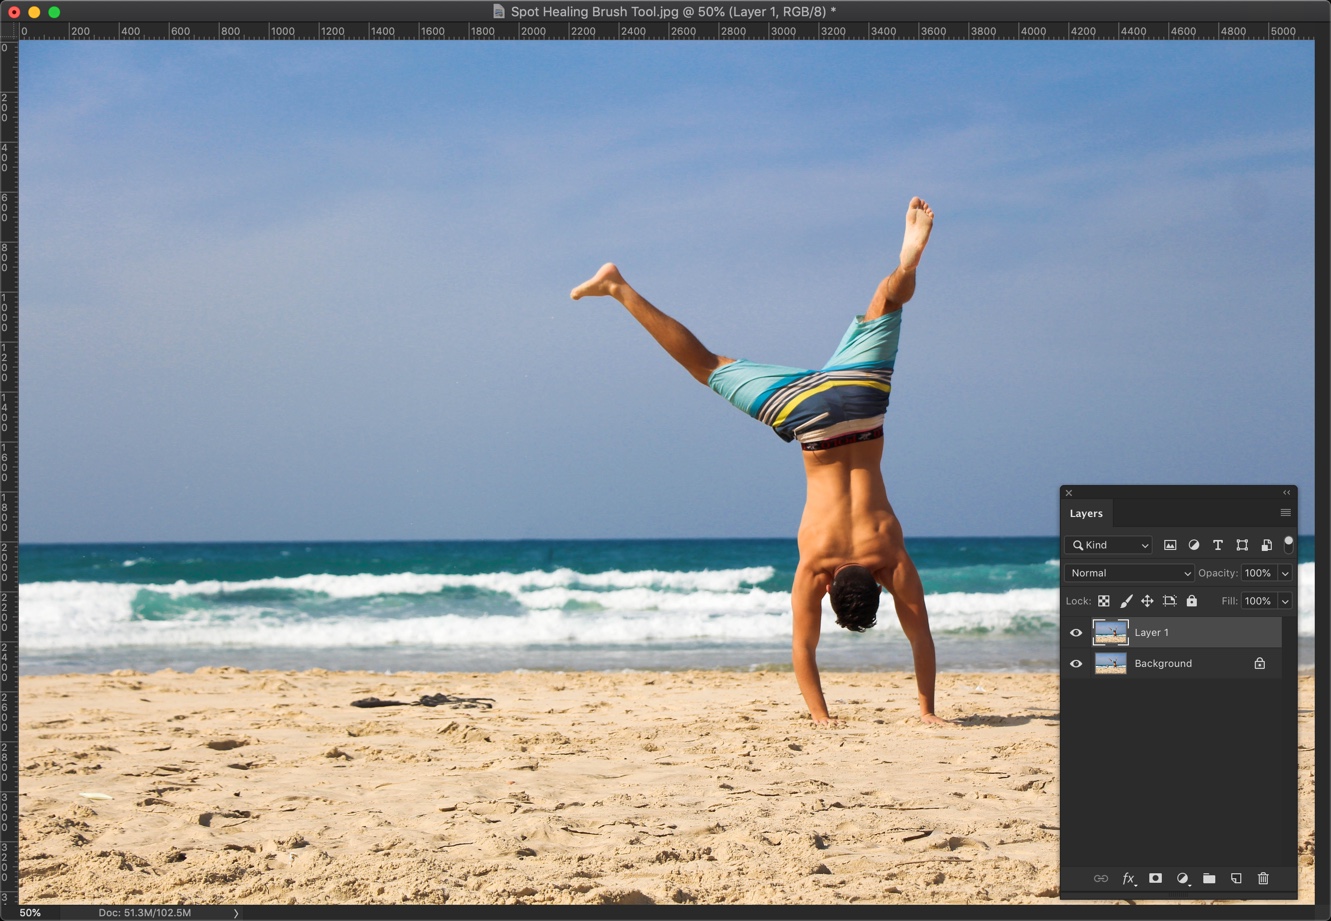
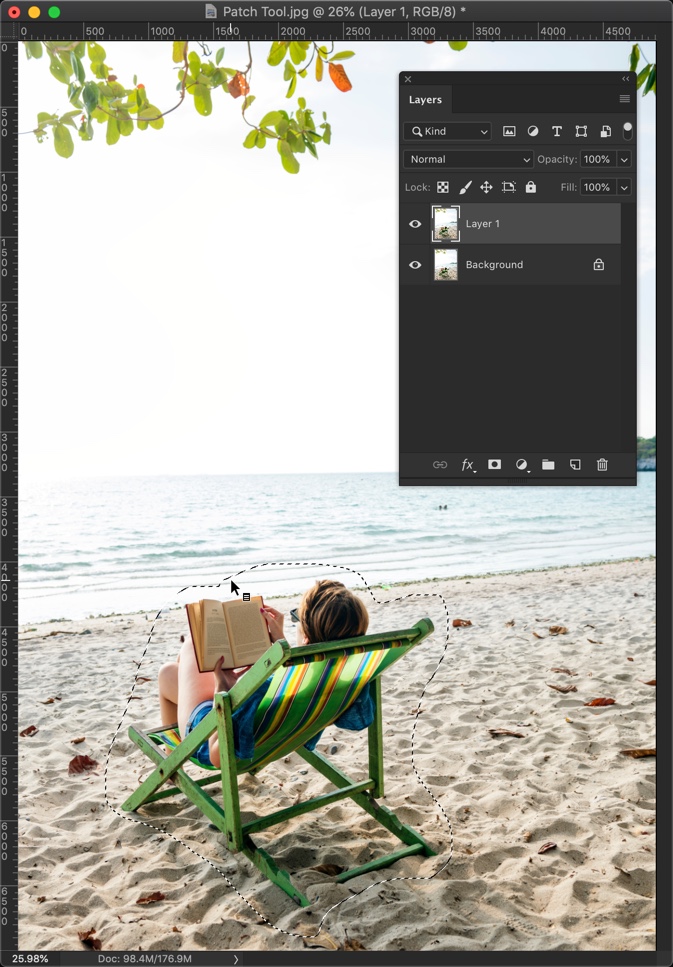
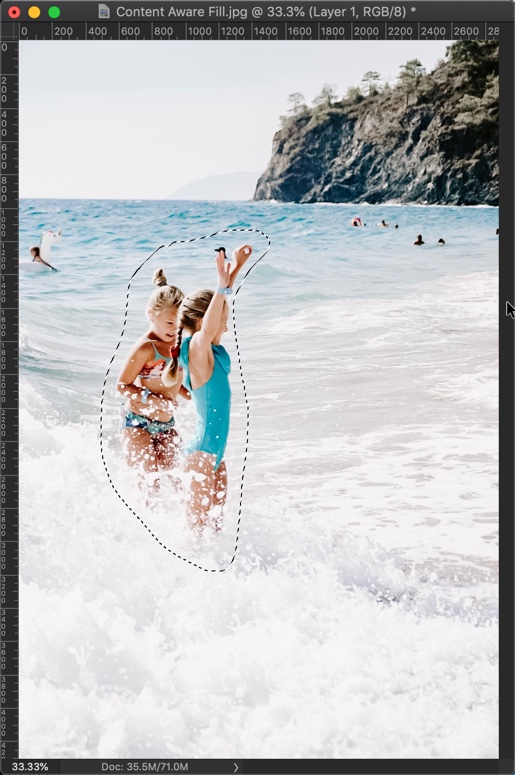
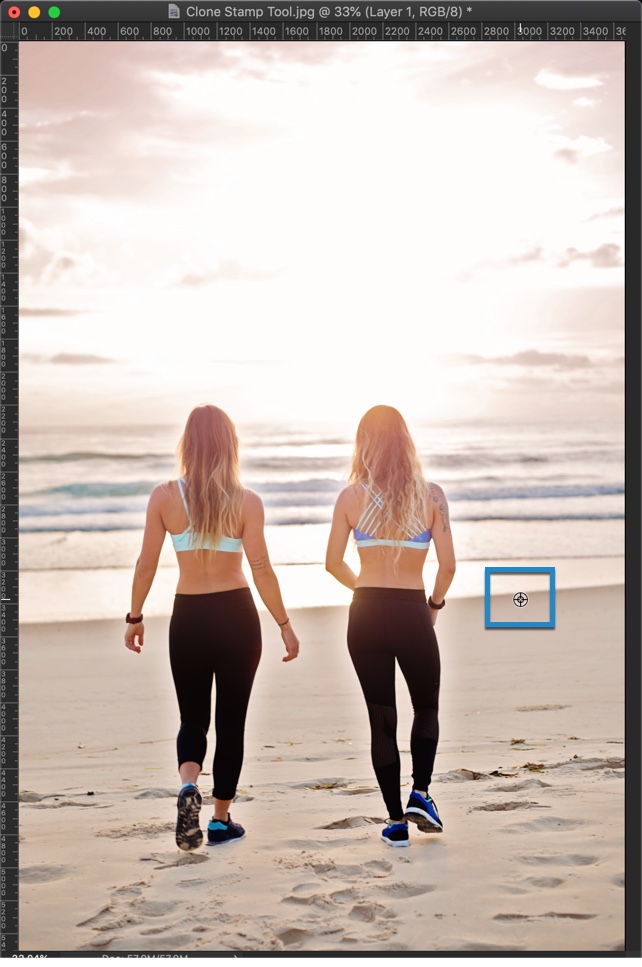
7. Imperfections are no longer final
Not all photographing conditions are ideal. Luckily, the lack of good light or a bad hair day your model is having don’t have to mean your photographs are to be thrown away for good. With a few tweaks in Photoshop, photographers can now fix issues they weren’t able to address at the time when they were taking the shots in the first place.
8. Reviving the past
Retouching old, often damaged and unclear pictures is a long, demanding process. Photoshop, however, offered a lot more control over this procedure and made it significantly simpler than it used to be in the past.
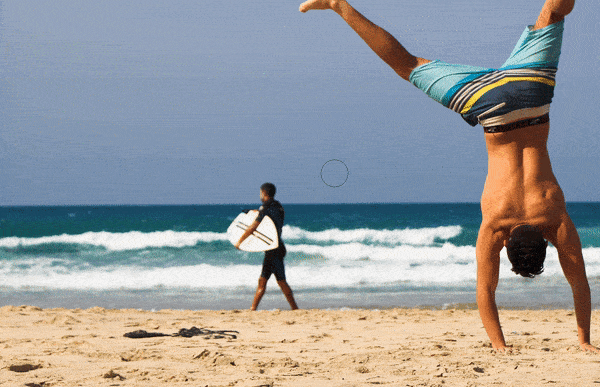
9. Creating comical and fantastical scenes
Adding, altering, and removing elements from photographs can be done with the goal of creating funny or imaginative results. The arrival of Photoshop made these processes easier, and their results mind-blowingly realistic.
Conclusion
The wide variety of options Photoshop offers designers, illustrators, and photographers around the world is what made it the tool of choice for so many creatives. When it comes to photography adjustment and manipulation, however, the significance of Photoshop is both practical and historical. Its development and use have changed the way we see the world and helped edit and adapt millions of different photographs around the globe. Yet, the most crucial influence PS has had on photography is this: It opened our minds for more and enabled the introduction of fresh perspectives and new artistic expressions.
This is a guest post submitted by Jacob Dillon.


 [/vc_column_inner][/vc_row_inner][vc_column_text][/vc_column_text][/vc_column][/vc_row]
 [/vc_column_inner][/vc_row_inner][vc_column_text][/vc_column_text][/vc_column][/vc_row]
 [/vc_column_inner][/vc_row_inner][vc_column_text][/vc_column_text][/vc_column][/vc_row]
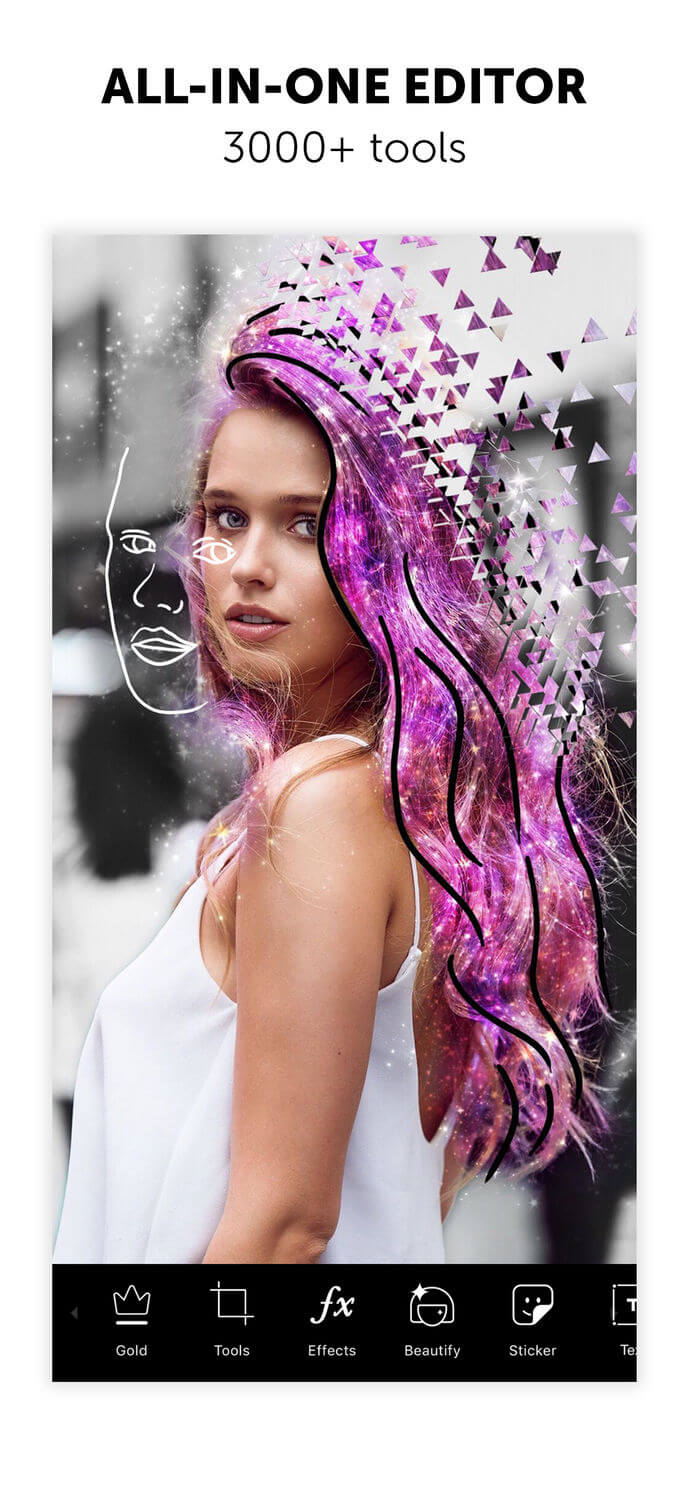
 [/vc_column_inner][/vc_row_inner][vc_column_text][/vc_column_text][/vc_column][/vc_row]
 [/vc_column_inner][/vc_row_inner][vc_column_text][/vc_column_text][/vc_column][/vc_row]
 [/vc_column_inner][/vc_row_inner][vc_column_text][/vc_column_text][/vc_column][/vc_row]
 [/vc_column_inner][/vc_row_inner][vc_column_text][/vc_column_text][/vc_column][/vc_row]
 [/vc_column_inner][/vc_row_inner][vc_column_text][/vc_column_text][/vc_column][/vc_row]