Are you unhappy with the scratches in your old photo? Do you want to remove the creases in your photo for free?
Worry no more. I’m here for you. I’m going to show you how can you remove scratches in your photo in an app for free. Before I show it to you, let me show you what are you going to get today.
How to Keep Scratches Away from Photos?
I’ve got eight easy ideas to make sure your photos stay scratch-free:
- Proper Storage: Get yourself some acid-free photo albums or storage boxes. These materials won’t break down over time and will keep your photos safe. Remember not to stuff your albums too full, though. Give each photo some breathing room.
- Archival Sleeves: These clear sleeves are like bodyguards for your photos. They’re made of acid-free stuff and shield your pictures from dust, fingerprints, and, of course, scratches. Just slip your photos into these sleeves before tucking them away.
- Handle Creases: If you already have some scratches, don’t stress. You can often fix them or make them less noticeable. Lay your creased photo flat, cover it with a clean cloth, and gently press it with a warm (not hot!) iron. Use the lowest heat setting and avoid ironing directly on the picture. For more severe creases, check out this tutorial for help.
- Ideal Storage Conditions: Keep your photos in a cool, dry spot. High humidity and extreme temperatures can spell trouble for your precious memories.
- Matte and Frame: When you’re showing off your photos, think about matting and framing them. Matting puts a protective layer between your picture and the glass, which cuts down the risk of scratches. Framing also keeps your photos flat and safe.
- Back It Up Digitally: Make digital backups of your photos. That way, even if your physical copies take a hit, you can always print new ones. Cloud storage services like Dropbox or Google Drive, plus external hard drives, are your pals for keeping digital copies safe and sound.
How to Remove Scratches in Photos in an App for Free?
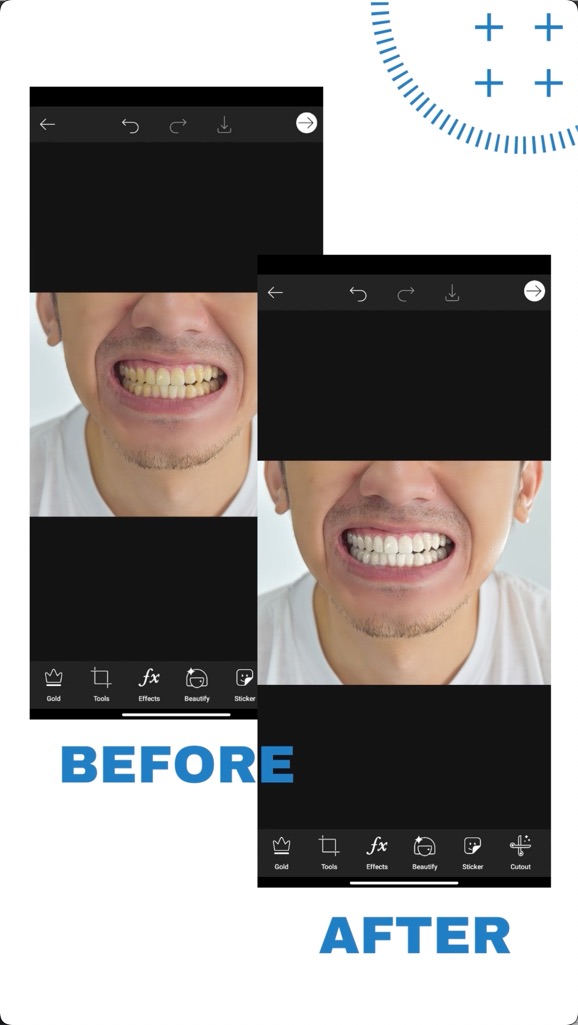
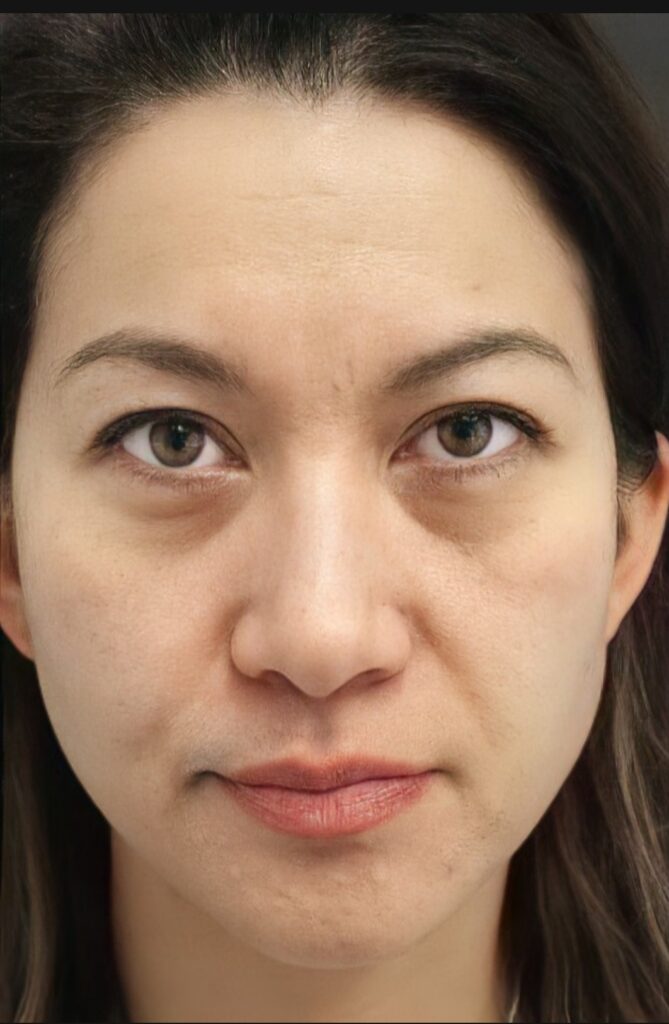
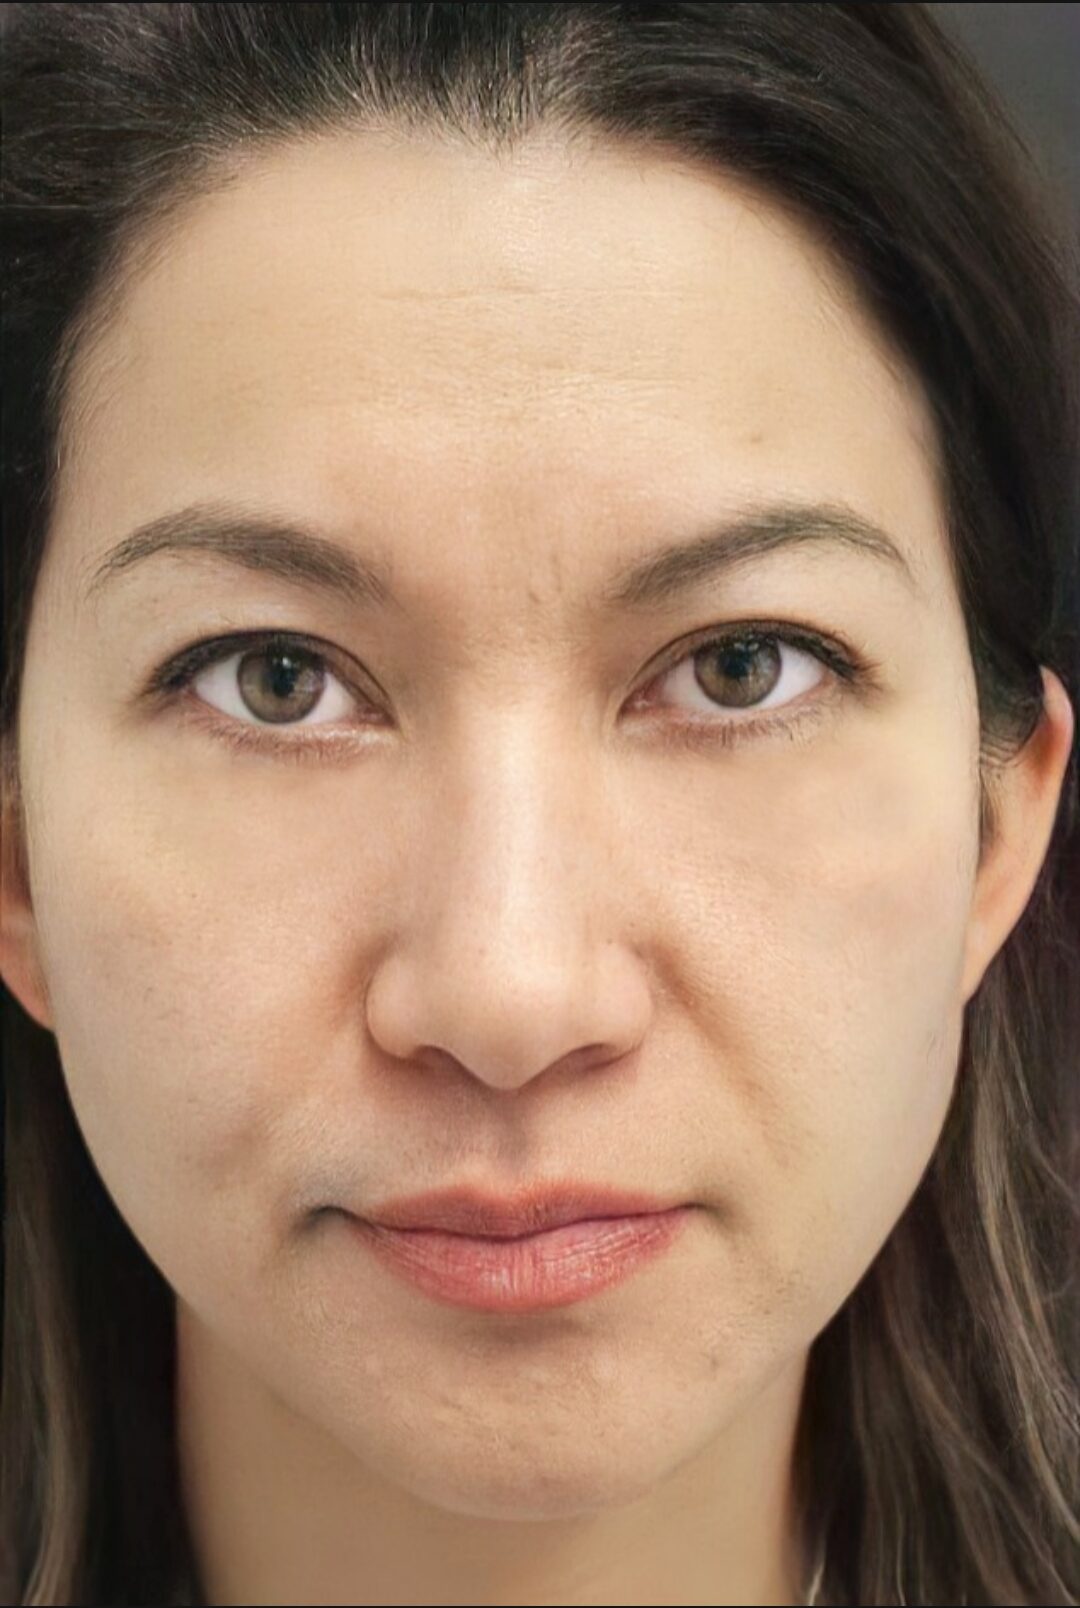
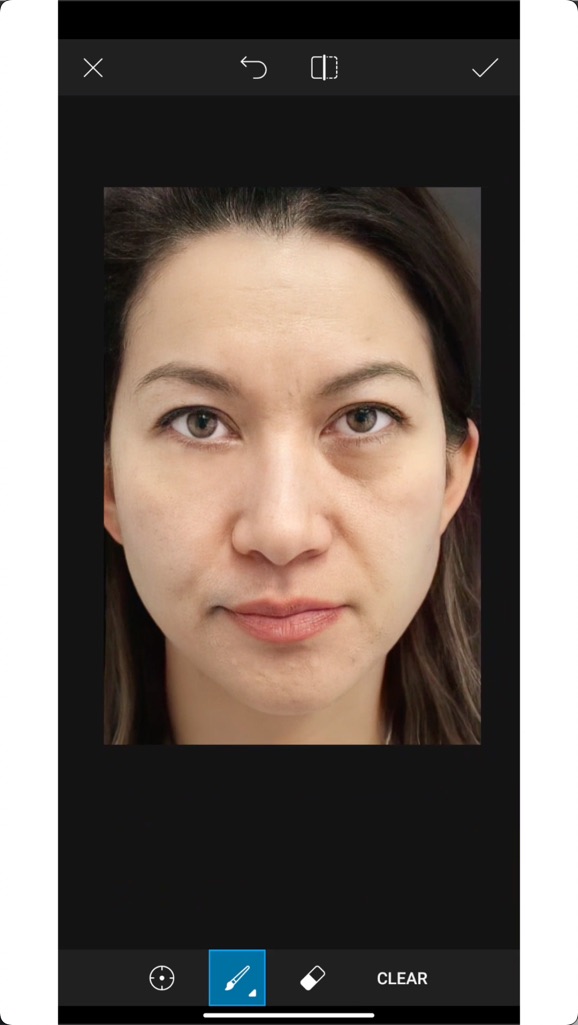
Let’s see before and after photos first.
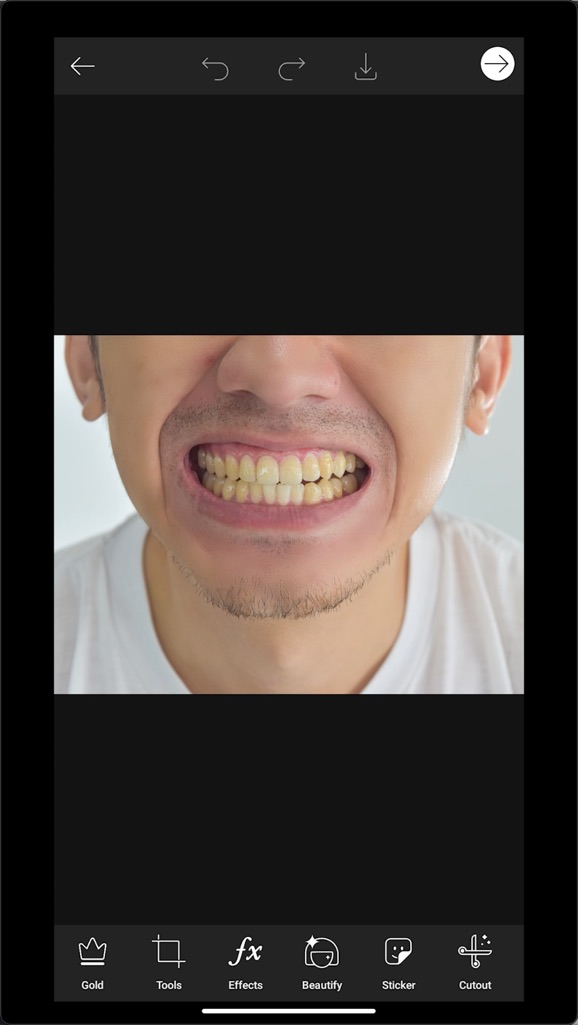
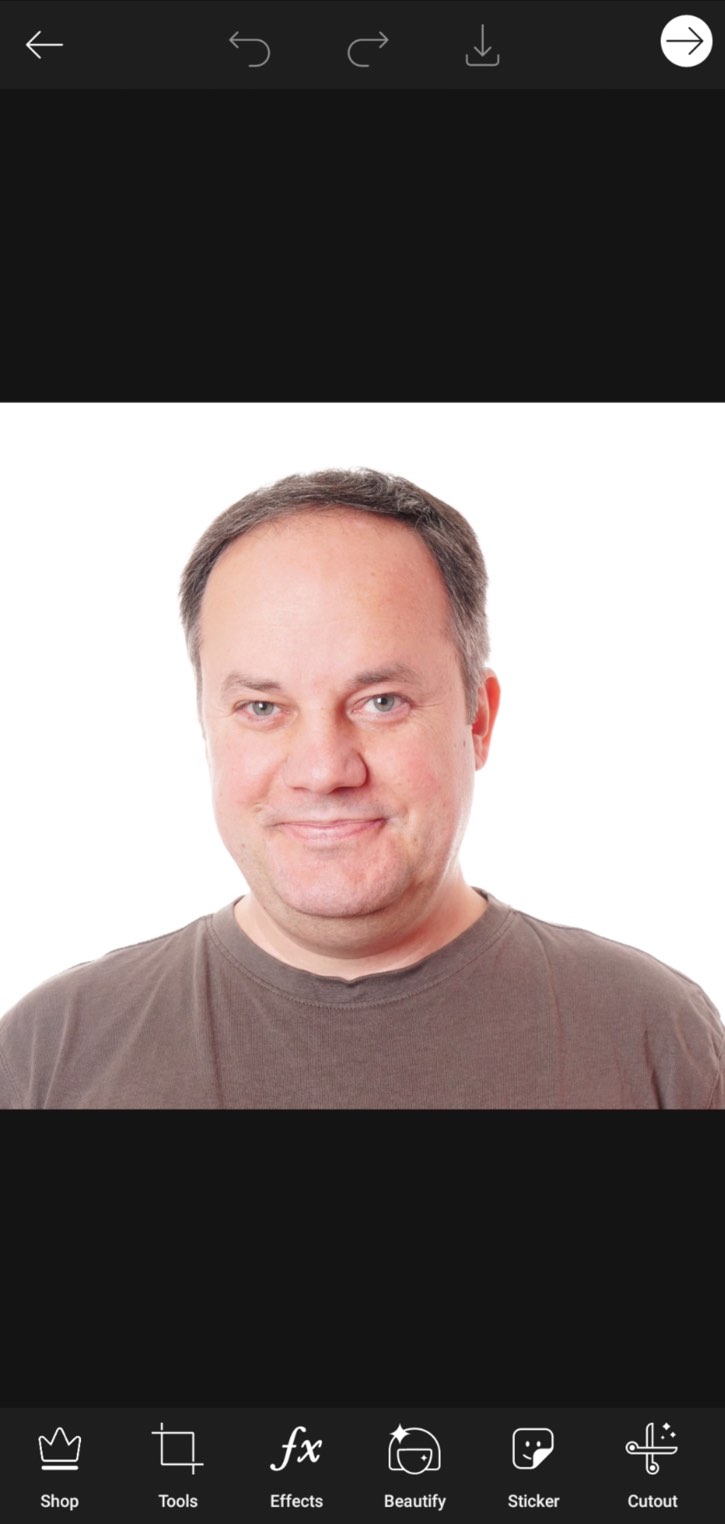
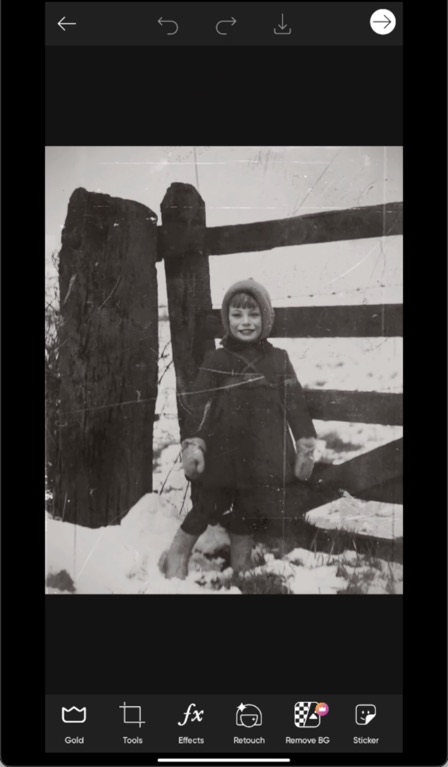
Before removing the scratches

After removing the scratches

Didn’t we remove the scratches flawlessly?
To remove creases in pics, we’re going to use a free app. We’re going to use PicsArt.

It’s a free app. You can download it from the Apple App Store or Google Play


We’ve got a YouTube tutorial about getting rid of scratches in photos. I’ll share that video with you first.
If you’re into video tutorials, you can watch the one I’ve posted above.
But if you’re more of a reader like me, no worries! I’ll guide you step by step on how to remove scratches in PicsArt for free. So, let’s dive into it! 😊
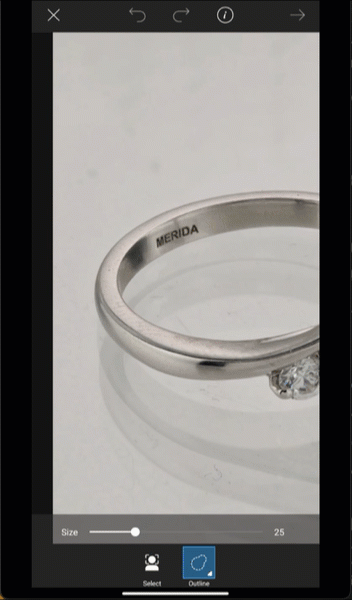
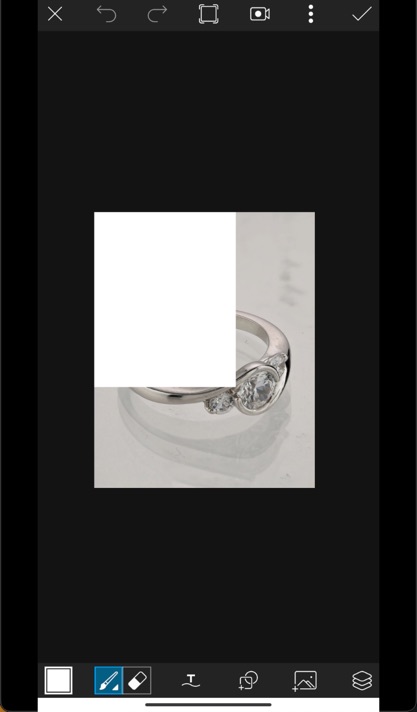
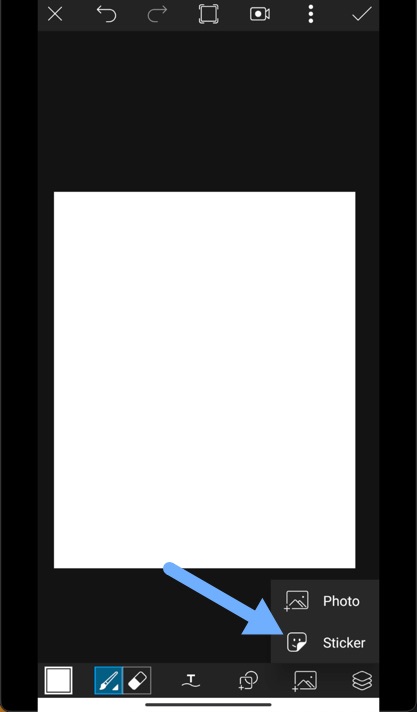
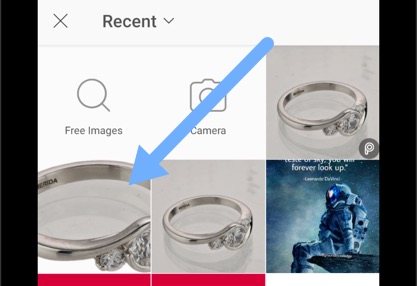
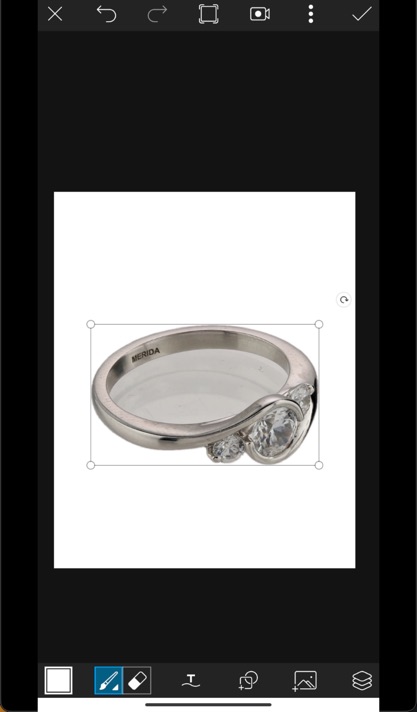
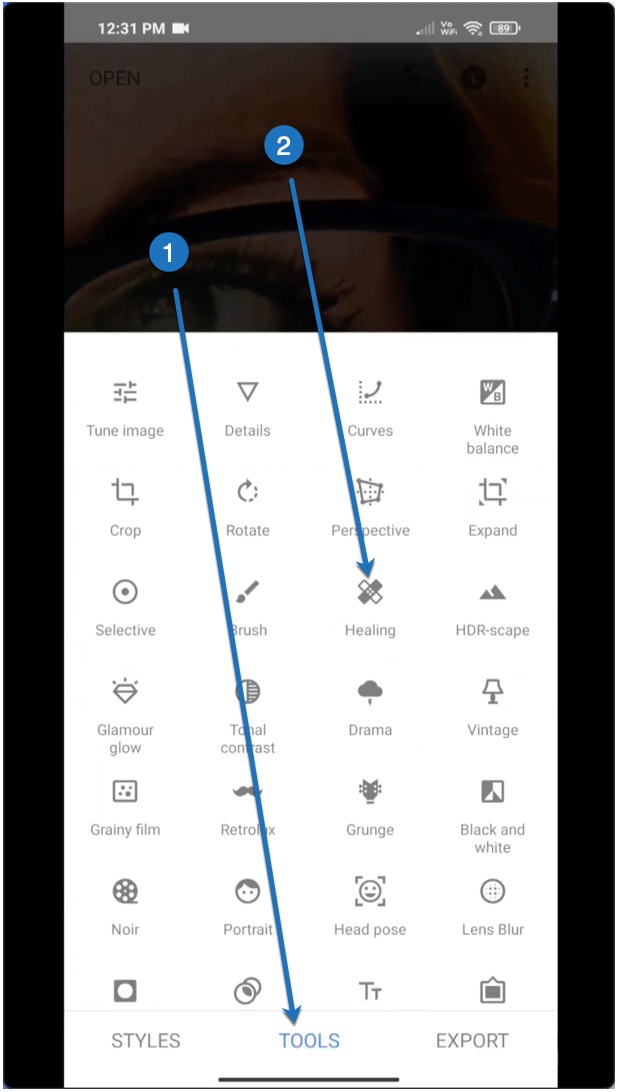
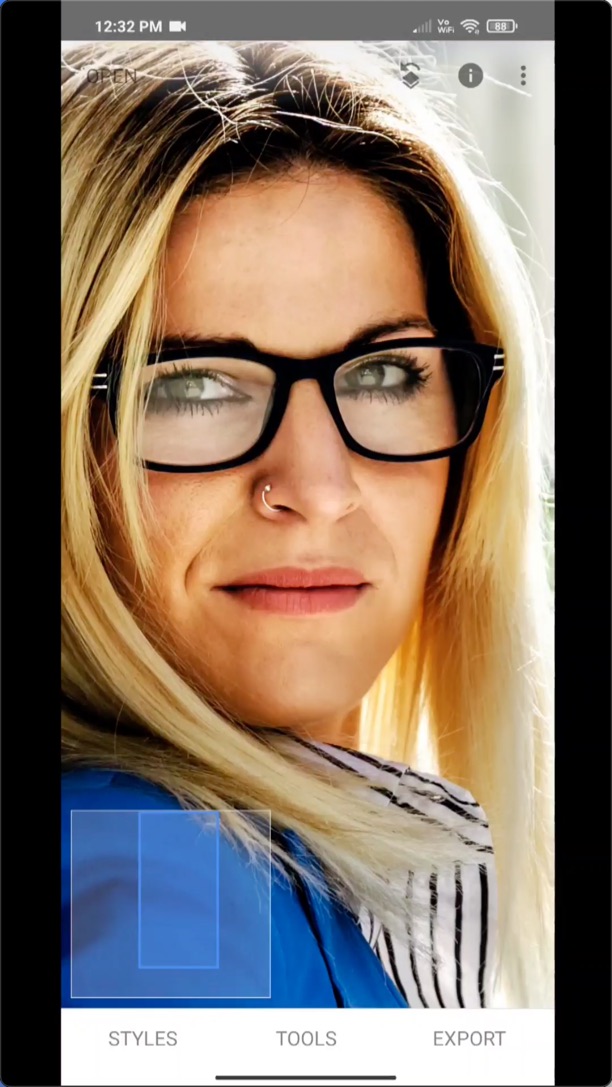
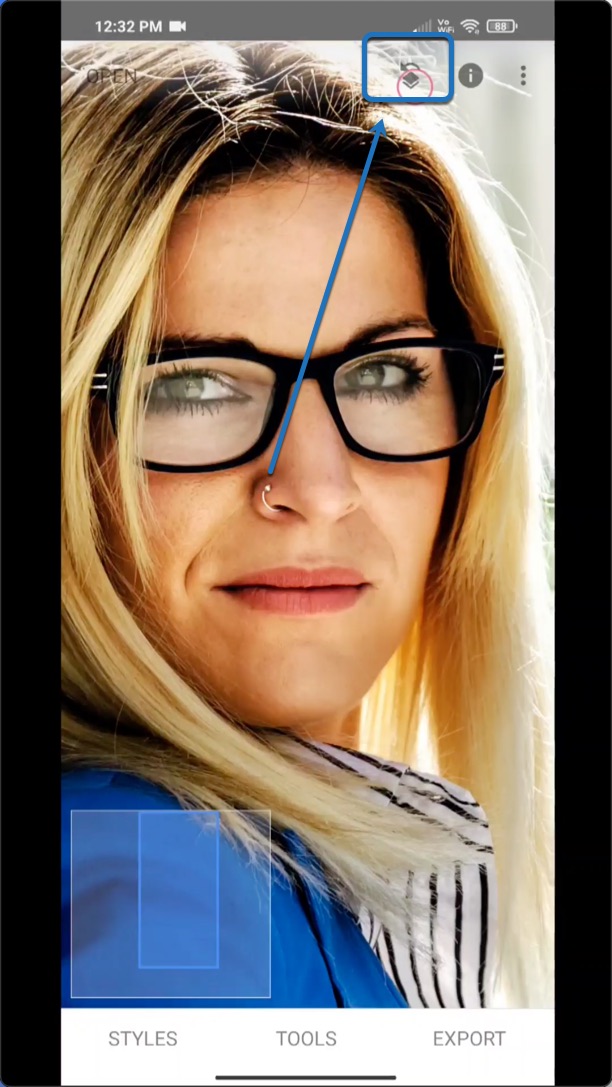
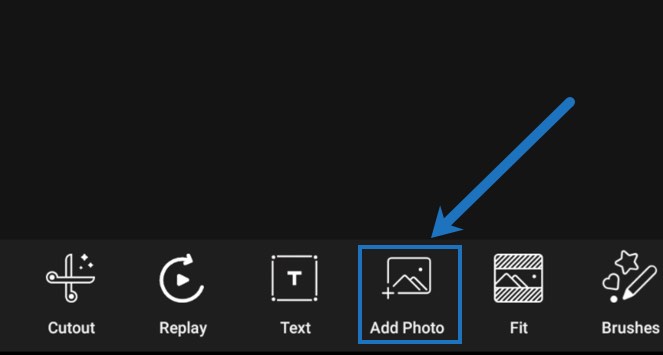
Step 1 – Open the photo in PicsArt
The first thing we need to do is to open the photo in PicsArt.
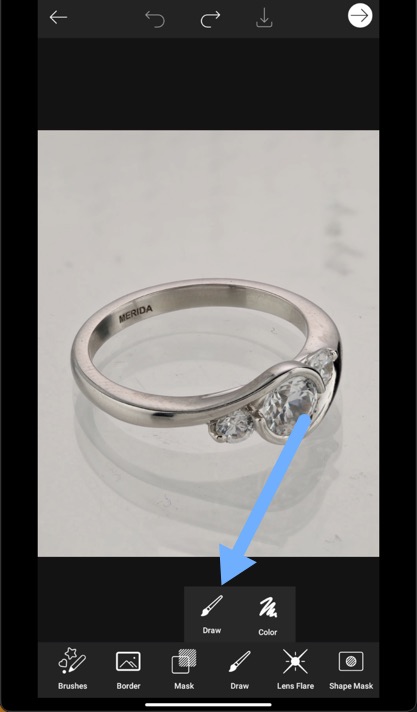
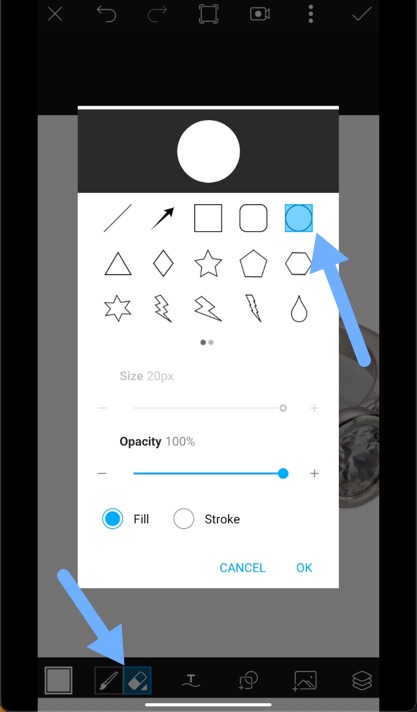
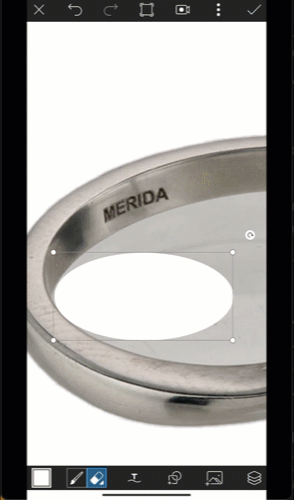
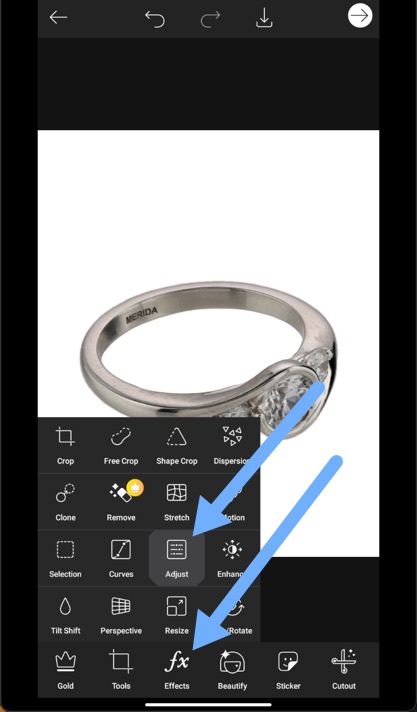
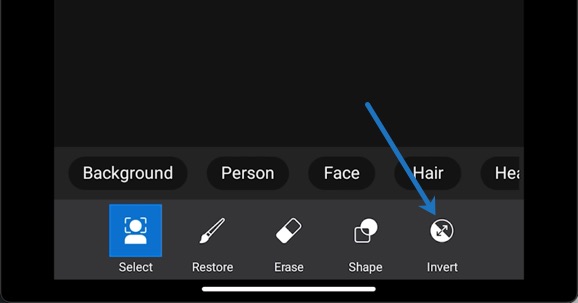
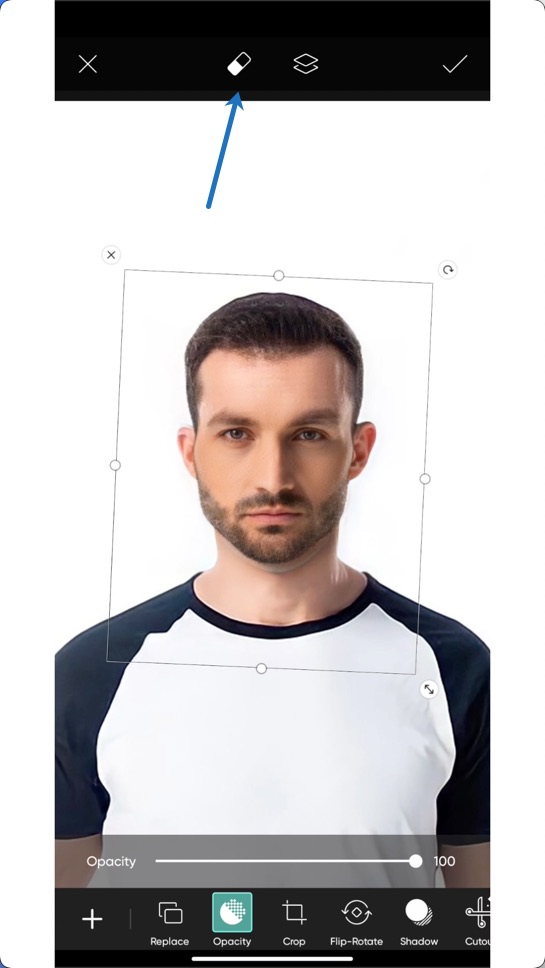
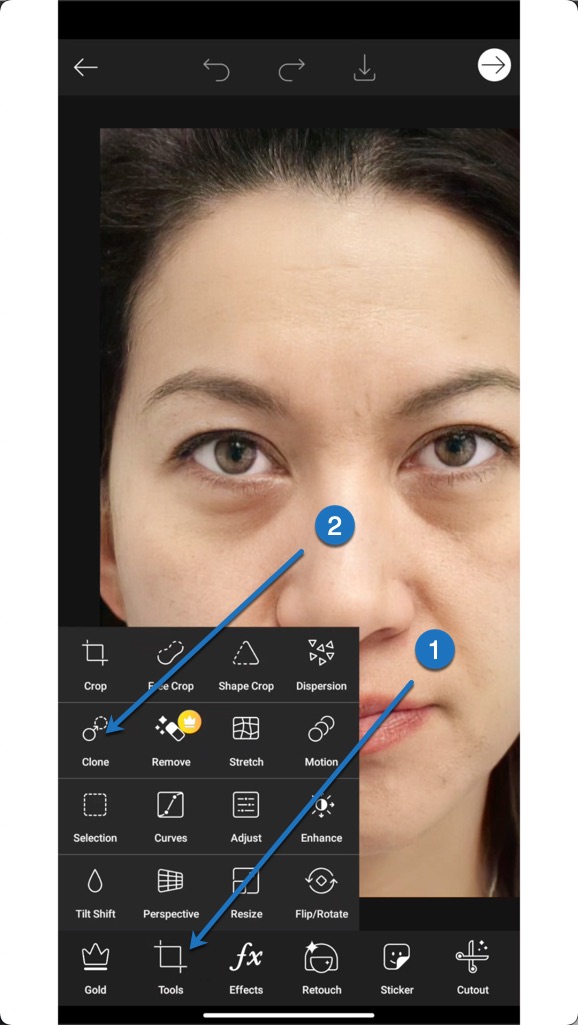
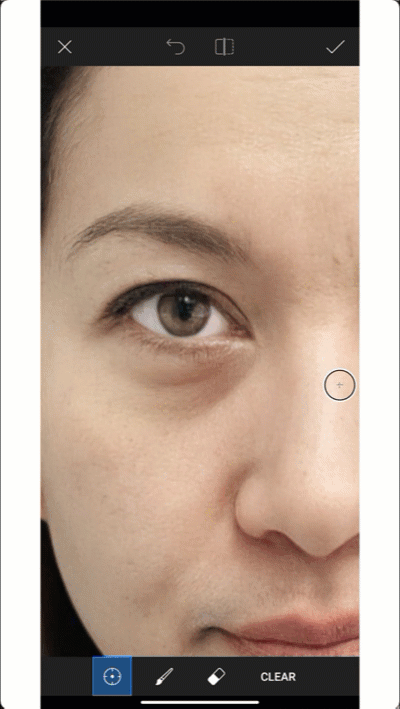
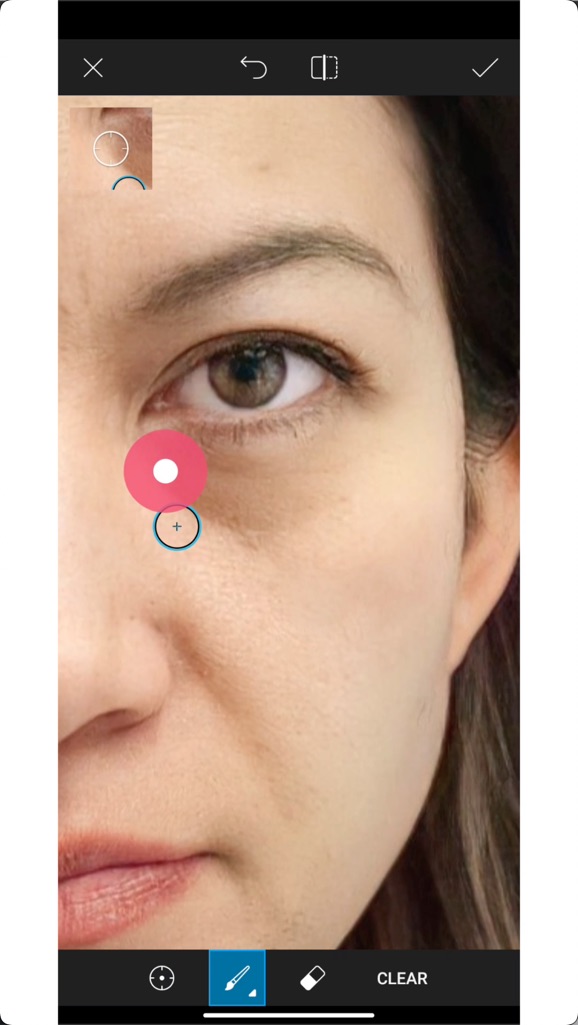
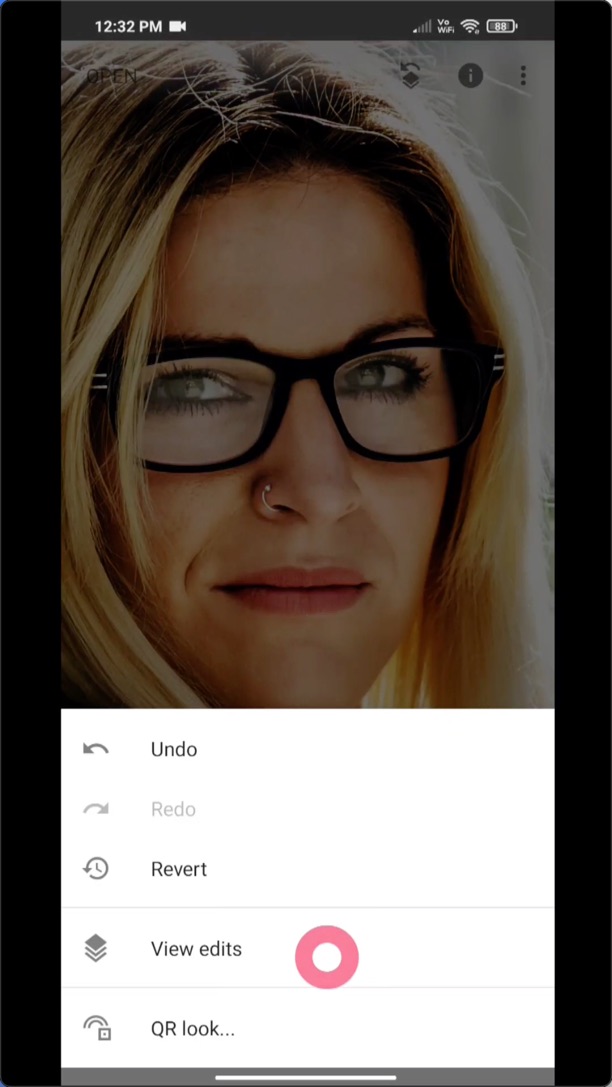
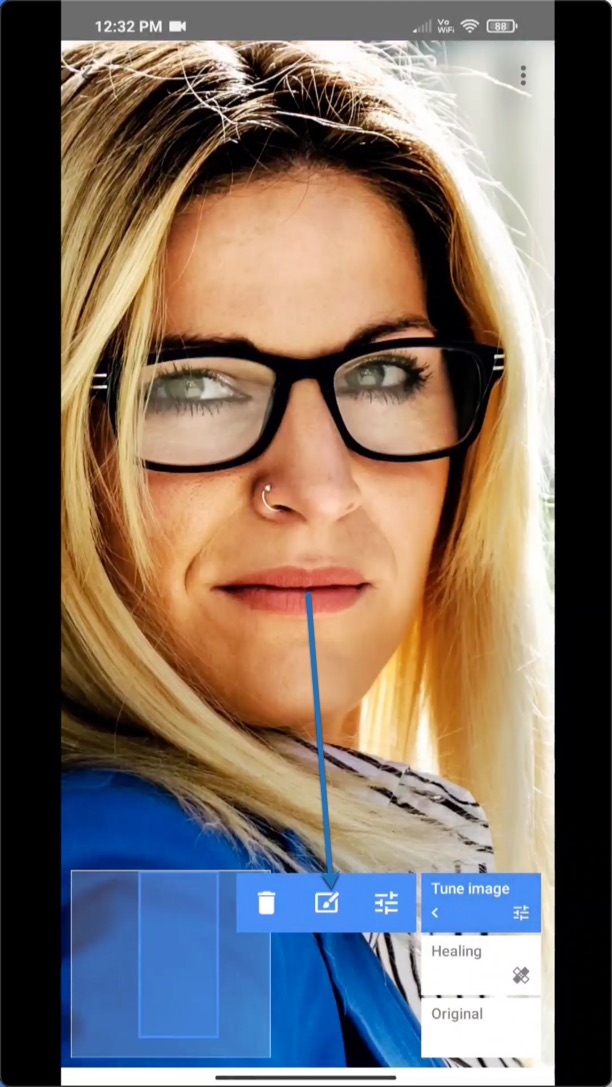
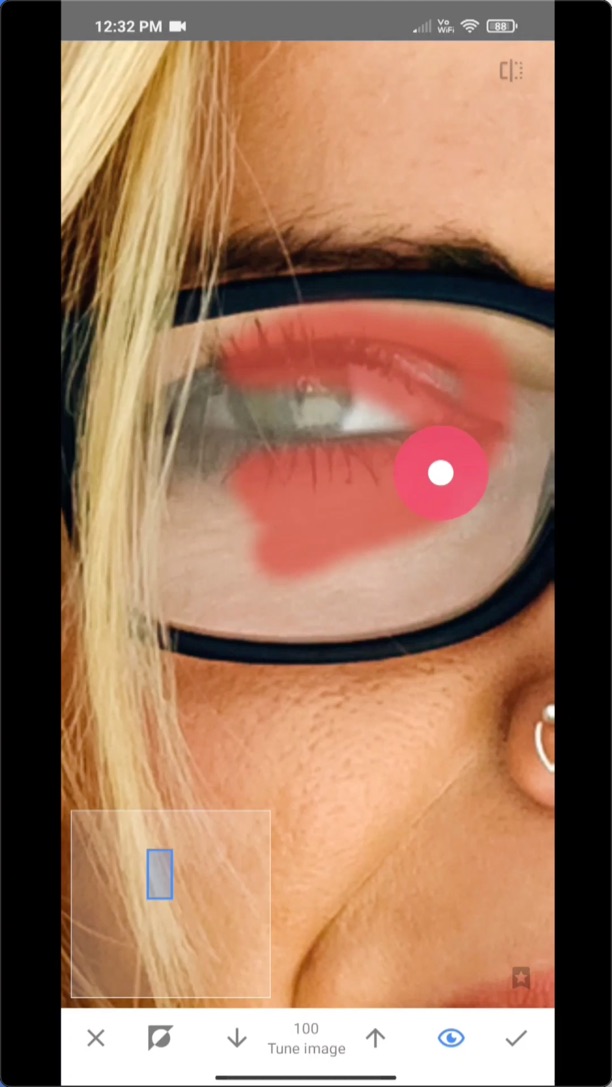
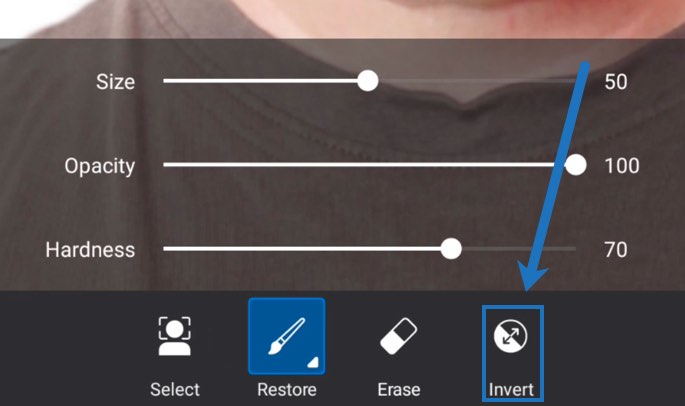
Step 2 – Clone to Remove the Scratches in the Photo
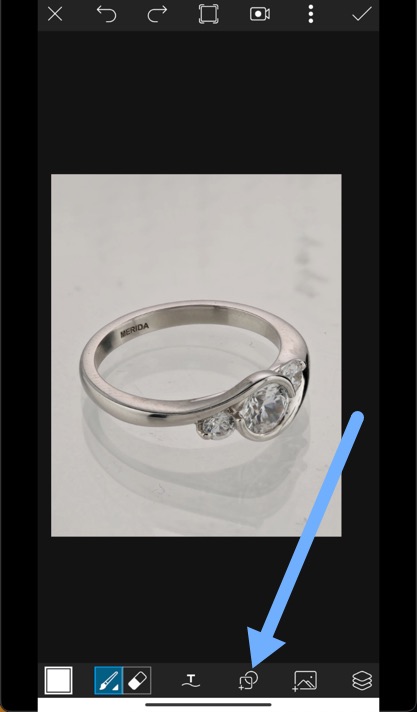
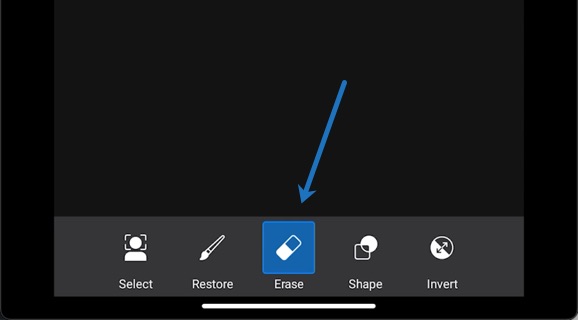
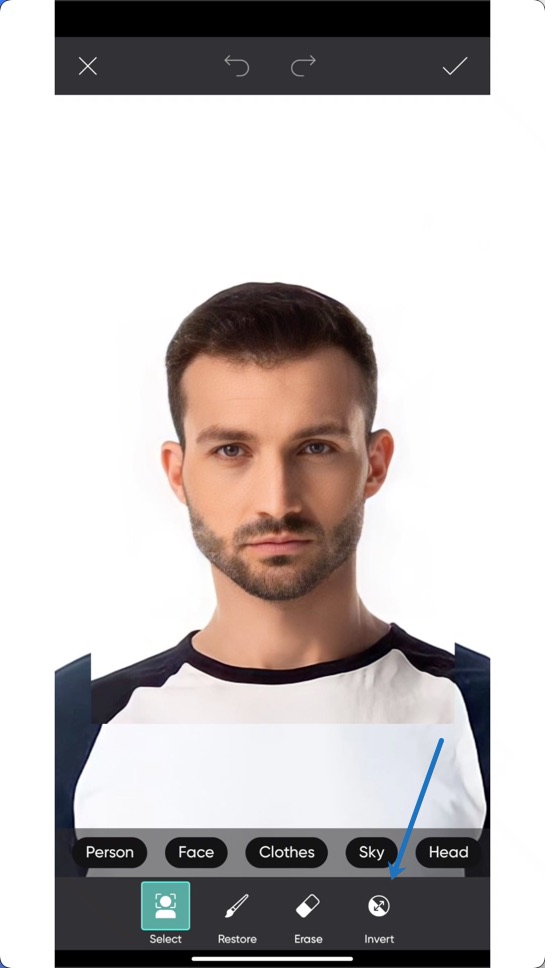
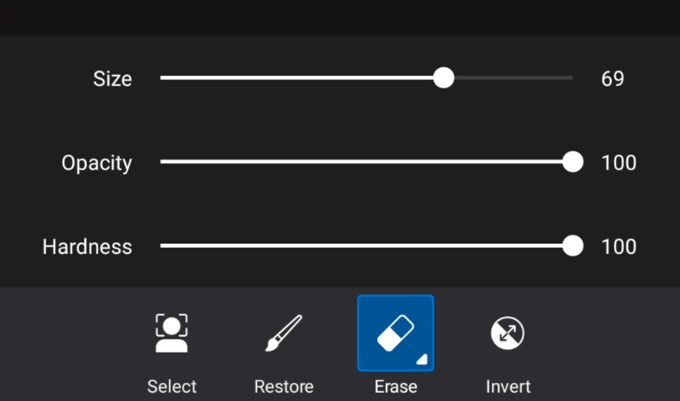
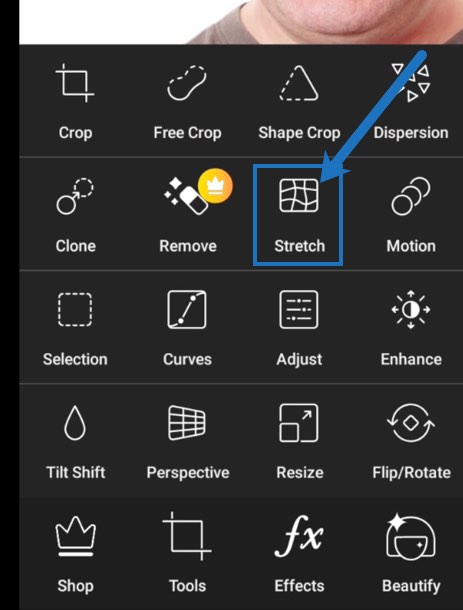
Go to Tools > Clone.

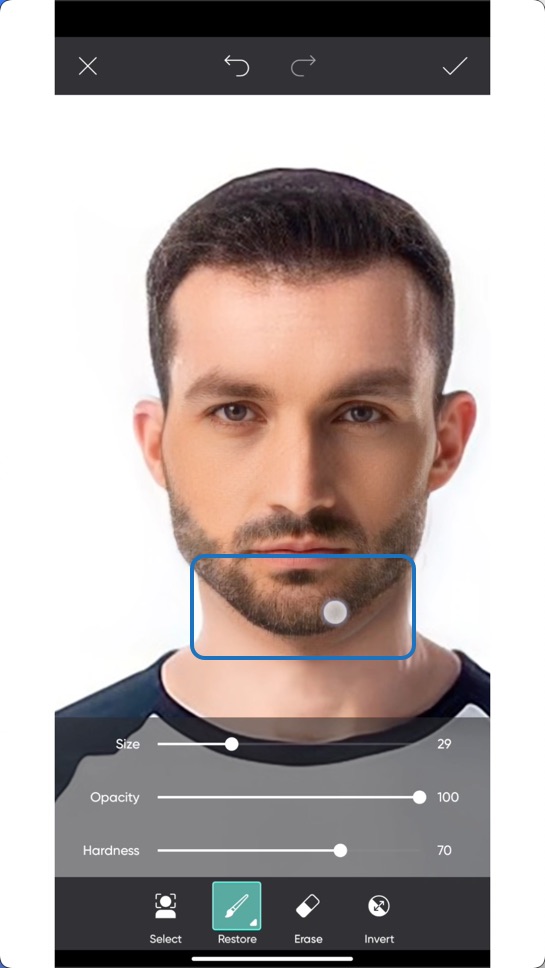
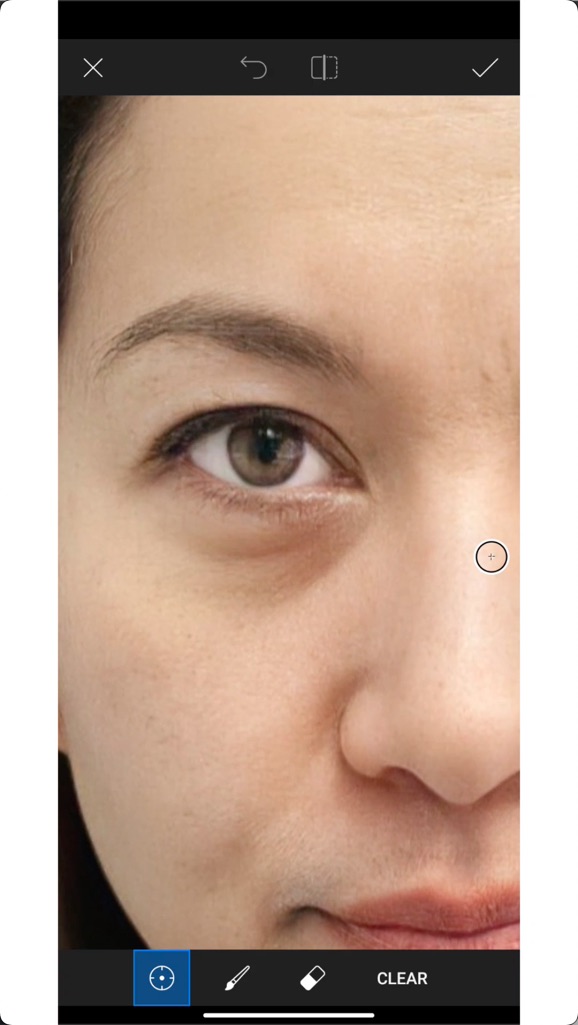
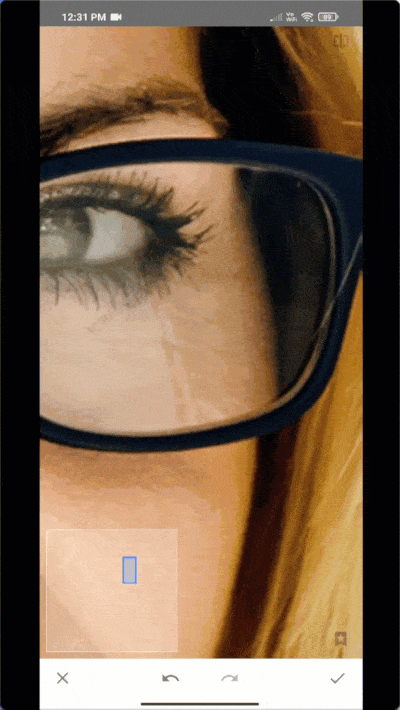
Zoom in to increase the precision. Simply drag the photo outwards with two fingers to zoom in.

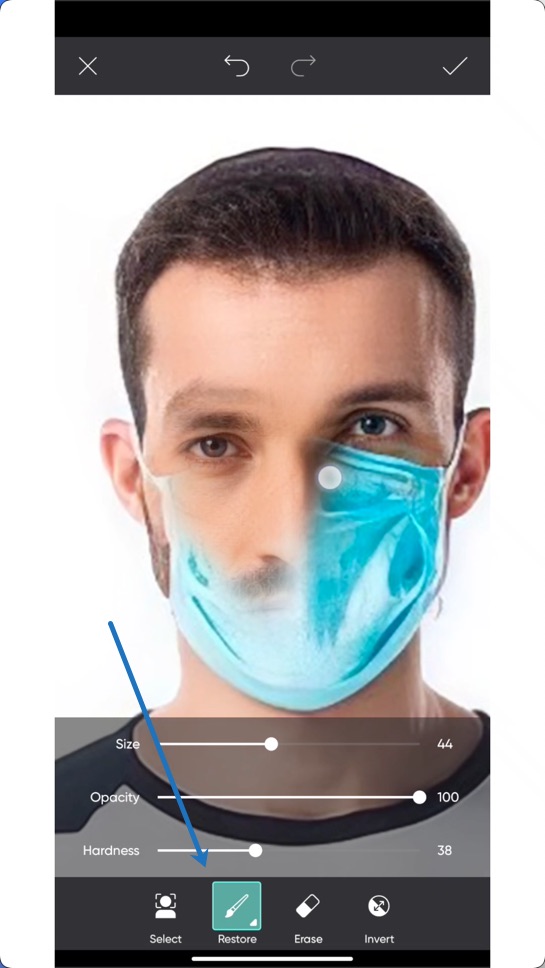
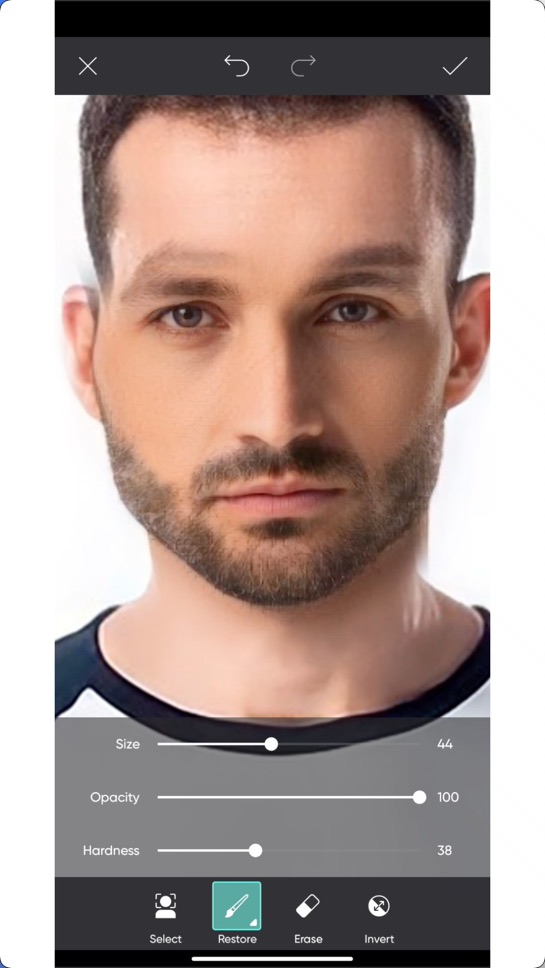
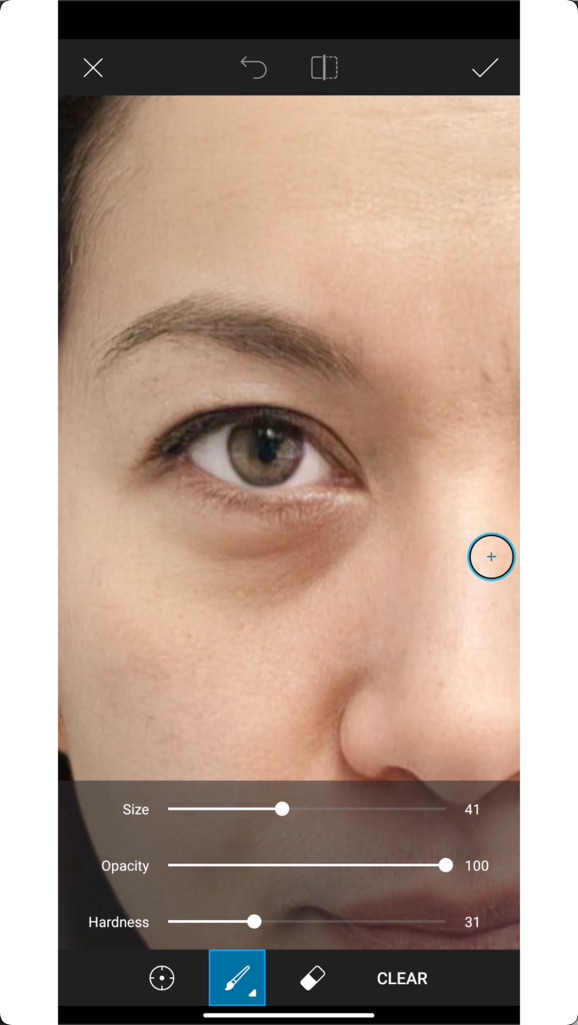
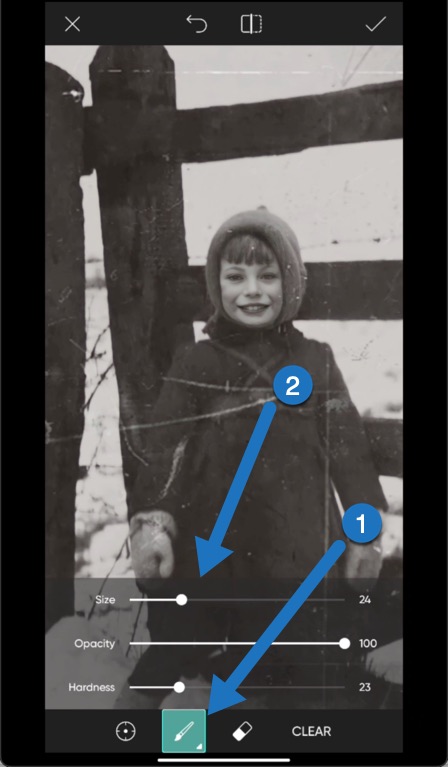
We’re going to change the Size and Harness of the Clone tool.
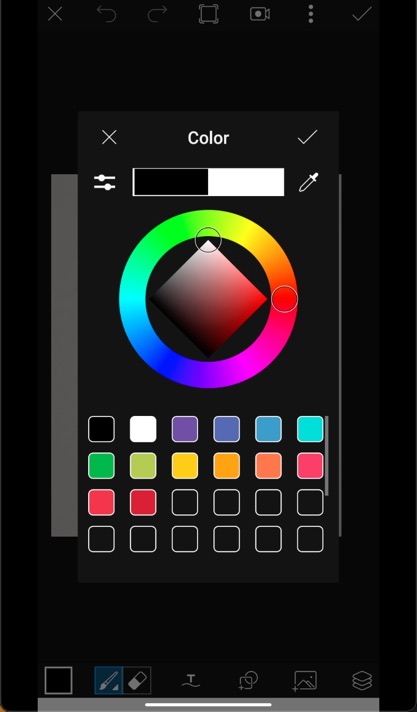
Tap on the “paintbrush” icon. Reduce the
- Size to 24
- Hardness to 23
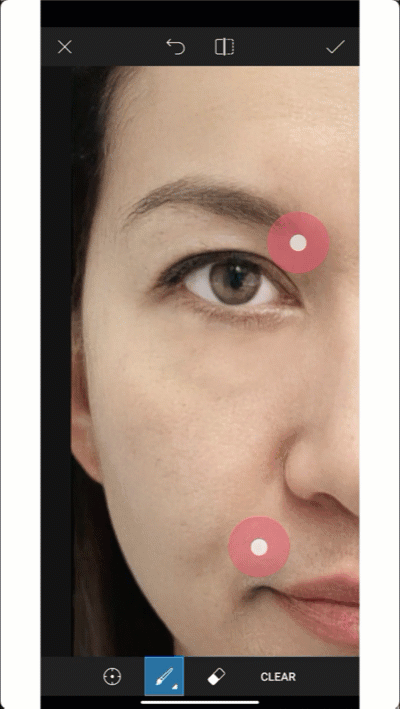
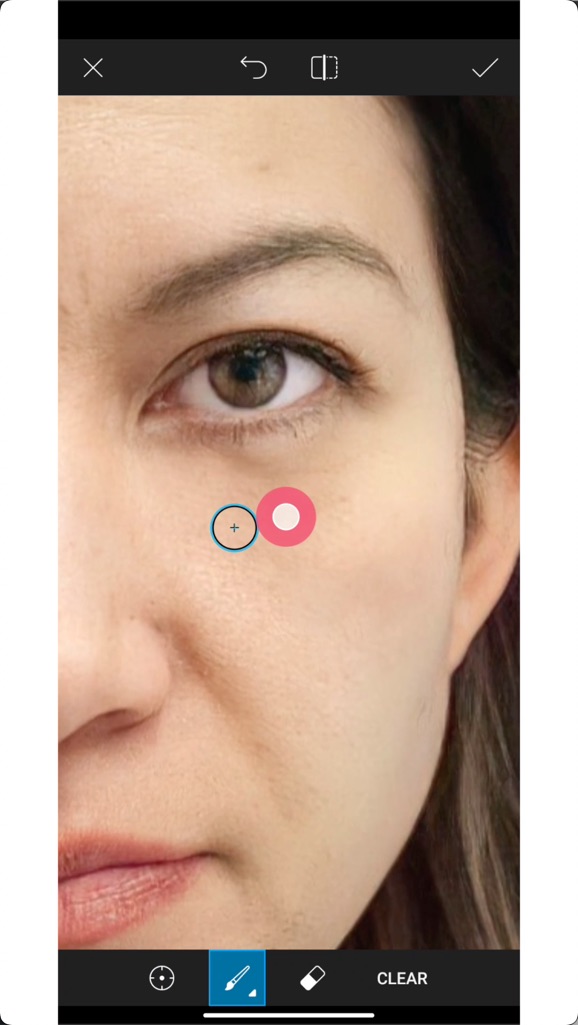
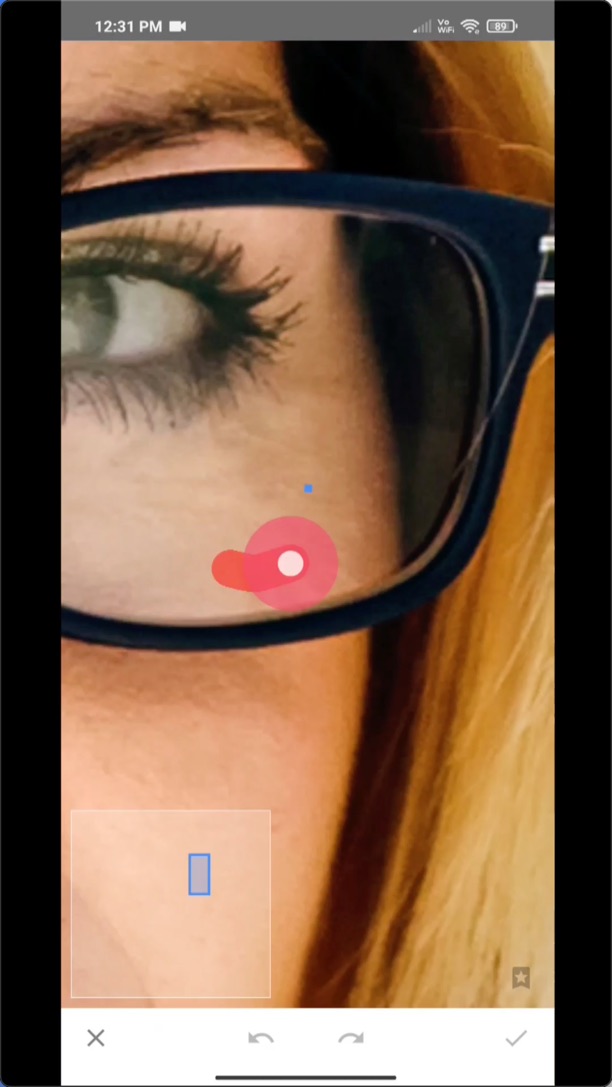
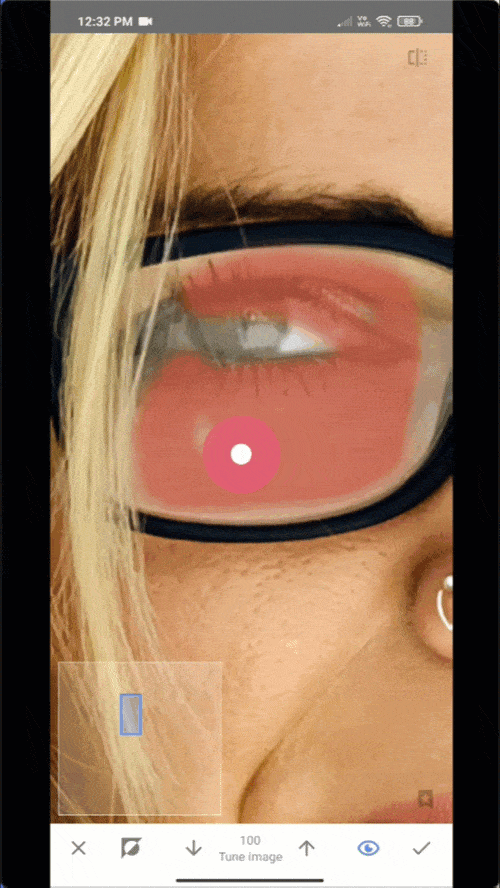
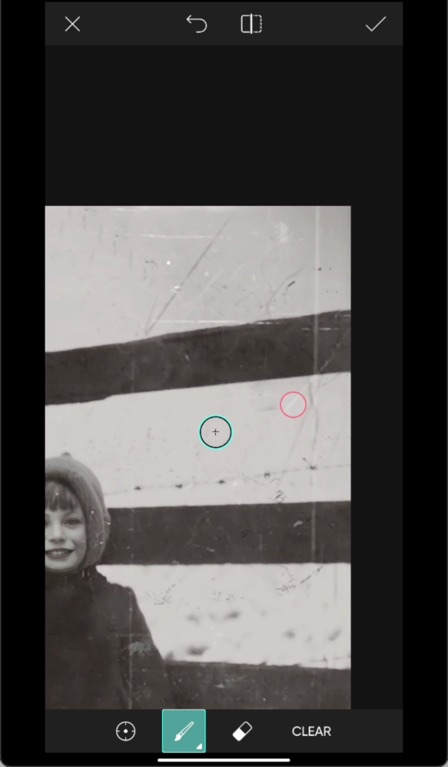
How Clone Tool in App Works?
Before we start using the Clone tool to fix scratches, let me explain how it works.
Think of it as a tool that lets you copy one part of an image and paste it onto another part.
The Clone tool has two brushes: the Source and the Target.
First, you pick a Source point, which is where you’ll copy pixels from. Then, you paint over the Target point, which is where you want to fix something, like scratches.
When you paint, the Clone tool copies the Source point to the Target point.
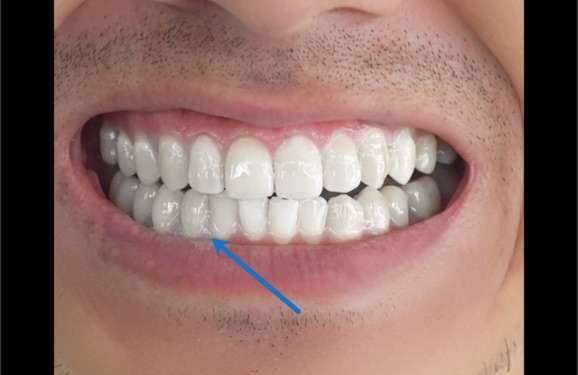
For example, if we want to fix the scratch labeled “2” on the coat in the photo below, we can copy the unscratched part of the coat marked as “1” and apply it to the scratched area. It’s like using a magical copy-paste brush! 😊

Now, start doing it. Here’s a GIF for you.

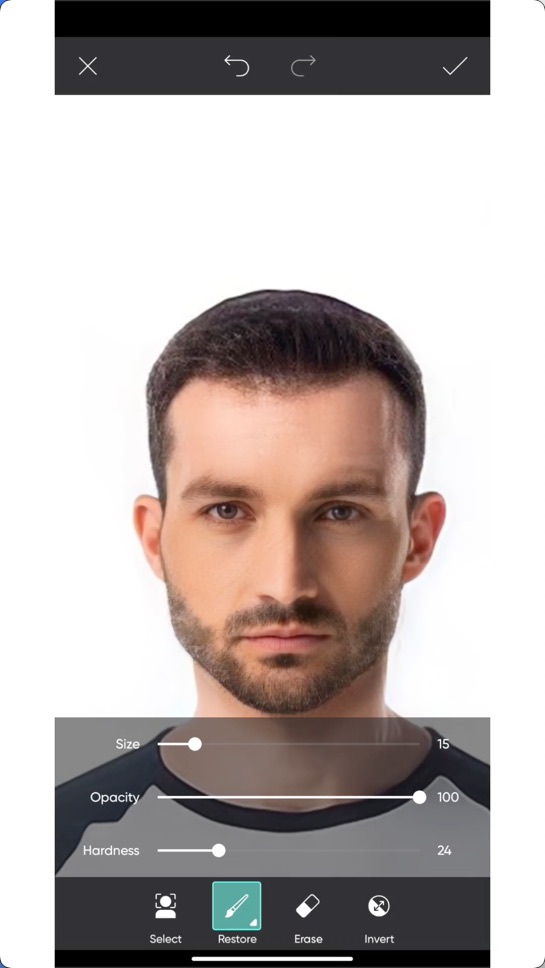
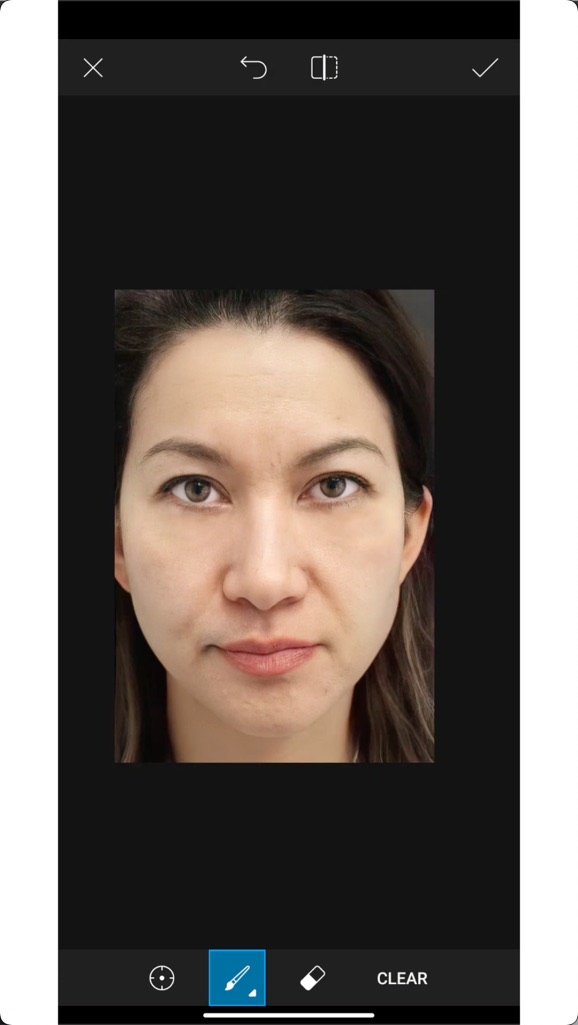
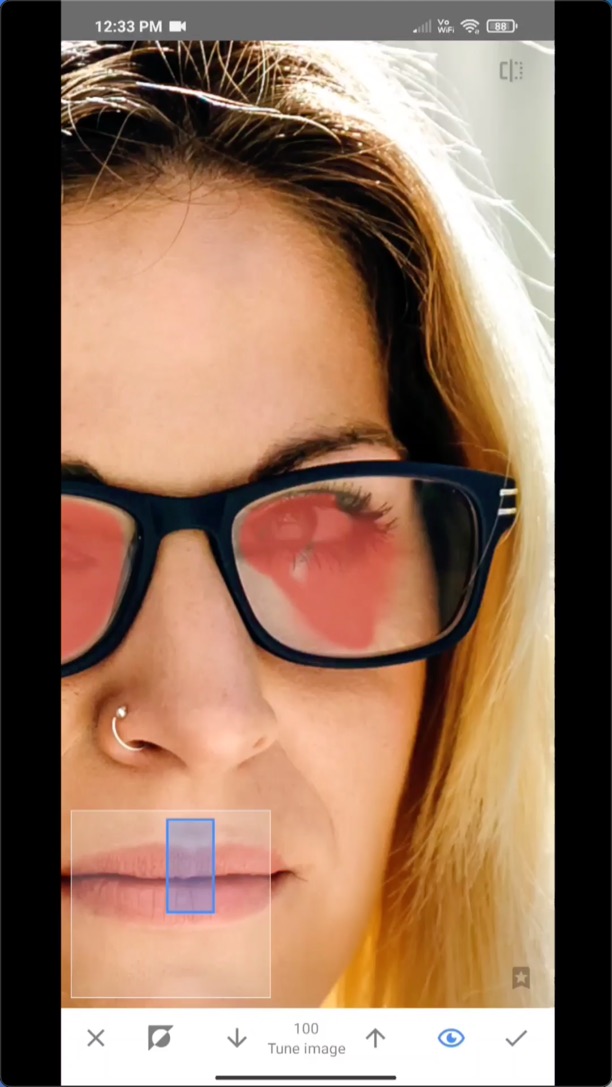
Step 3 – Keep on Using Clone Tool to Remove All Scratches in Photos
This step takes a lot of time.
We have to repeat this step multiple times to get rid of all the scratches.
That’s why fixing old photos with digital tools can be expensive because it’s a time-consuming process.

AI tools can help, but they’re not flawless. When you print a photo in a 5×7″ or larger size, you might notice some distortions.
Once I fix the scratch on the coat, I’ll also take care of the one on the woods.
I’ll adjust the brush’s size and hardness. You can choose the settings that feel most comfortable to you.

Time to remove the scratches from the sky.
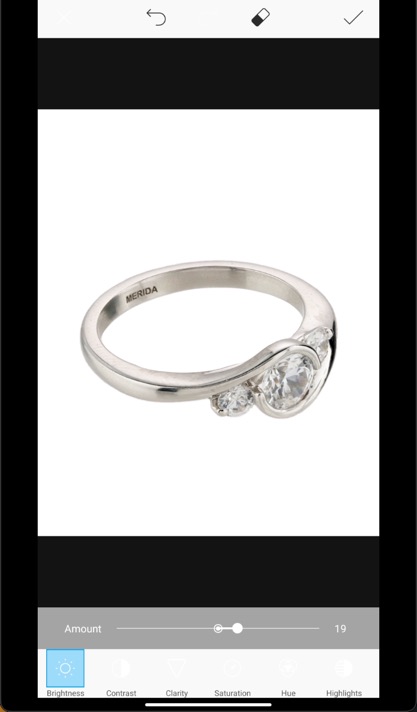
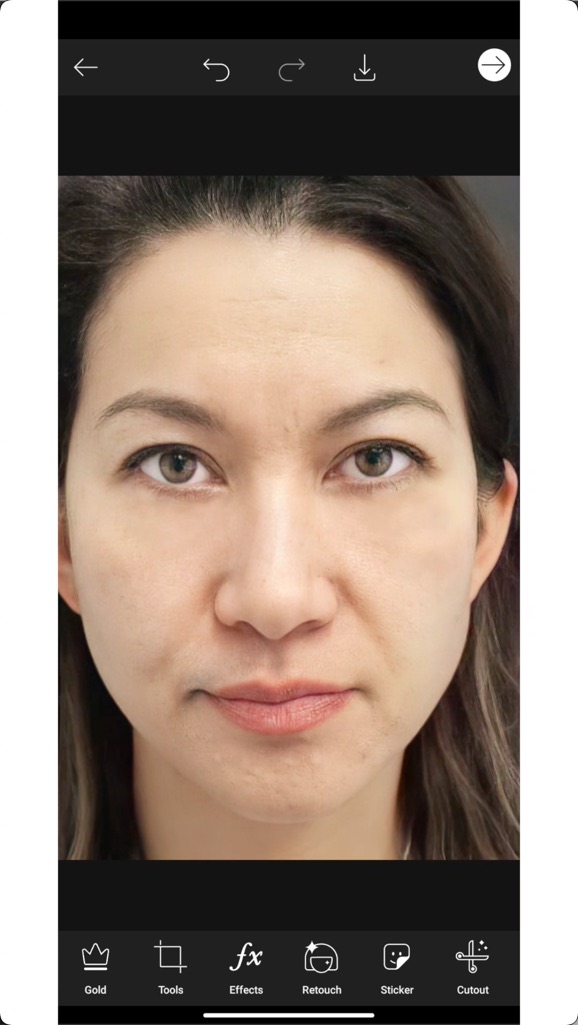
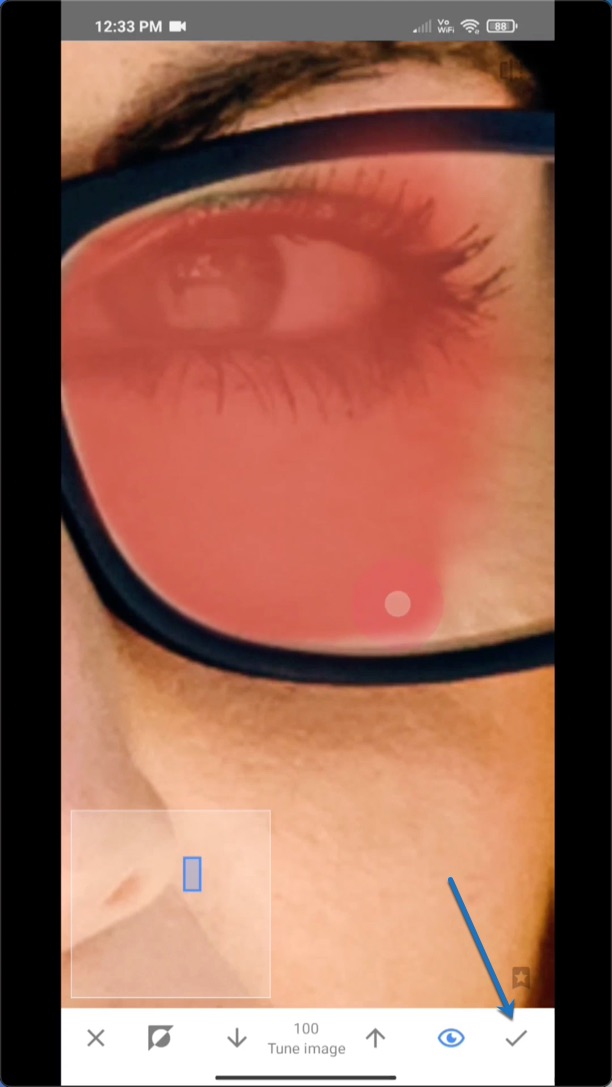
Now, I’m going to fine-tune the photo by removing all the visible scratches.

That’s all! You have removed the scratches successfully in your photo for free.
See the Before and After.
Before removing the scratches
After removing the scratches
Other Apps You Can Use to Remove Scratches from Your Photos
If you’re not a PicsArt user, don’t worry! You can use these other apps too.
The steps are pretty much the same; it’s just that the way they look might be a bit different in these apps:
- Snapseed
- Photoshop Express
So, feel free to pick the one that suits you best, and you’ll still be able to follow along! 😊
Let TrickyPhotoshop Take Care of Those Pesky Photo Scratches for You!
If you’ve found this tutorial a bit tricky, don’t worry—I’ve got a solution. Our team is here to help you out by removing scratches from your photos. We specialize in photo editing services.
While we wish we could offer everything for free like this tutorial, we can’t. Because to keep our editors and the lights on, we have to charge a bit for our services. But trust us, it’s worth it to have your photos looking their best! 😊
Conclusion
- You’ve just learned how to erase scratches from photos with an app.
- To prevent scratches in the first place, try out our six handy tips.
- And if you’re not satisfied with the results, don’t hesitate to give our photo editing service a try. We’re here to help! 😊