Shooting a group photo and someone blinked? Do your two kids never pose nicely together? Does your pet rarely look at the camera long enough for you to shoot a good photo? If yes, Photoshop can help you out. Today we’ll see how to swap a face in Photoshop.
I am going to swap the face of the same person. You can use the same approach to swap the face between two different persons.
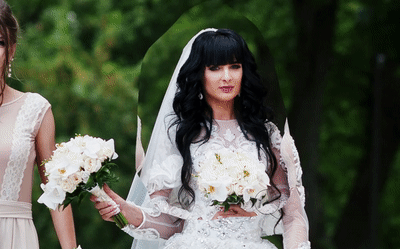
Before we begin, let me show you the before and after
Before

After

Photo is from shutterstock.com.
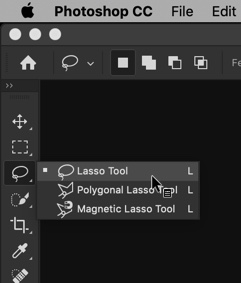
Prerequisite
I get countless requests to swap the face of a person. Around 70% of them are not doable because the photos don’t follow the most basic rule.
The two faces must be shot at the same angle.
You cannot swap the face of the girl in the couple photo with the face in the selfie photo. No one can do it. Not even the most talented Photoshop artist in the world.
If you want to replace the whole girl then this rule still follows. In the below photos, you can swap the entire girl because the camera angle is the same. Both photos are shot from the front, and camera height and woman’s height are matching.

Let’s begin the tutorial.
Step 1: Copy the good face that you want in the main photo
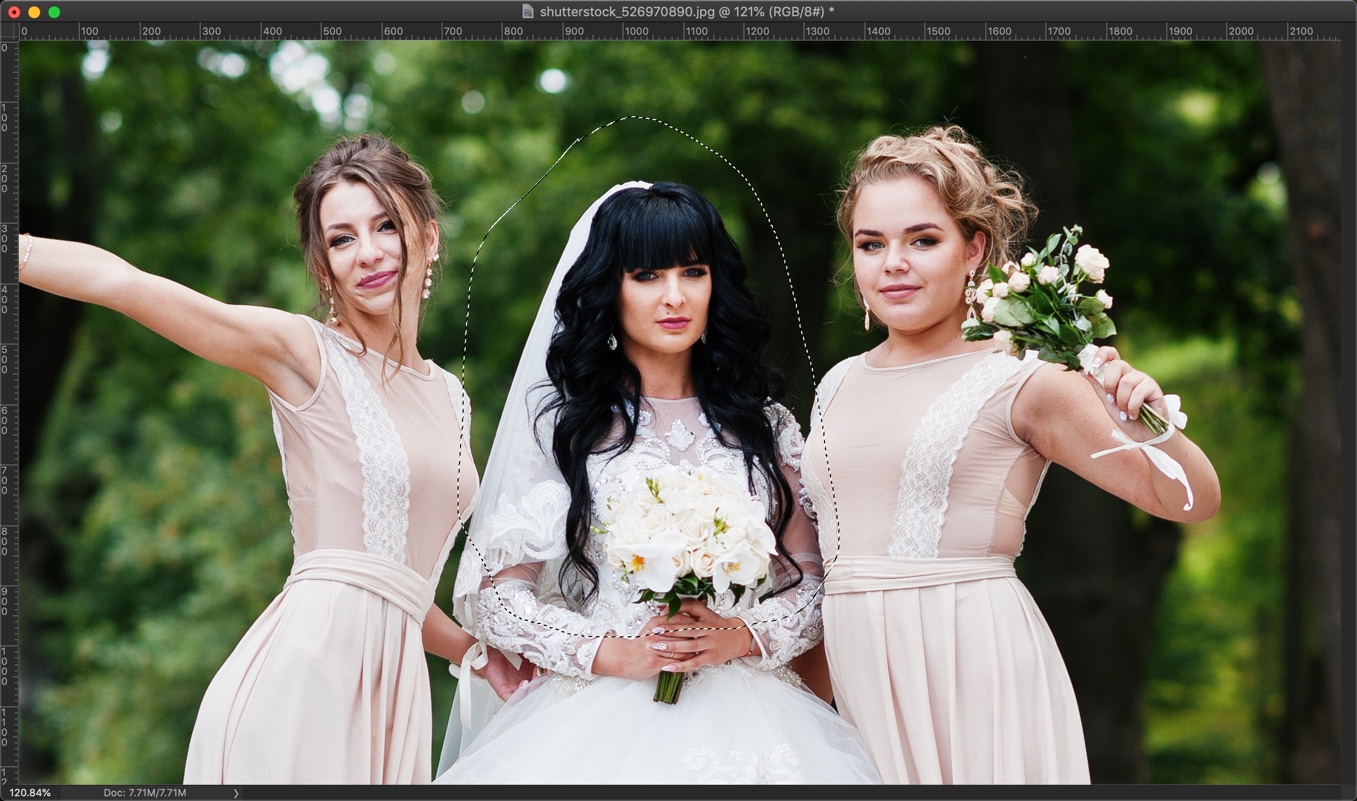
Firstly, we need to select the face that we want to copy. The selection will be rough.
We’re going to use Lasso tool for this. Grab the Lasso Tool from the tool panel or press Shift + L again and again until it comes.
Draw a rough line across the face. Don’t forget to include all the hair. We need to include all hair because swapping the face requires swapping the hair also.
Copy the selected portion (face and the hair here) by either going to Edit > Copy or pressing Cmd + C / Ctrl + C.
Don’t have time to create a selection? Hire me to swap the face. Cost per image varies between $4 – $10. Mail me at hello@tricky-photoshop.com.
Step 2: Swap the face in Photoshop
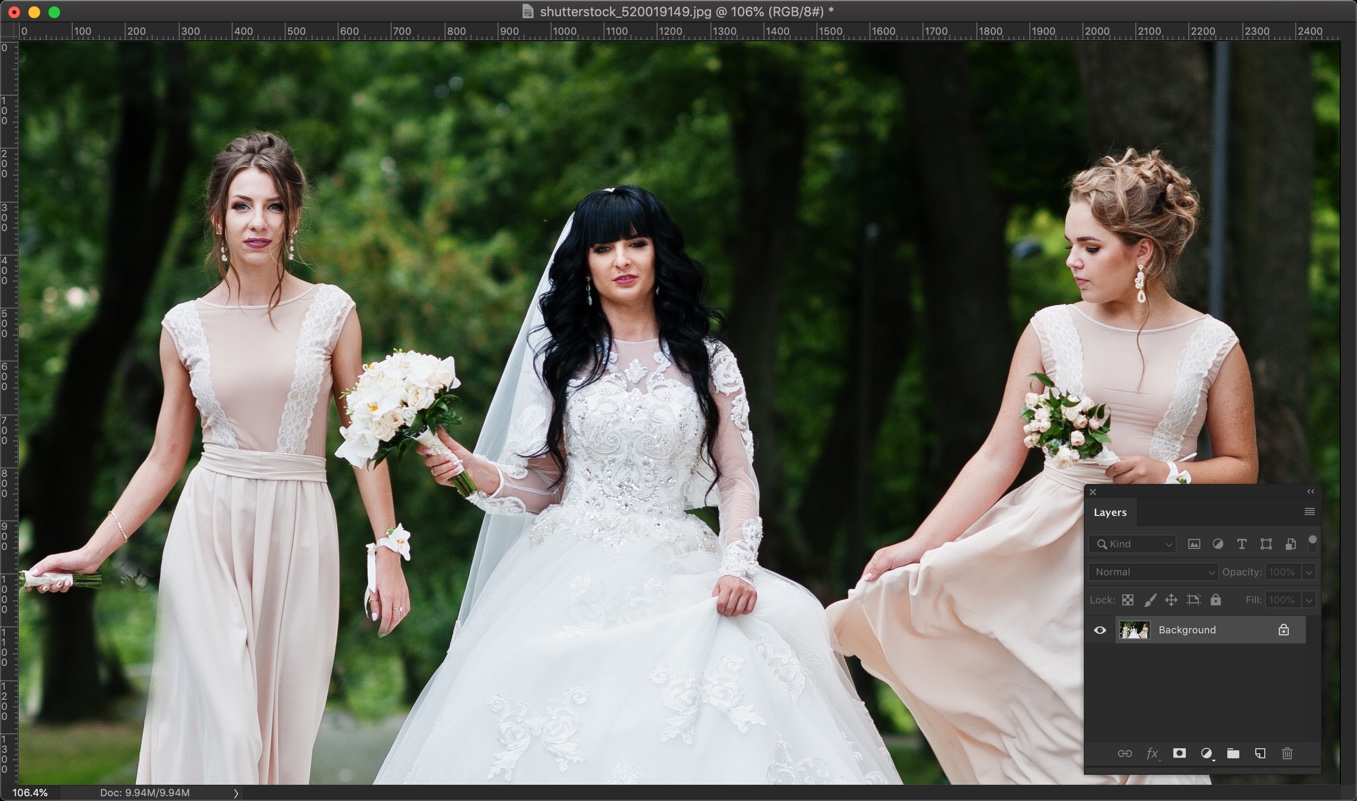
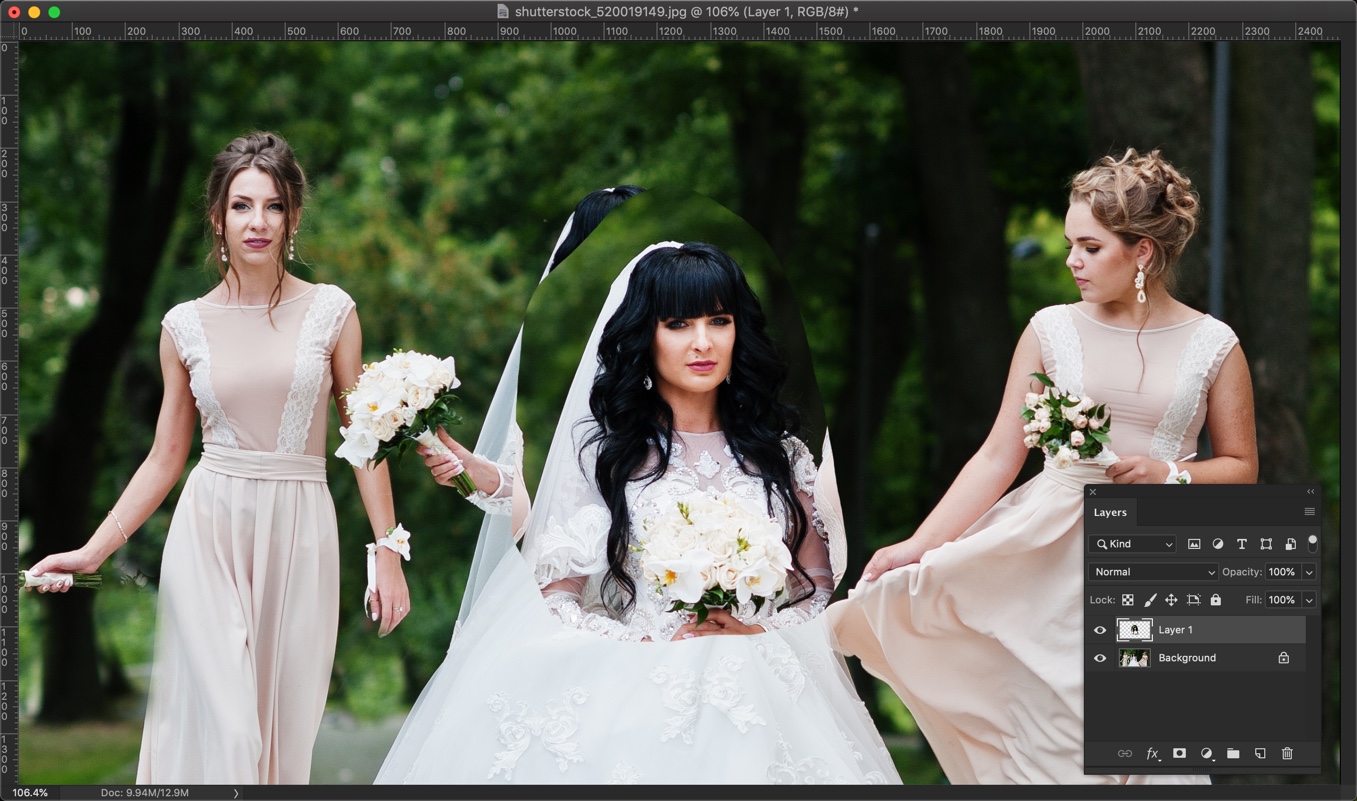
Go to the other image which is having the not-so-good face.
Paste the face by either going to Edit > Paste or by pressing Cmd + V / Ctrl + V.
Photoshop will paste the face at the center of the photo.
Step 3: Align the swapped face
Activate the Free Transform Tool by pressing Cmd + T / Ctrl + T or by going to Edit > Free Transform.
You’ll now see 8 handlebars.
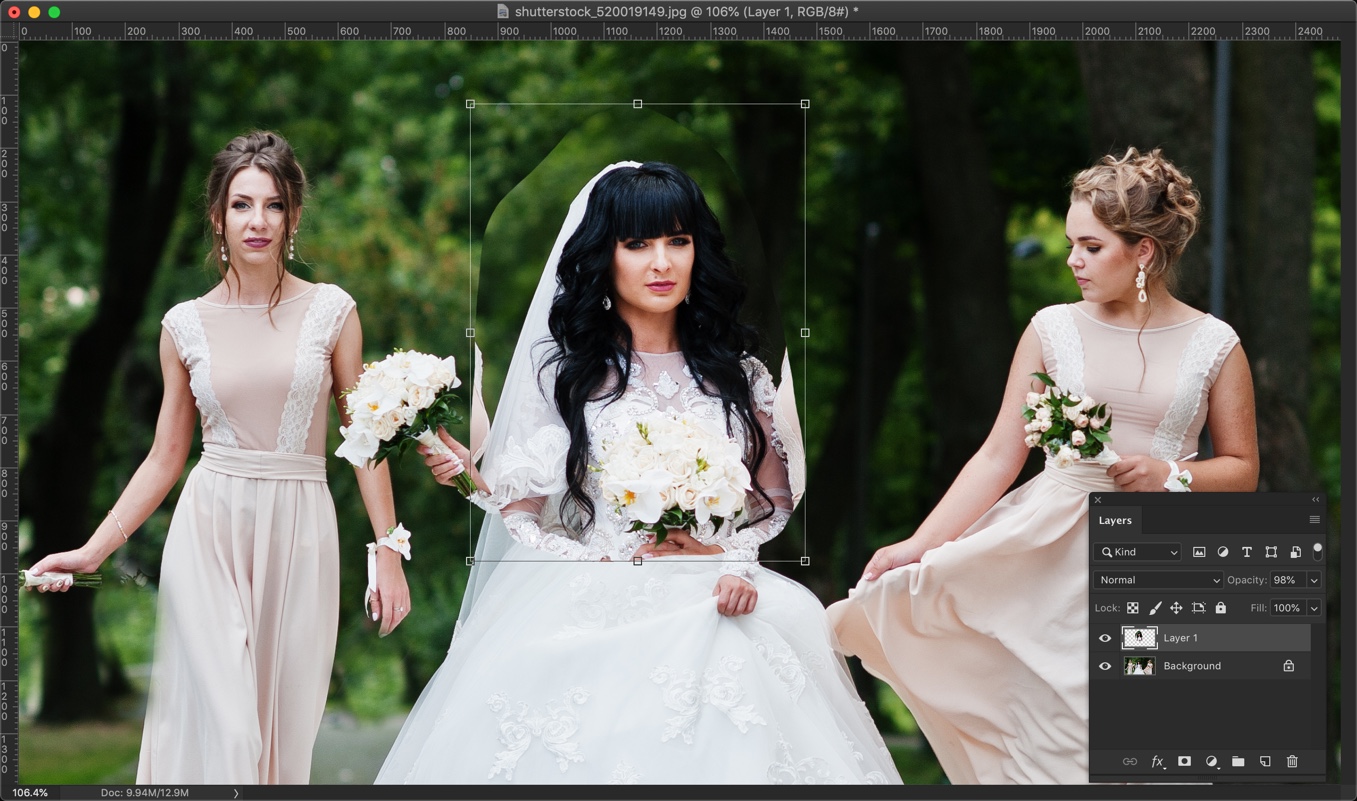
Now drag and drop the pasted face to the position where her actual face is.
You need to adjust the swapped face a lot of times to perfectly place it.
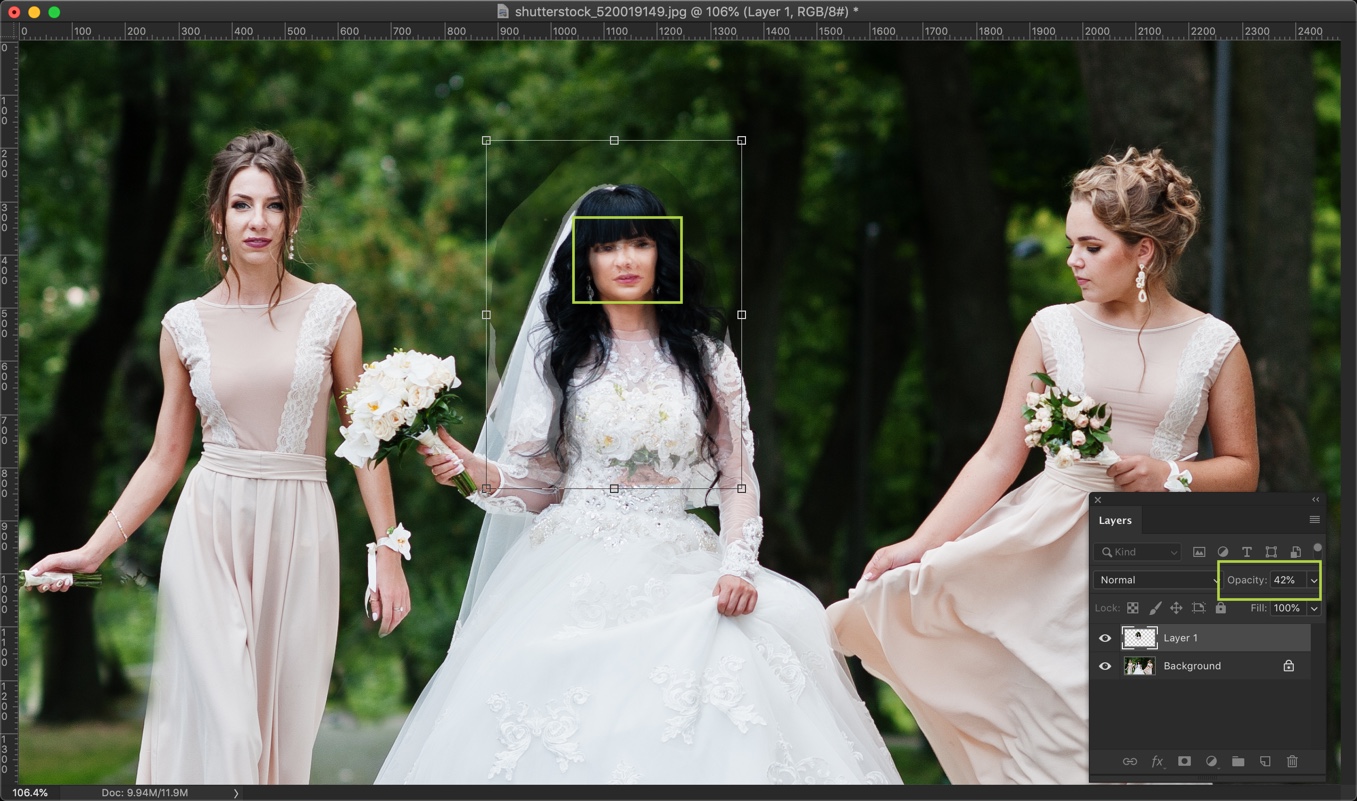
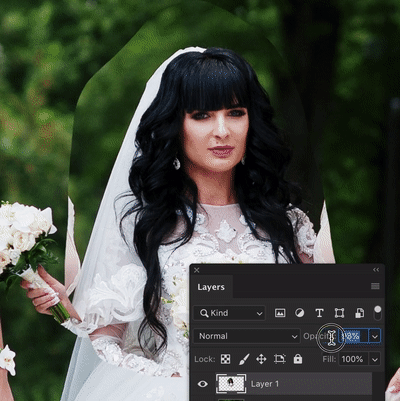
Pro Tip: Reduce the opacity of the layer on which you pasted the swapped face to somewhere around 40%. Now, align the face. This is what I do every time.
Change the size of the face also to align it properly.
Check the below GIF.
 Having difficulty in aligning? Hire me to swap the face. Cost per image varies between $4 – $10. Mail me at hello@tricky-photoshop.com.
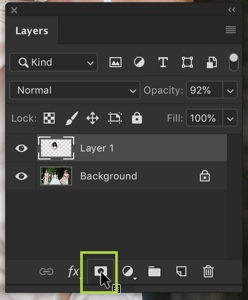
Step 4: Hide the unwanted parts
Add a layer mask by clicking on the layer mask button in the layer panel.
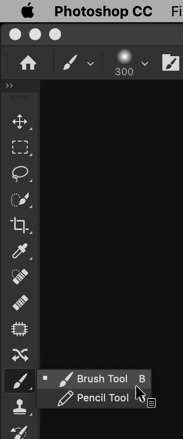
Grab Brush Tool from the tool panel or press Shift + B again and again until it comes.
Set the size as per the photo and set the hardness to somewhere around 10%.
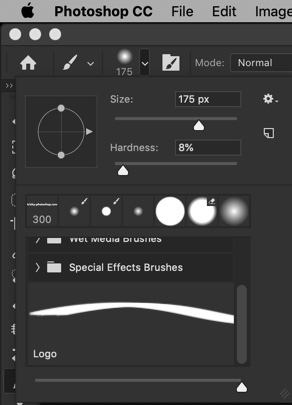
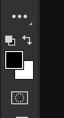
Change the foreground color to black.
Brush the area which you want to hide.

Here’s the GIF for you.
Swapped the face and photo is looking photoshopped? Hire me to swap the face. Cost per image varies between $4 – $10. Mail me at hello@tricky-photoshop.com.


