Do you have a very special photo that you want to print but the face mask is bothering you? Or do you want to post a photo on Instagram but you don’t want your face mask?
Worry no more. I’m going to show you how can you remove a face mask from a photo for free.
Before we show you, let me show you what you’re going to get from this tutorial.
Table of Contents
How to remove the face mask from photos for free?
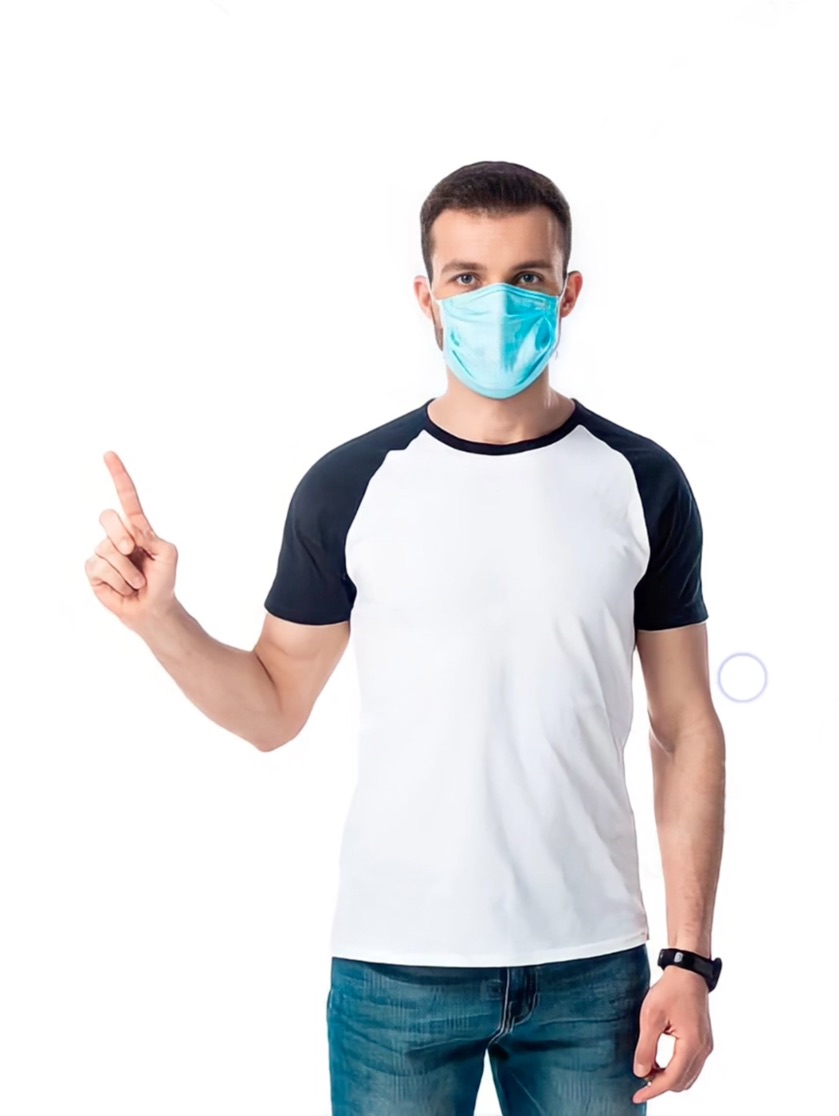
Let’s see before and after photos first.
Before removing the face mask
After removing the face mask
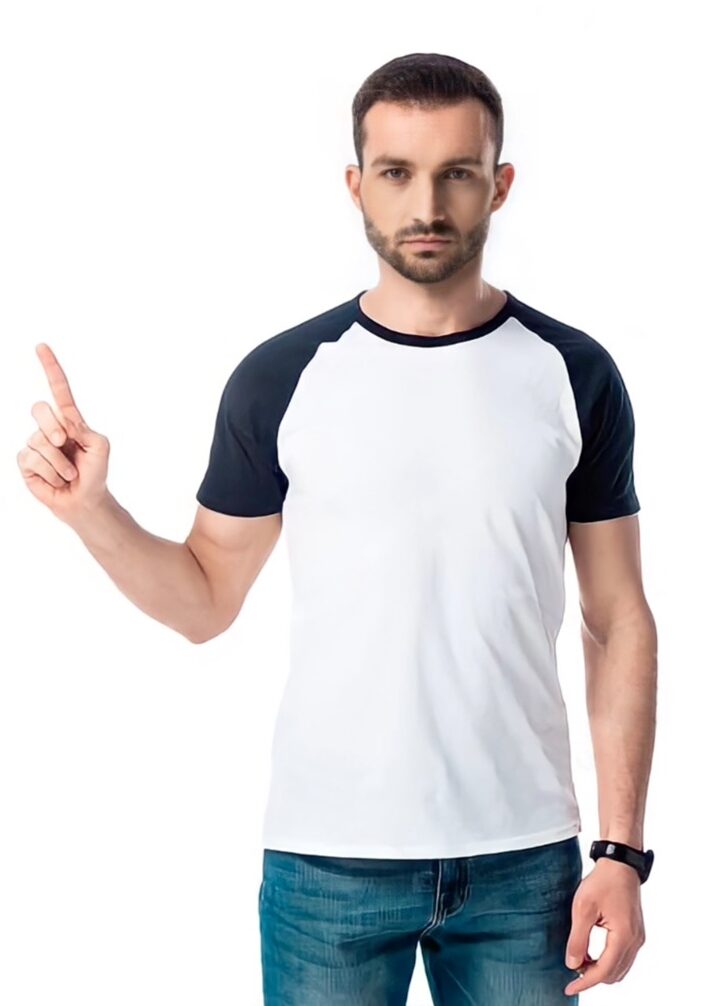
Didn’t we remove the face mask from the photo flawlessly?
To remove the face mask in pics, we’re going to use a free app. We’re going to use PicsArt.
It’s a free app. You can download it from the Apple App Store or Google Play


We have a tutorial on removing the face mask on YouTube. Let me put that video here first.
If you like to watch a video tutorial, go ahead and watch the video I put above.
If you’re like me who likes to read, keep on reading. I’m going to show you a step-by-step tutorial on how to remove the face mask in PicsArt for FREE.
Step 1 – Open the photo in PicsArt
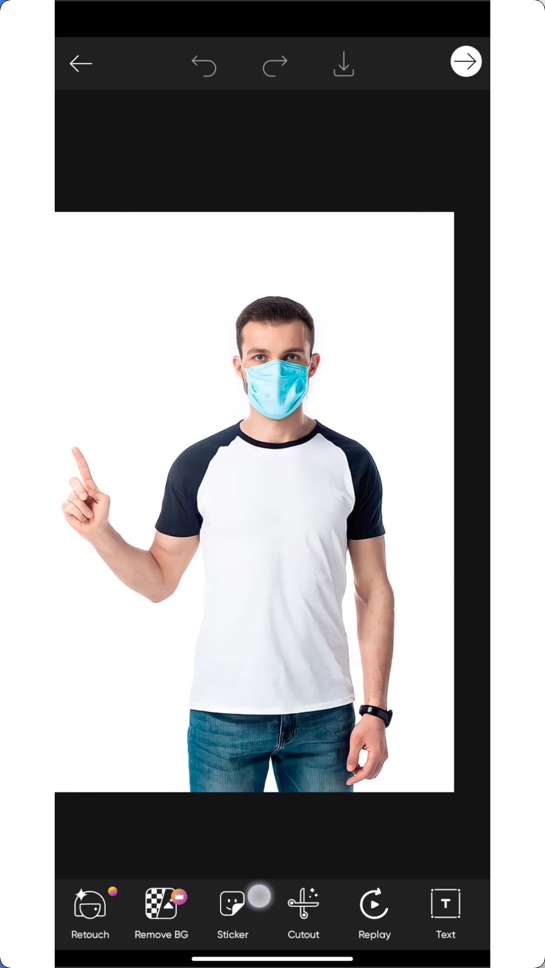
The trick to removing the face mask from a photo is to swap in the parts blocked by the mask.
Now, we’re going to open another photo without the mask.
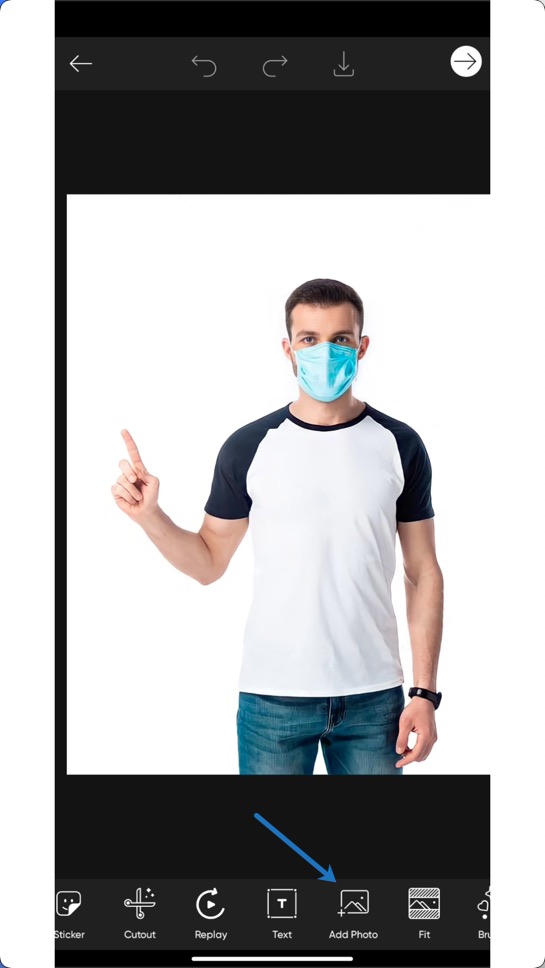
Tap on Add Photo.
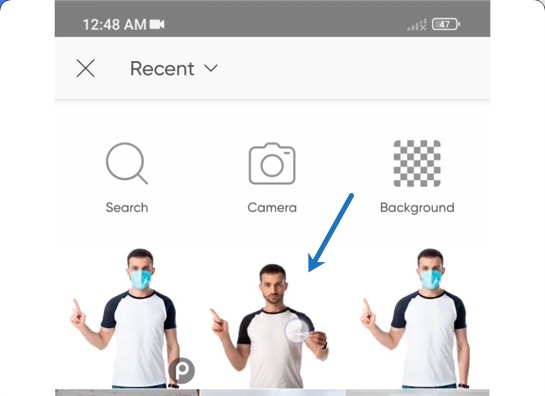
Now choose another photo without the mask.
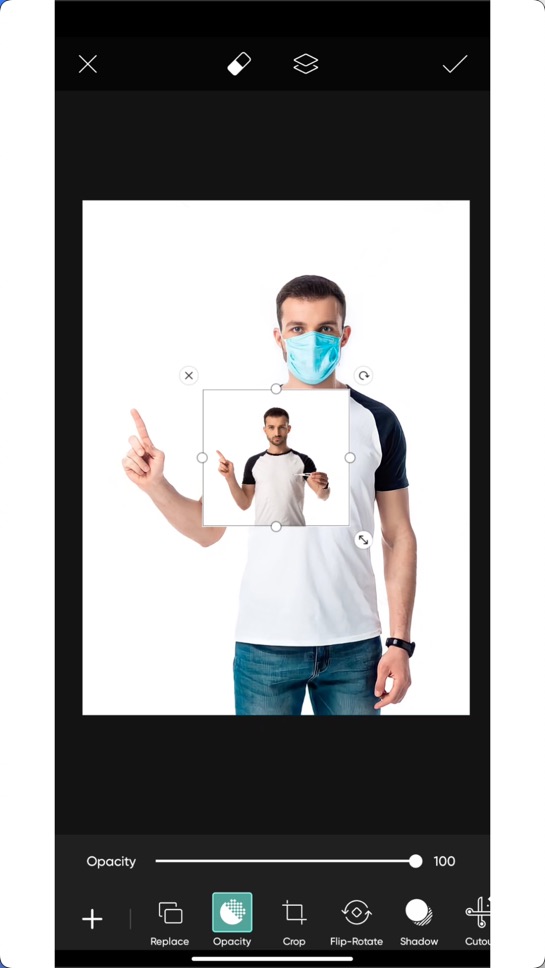
This is how our photo looks now.
Step 2 – Erase all the parts of the newly added photo except the bottom half of the face
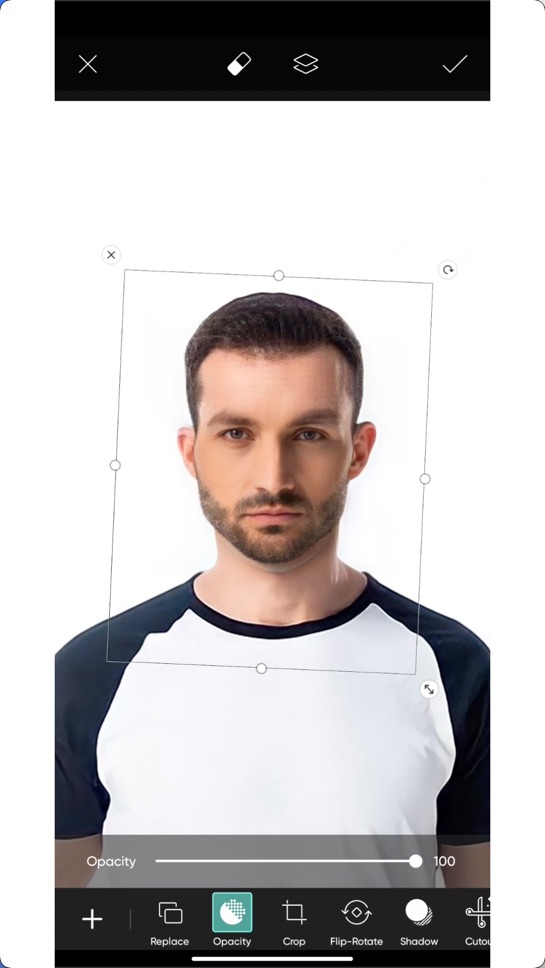
With the newly added photo still selected, tap on Crop.

Now, crop the photo to the face.
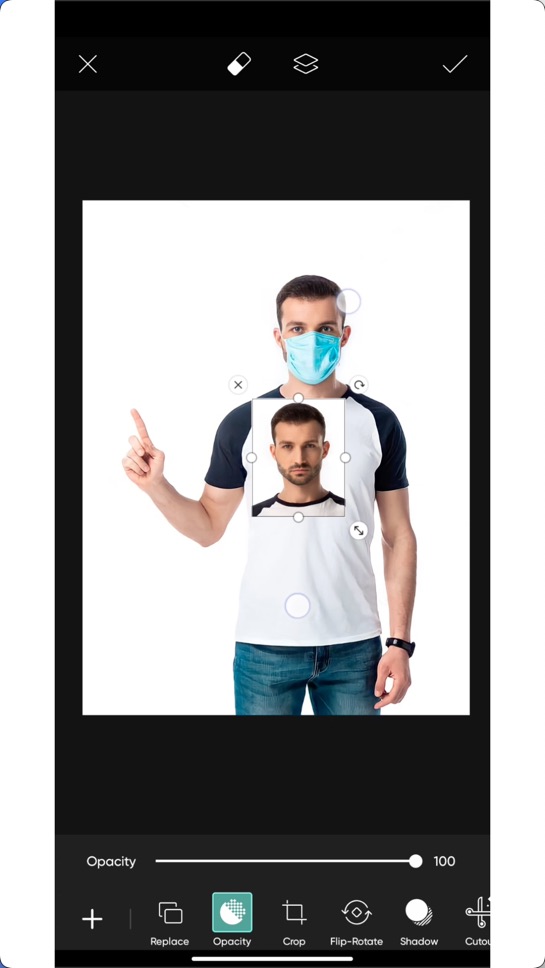
Step 3 – Align the face that has no mask
Zoom in and align the face.
Reduce the opacity of the face. This will help you to align the face better.
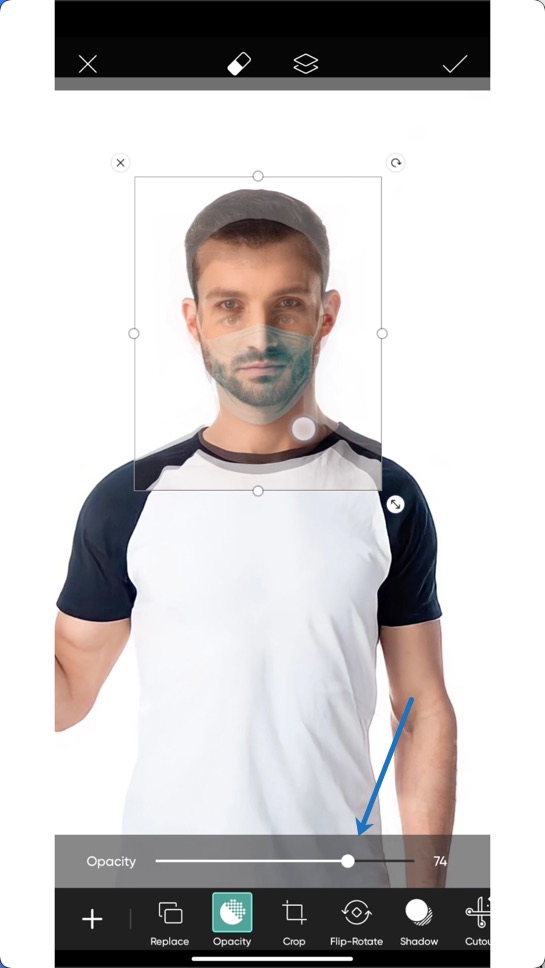
Watch the video below to see how you can align the face.
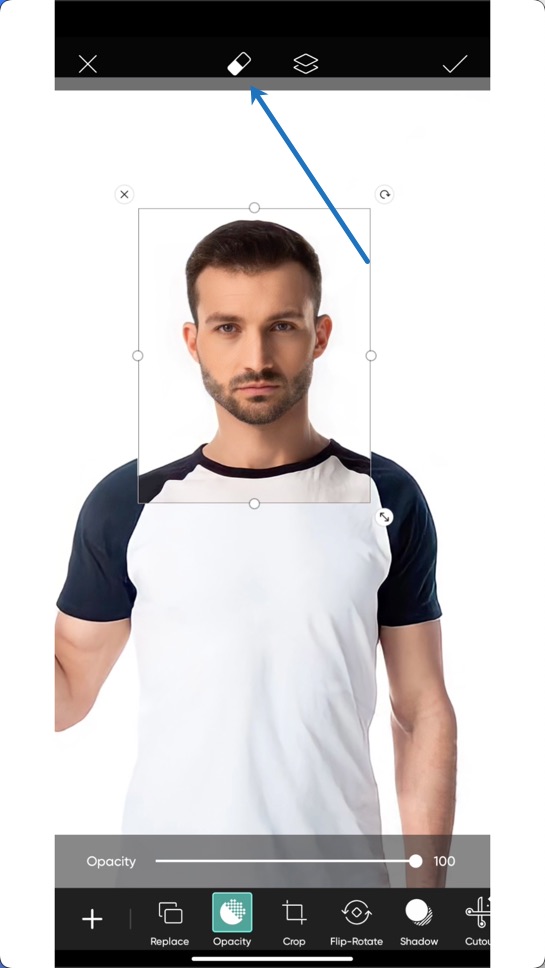
Increase the opacity back to 100%.
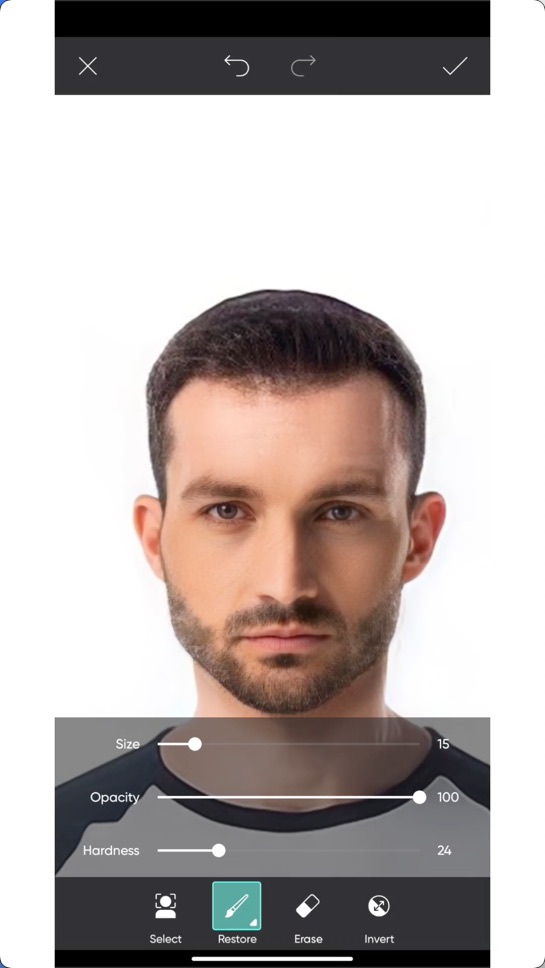
Step 4 – Remove the face mask from a photo for free
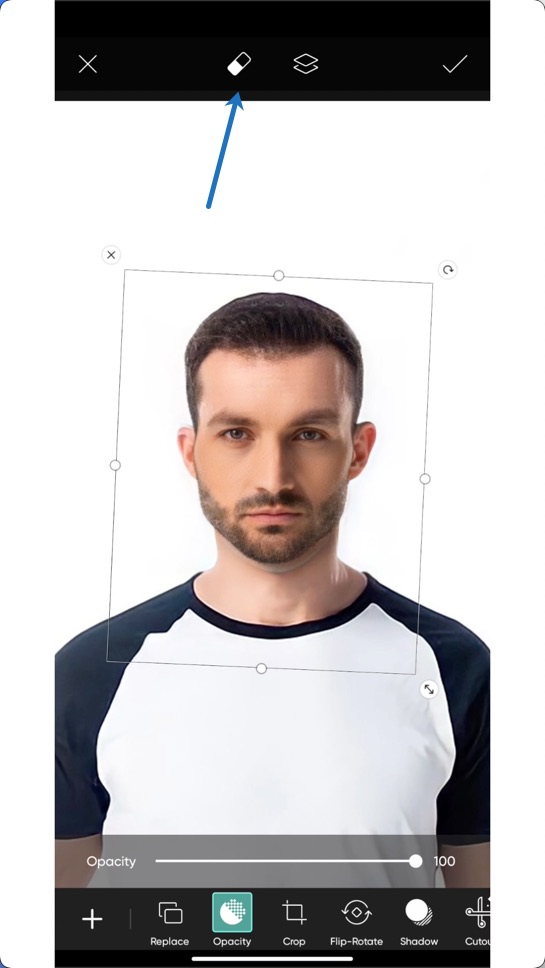
After this, click on the Eraser icon.
Now tap on the Invert icon. This will hide the photo without the mask.
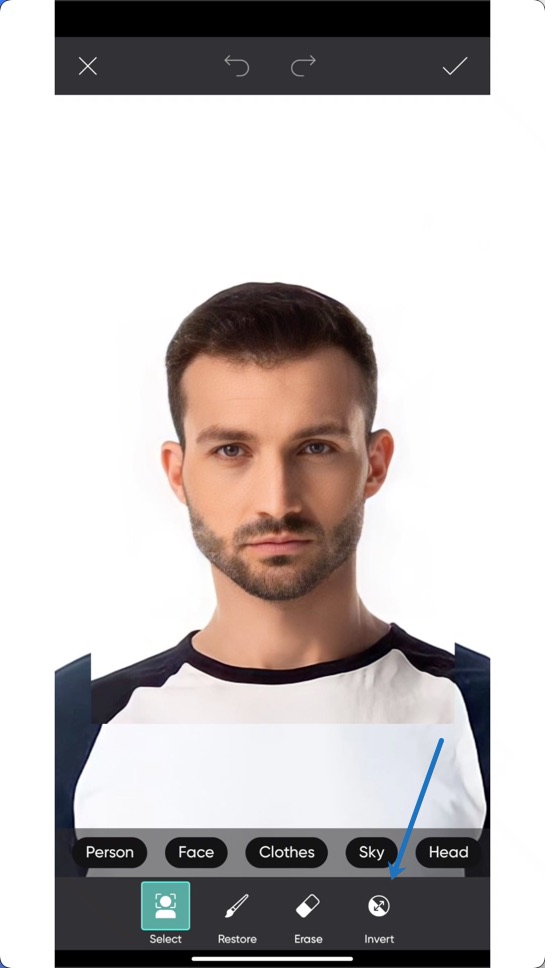
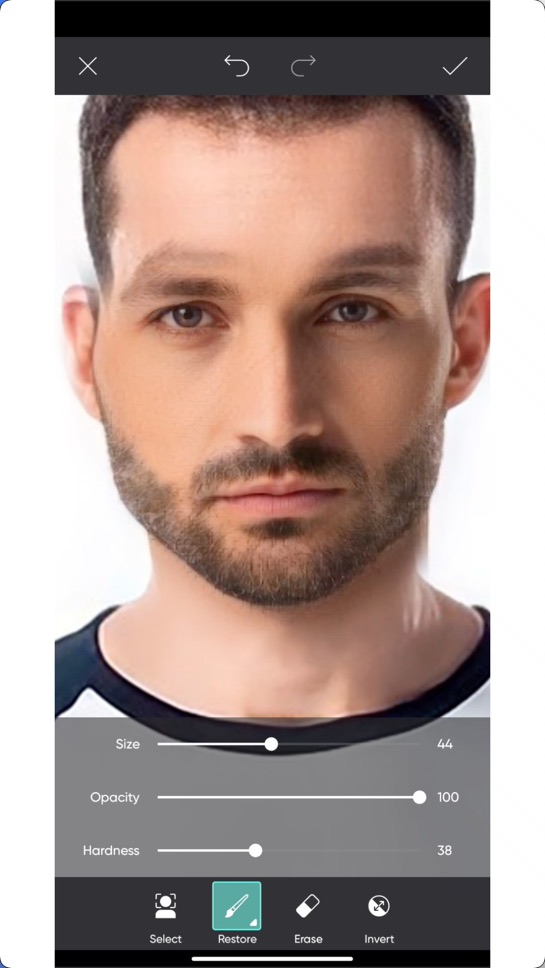
Now tap on Restore and start brushing on the mask and the eyes.
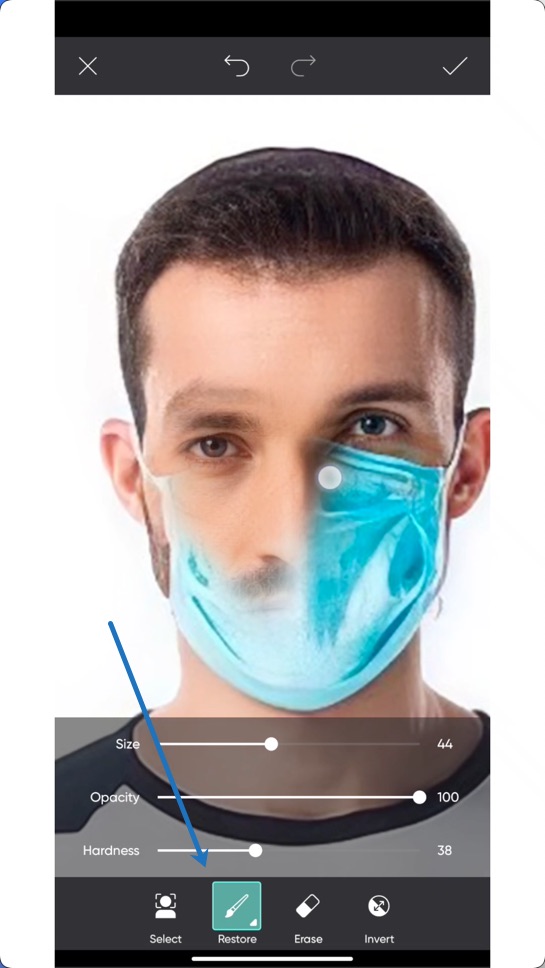
This is the result.
You may again need to realign the face.
Repeat step 3 to realign the face.
Now, we’re going to remove the impression of the chin.
Tap on the Eraser icon.
Now tap on Restore and start brushing on the impression of the chin.
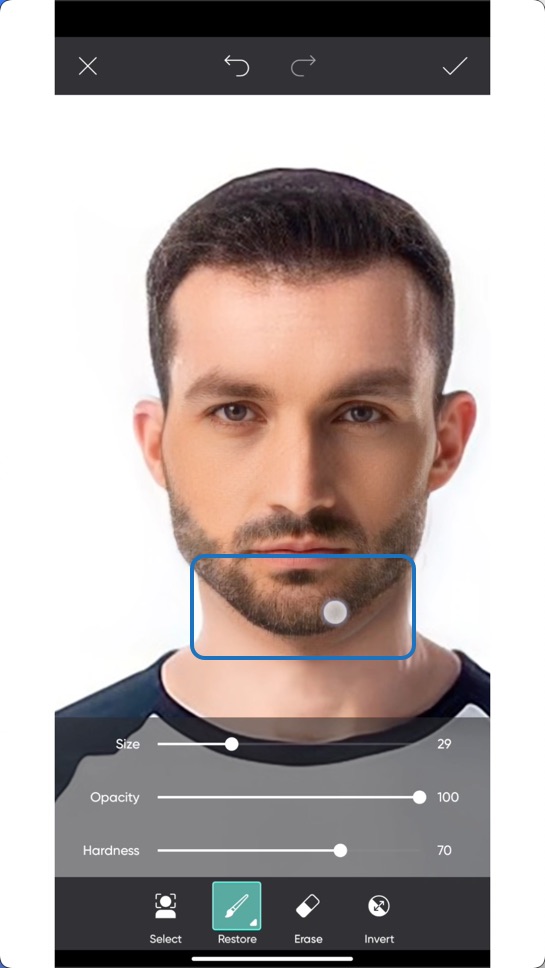
Also, remove all the unwanted impressions on the face. Use this same way to remove them.
I removed the impressions on the ears, chin, and eyebrows.
Step 5 – Match the skin tone after removing the face mask from the photo
Tap on Adjust.
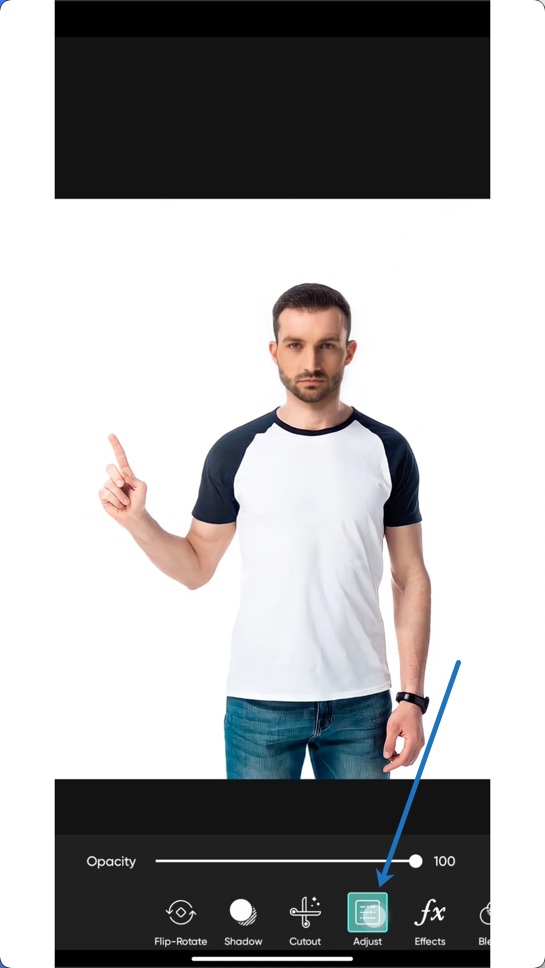
I’m going to tweak some sliders.
This will blend the skin tone after removing the face mask.
The same settings may not work for you.
- Brightness: +2
- Saturation: -19
- Clarity: +10
- Highlights: +7
And that’s it.
Here’s the After photo.
How to remove a face mask from photos in Photoshop?
This is a very good question.
I believe that you’re already aware of the UI of Photoshop.
Repeat the same steps to remove the face mask from photos in Photoshop.
Here’s a summary of the steps:
- Open both photos in Photoshop
- Erase all the parts of the newly added photo except the bottom half of the face
- Align the face that has no mask
- Remove the face mask from photos in Photoshop
- Blend the skin tone after removing the face mask
What are other apps you can use to remove the face mask?
If you don’t use PicsArt, you can use these apps also.
The steps will be the same. Only the UI will be different.
- Snapseed
- Photoshop Express
Let TrickyPhotoshop remove the face mask from your photo
I understand if you’re not getting a good result. This is a complex tutorial for many of us.
I’m here to help you. My team will remove the face mask from your photos. Go to our Photo Editing Service page and submit your photos.
We’d love to keep our services free like we kept this tutorial free, but we won’t be able to pay our editors and bills.
Conclusion
- You saw how to remove the face in a photo using an app for free
- Or you can use our photo editing service if you’re not getting a good result.


