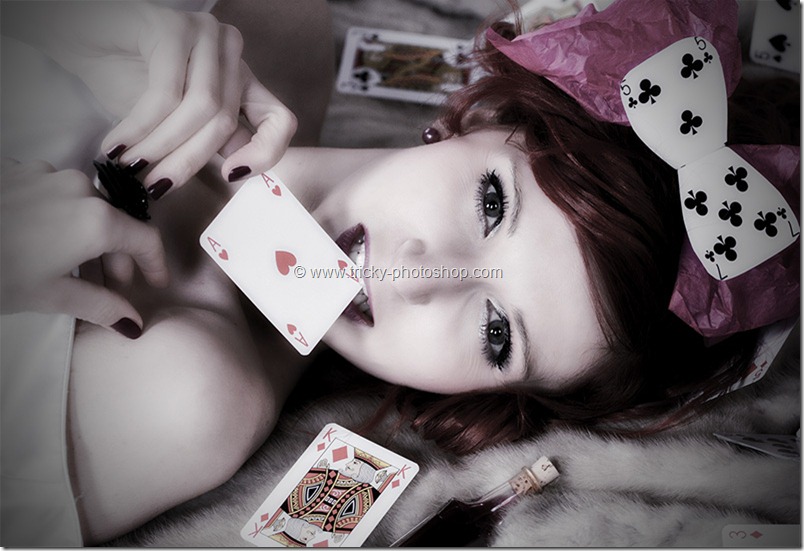
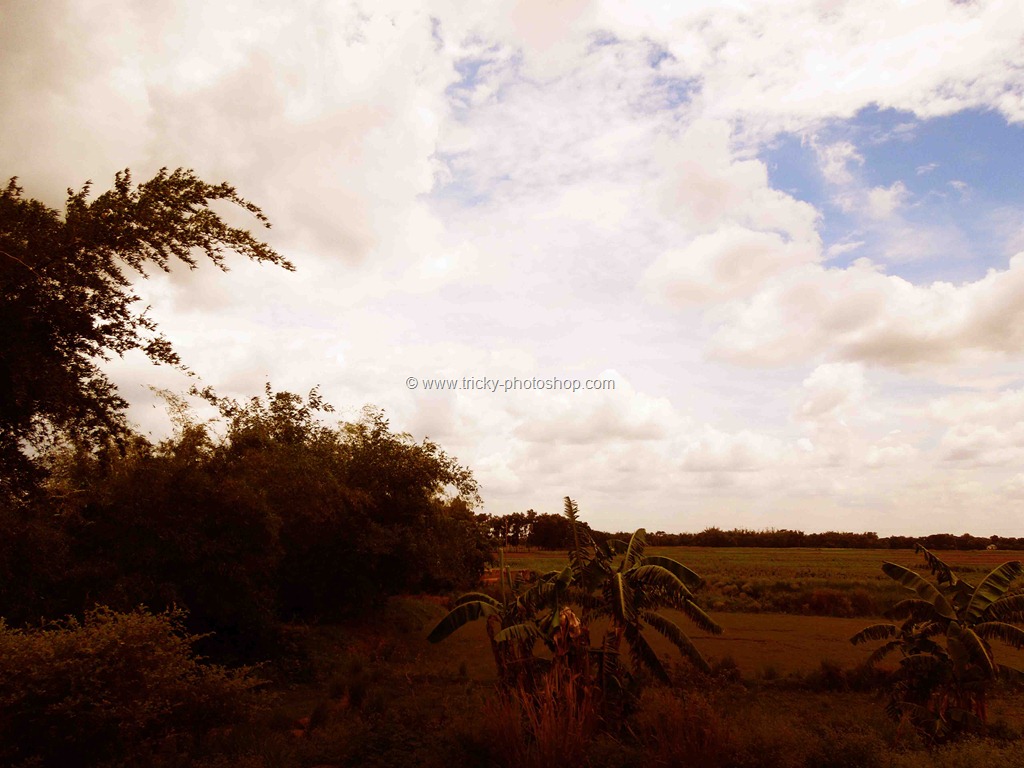
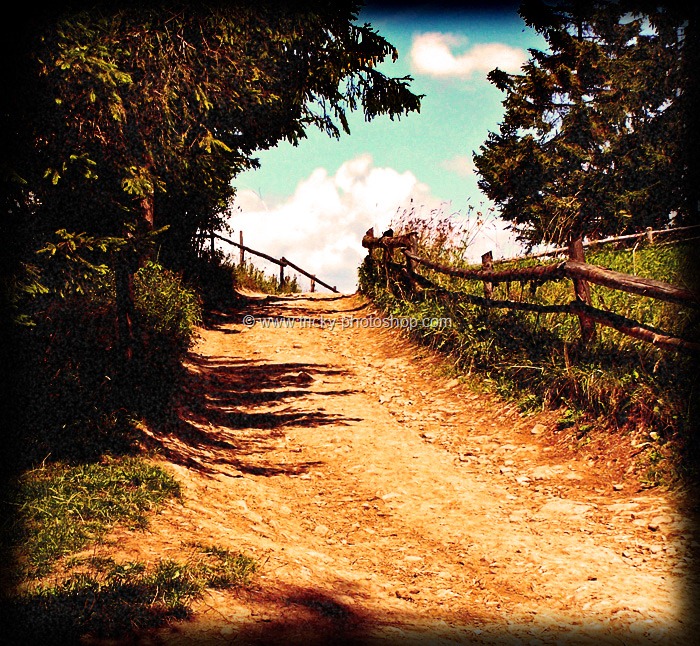
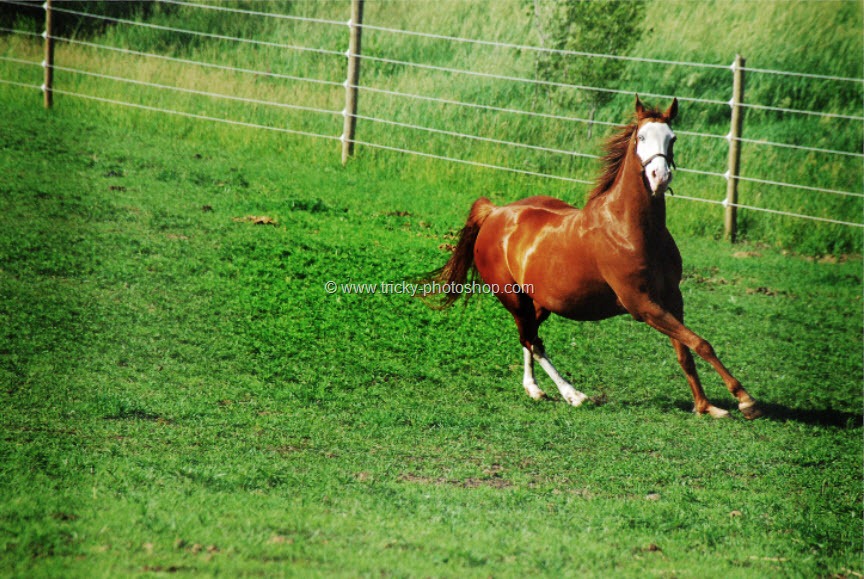
Hello guys I am Vaibhav and in this tutorial I am going to show you how to achieve Instagram’s Valencia effect using Photoshop CS6. Last time I discussed about Selecting Skin Tones in Photoshop which is really a recommended tutorial for fashion and studio photographers. For this tutorial basically what I am going to so is to create various adjustment layers and then after that I will use some filters to achieve desired result. I am going to use adjustment layers and filters. So lets start.
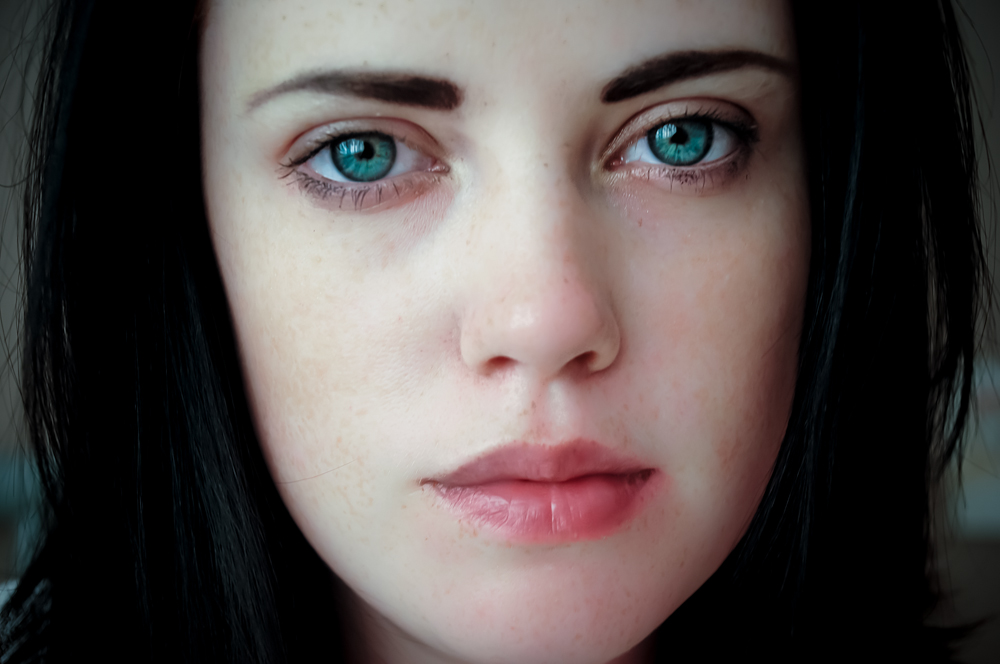
Stock: http://shelldevil.deviantart.com/art/Shelldevil-Child-Stock-273-268210504
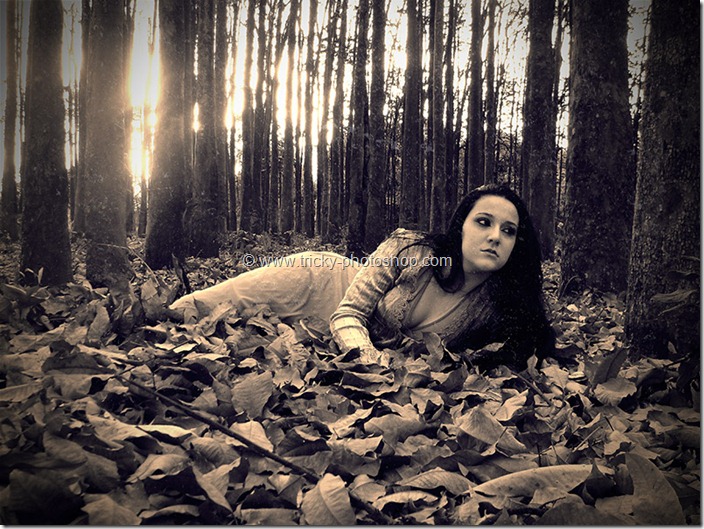
FINAL
INITIAL
Hello guys I am Vaibhav and in this tutorial I am going to show you how to achieve Instagram’s Valencia effect using Photoshop CS6. I am going to use adjustment layers and filters. So lets start.
[message_box title=”Stock” color=”blue”]http://shelldevil.deviantart.com/art/Shelldevil-Child-Stock-273-268210504[/message_box]
STEP 1
Let’s start off with unlocking our background layer. Open layer panel (press F7 to open). Right click on your “background” layer and then click on “layer from background”. This will unlock your “background” layer.
Now add Hue & Saturation adjustment layer. Go to Layer>New Adjustment Layer>Hue & Saturation. Increase the Lightness by 12.


