You’ve seen double exposure effect somewhere and now you want to know how to do in Photoshop, right? You’ve wondered how do I do it and that’s why you’re reading this tutorial. Today, I’ll show you how to create a double exposure photo in Photoshop.
Look no further because this is the tutorial where you’ll know everything.
Before we begin, let me show you the after and before.
After

Before

Photo by Spencer Selover from Pexels
Photo by Nick Kwan from Pexels
Let’s begin
Step 1: Change the background in Photoshop
We need to change this boring background.
Go to Select > Subject.
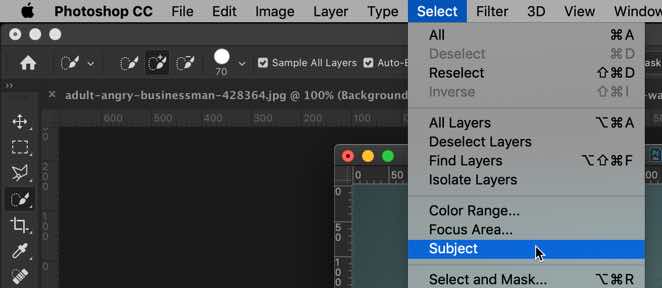
This will beautifully select the man.
Note: If you use old versions of Photoshop then you won’t see this feature.
Related: See how can you remove the background of complex photos in Photoshop.
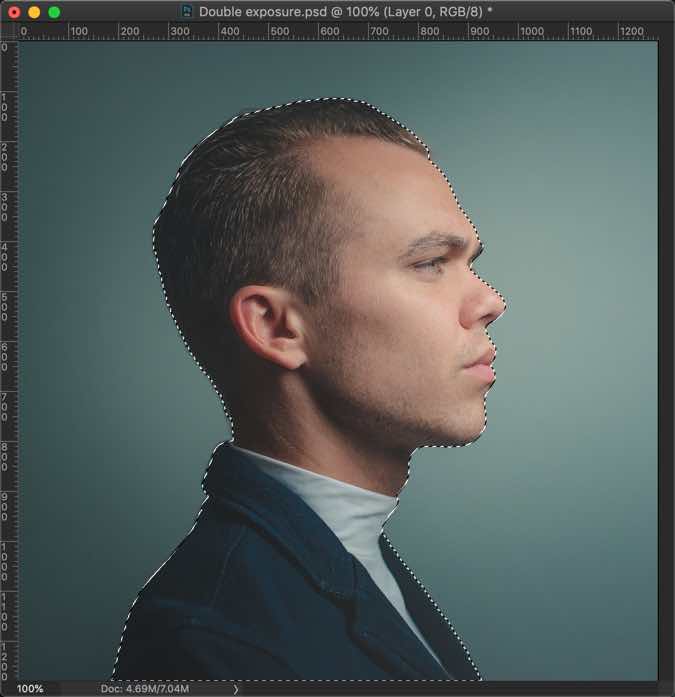
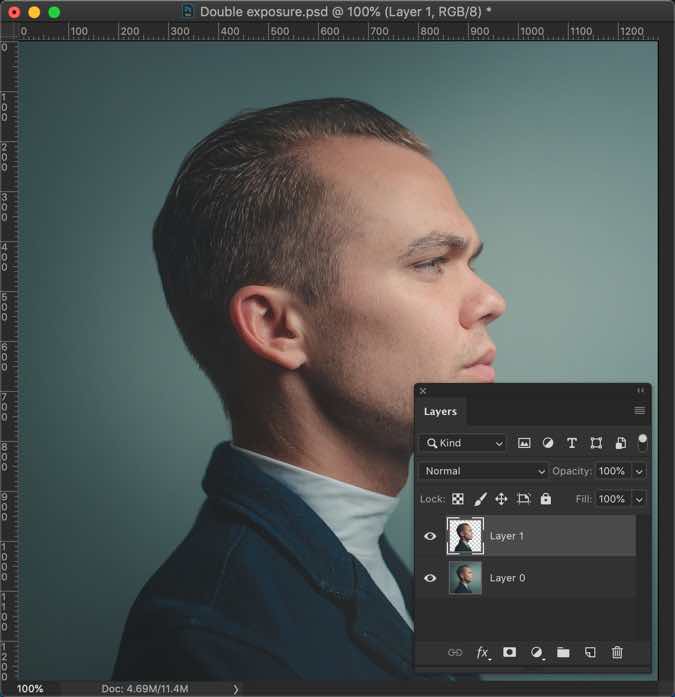
Press Cmd + J / Ctrl + J to copy the selection to a new layer.
Step 2: Open and select the other photo
Time to open the other photo.

We’ll select the portion which we’d like to use as the double exposure.
Grab the rectangular marquee tool from the tool panel or press Shift + M again and again until it comes.

Draw a rectangle on the part which you want to use for the double exposure. I am going to use this part.

Copy the selection by pressing Cmd + C / Ctrl + C.
Go back to the original photo and paste it by pressing Cmd + V / Ctrl + V.
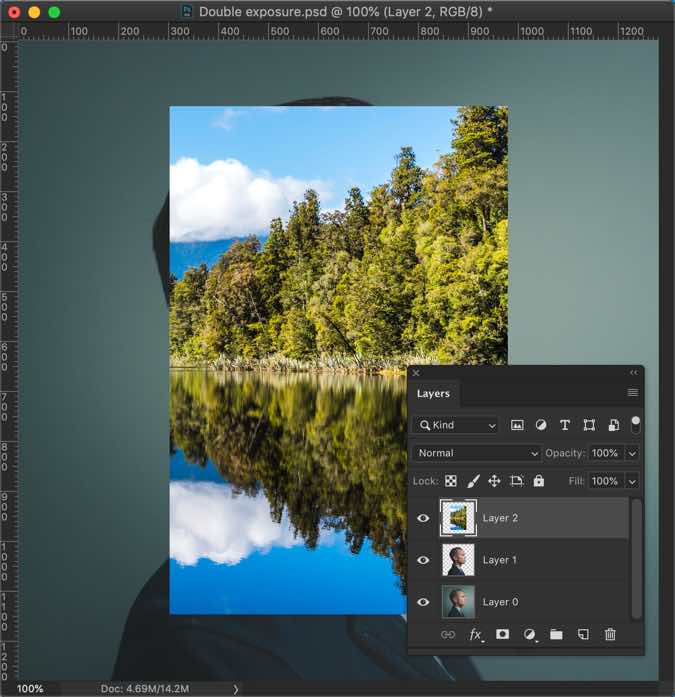
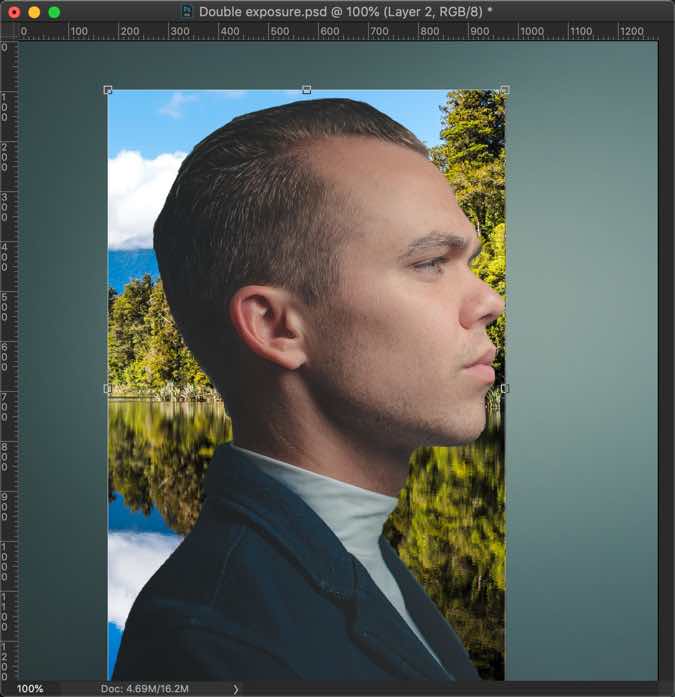
Step 3: Align the landscape photo
Drag the landscape layer below the man’s layer.

Activate the Free Transform Tool and align the landscape photo in such a way that it covers the entire body of the man.
Press Return/Enter.
Step 4. Change the background
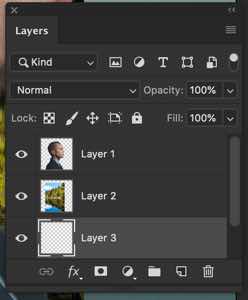
Create a new layer below the landscape photo by pressing Cmd + Shift + N / Ctrl + Shift + N.
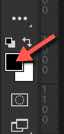
Click on the foreground color.
Write #7a7a7a in the box. Press OK
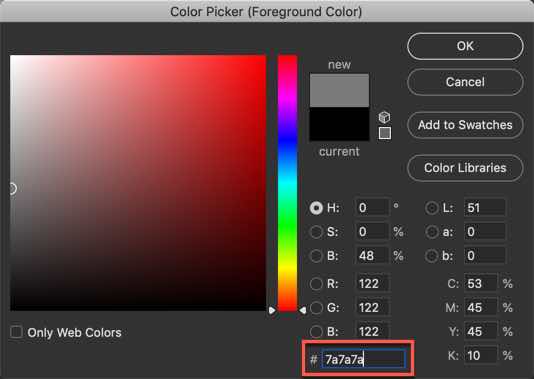
Press Opt + Delete / Alt + Backspace to fill the layer with the newly selected layer.

Step 5: Create double exposure photo in Photoshop
The first need we need to do is to make sure that its edges totally align with the face.
Hold down Cmd/Ctrl and click on the thumbnail of the photo. This will select the man.

Click on the landscape layer and then click on the Layer Mask.
Now, the landscape photo aligns with the man’s photo.

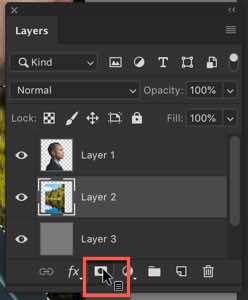
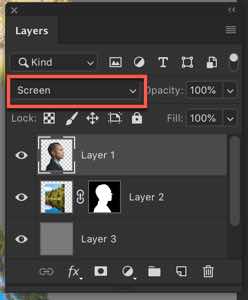
Change the blend mode of the man’s photo to Screen.
Again activate the landscape layer.

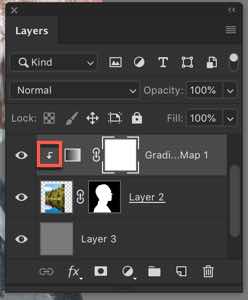
Go to Image > Adjustment > Gradient Map.

Click on the box.

Choose the black to white gradient and press ok.
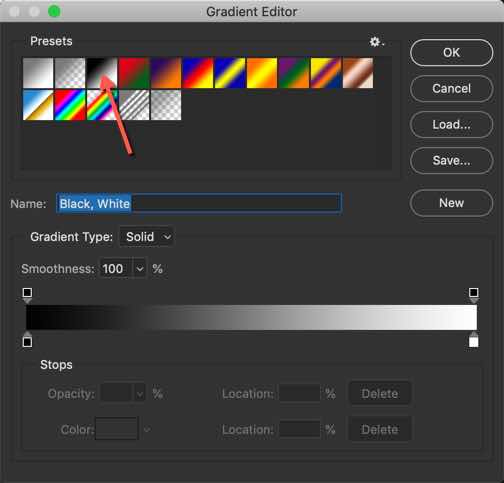
This will convert the landscape photo to black and white.

But, there’s a problem. The gradient map is affecting all the layers below it including the background. We need to fix it.
We’ll clip the gradient map layer to the landscape layer. Hold down Alt/Opt and place the cursor just at the edge of the layer. You’ll see that cursor changes. Then click.
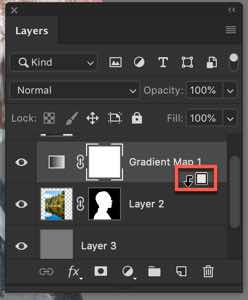
This arrow would come up which means that the gradient map is affecting only the layer below it.
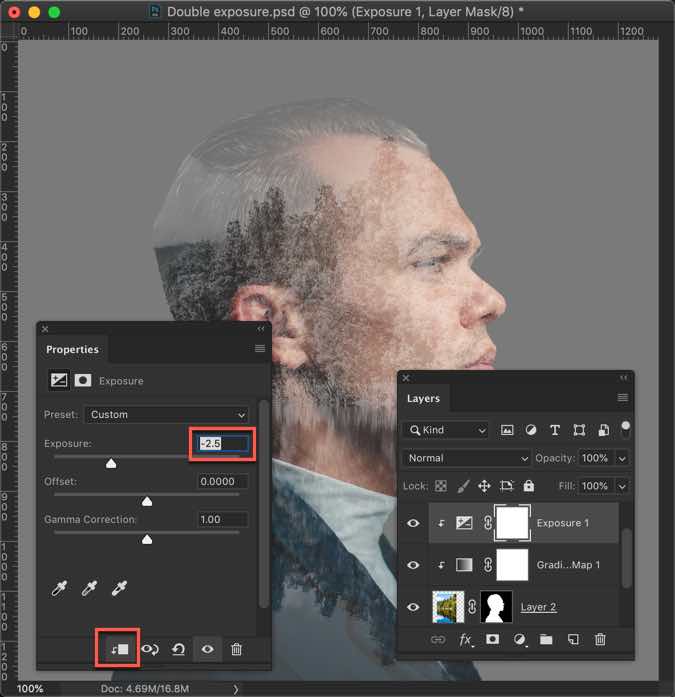
Time to reduce exposure. Click on the adjustment layer button and choose Exposure.

Reduce it to -2.5. Also, click on the clipping mask button.
Step 6: Give effect to the man’s photo
Click on the man’s photo layer. Duplicate it by pressing Cmd + J / Ctrl +J.
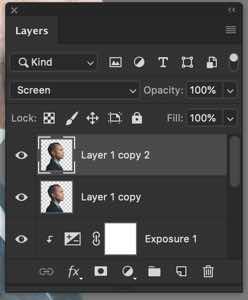
Change the blend mode of the below layer to Normal.

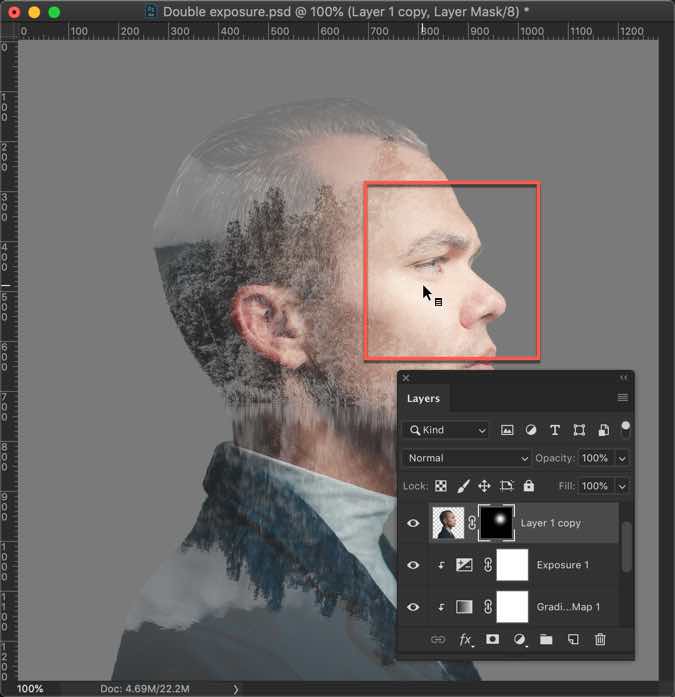
Go to Layer > Layer Mask > Hide All.

This will hide that layer.

Grab the Brush Tool from the tool panel.

Change the foreground color to white.

Now just brush the eye and nose.
That’s all


