Losing a person is tough but all of us here are bound to go someday. I know that it’s tough but we must move on. In this tutorial, I am going to show you how to create a memorial photo in Photoshop.
I’ll be using basic tools like the Selection tool, adjustment layers, and filters.
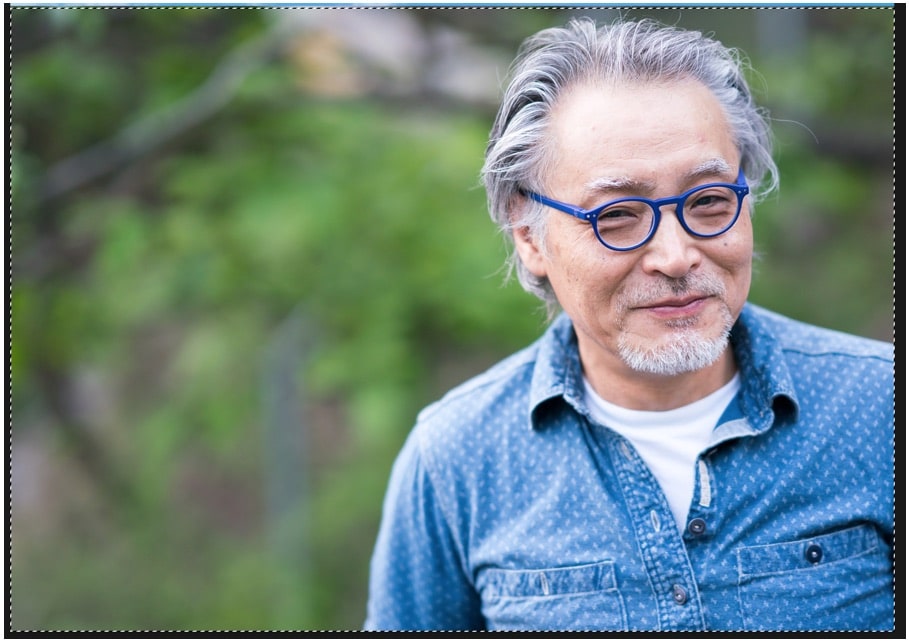
Before we begin, let me show you the before and after photo.
Before

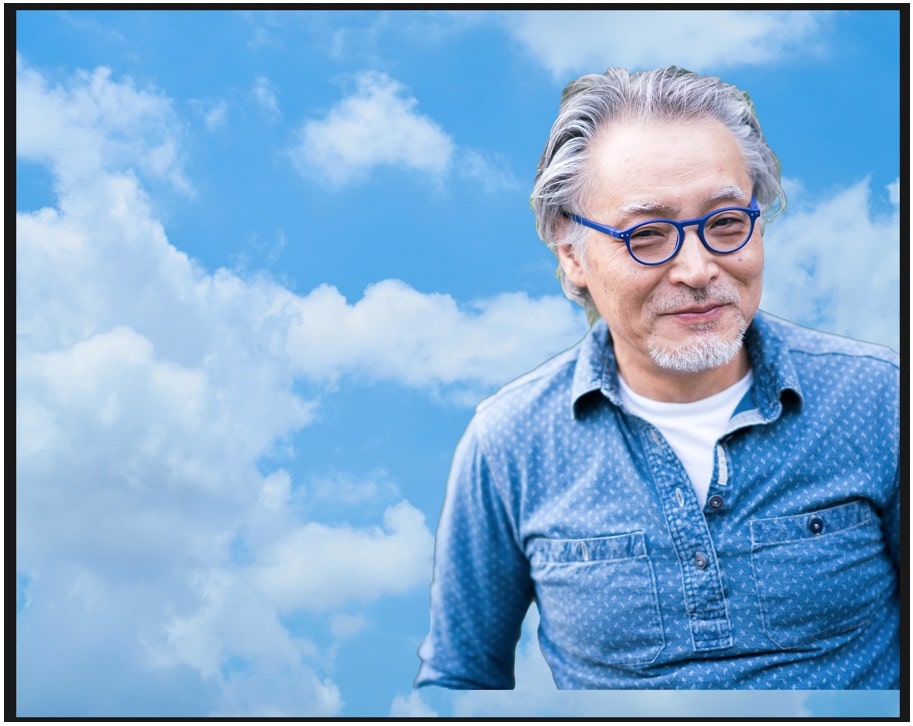
After

Source photos:
Man: pixabay.com/photos/aged-man-elderly-man-old-man-1842327/
Cloud: pixabay.com/photos/blue-cloud-white-landscape-sky-3222534/
Let’s begin with the tutorial.
Step 1 – Open both photos to create memorial photo in Photoshop
Open the sky photo first or any other photo that you want to be put in the background. Go to File > Open and locate the photo.

Now open the person photo. Go to File > Open and locate the photo.

Step 2 – Put the person photo on the sky photo
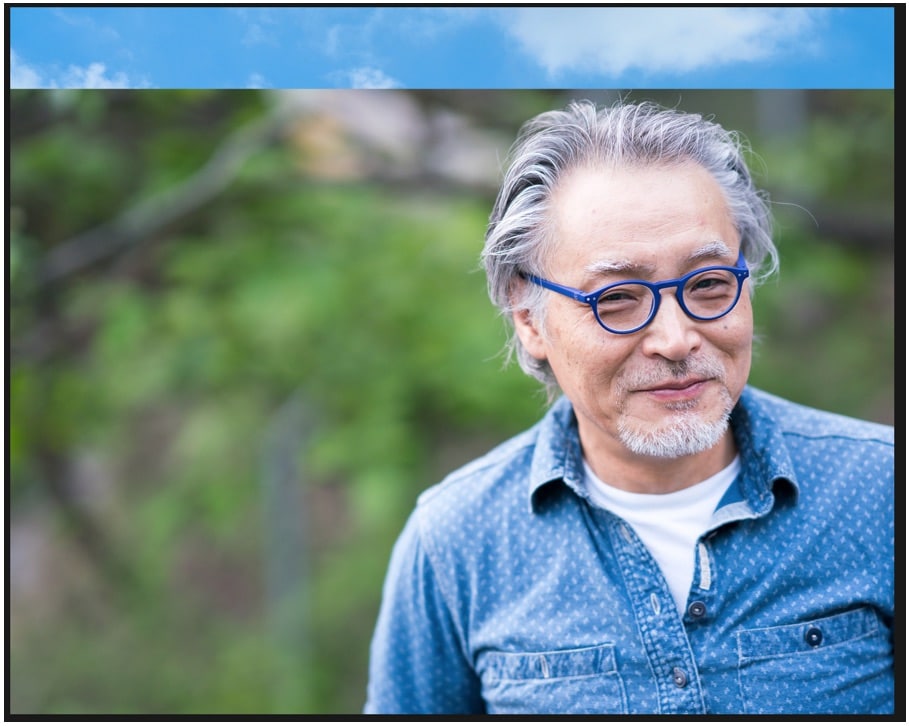
Time to put the person photo on the sky photo.
Press Cmd + A / Ctrl + A to select the entire photo. Press Cmd + C / Ctrl + C to copy the photo.
Now, go to the sky photo and paste it by pressing Cmd + V / Ctrl + V.
Step 3 – Remove the background of the man in Photoshop
Grab the Quick Selection Tool from the tool panel or press Shift + W again and again until it comes.

Now select the man. See the below GIF where I used the Quick Selection Tool to select the man. It’s 12 MB in size. Give it some time to load if it’s not loaded.

Now use Select and Mask to refine the selection. Go to Select > Select and Mask.
Make sure that Output To: New layer is selected.

Press Cmd + D / Ctrl + D to deselect. This is what the photo now looks like.
Step 4 – Give the portrait an oval shape
Grab the Elliptical Marquee tool in Photoshop from the tool panel or press Shift + M again and again until it comes.

Create an oval shape around his face.

Now we’re going to remove the body that is outside the oval shape so that only face is shown in the final photo.
Invert the selection using Cmd + Shift + I / Ctrl + Shift + I. Open the layer panel and click on the layer mask.

Change the foreground color to Black.

Press Opt + Delete / Alt + Backspace to hide the area outside the selection.

Press Cmd + D / Ctrl + D to deselect. This is what the photo would look like.

Step 5 – Give the faded effect in Photoshop
Grab the Brush tool from the tool panel or press Shift + B again and again until it comes.
Reduce the Hardness of the brush to 0. Now brush on the lower edges of the man.

That’s all. This is what the final photo looks like


