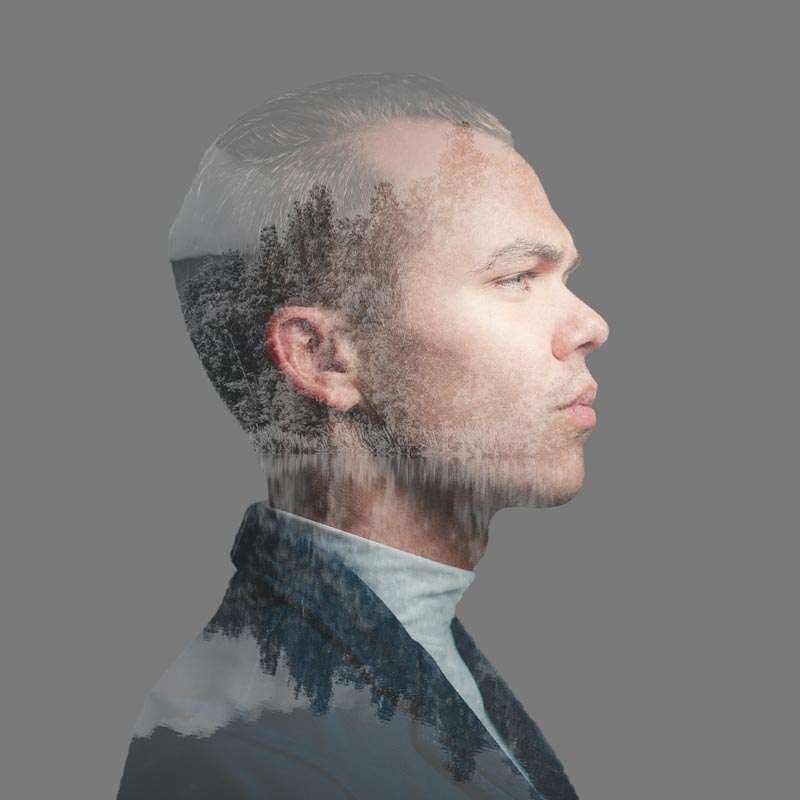
Hey guys I am Vaibhav and today I am going to show you how to Create Double Exposure Image in Photoshop. Last time I discussed about Using External Hard Drive as Scratch Disk in Photoshop which is really an important tip if you want to increase the performance of your Photoshop. For this tutorial what I am going to do is to place one image onto another image and then I will apply some adjustment layers to achieve the desired effect. I am going to use Filters, Adjustment Layers, Blending Modes etc.
Stock:
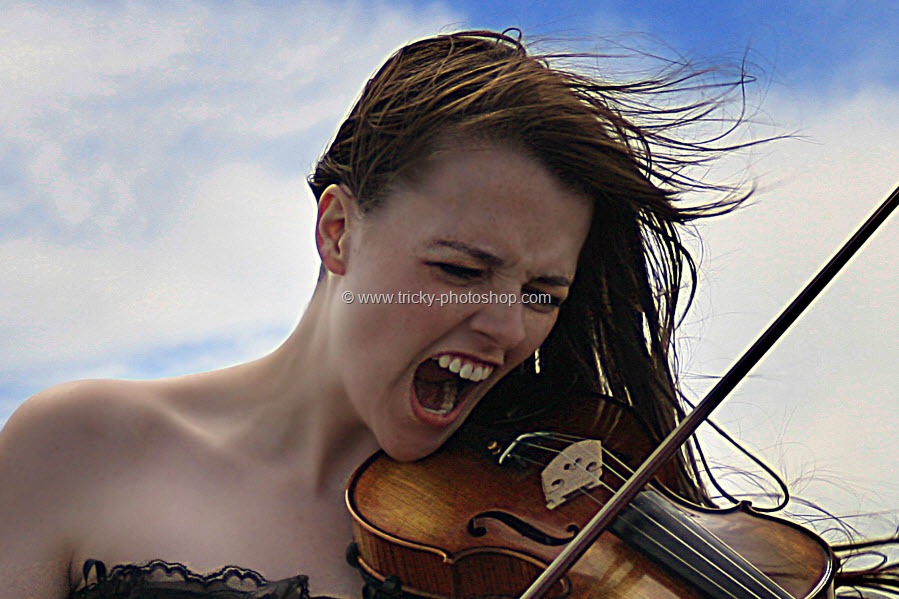
Model: http://mariaamanda.deviantart.com/art/Laces-Stock-374839451
City: http://bipolargenius.deviantart.com/art/city-at-night-149670378
FINAL
STEP 1
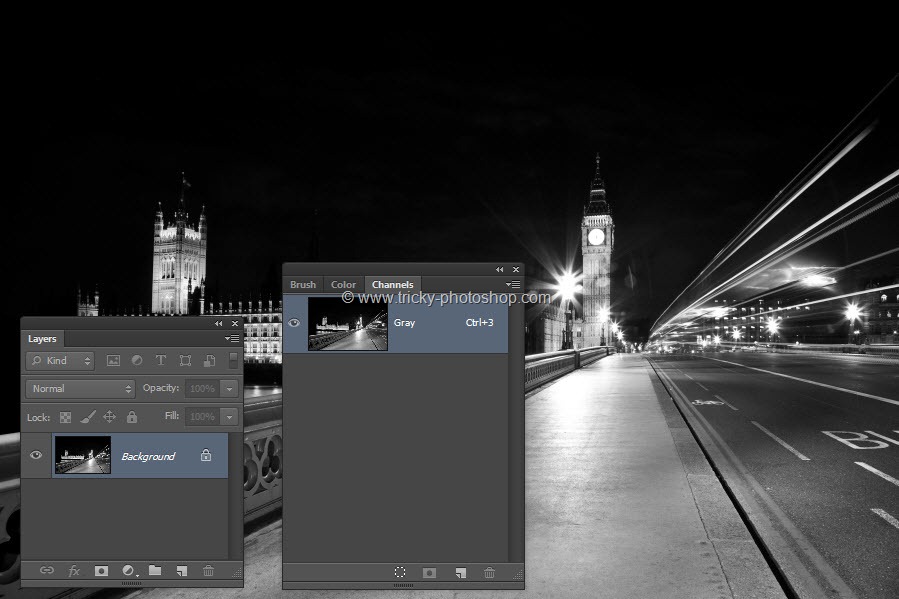
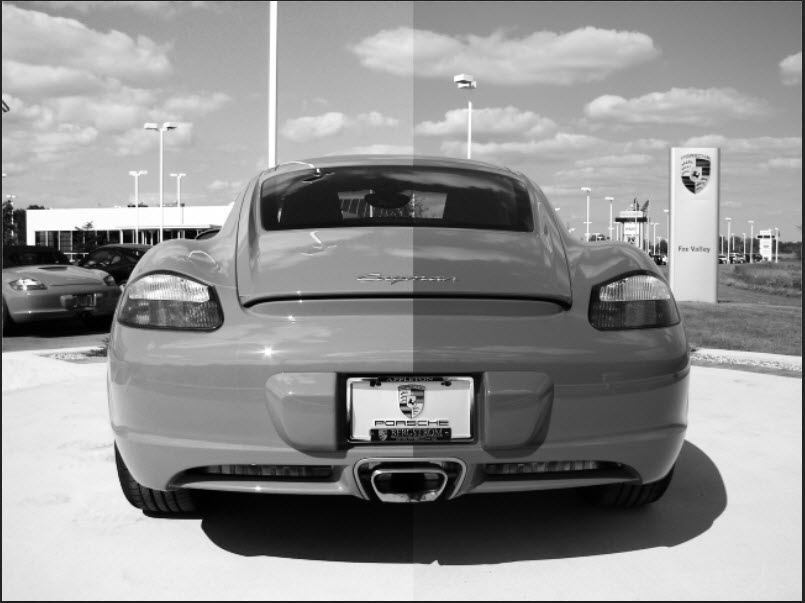
First thing that we need to do is to open our image in Photoshop. Now we are going to convert our background image to black and white. I am going to use Gradient Map for this effect. I have written a tutorial on Five Ways to Convert and Image to Black and White and you should check that out if you are only aware of 2-3 black and white methods. Go to Layer>New Adjustment Layer>Gradient Map.
If somehow you are not getting black and white result then click on the gradient box that is just above the “Dither” option and inside the gradient editor, choose the encircled option.


