Today, I am going to show you how to add stars to the sky in Photoshop. I remember that I wrote a similar tutorial back in 2013 but I used a very old version of Photoshop (probably CS5) and the images were not optimized for today’s browsers.
I thought that I should modify that old tutorial and optimize the images for today’s browsers. But, then I decided that I should write a new one. So, here we go.
For this project, we’re going to make use of Blend Modes to add stars. There are lots of tutorials out there in the market where you add stars using “Add noise” filter but this one is much simpler than those.
Initial

Image link.
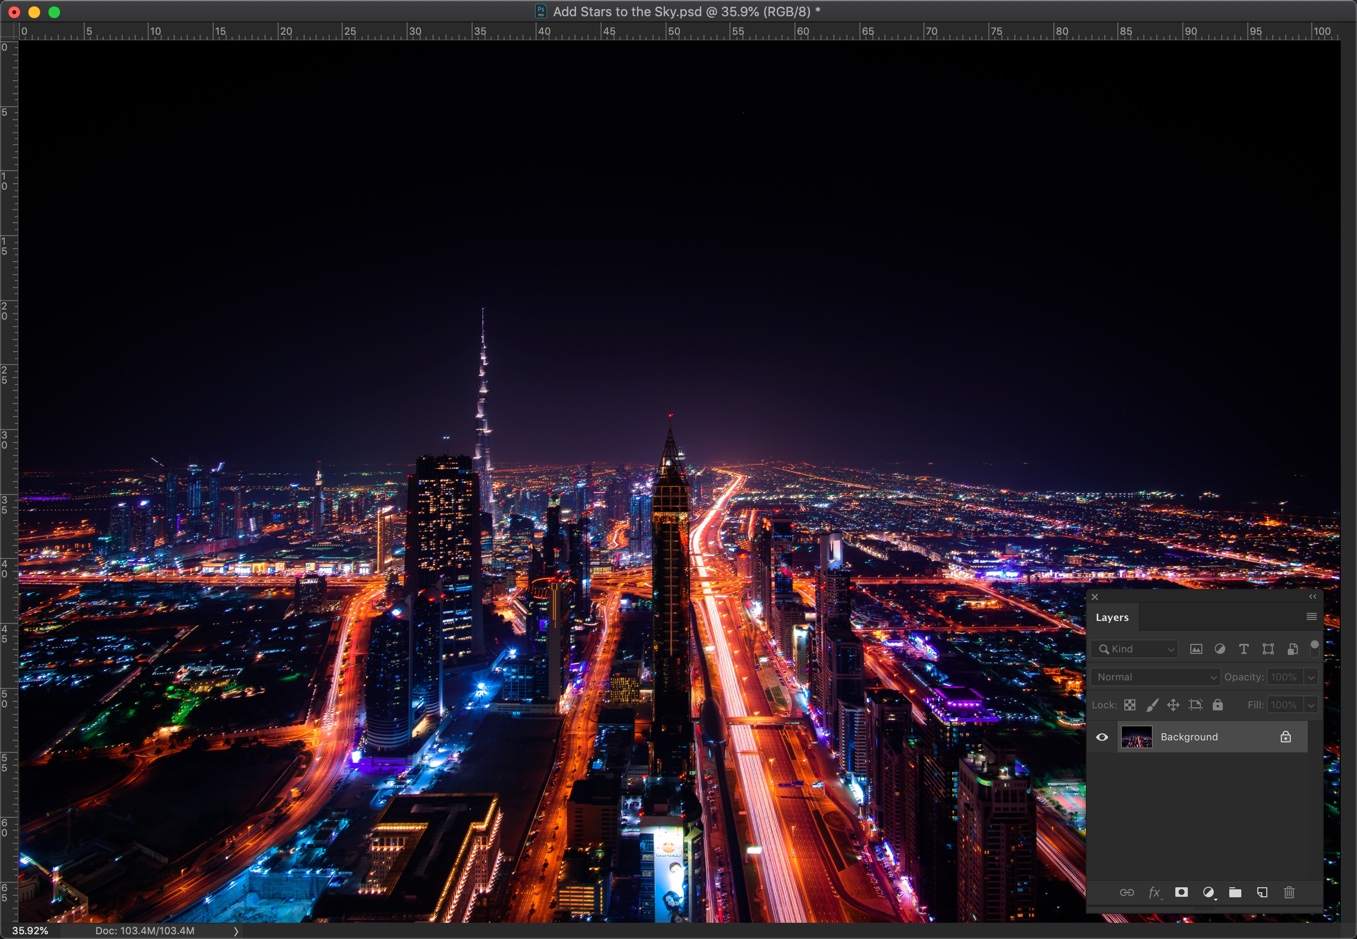
This is the image that we are going to use to add the stars.

Photo by Felix Mittermeier from Pexels
Final

So, let’s begin.
Step 1 – Open both photos in Photoshop
Open the image in Photoshop.
The next thing would be to open the sky image. We’re going to put this image onto the city image. Press Cmd + A/Ctrl + A to select the entire image.
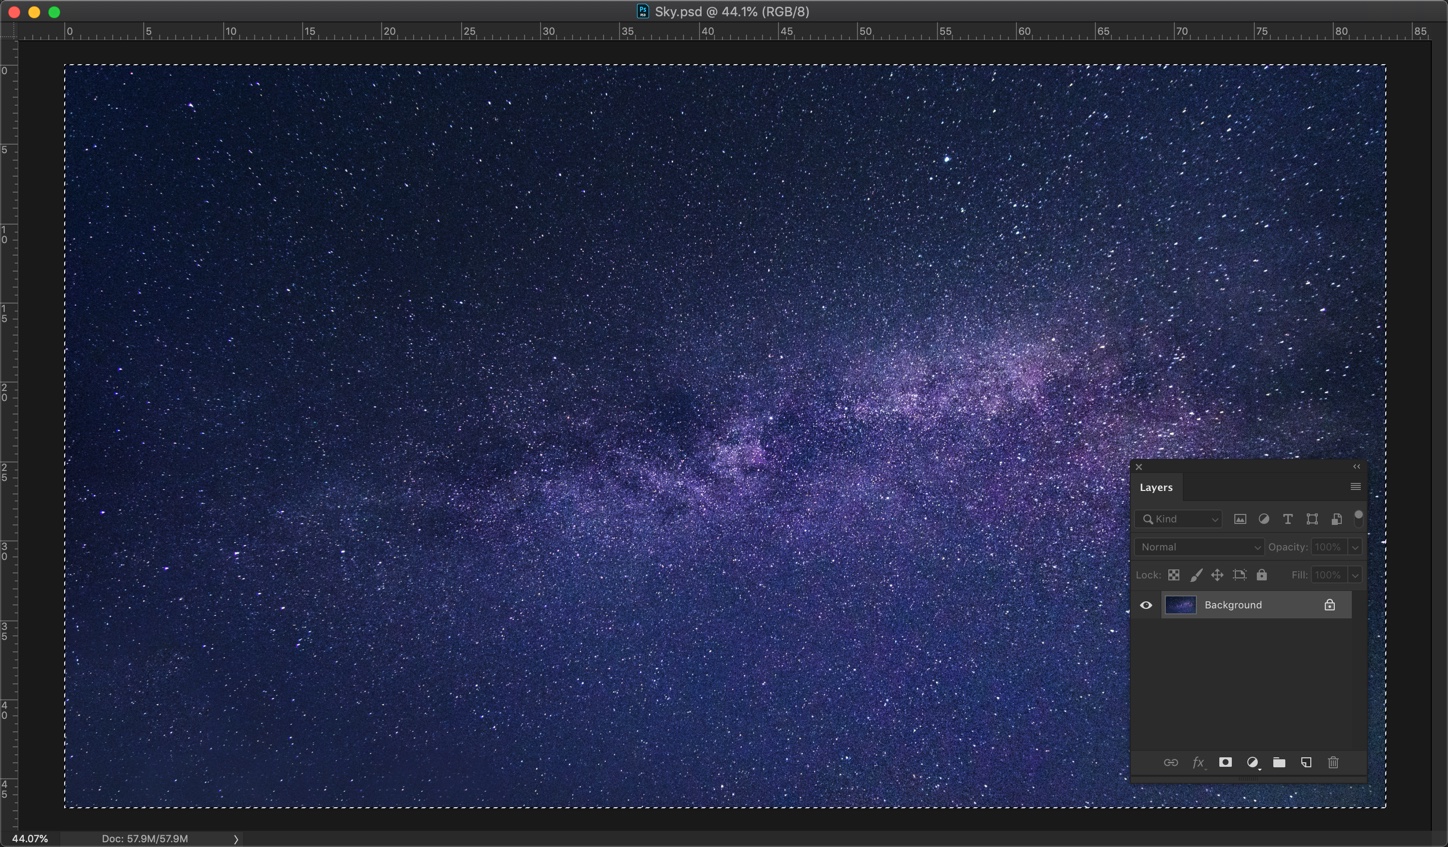
Copy the image by pressing Cmd + C/Ctrl + C.
Now, go back to the city image and paste it by pressing Cmd + V/Ctrl + V.
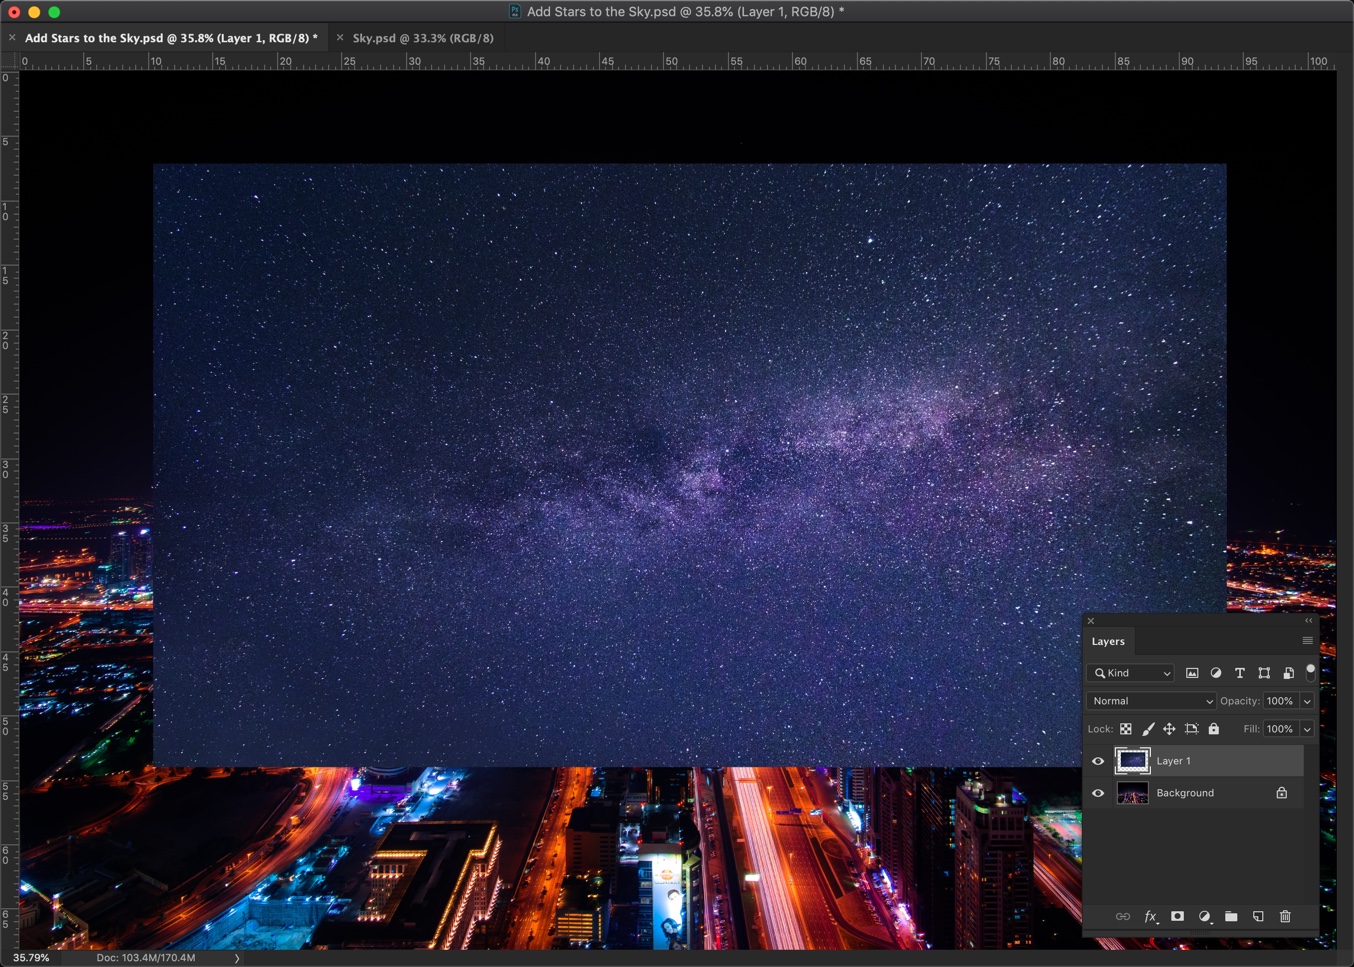
Step 2 – Align the sky image
Time to align the sky image so that it fills the sky of the city.
Activate the Free Transform Tool by pressing Cmd + T/Ctrl + T. Now drag the handlebars so that it covers the sky of the city image.
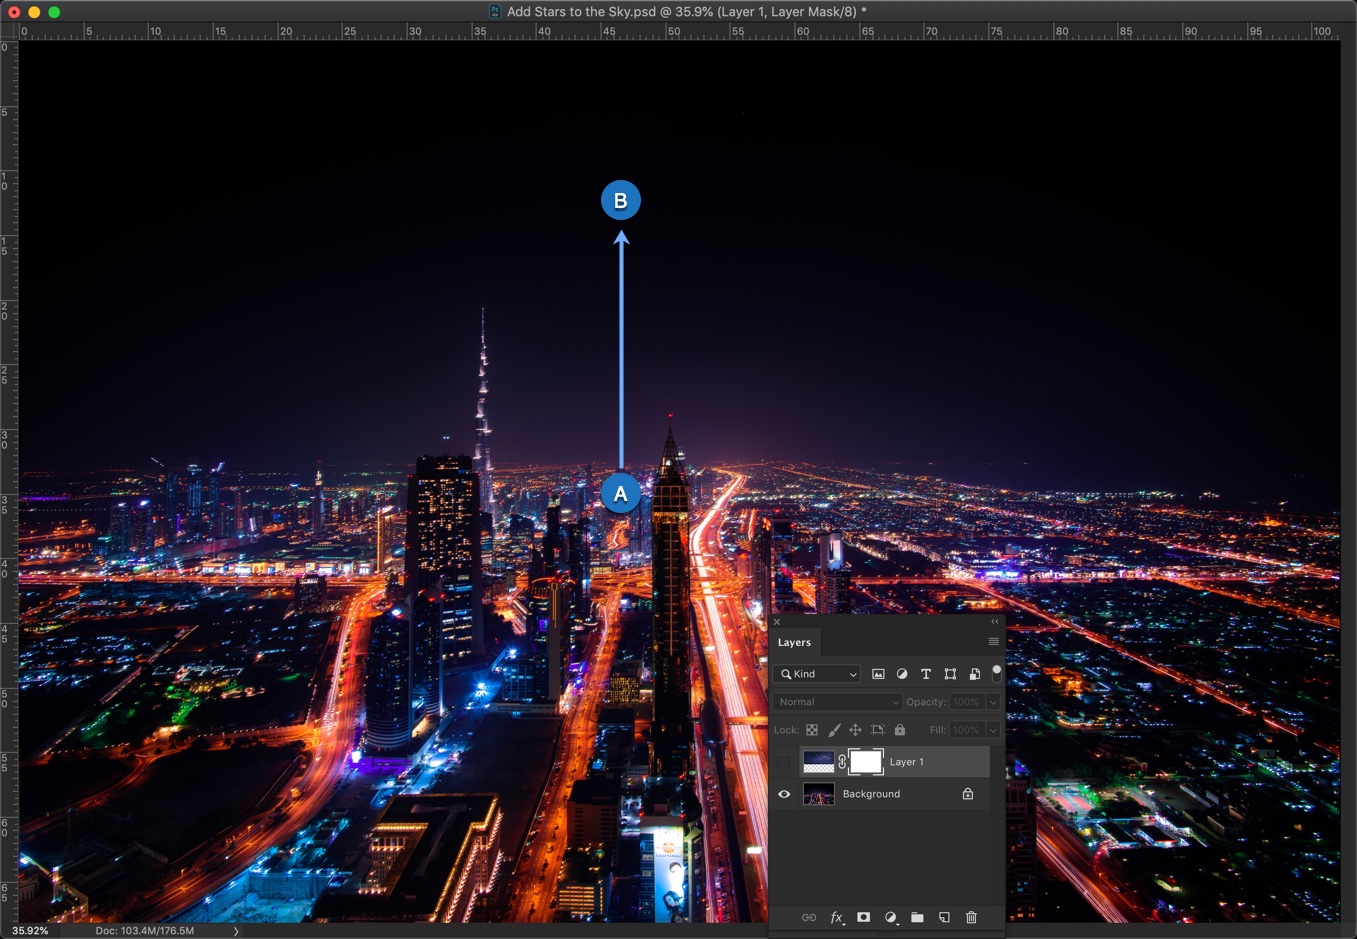
Step 3 – Hide the stars near the horizon
We need to determine from which point to which point should we use the gradient tool.
Open the layer panel by pressing F7 or by going to Windows > Layers.
In my image, I am going to start the gradient right at the horizon and end it slightly above the tallest building.
The starting point is at the horizon because we don’t want any stars below the horizon. The ending point is just above the tallest building because we want stars to show up from that point.
Grab the Gradient tool from the tool panel or press Shift + G again and again until it comes.
Change the foreground color to Black.
In the option bar, use Foreground to Transparent effect and choose the gradient type as the liner. I have highlighted both in the below screenshot.

Add a layer mask to the sky image in the tool panel.

Drag and drop the gradient from the starting point to the end point.
Drag and drop it multiple times to get an even better result.

Here’s the GIF for you.

Step 4 – Give the stars a realistic effect
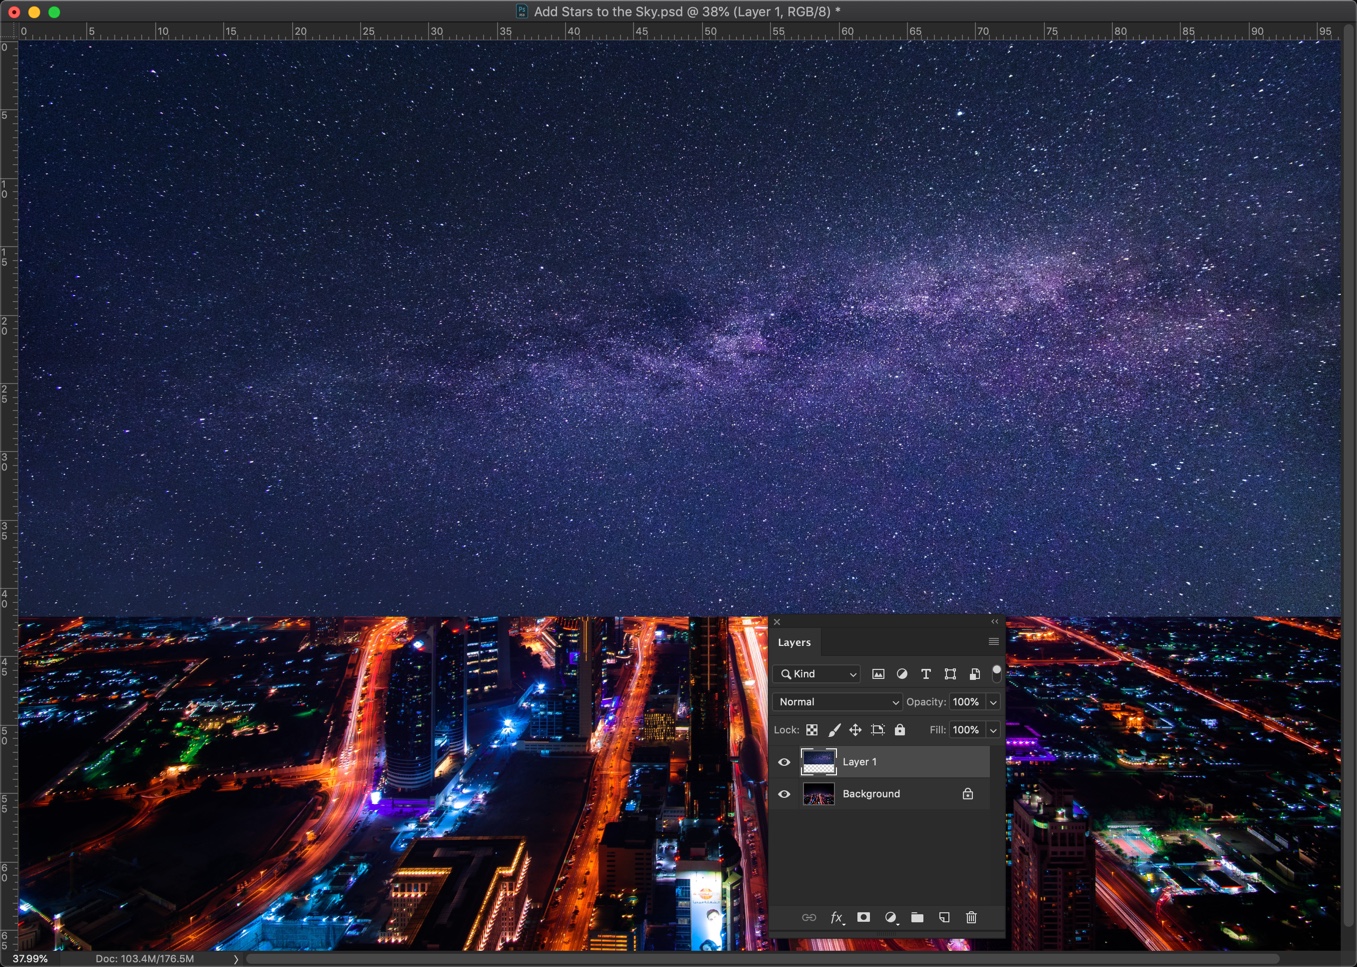
Reduce the opacity of the sky in the layer panel.
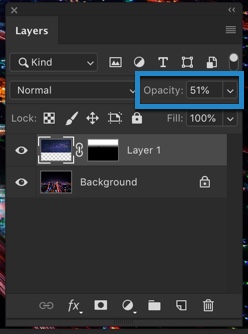
And, here you go.
This is all.
Make sure that you make the most out of the offer below.


