I wrote a tutorial on how to add lens flare in Photoshop back in 2012. It has been around 7 years and I thought that I should write a new one. I was using Photoshop CS5 and the Photoshop interface in the screenshots looked like I was using software that was developed in the 1800s.
So, I am writing a new one now. Before I show you how to do it, here’s a peek to the final photo.
Final

Initial

Let’s begin the tutorial.
Step 1 – Create a New Layer for the Lens Flare
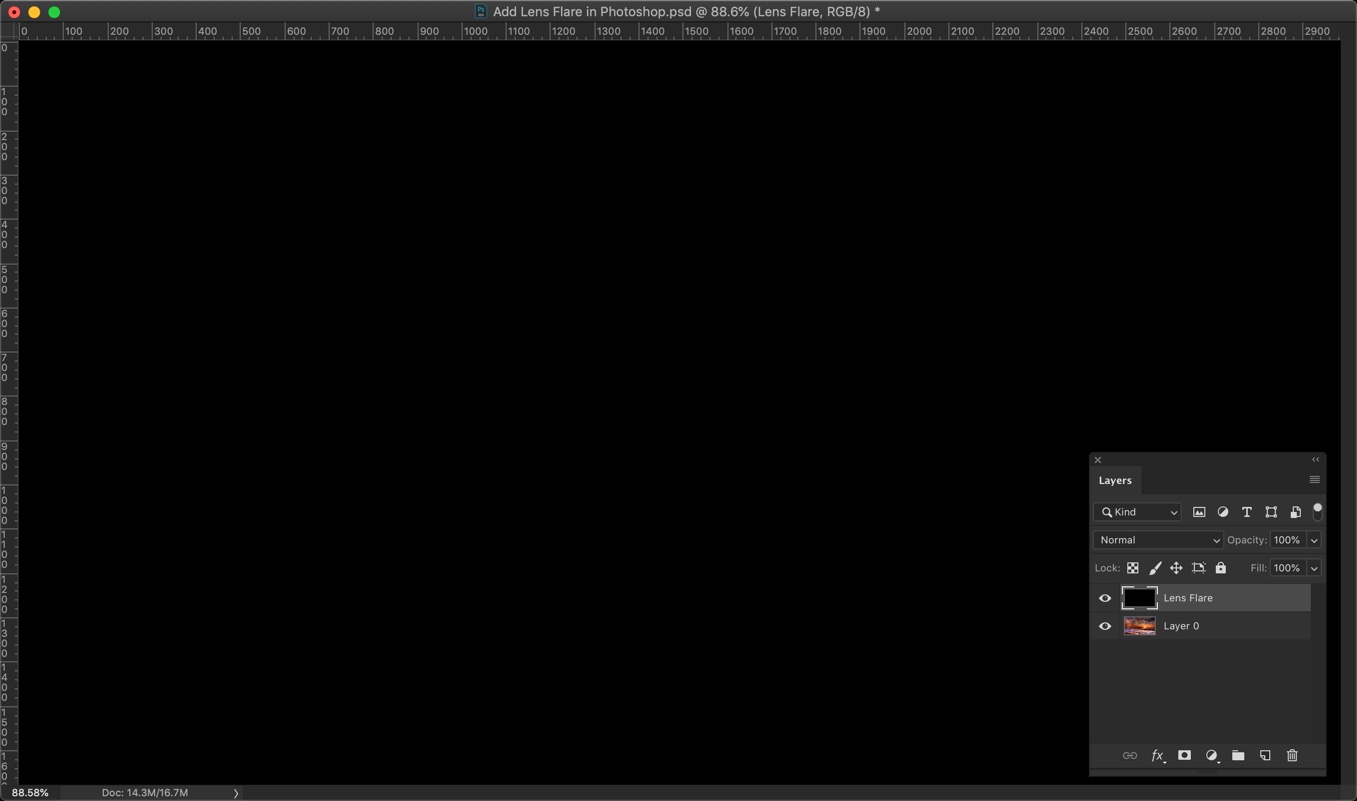
Create a new layer by pressing Cmd + Shift + N/Ctrl + Shift + N. Name that layer anything. I am going to write as Lens Flare.
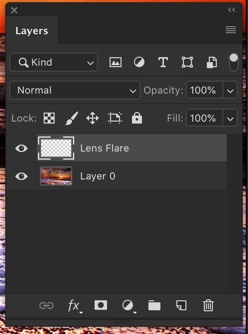
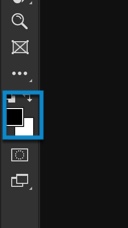
Press D to make black as your foreground color. If pressing D is not changing the foreground color to black, click on the below icon and manually change it.
Fill the Lens Flare layer with the black color by pressing Opt + Delete / Alt + Backspace. This shortcut lets you fill the layer with the foreground color which is black in this case.
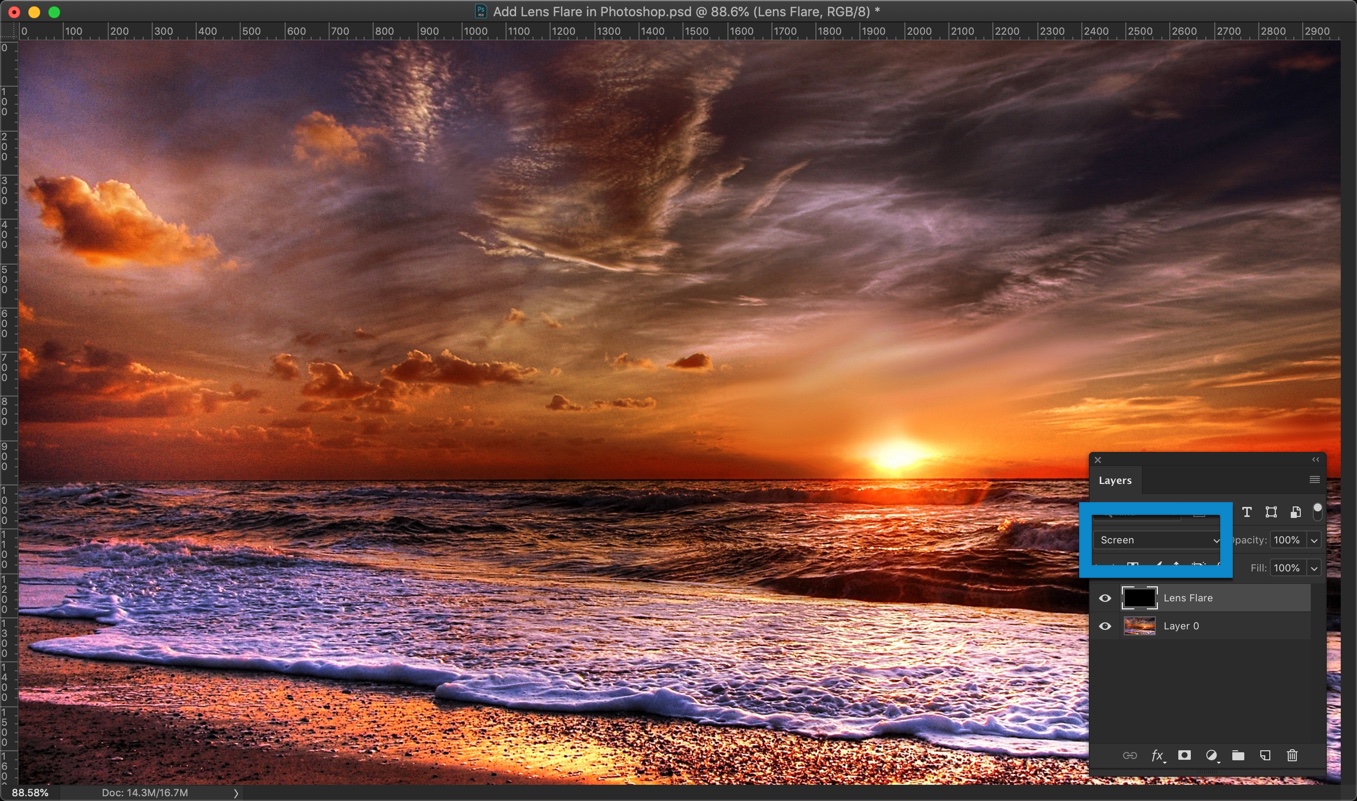
Change the Blend Mode to Screen.
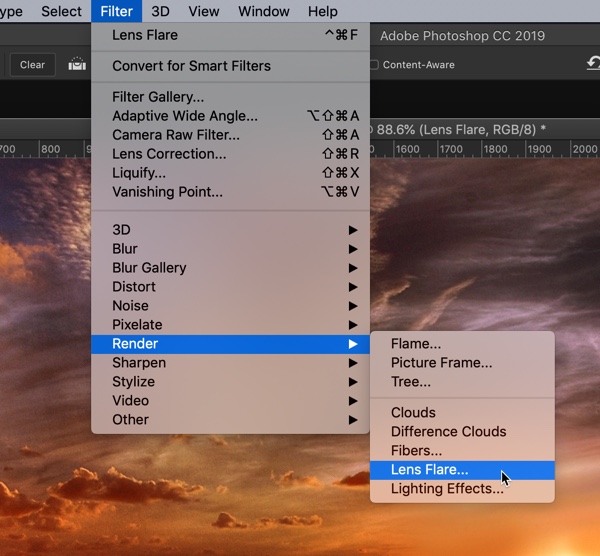
Step 2 – Add Lens Flare in Photoshop
Go to Filter > Render > Lens Flare
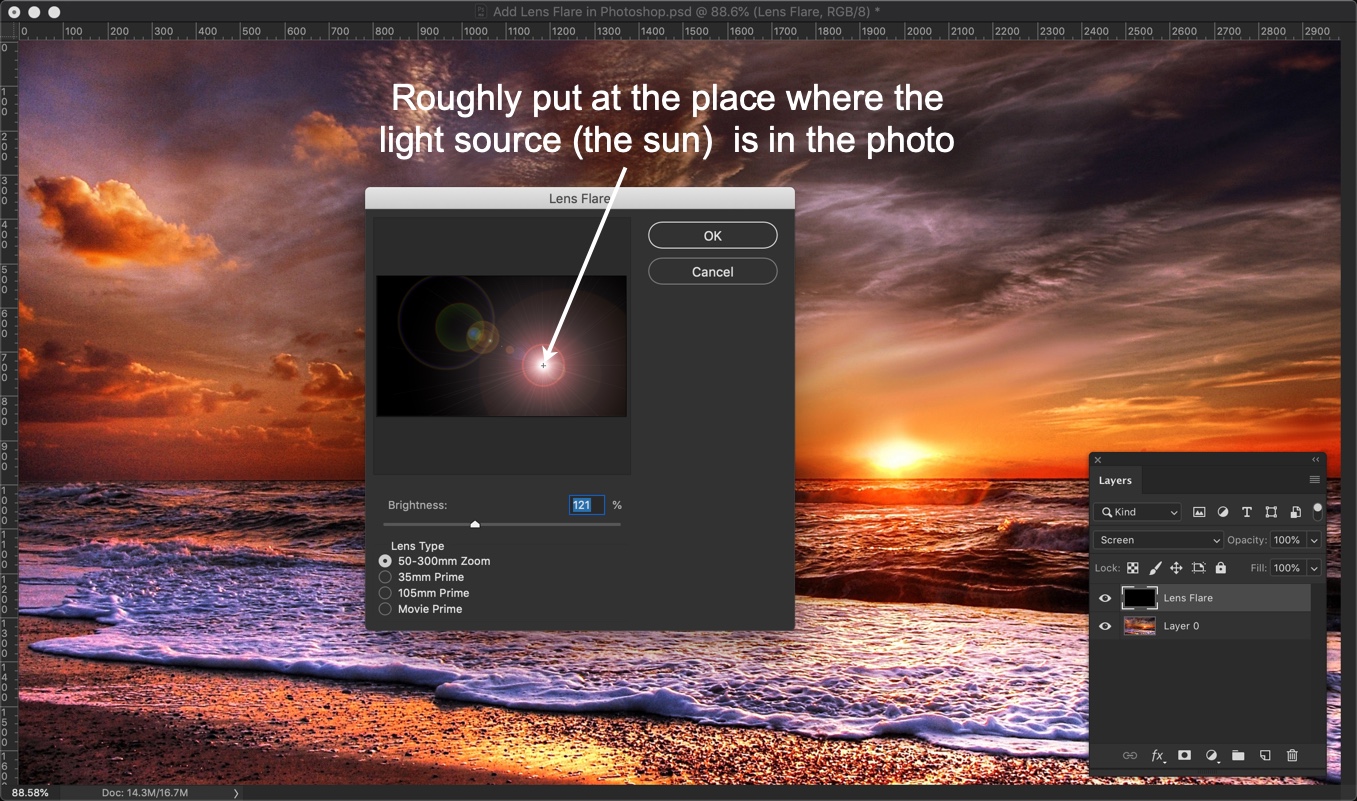
Roughly put the center of the lens flare at the place where the light source is in the photo. The light source in our photo is the sun.
Choose the brightness and Lens Type. Press OK. I am going to set my brightness as 121% and Lens Type as 50-300mm Zoom because this lens is what most photographers use.
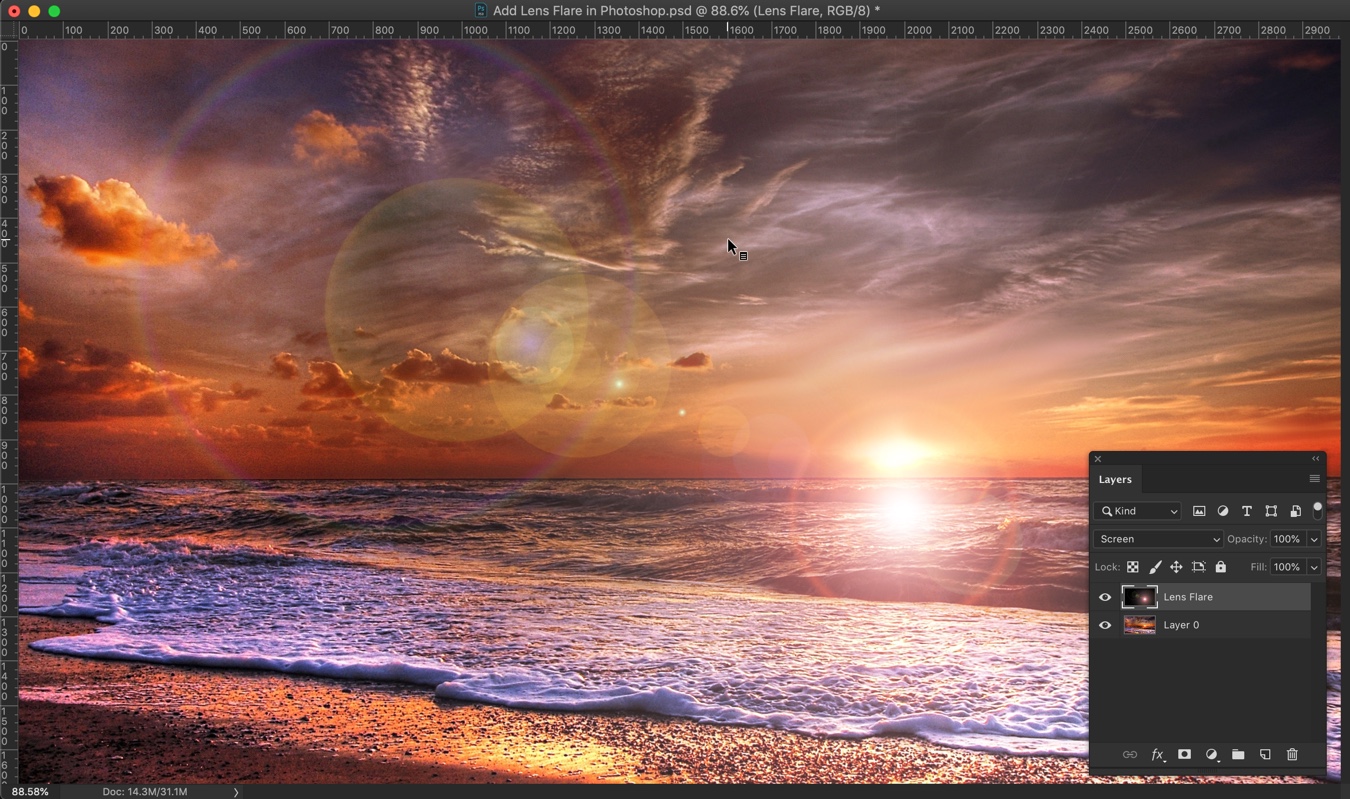
This will add the lens flare. But the positioning may be a bit off.
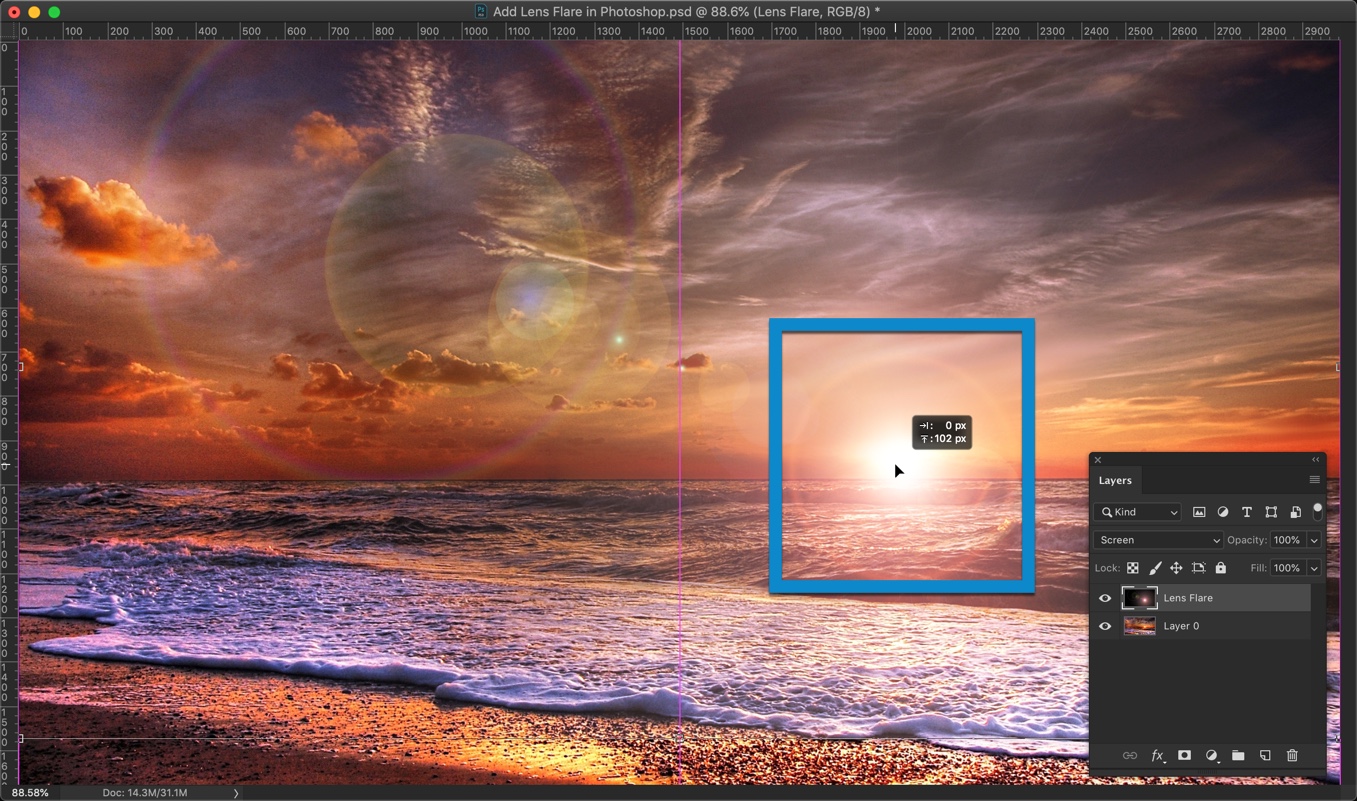
Step 3 – Move the lens flare
Activate the Free Transform Tool by pressing Cmd + T / Ctrl + T. You’ll see eight handlebars at the corners and center of the image.
Move the lens flare so that it overlaps the light source. The light source, in this case, is the sun. Press Return/Enter once done.
That’s all.
Here’s the final photo again.
Make sure that you make the most out of the offer below.


