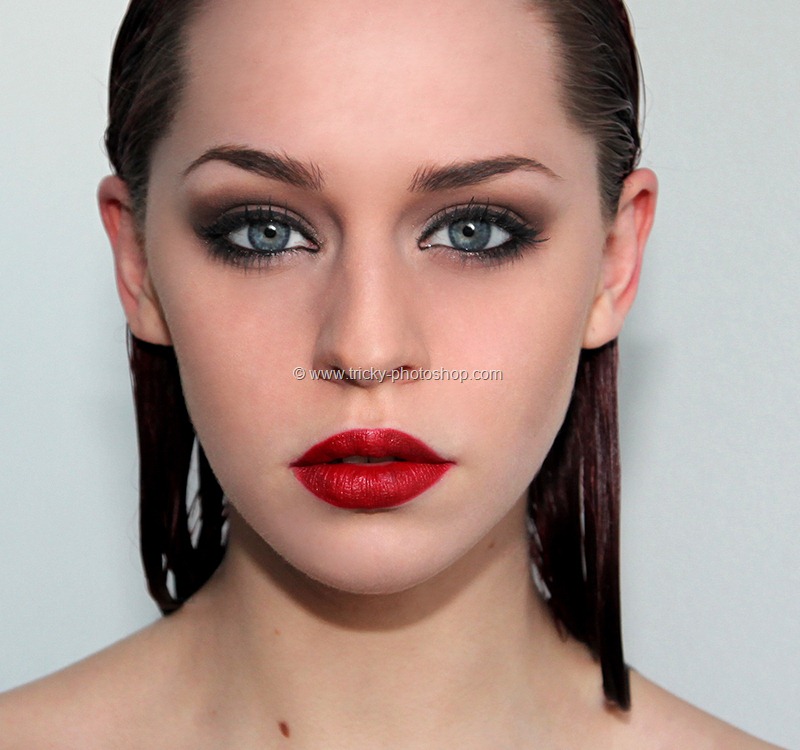
Last night I was playing with Photoshop, and trying to add eyelashes on Photoshop to a model. Stupidly what I was doing was copying eyelashes from one image and pasting into another. No wonder that took more than an hour as achieving perfect result was near to impossible. Then I googled out a little bit, and I found a one-stop solution that made me feel how much stupid I was. If I had known that thing, what I had done in 80 minutes could’ve been done in 5 minutes.
FINAL
The trick I am talking about is “Brush”. Yes, a brush. What we can do is to either create a Photoshop brush out of it or downloda it from internet. I chose the later. Here’s the link to download eyelashes brush. You will find insane amount of eyelashes brushes on internet but for ordinary needs, this one may suits you.
Once downloaded, we need to install the brush. Fortunately I’ve already written an article on installing brush on Photoshop years ago. The article was written August 2013 but will still fulfill your needs.
So let’s start with the tutorial.
Step 1: Download the Brush
The first thing that you need to do is to choose the eyelashes brush. Grab Brush Tool from the tool panel or press Shift+B again and again until it comes. Right click anywhere on the photo and choose Eyelashes Brush (Yours name may be ss-eyelashes).

A popup message will ask you to choose among three options that are Append, Cancel, and OK. Choose OK.
Choose the type of eyelashes you’d like to have.

Step 2: Add Eyelashes on Photoshop
You don’t want your editing to be destructive. Create a new layer by either going to Layer>New>Layer or by pressing Ctrl+Shift+N. Now click on the area where you want to put on eyelashes.

As you can see, the eyelash is very much misaligned. We are going to use Warp Tool to make it aligned.
Step 3: Warp it!
Go to Edit>Transform>Warp. Now align the image accordingly.

This may take few minutes. Please dedicate your time to make eyelash looks as much real as possible.
Reduce the opacity to around 70% to make it looks better.
Step 4: Do it for Another Eye
Do the same with other eye.

And there you’ll get your final result. 🙂
 And we’re done here.
I hope that you like this tutorial.
Please help TrickyPhotoshop by sharing this tutorial on Facebook, Twitter, and Google+.


