Hey, guys! It’s been two weeks since I wrote the last tutorial, and I am sorry for that. To make up your sad faces, I bring to you an awesome tutorial. I am going to add realistic headlights in a car using Photoshop. Guess what’s the bonus point is? Guess it! It just takes 5 minutes to add them No, I am not kidding.
Last Tutorial: Photoshop Mac or Windows: Which One is Better?
Forget about all those long procedures of choosing a brush, using countless blend modes, and applying various filters to get what you want. With this tutorial, you’re just going to use one filter and one blend mode. That’s it. Of course, you need to use Free Transform tool, new layer etc. to place the headlight at the desired position but how much time do they take? Yes, almost zero.
I would like to show you the before and after image before I proceed. Here you go.
Before

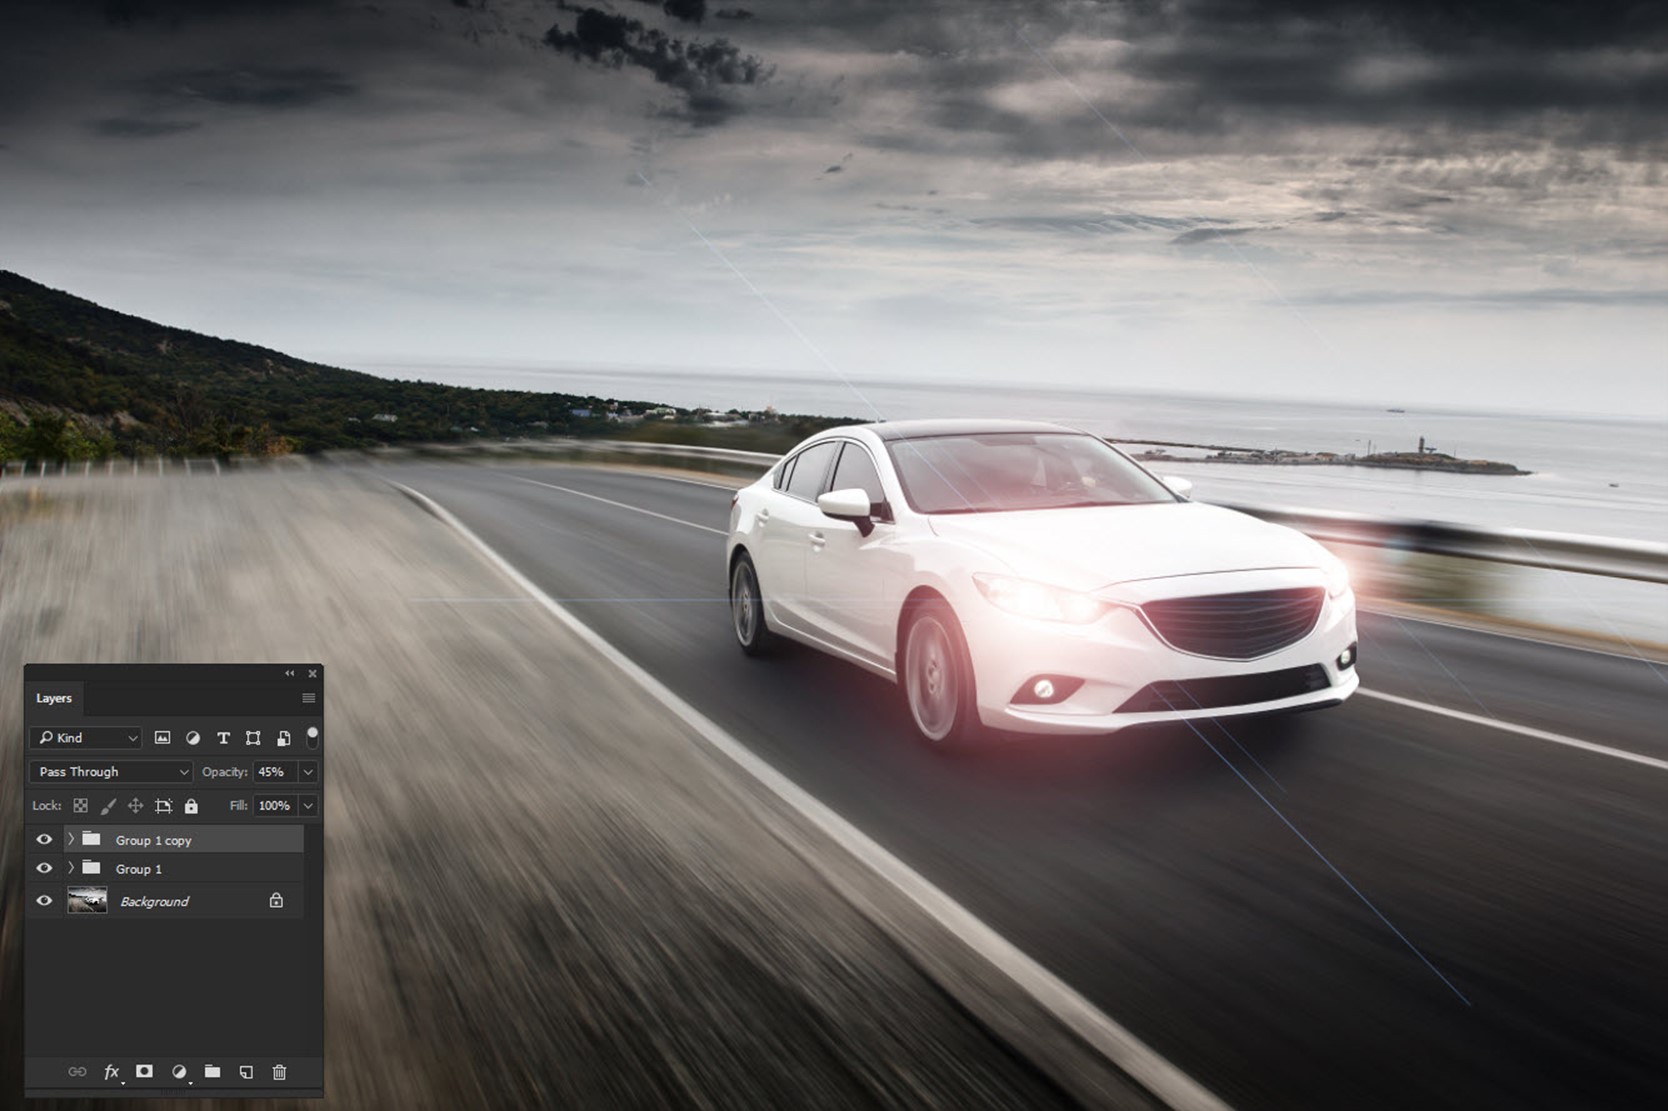
After
Now that you have seen the pictures, let’s proceed with the tutorial.
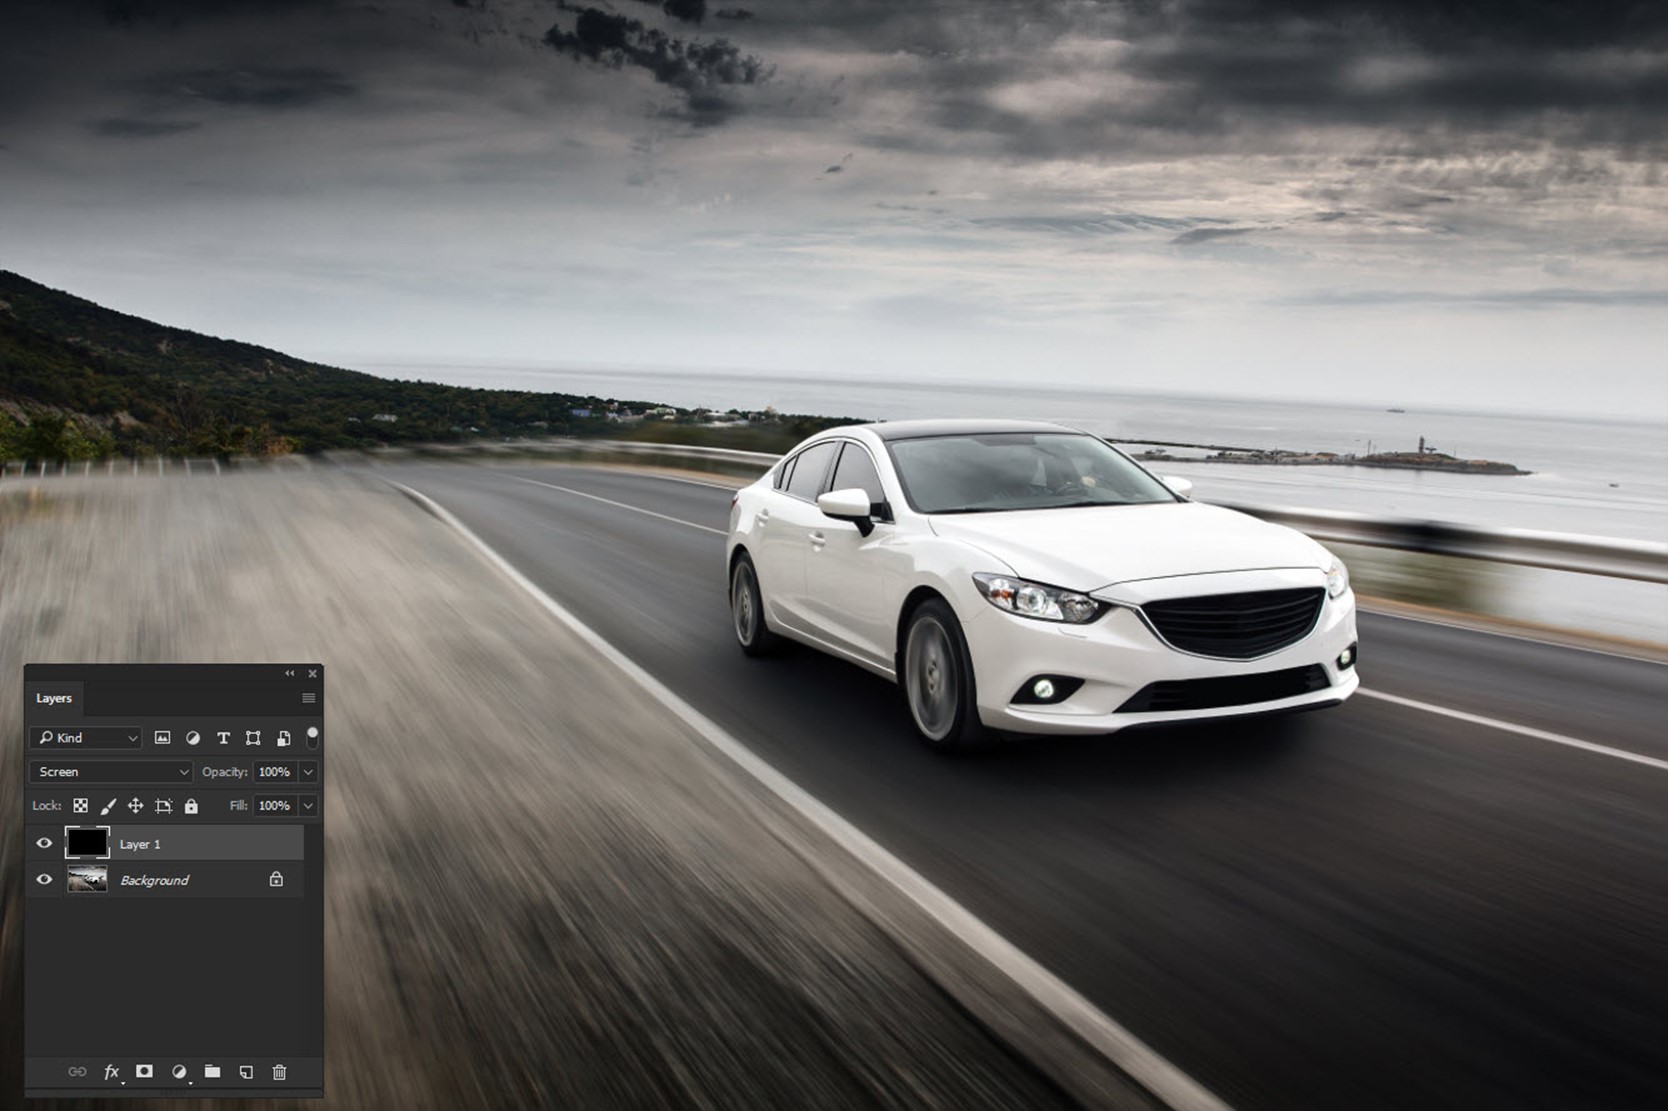
Step 1: Create a New Layer with Black Color
We are going to Lens Flare filter but the filter needs to be placed on a layer which is not blank. So, we’re going to create a layer and fill that with Black color.
Press Ctrl+Shift+N/Cmd+Shift+N to create a new layer. Press D to make black as your foreground color and press Alt+Backspace/Opt+Delete to fill the layer with black color (foreground color).
After that, change the blend mode to screen. You’ll see that the black layer will become transparent. This is because “screen” blend mode shows the lighter pixel between the current layer and the layer just below it. As everything is lighter than black, so everything below the black pixels will be visible.
Sidebar: Read my tutorial on Screen Blend Mode
Step 2: Add Lens Flare Filter
Now, we’re going to add the headlights.
Go to Filter>Render>Lens Flare. Keep the brightness to 100% and change the Lens Type to Movie Prime. This bright ball will be our headlights. Press OK.
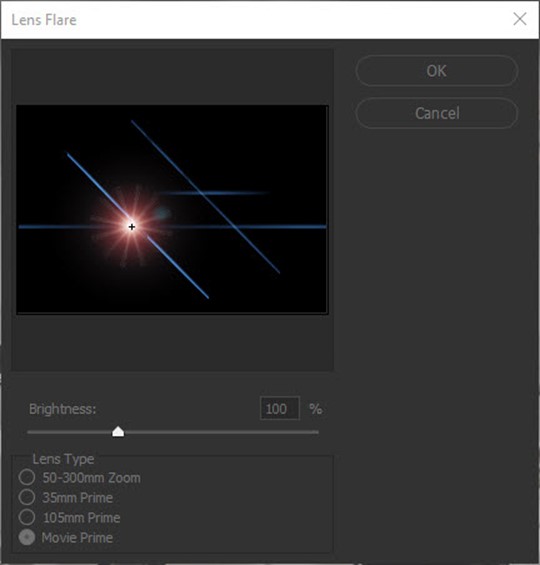
It will add a nice-looking lens flare to your image.
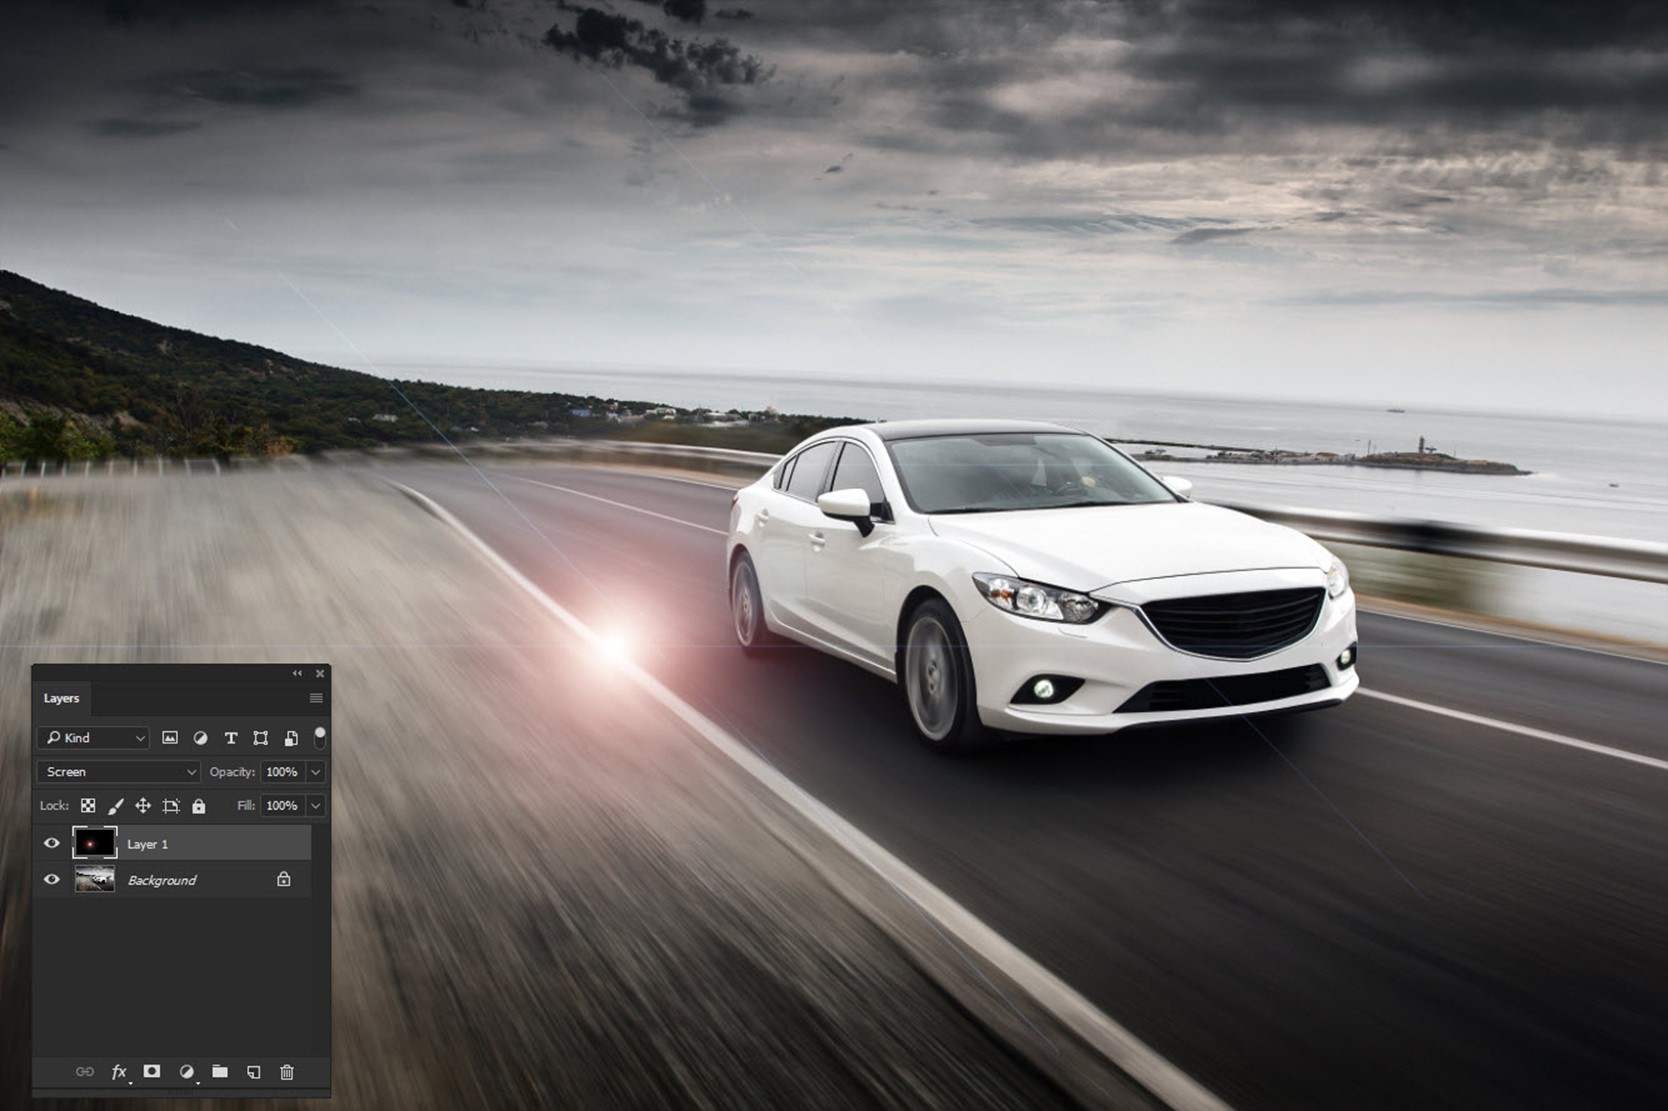
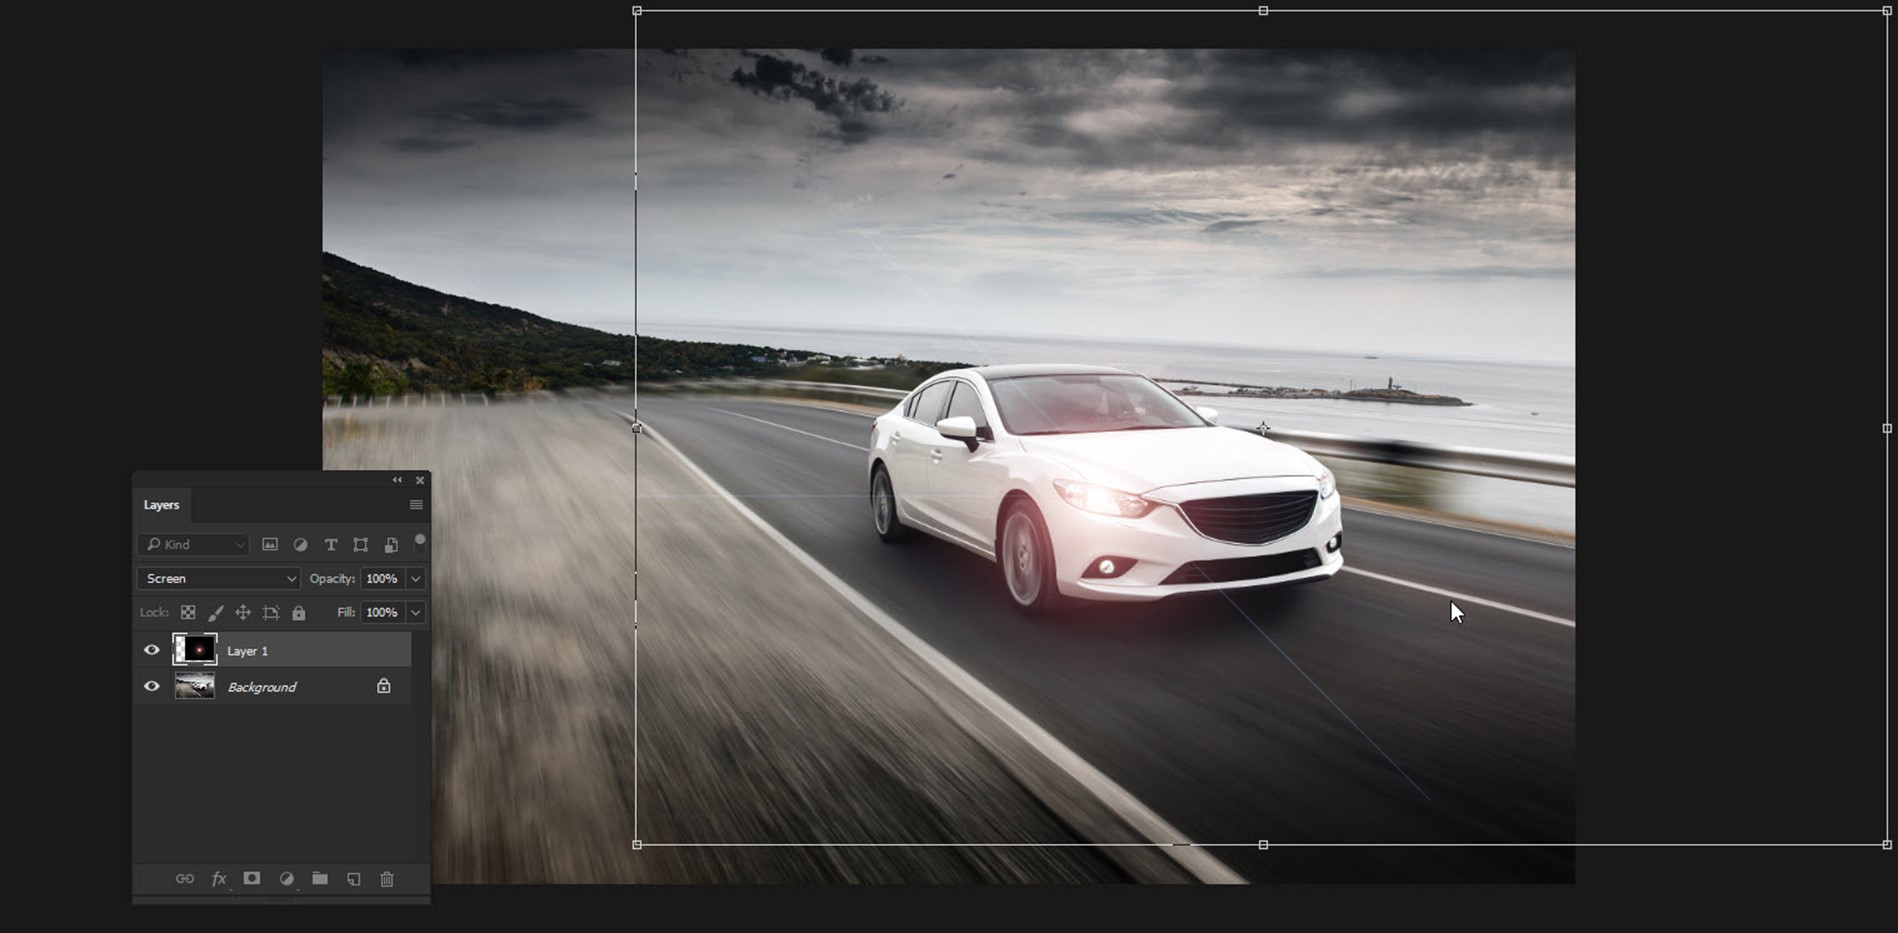
Let’s use Free Transform tool to move the flare to the desired position. I am going to fill the right headlight (your left) first.
Press Ctrl+T/Cmd+T to activate the Free Transform tool. Zoom out the image by pressing Ctrl+(-) and place the flare at the correct spot.
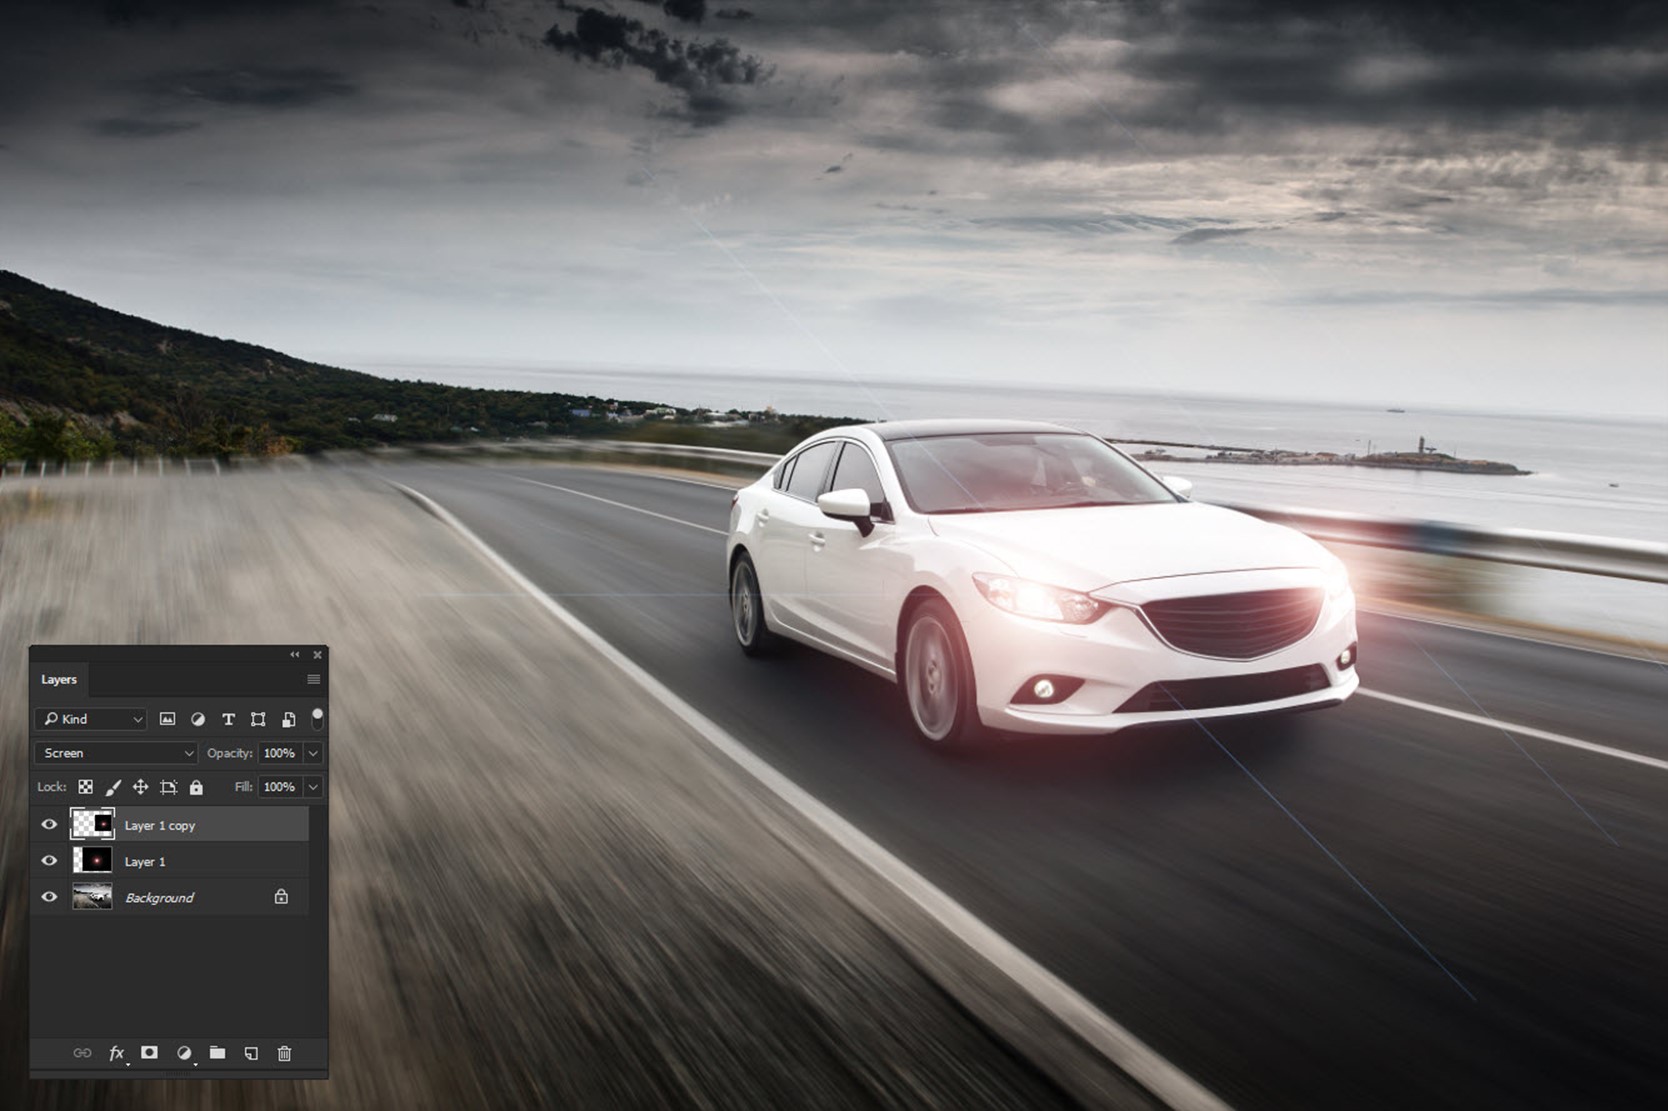
Step 3: Duplicate the Layer for Another Side
Duplicate the layer for another side. Press Ctrl+J/Cmd+J to duplicate.
Again, use Free Transform tool to place the flare to the correct spot.
Go to the next page for the bonus step. 🙂
Bonus Step
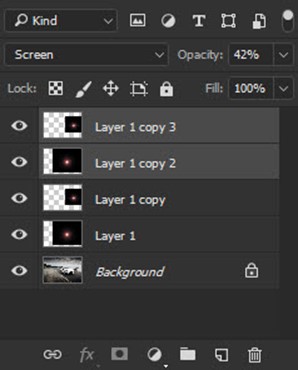
If you think that light is very bright, you can reduce the opacity. If you think that light needs to be brighter, you can duplicate the two layers.
To duplicate both layers, hold down Ctrl/Cmd and click on both layers. Press Ctrl+J/Cmd+J to duplicate both layers. Now, you can reduce the opacity also if you want to reduce the brightness. I reduced it to 42%.
Here’s the image.

Enjoyed this tutorial, right? Share it with your friends and family and show them that adding a headlight in 2 minutes is possible in Photoshop.
Head over to my home page for more awesome tutorials.
Peace.


