Hello guys I am Vaibhav and in this tutorial I am going to show you how to fix an underexposed photo. Last time I discussed about Creating Bubbles in Photoshop which is a recommended tutorial for graphic and web designers. For this tutorial basically what I am going to do is to fix the underexposed area using Brush and blending modes. After that I will add layer mask to hide the unwanted areas. I am going to use layer panel, blending modes, layer mask etc.
You can just use exposure tool but I totally recommend you not to use that tool because result may not be perfect.
Stock:http://lynnwest-stock.deviantart.com/art/Dark-Tunes-19-168804751
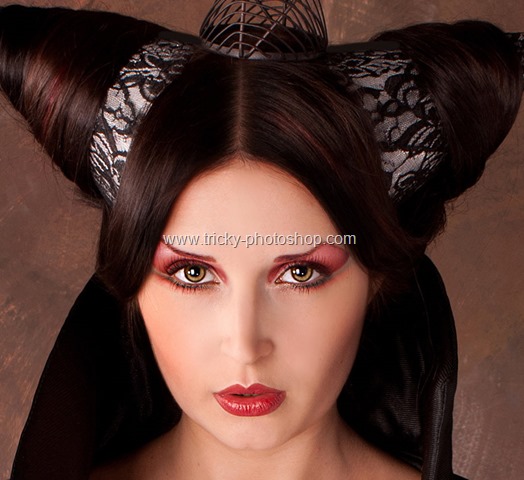
My Final Image
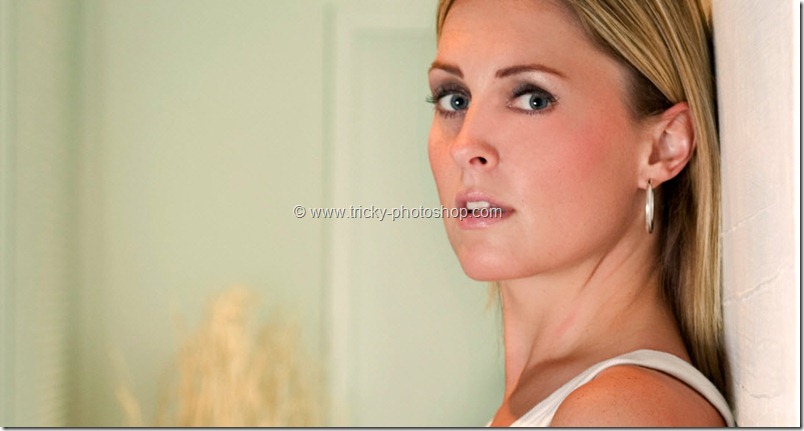
The image I’ll be working with
STEP 1
Open your photo in Photoshop. Duplicate your layer by pressing ctrl+J/cmd+J. You can also do it by going to layer>duplicate layer. This will not affect your photo but when you see layer panel(press F7 to open) you will see a new layer with name as background copy(default).
[divider scroll_text=”Go to Top”]


