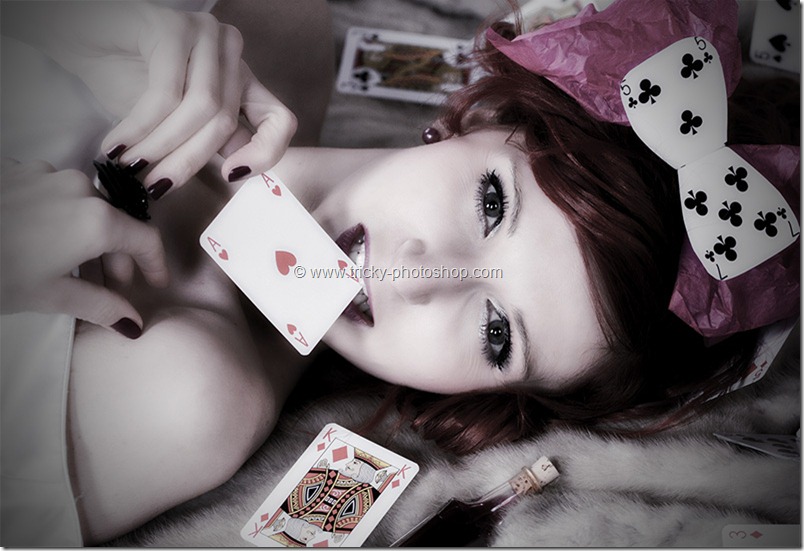
Hello guys I am Vaibhav back with new tutorial on creating retro effect using Photoshop CS6. Last time I discussed about Adding Instagram Li-Fi effect in Photoshop which is a recommended tutorial for Instagram lovers. On much demand I have created this tutorial with the help of adjustment layers. So let’s start.
Stock:
Model: http://beyza-lovatic.deviantart.com/art/Photoshop-359300987
Light Leaks: http://www.brusheezy.com/textures/21027-lomo-light-leaks
FINAL
INITIAL
STEP 1
As you might have noticed that the retro images are slightly reddish in color. So I am going to increase “Reds” in my stock image. To do this go to Layer>New Adjustment Layer>Curves. Change the color to Red (which is encircled). Adjust your curve in such a way such that it looks like the one shown below.


