STEP 11
Now we need to open the level adjustment panel to reduce some whites in this image. Now go to image>adjustment>levels. Adjust the settings as shown below. Press OK.
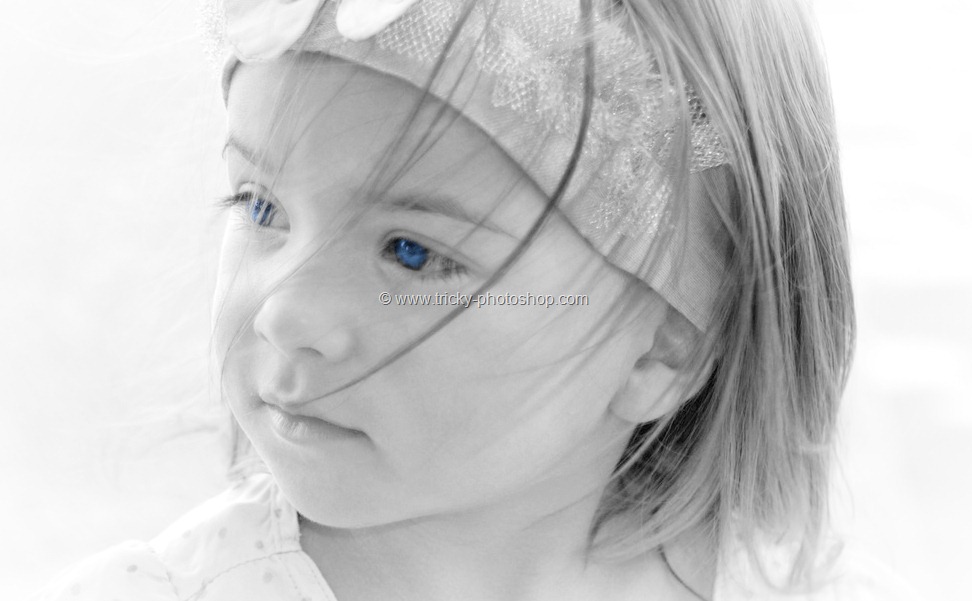
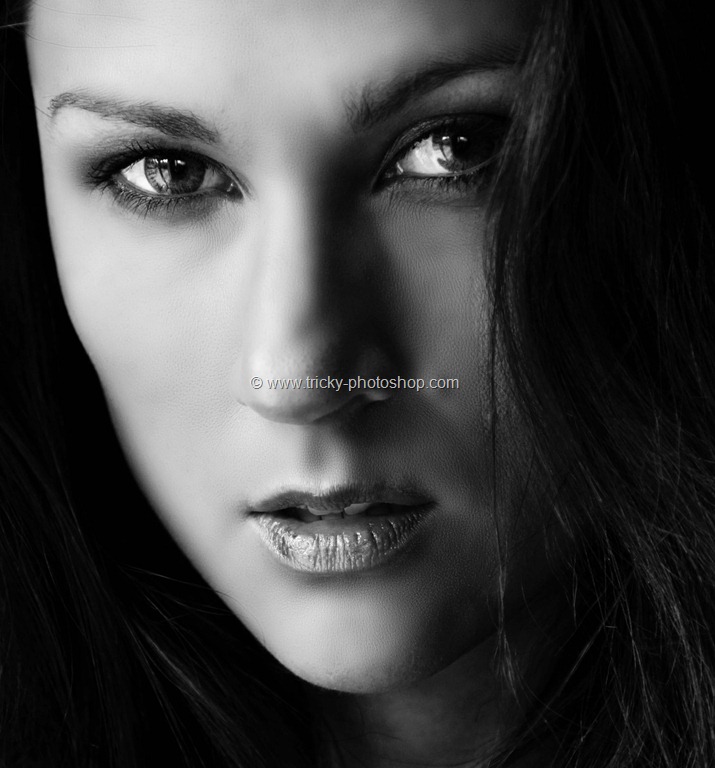
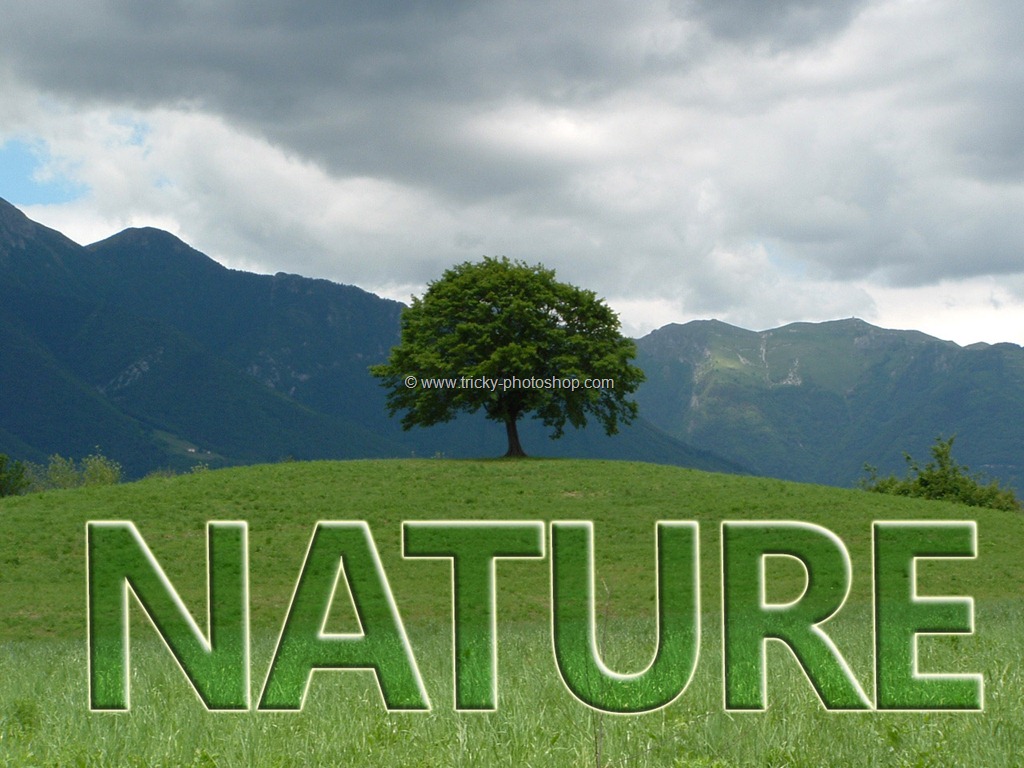
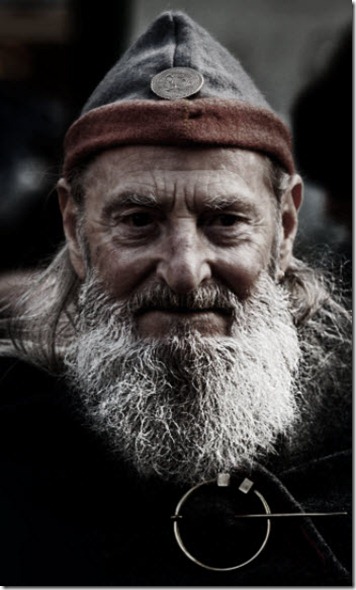
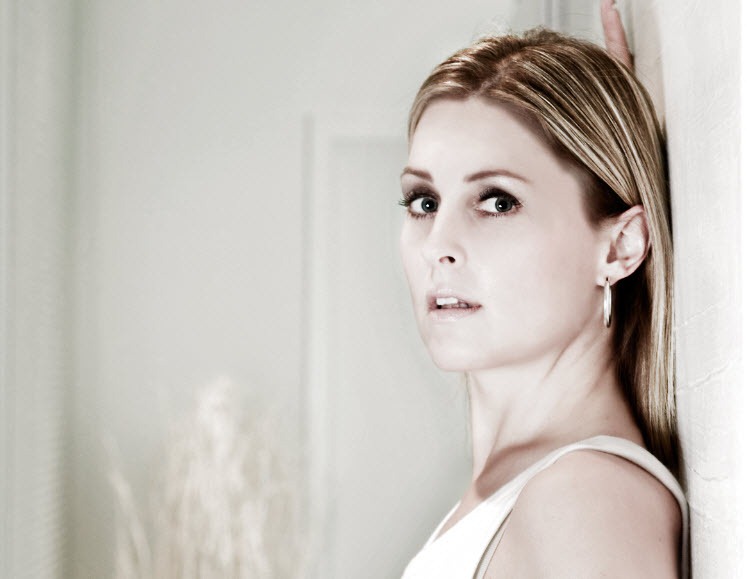
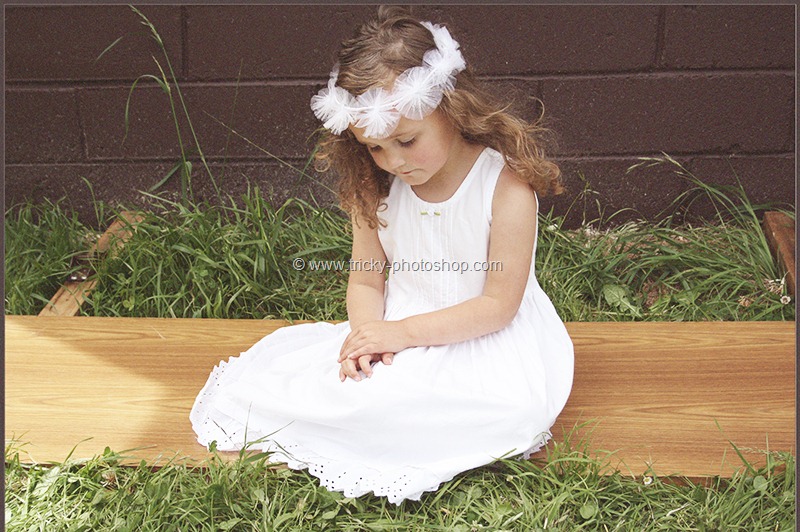
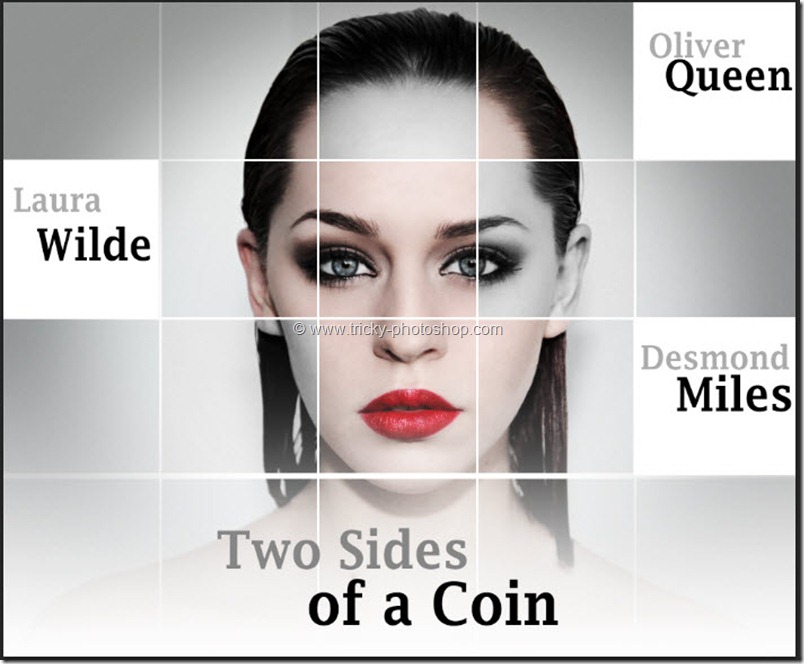
Your image should look like this.
And we are done here. Go to image>image size or you can press ctrl+alt+I/cmd+opt+I and adjust the settings as shown below. You can also click here for detailed explanation on reducing image size. The article deals with enlargement of image but you can use same concept to reduce the size.
FINAL
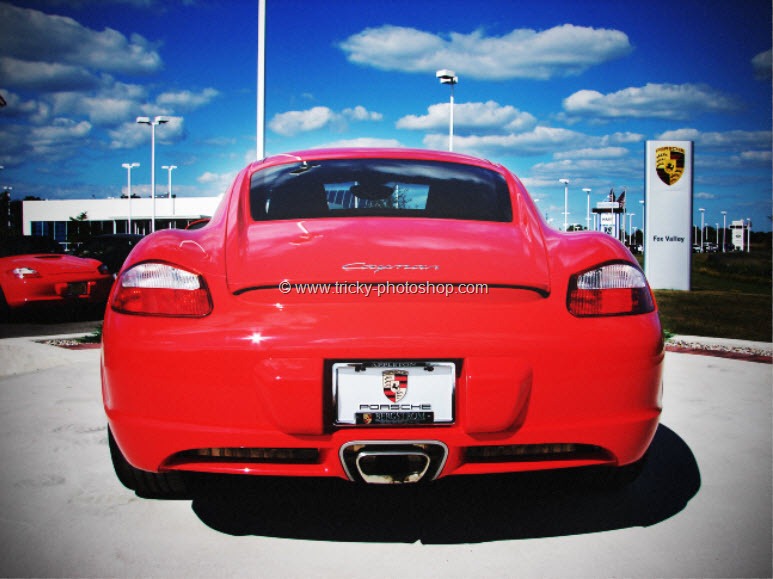
Read my next tutorial where I will be discussing about Creating Instagram Mayfair Effect in Photoshop.
Thank you for reading this article. Hopefully we’ll meet again in four days.


