Hello guys I am Vaibhav and in this tutorial I am going to show you how to use Dodge and Burn in Photoshop to enhance your images. Last time I discussed about Removing Stray Hairs in Photoshop which is a recommended tutorial if you are a studio or fashion photographer. I am going to use Photoshop CS6 for this tutorial but you can use older versions of Photoshop also. Inside Photoshop I am going to use Dodge and Burn Tool, Layers, Blend mode etc.
Stock Image: http://czeska.deviantart.com/art/Anett-Frozen-335186599
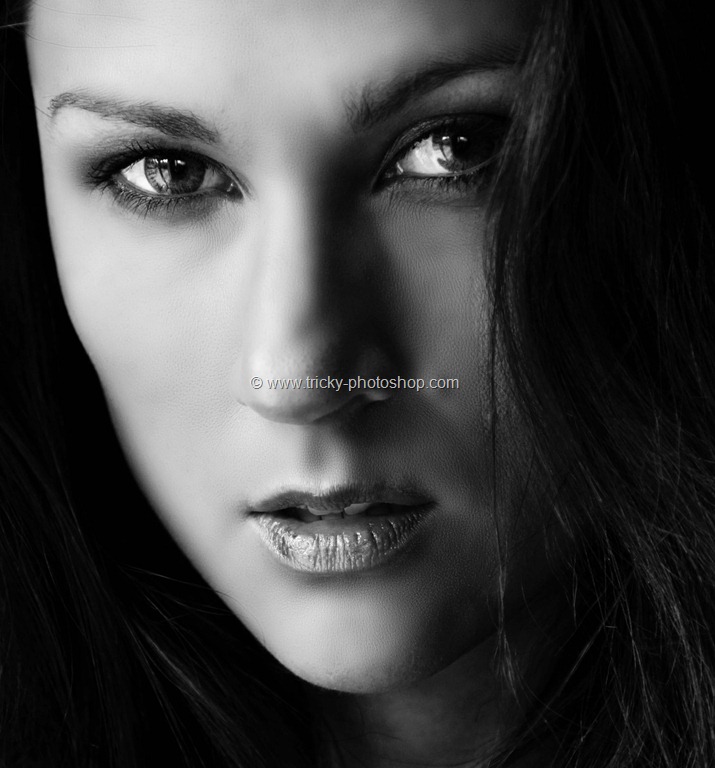
FINAL
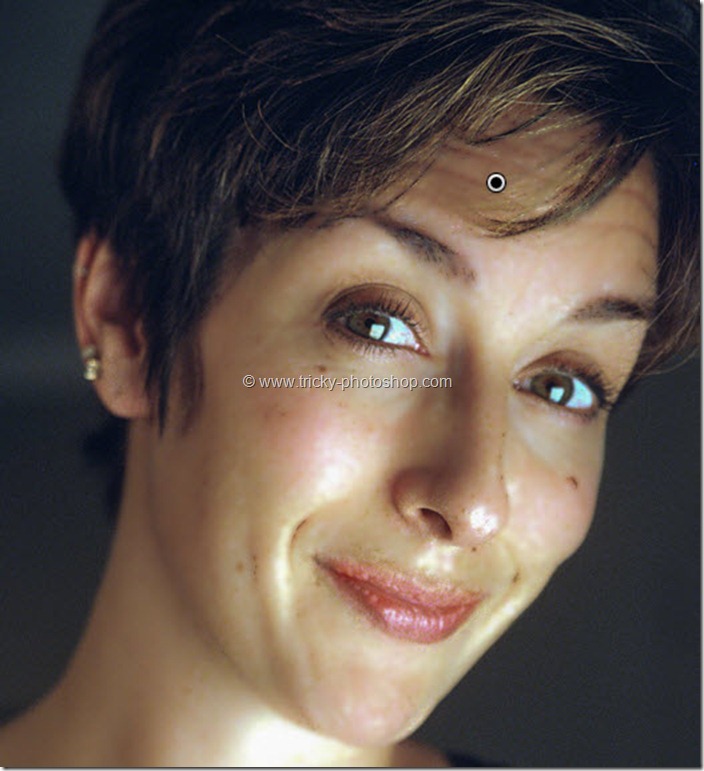
INITIAL
STEP 1
Open your image in Photoshop. If you look at her neck then you’ll notice that there are lots of blemishes. I am going to remove these blemishes using Healing Brush Tool. First create a new layer by pressing Ctrl+Shift+N/Cmd+Shift+N and rename it to “Heal”. So grab Healing Brush Tool from the toolbar or press Shift+J again and again until it comes. I have written a whole article on “Removing Blemishes Using Healing Brush and Stamp Tool”. You may go through that article for further understanding.
After removing all the blemishes, your image should look like this.


