Hey, guys! Welcome to my another tutorial. I had been busy with tutorials on Instagram and as I have written tutorials on every Instagram Filter, I guess it’s time to write on traditional Photoshop effects. Last time I wrote on Creating Instagram Crema Filter in Photoshop on popular demand.
Monsoon is not too far away and time to learn how to create condensed raindrops on a wet glass in Photoshop. After this scorching heat, I must say that I am very much excited about the monsoon, and why shouldn’t be I? I love rain and its smell.
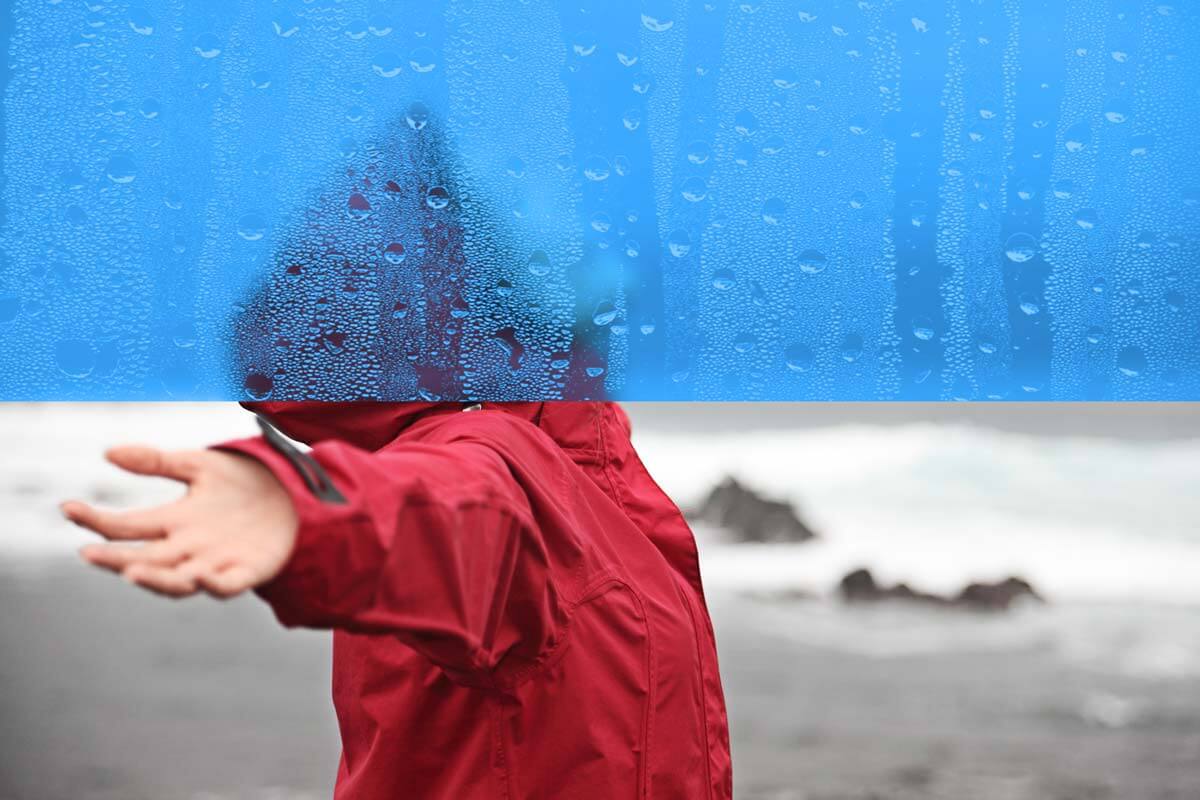
So without further ado, let’s begin the tutorial. But before we begin, I’d like to show you the before and after effect.
Before and After
Step 1: Blur the Image
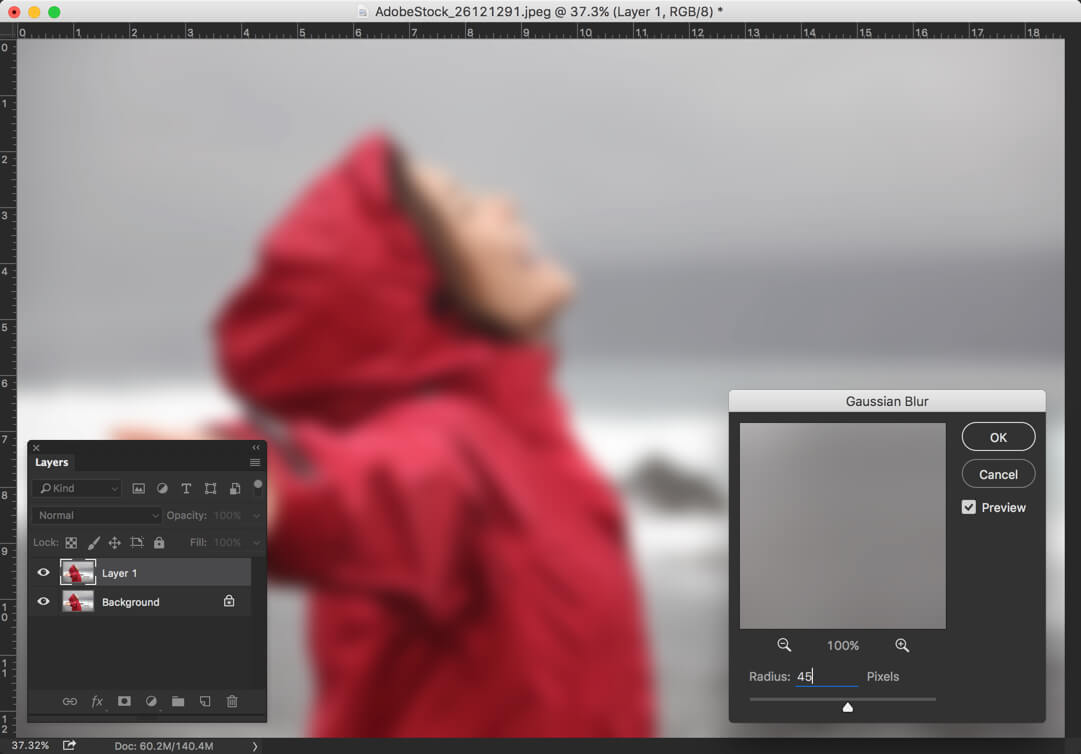
The first thing we need to do is to blur the image. You want your viewers attention on the raindrops that we’re about to create, not on the image.
Sidebar: If you want to know how to remove glare from glasses or remove reflection from glasses, check our tutorial on how to remove glare from glasses.
Duplicate the image by pressing Cmd+J/Ctrl+J. Go to Filter>Blur>Gaussian Blur. The radius of blur depends on the size of photo. My photo’s size is 5616 x 3744 which is pretty much huge. If your photo is 2000 pixels wide, you’d probably like to go with somewhere near 30 pixels.
Step 2: Darken the Background
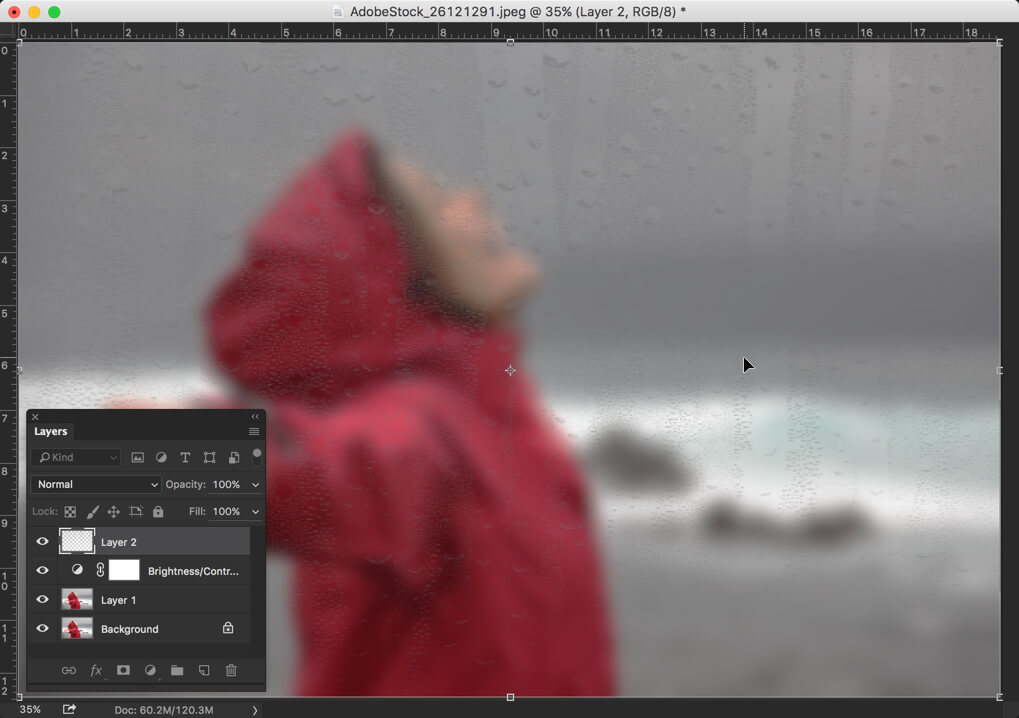
I guess that the image is pretty much lit. Let’s darken it a little bit.
Go to Layer>Adjustment Layer>Brightness
Reduce the brightness to -40 and contrast to -50.

Step 3: Paste the Raindrops Image
The biggest advantage of this tutorial is that ,unlike other tutorials, you don’t have to create raindrops.
Download the image from here: http://madetobeunique.deviantart.com/art/rain-drops-condensation-PNG-180893678
Now open the image in Photoshop, copy it, and paste it on the image you’re working on.
Activate the Free Transform Tool by pressing Cmd+Shift+T/Ctrl+Shift+T, and make it cover the whole background.
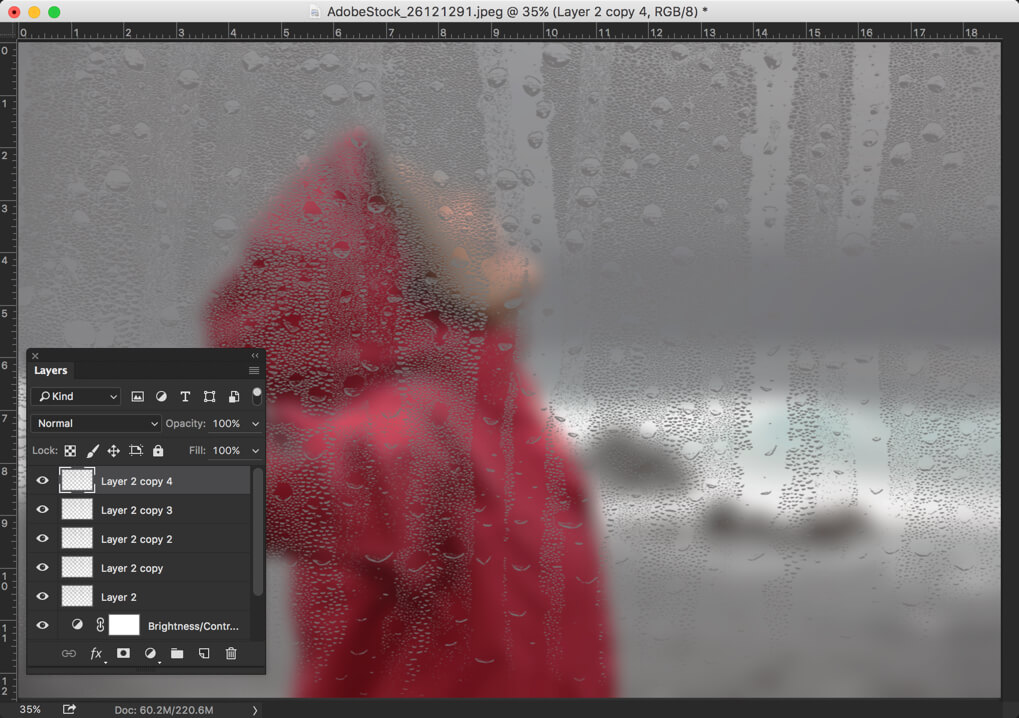
Step 4: Duplicate the Layer
Like me, if you think that your raindrop is not much visible, you can simply duplicate the layer multiple times. I have duplicated it 4 times. Press Cmd+J/Ctrl+J to duplicate a layer. Press it 4 times to duplicate 4 times.
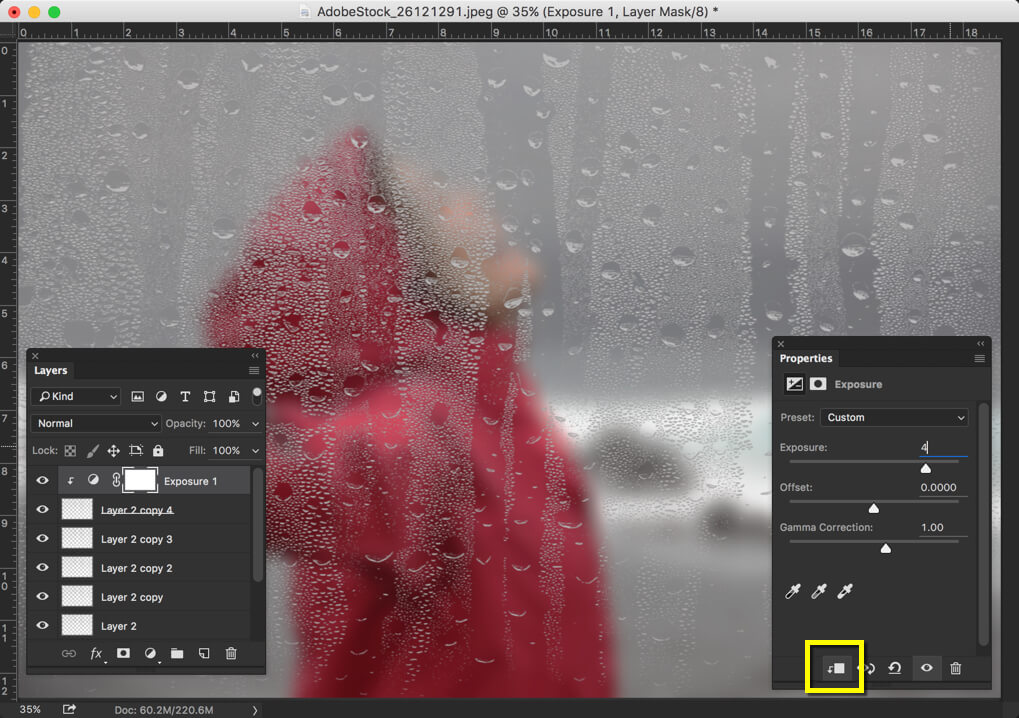
Raindrops seem pretty much dark. Let’s increase the exposure.
Go to Layer>New Adjustment Layer>Exposure.
Increase the exposure to 4. Make sure you also click on the eye icon to clip the layer. By turning this on, you tell Photoshop that the changes will only affect the layer that is just below it.
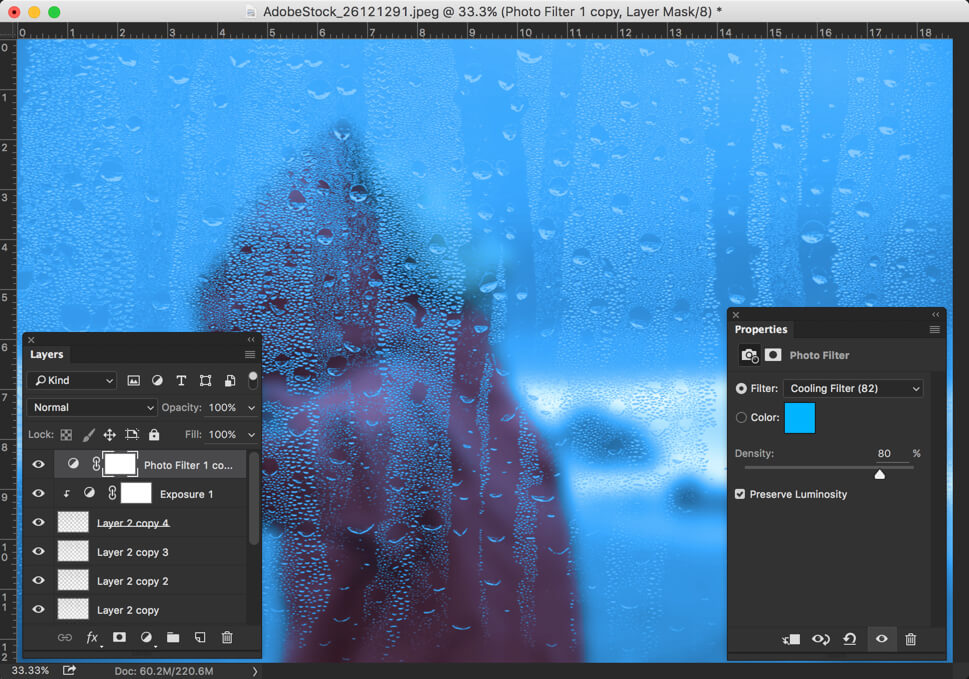
Step 5: Time to Give Cold and Rainy Effect
As we have added raindrops, made it pop, blurred the background, but still something is missing. The mood of the image is not reflecting the rainy season. So let’s change the mood.
Go to Layer>New Adjustment Layer>Photo Filter.
Change the filter to Cooling Filter (82), and increase the density to 80%. I know it’s too much but I kinda like it.
And we’re done with the tutorial here. I hope that you like it.
Please support TrickyPhotoshop by sharing this tutorial with you family and friends.


