Hey, folks! How are you doing? It’s been a while since I am writing only Instagram Filters related tutorials. Today’s is no different. Today I am going to show you how to create Instagram Crema filter in Photoshop. Like most of the Instagram filters, Crema is not much different. With the help of few adjustment tools, we can replicate a filter as good as Instagram Crema Filter.
Throughout the tutorial, we’re going to use adjustment layers. Every layer has its own importance and plays a vital role. We are going to use Levels, Photo Filter, Brightness/Contrast, and Vibrance.
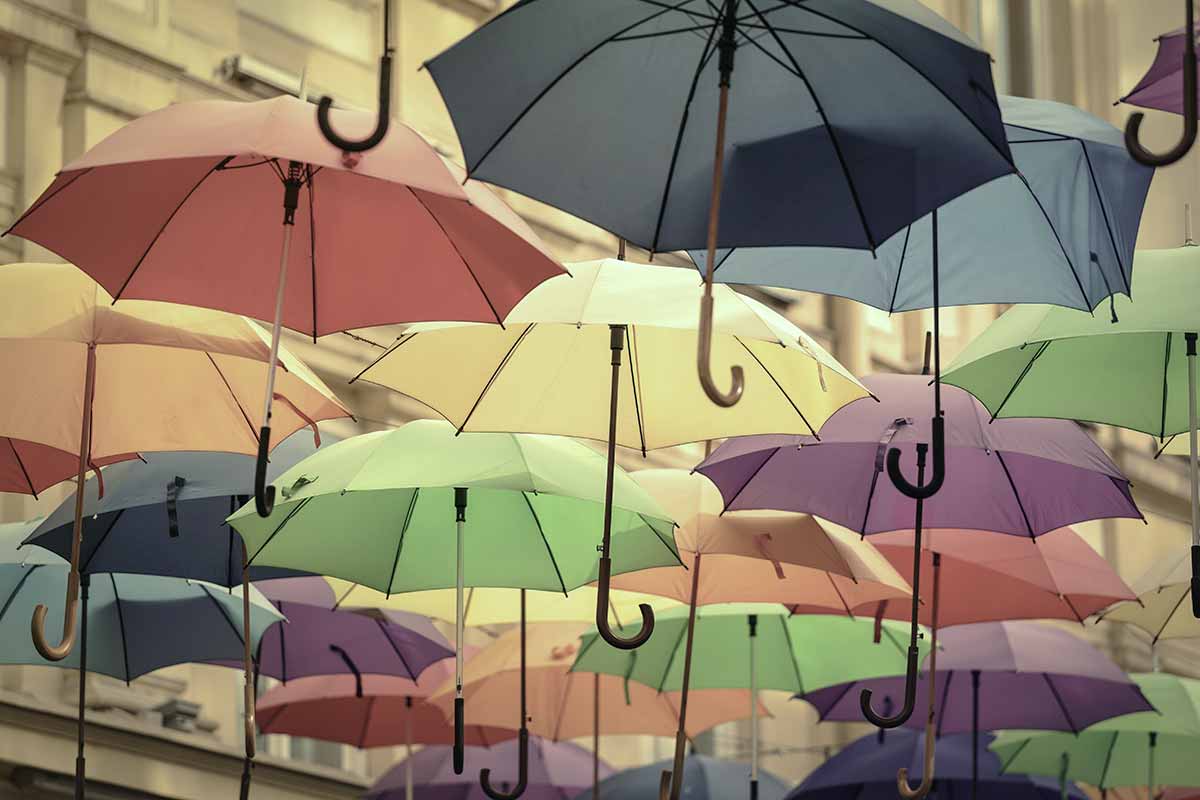
So let’s begin the tutorial. But before we begin, I’d like to show you how the final result would look like.
FINAL
Step 1: First Remove Colorcast
The first thing we need to do is to remove colorcast if your image has any. This is a very much crucial step, otherwise your final result may get imbalanced. The best method I know to remove colorcast is the one with the Levels.
Open your image in Photoshop. Go to Layer>Adjustment Layer>Levels. Now change the channel from RGB to Green. Now you would see a slider with three buttons just above 0, 1.00 and 255. Try to place the black and white buttons with the starting and ending of the histogram. To put it in simpler words, your black button should be placed exactly where histogram starts and your white button should be placed exactly where the histogram ends.

Now change the channel to Blue. Do the same.
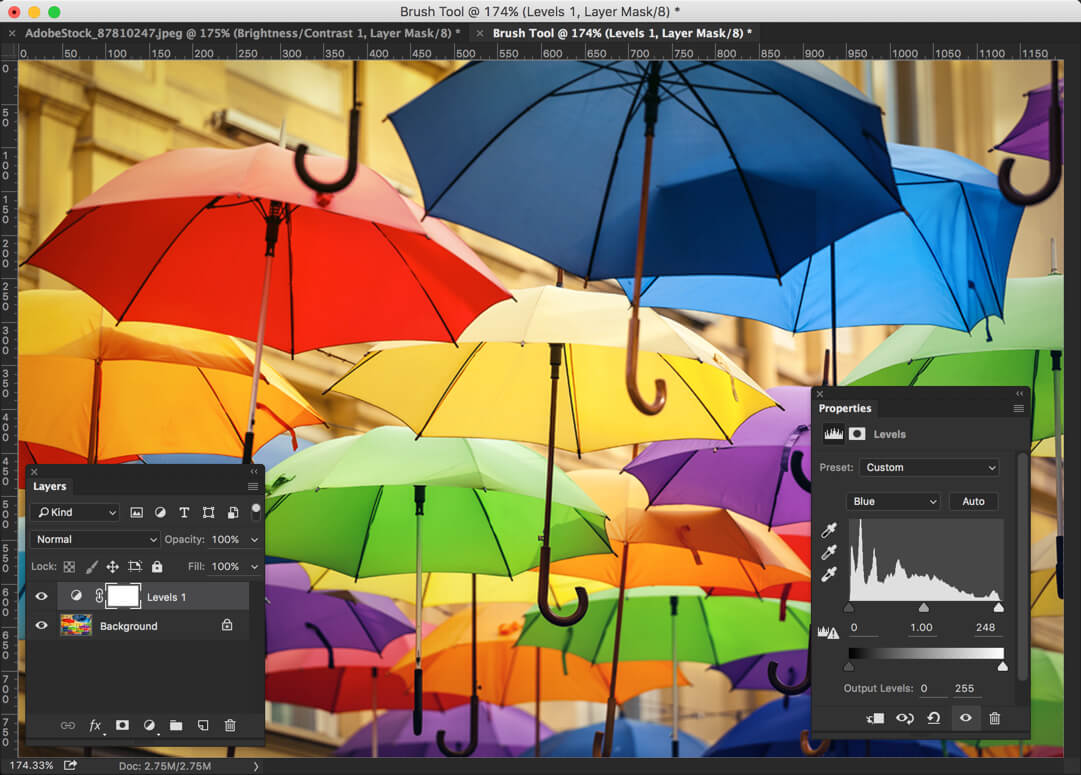
Switch to Red channel and do the same. Now you should not have any colorcast or tint present.
Step 2: Add Warm Effect
Now we are going to add yellow colorcast to give warm effect.
Go to Layer>Adjustment Layer>Photo Filter. Change the filter to Warming Filter (85). Increase the density by 56%.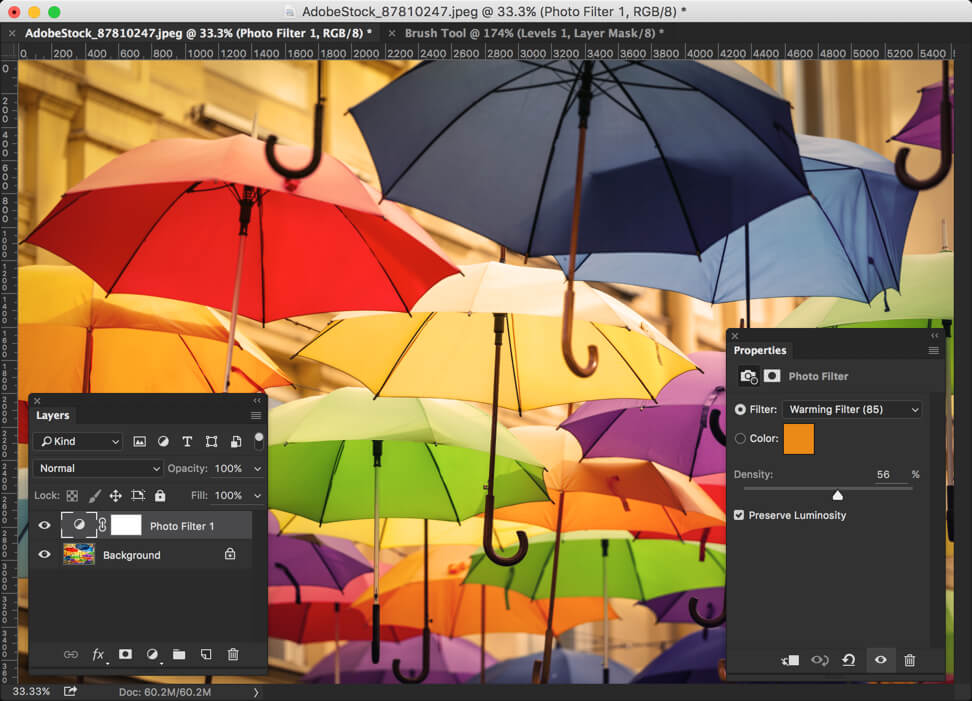
Step 3: Add Green Colorcast
Again go to Layer>Adjustment Layer>Photo Filter. Change the filter to green. Increase the density by 40%.

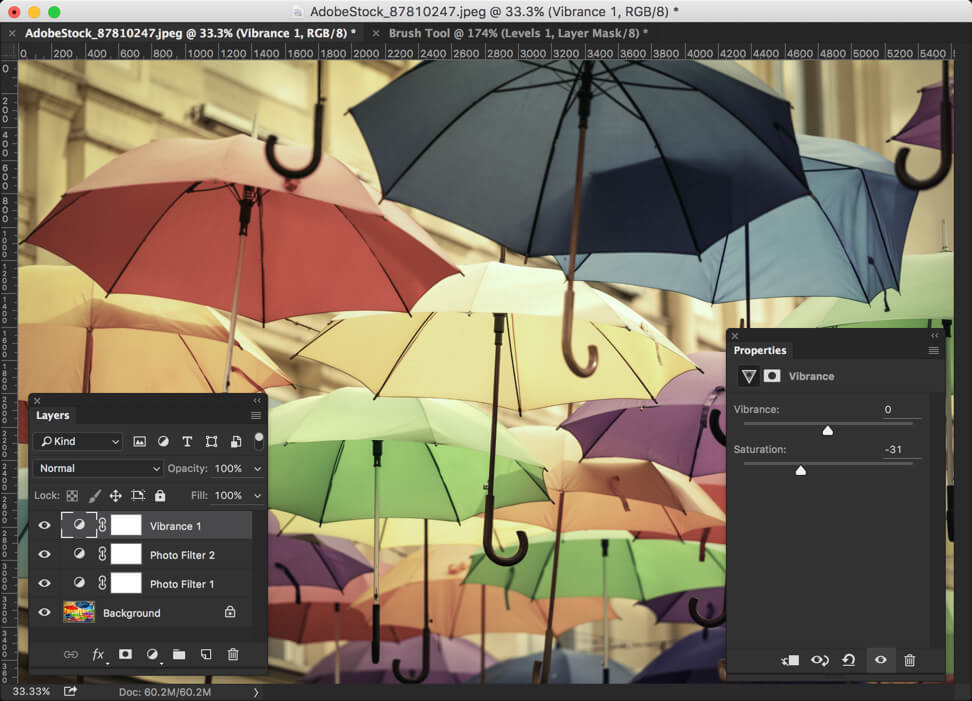
Step 4: Reduce Saturation
Don’t you think that photo is very much vivid? Let’s decrease the saturation. Go to Layer>New Adjustment Layer>Vibrance.
Reduce the saturation to -31.
Step 5: Reduce Contrast
Time to reduce contrast. Go to Layer>Adjustment Layer>Brightness and Contrast.
Reduce the contrast to -50.

Still there’s too much contrast. We can simply duplicate the layer we just created. Press Ctrl+J/Cmd+J to duplicate a layer.
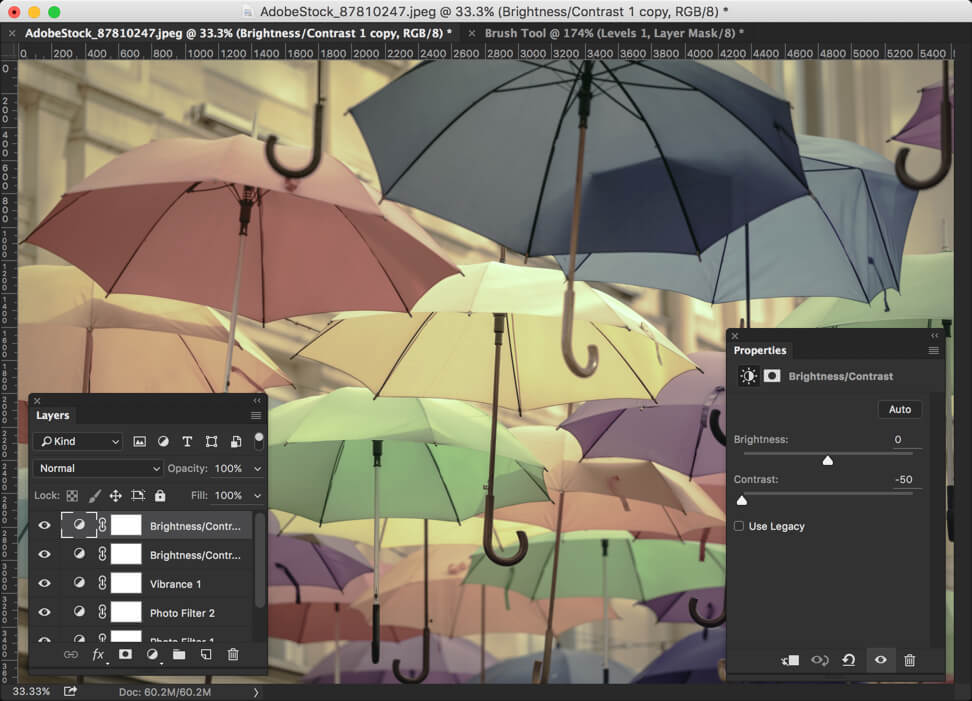
Now it’s looking perfectly like Instagram Crema filter. Don’t you think so?
Let’s see the final picture again.
I hope that you like this tutorial.
Check out my other tutorials on Instagram also.
Please support TrickyPhotoshop by sharing the tutorial with your friends and family on Facebook and Twitter.


