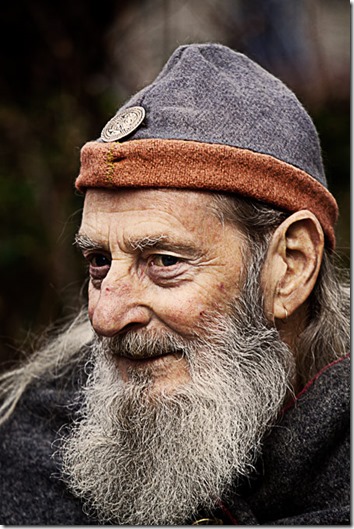
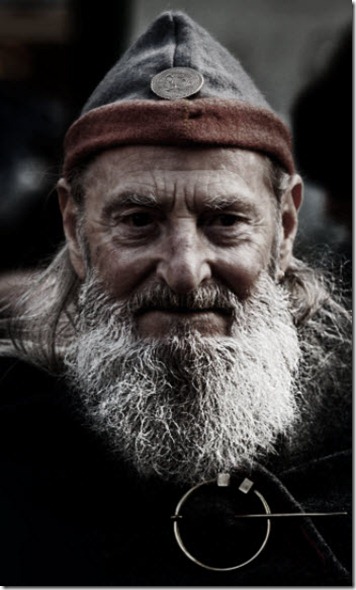
Hey guys – What’s up? I received a request from Mariya and she wants to create something like the one shown below. She saw something like this on Instagram and shoot me an email to ask if I can write a tutorial to create this effect. I said “Yes”. I don’t know what’s the name of this effect but this kind of manipulation is usually called as Dragan effect in Photoshop. This is basically used for portraits but I’d like to try it for landscape.
Related: Create Grunge Portrait in Photoshop
I am going to use few adjustment layers in this tutorial and one filter. This tutorial is easy to follow and suitable for beginners.
Final

Initial

Step 1: Create Grunge Effect
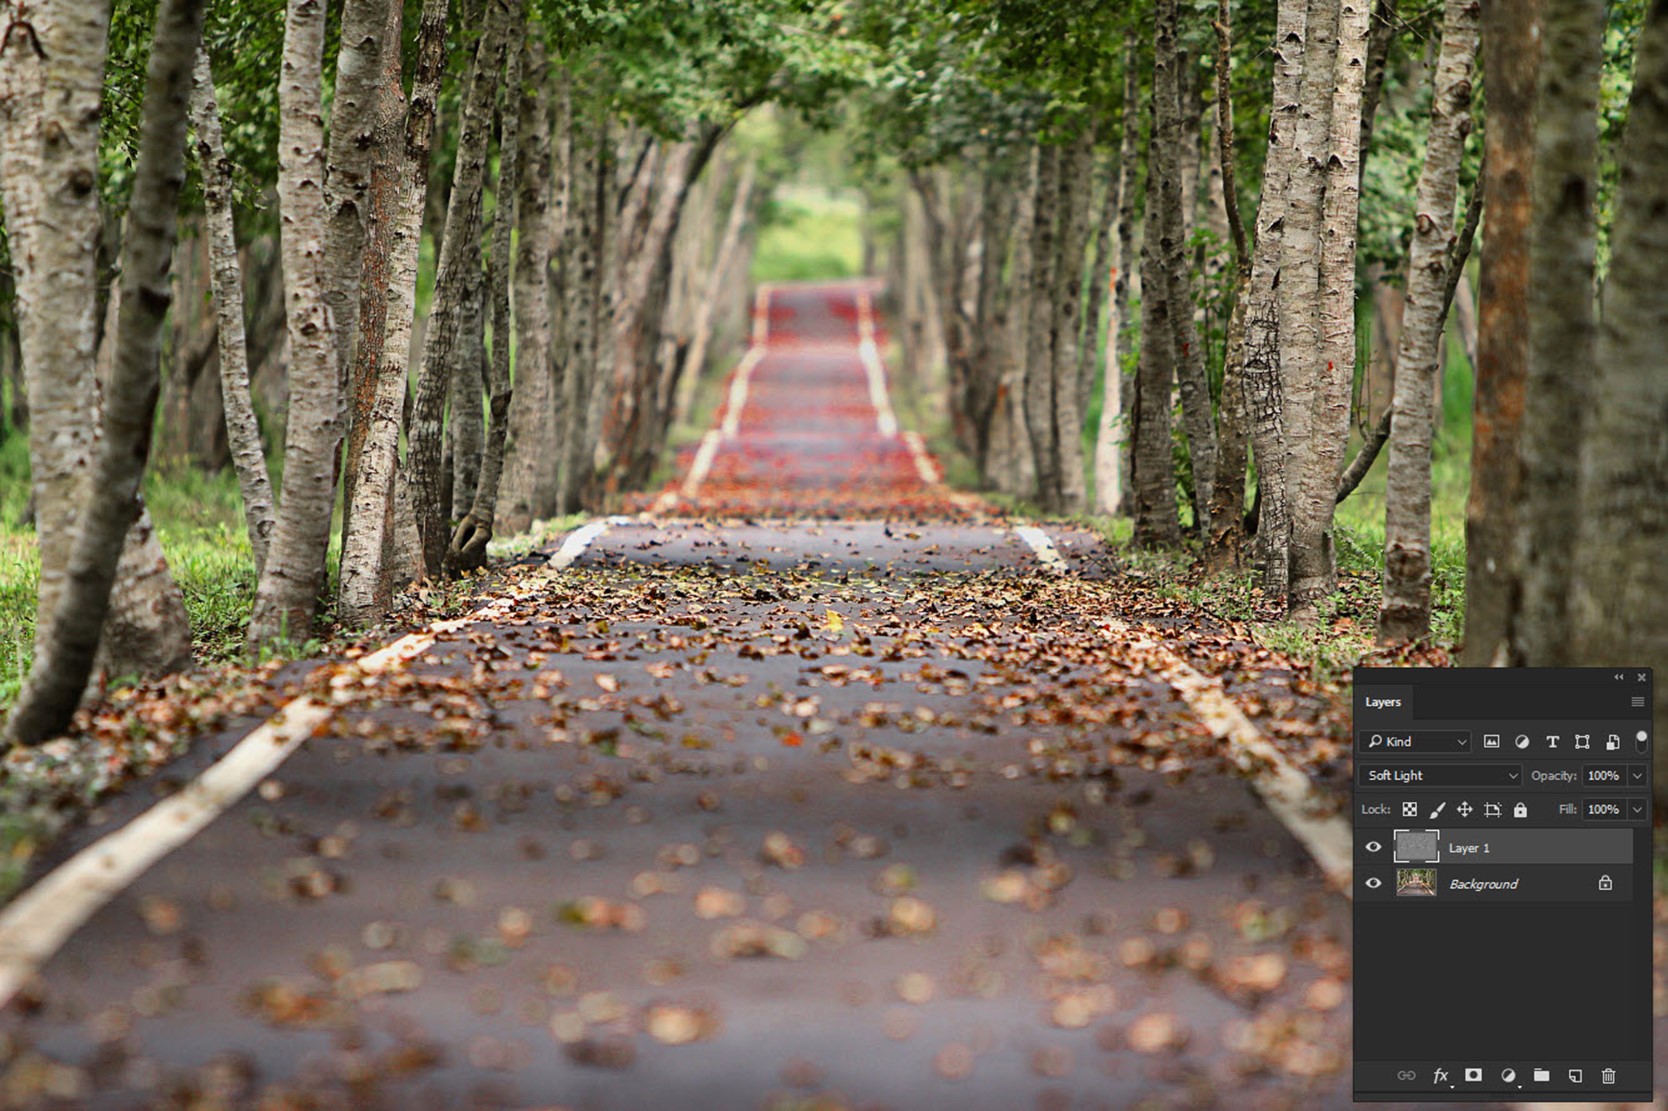
The first thing that I am going to do is to create a grunge effect. The best way to add grunginess is by using High Pass filter. Duplicate the layer by pressing Ctrl+J/Cmd+J to duplicate the layer.
Now we’re going to High Pass filter. Go to Filter > Other > High Pass. Set the radius to somewhere where you can see the edges like the one you’re seeing below. Click OK.

Change the Blend mode to Soft Light.
Related: What is Blend Mode in Photoshop.
Step 2: Reduce the Color
You can use Vibrance adjustment layer to reduce the color but that wouldn’t make the effect that we’d like to achieve. Instead, we’re going to use Gradient Map. Go to Layer > New Adjustment Layer > Gradient Map. Click on the place which is named as 1. This will help you change the color. Click on the Black and White gradient is named as 2. Press OK.
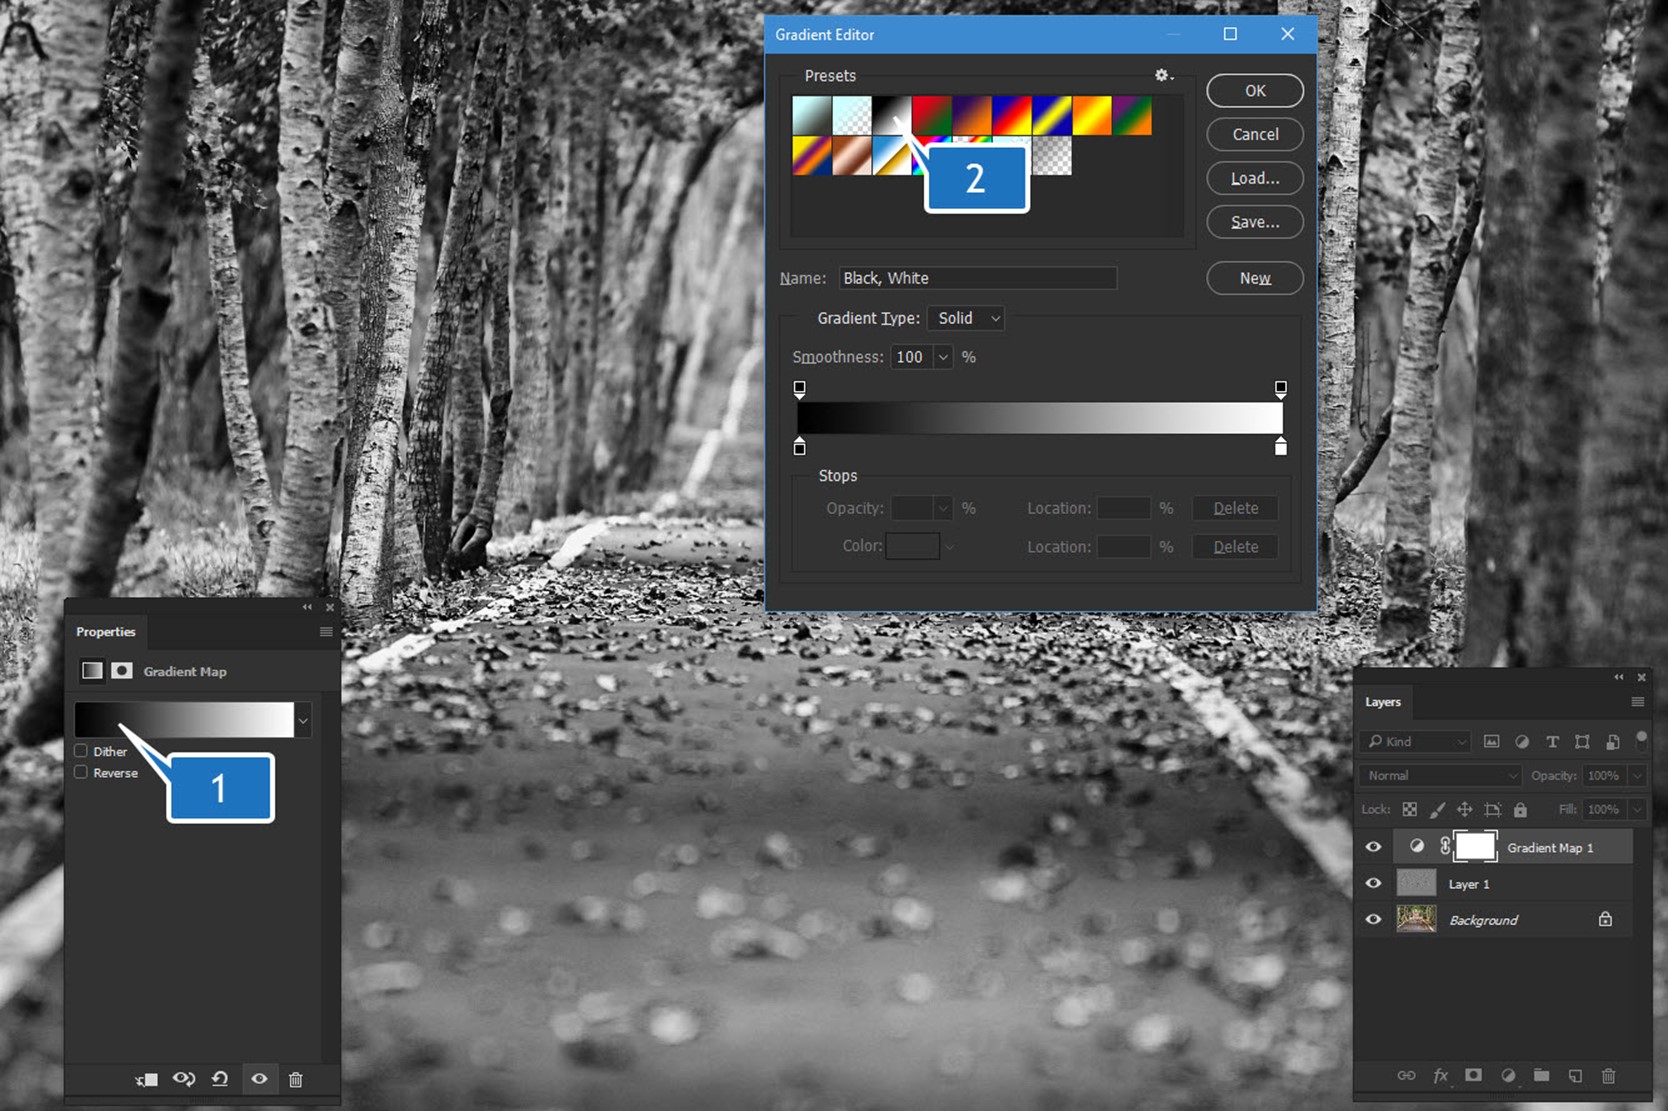
Reduce the opacity to 50%.

Step 3: Change Brightness and Contrast
Go to Layer > New Adjustment Layer > Brightness/Contrast. Reduce the brightness to -24 and increase the contrast to 28.

Step 4: Give Final Grunge Effect in Photoshop
We’re going to use Curves to give the final grunge effect. Go to Layer > New Adjustment Layer > Curves. Set the line to a point where the input is 196 and output is 255.
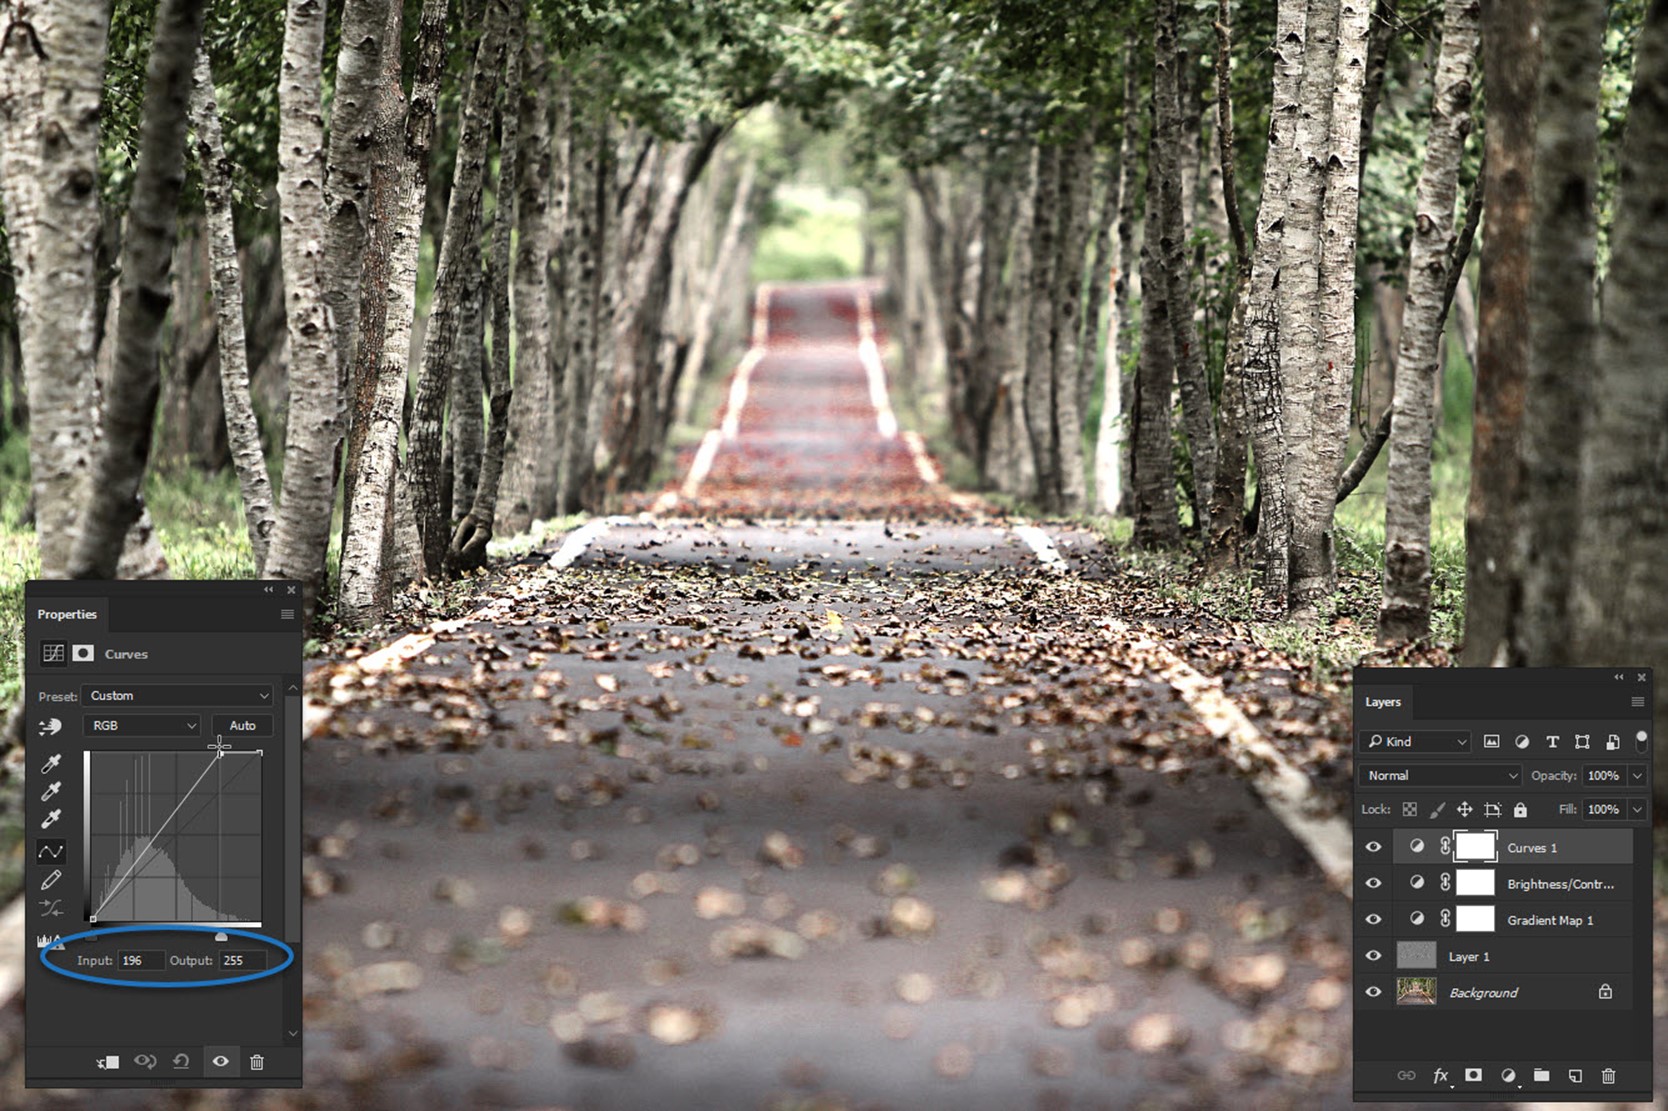
This is all we need to create a grunge effect in Photoshop. Here’s the final photo again.

Hope you like the image. Let me know what you think of it.
Head over to the homepage to find out even more exciting tutorials.

