STEP 7
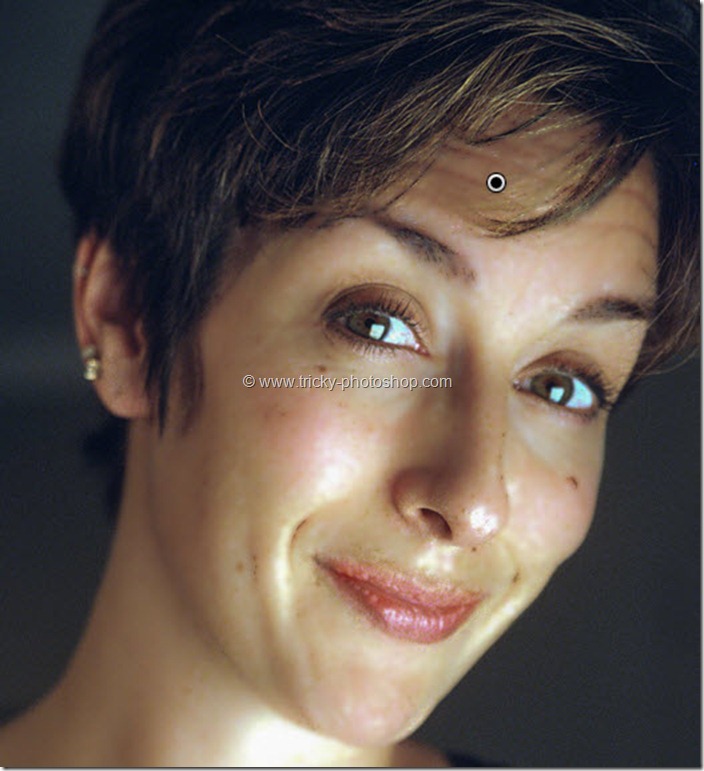
Time to enhance her Iris. Once again click on New to create a new brush. Increase the
- Exposure = +0.45
- Clarity = +22
- Saturation = +40
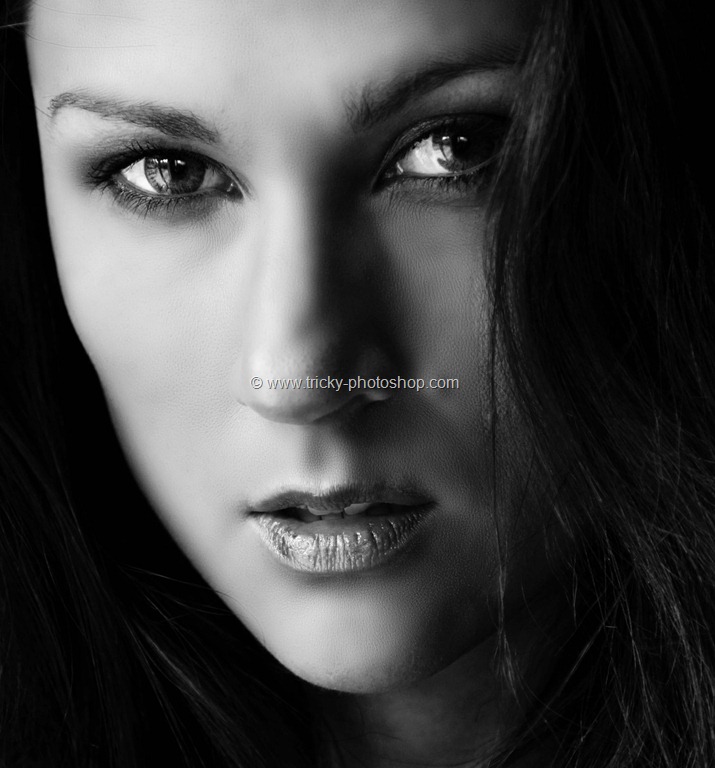
After applying the brush on her Iris I’ll get the image which is shown below.
If I turn on my Mask by pressing my O then you can easily see the area where I have applied my brush.
Now I am done. Remember I only edited the above image for the normal retouching not for the the commercial purpose or for the fashion magazine purpose. If you wan to retouch for fashion magazine you may need both Photoshop and Lightroom for best result or Photoshop is enough. Thank You for visiting.
FINAL
And we are done here.
Read my next tutorial where I will discussing about Darkening of Iris Rim in Photoshop.
Thank you for reading this article. Hopefully we’ll meet again in four days.


