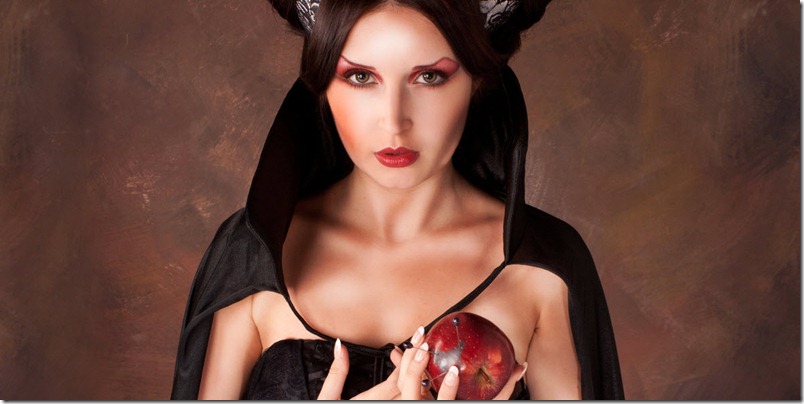
Bokeh is a common word used in photography that describes the blurry areas in a photo, or basically the area which are out of focus. Some people find it as a mistake but for most, they find bokeh as an attractive effect that gives more drama on the photo.

If you’re interested to do bokeh, you probably have this question in mind. The answer lies in the 5 tips below:
1 – Get close to your object
Distance is one key to achieve a nice bokeh. The closer your camera lens gets to your subject, the more the background will be blurred. So, it’s ideal to know the right distance between your camera lens and subject.
If you use a fast lens then minimize your distance to your subject to create a uniformly illuminated disk in the background. But if you don’t use a fast lens, it’s all right; just ensure to reduce the distance between your camera lens and your subject.
Doing this will increase the distance between the background and your subject. This is important because the further the background is to the camera lens, the more it’ll be out-of-focus.
2 – Choosing the proper lens
The lens is the main player of creating a beautiful bokeh as it determines bokeh’s size and shape. Though every camera has the capability to create a bokeh, only few can make it virtually appealing.
To know if your camera lens is a good lens for bokeh, check its diaphragm blade. The diaphragm lens is the one that determines bokeh’s shape. A lens with 7-straight blades creates a heptagon-shaped bokeh; while 9-rounded blades create a circular bokeh.
If you have 9 rounded blades, a prime lens is an ideal choice to use. But if you have a zoom lens, it’s advisable to zoom to its maximum focal length (200mm or more) to create an even greater blurred effect.
3 – Judge the depth-of-field
The depth of field is the one that indicates how much is in focus on your subject, front or behind. In determining what’s good for your subject, you need to remember 2 things: the wider your focal length, the deeper the DOF gets; while the longer focal length, the narrower the DOF gets.
The usage of these 2 will depend on the type of photography you’re doing. Choose a longer focal length if you’re shooting landscape or architectural exterior. While, if you want more details to be in focus, choose a shorter focal length.
4 – Relating the foreground with the background
Two types of bokeh are the background and foreground bokeh. These two acts similar, their only difference is its size. We all know that the closer the lights onto the lens, the larger it will look. Since the background details are far from the lens, its bokeh is smaller compared to foreground bokeh.
To add a dramatic appeal to the image, it’s ideal to have both bokeh in it. This is possible by positioning your subjects farther, so you can get some good quality foreground details.
5 – Select the large aperture
Lastly, the secret to creating a stunning bokeh is by using a fast lens with large aperture. Why? This is to decrease the DOF to a narrow area. The ideal lens to use must have an aperture of f1.4, f/1.8 or f/2.
These are the secrets of getting the bokeh effect. Let me know if you have anything else in your mind.


