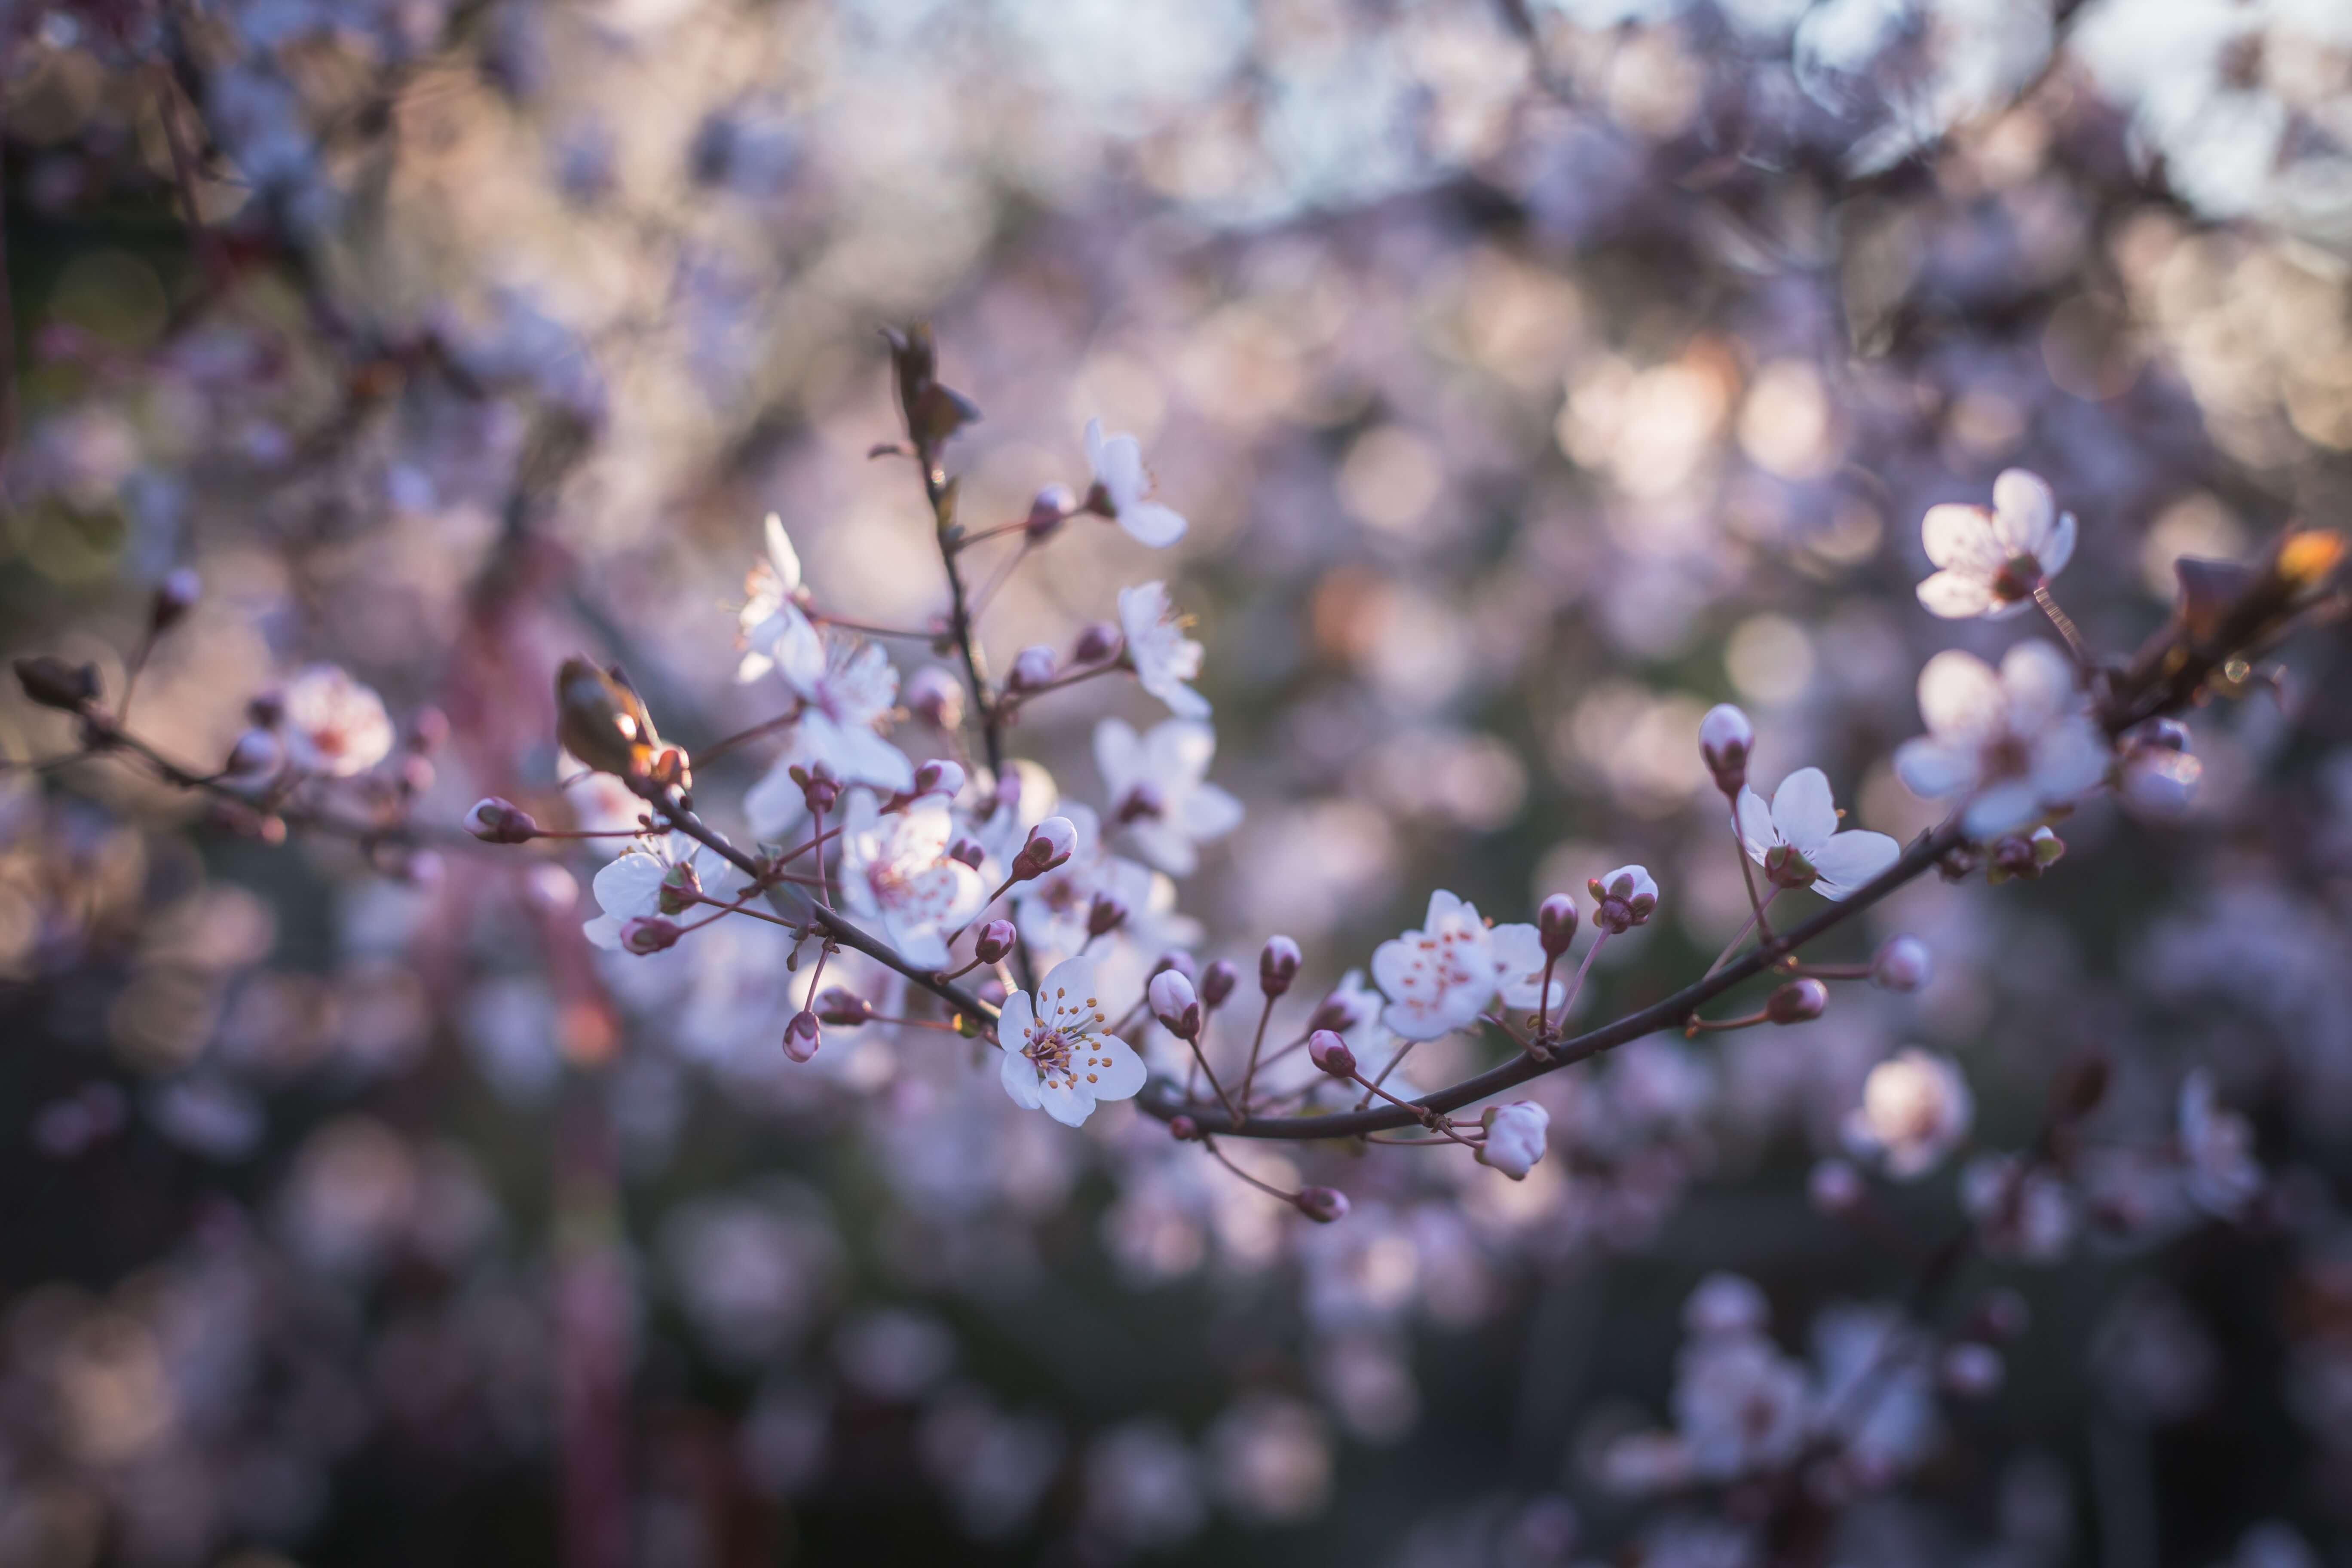
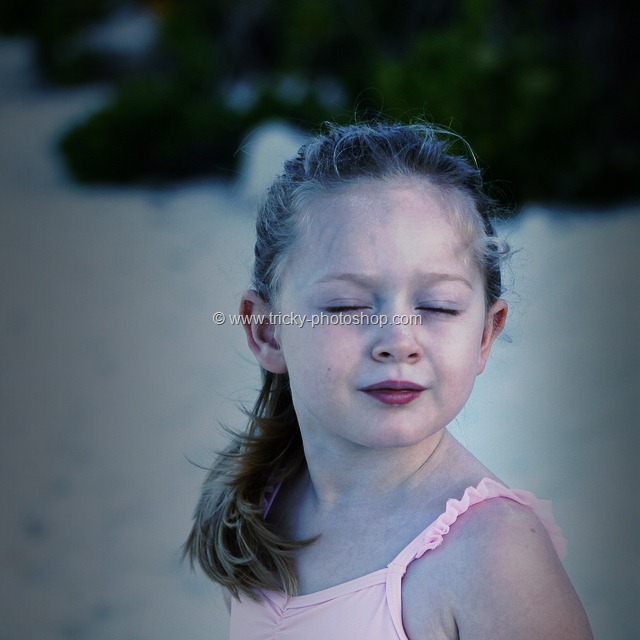
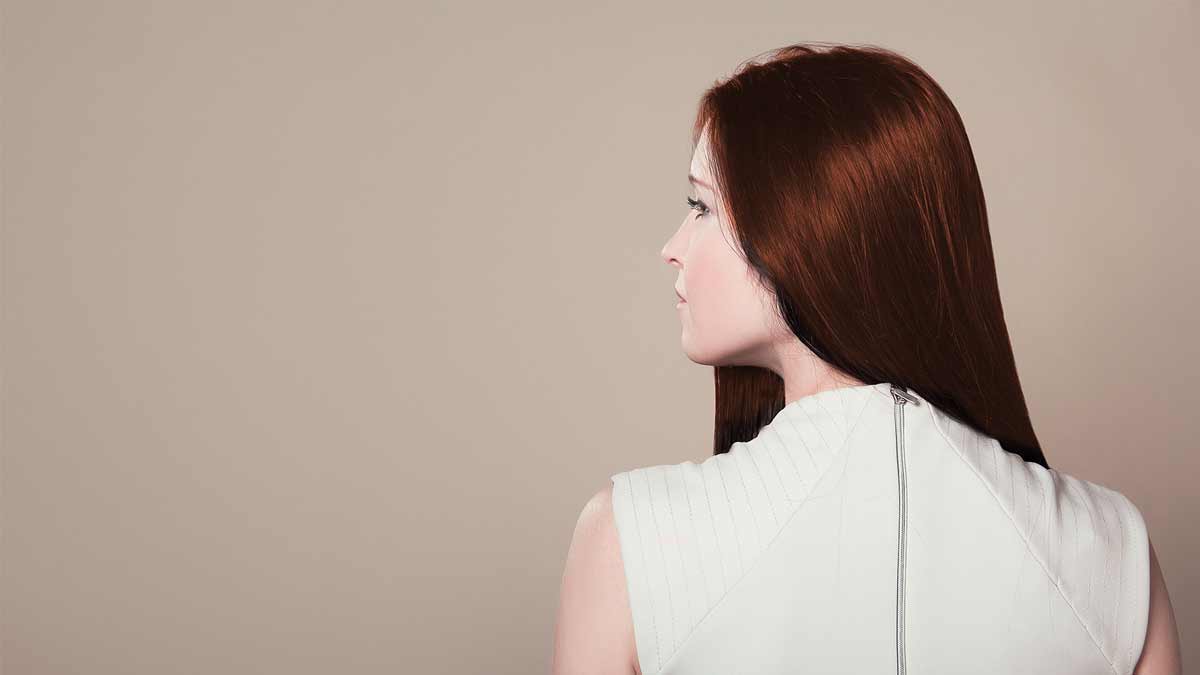
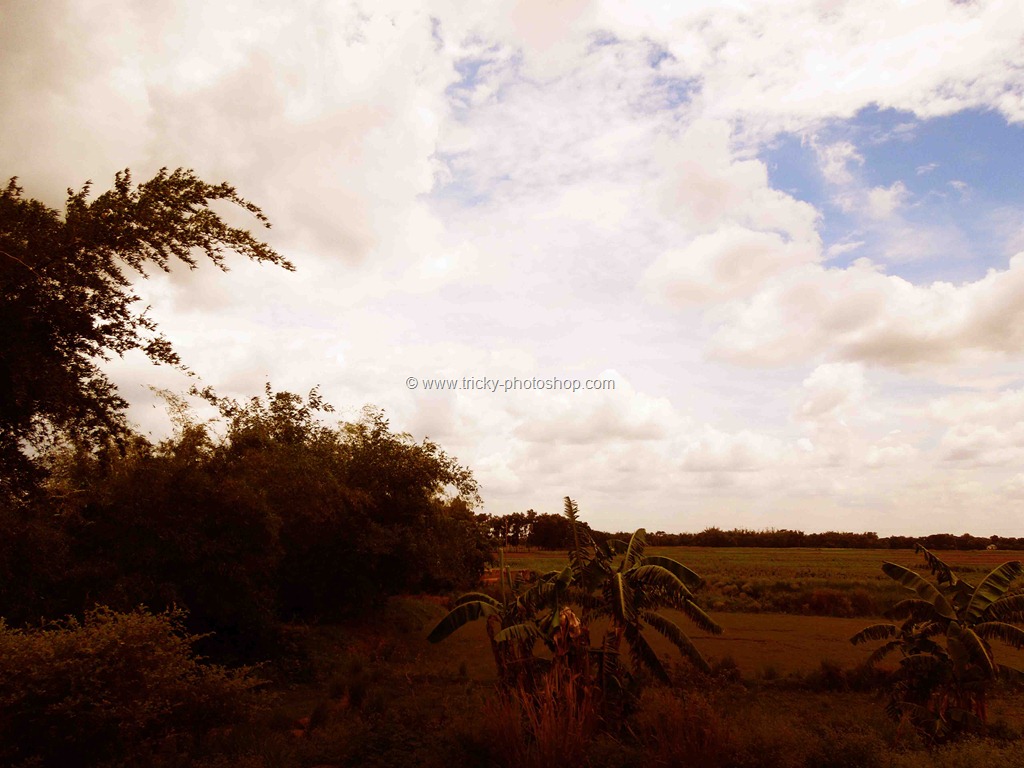
Hello guys I am Vaibhav and today I am going to show you how to Achieve Vintage Look in Photoshop. Last time I discussed about Quick Mask Tool which is an extremely important tutorial if you are a beginner to Photoshop. For this tutorial basically what I am going to do is to use several adjustment layers and filters and then I will play with the blending modes and opacity to achieve desired effect.
STEP 1
The very first that we need to do is to create a sepia tone. To achieve sepia effect we are going to use Hue/Saturation adjustment layer. Go to Layer>New Adjustment Layer>Hue/Saturation. Turn on “Colorize” and set the hue to 46 and saturation to 25.
Your image should look like this.
STEP 2
Now press Ctrl+Alt+shift+E/Cmd+Opt+shift+E to stack all the layer onto a single layer.
We are going to blur the image. For that we are going to use Gaussian Blur. Go to Filter>Blur>Gaussian Blur. Increase the blur until your image starts to look like the one shown below. Press OK.
Change the blend mode to Overlay and reduce the opacity to 40%.
STEP 3
In this step we are going to add noise to the image. Create a new layer at the top of the layer panel by pressing Ctrl+Shift+N/Cmd+Shift+N and rename it to “Noise”. Make black as your foreground color by pressing D. Now press Alt+Backspace/Opt+Delete to fill the new layer with the foreground color i.e. black color.
Go to Filter>Noise>Add Noise. We really need to add lot of noise to make the image realistic. Change the distribution to Gaussian and turn on “Monochromatic”. Press OK.
Change the blend mode of “Noise” layer to Screen and reduce the opacity to 15%.
STEP 4
In this step we are going to apply vignette effect. Again we need to create a stack of all the layers. Press Ctrl+Alt+shift+E/Cmd+Opt+Shift+E to create a stack of all the layer onto a new layer.
Now go to Filter>Lens Correction. Choose “Custom” tab. Decrease the Vignette amount -78 and midpoint to +8. Press OK.
Your image should look like this.
STEP 5
In this step we are going to vertical grain. Create a new layer by pressing Ctrl+shift+N/Cmd+Shift+N and rename the layer to “Grain”. Press D to make black as your foreground color. Press Alt+Backspace/Opt+Delete to fill the “Grain” layer with the foreground color i.e. black color.
Go to Filter>Filter Gallery. Select the Texture panel and then choose Grain. Note that if you are using Photoshop CS5 or older versions then there is no filter with its name as Filter Gallery. Instead of that you may want to go to Filter>Texture>Grain. Change the settings as shown below.
Change the blend mode of “Grains” layer to screen and reduce its opacity to 25%.
Go to Layer>New Adjustment Layer>Levels. First click on the “Clipping Mask” icon. Then adjust the sliders.
Your image should look like this.
And we are done here.
Thank you for reading this tutorial. Hopefully we’ll meet again in four days.


