Hey guys! Today we’re going to learn a bit different than what we usually learn at TrickyPhotoshop. It is very common in daytime when you take photos, either the background gets overexposed or the foreground gets underexposed. Suppose you want take photo of a tuscany field and beautiful clouds are there to add beauty to your photos. Time is 1 PM and light is harsh. You adjust the Shutter speed so that field is properly exposed but you realize that sky is overexposed. Now you adjust shutter speed so that sky is properly exposed but later you realize that field is underexposed. There’s no ideal adjustment present in the camera that makes both background foreground perfectly exposed, and this is bothering you because you like your photos to be perfect. Fortunately we have an option to merge multiple exposures photos in Photoshop.
In this tutorial, I am going to show you how to merge different exposures photos in Photoshop. This tutorials require you to have at least two different exposures of same photo where in one foreground is perfectly lit and in another background is perfectly lit.
Before we go any further, I would like to show you two initials and one final photos.
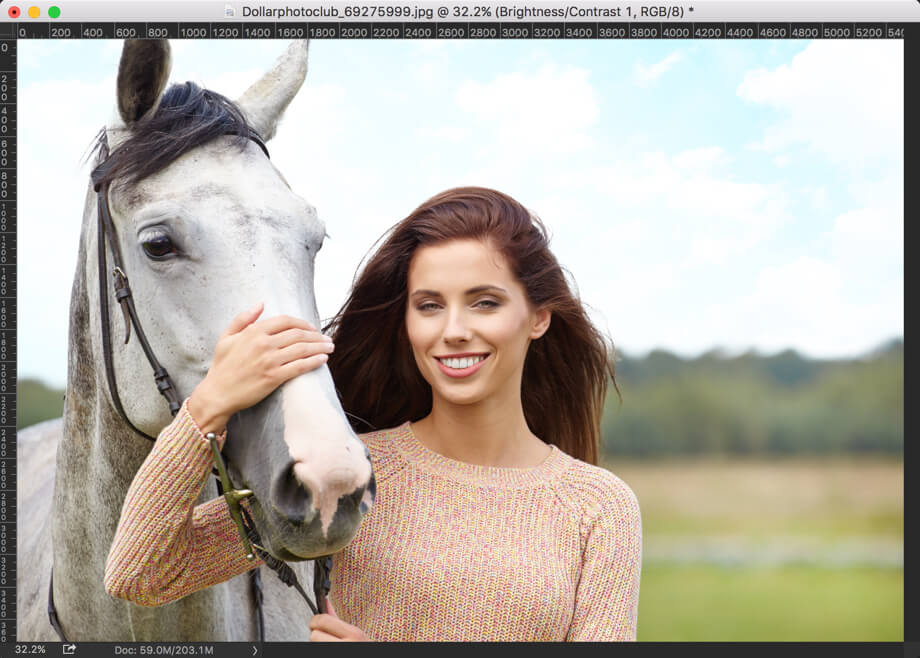
Perfectly Exposed Foreground
Perfectly Exposed Background
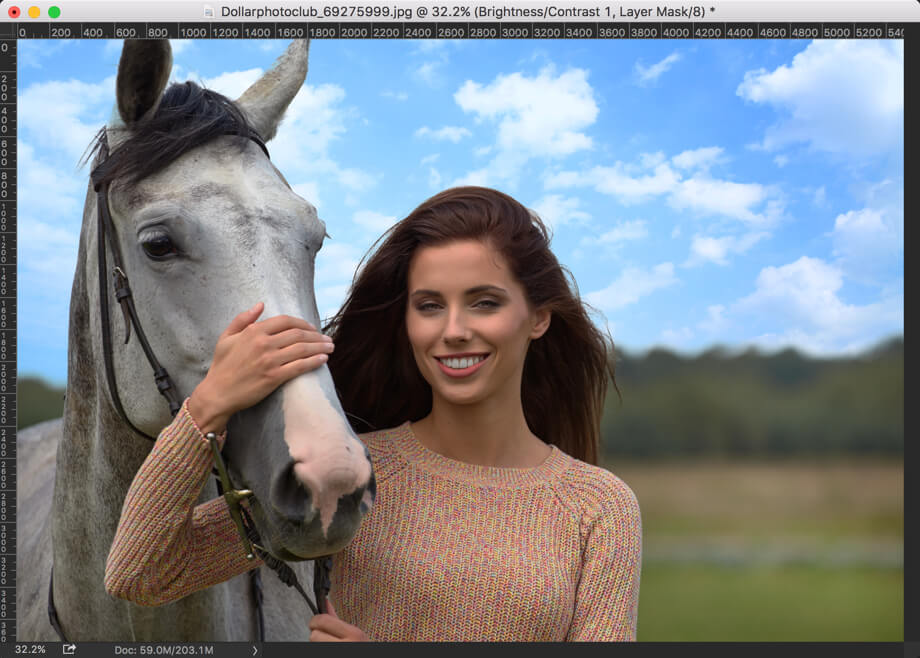
Perfectly Exposed Foreground and Background

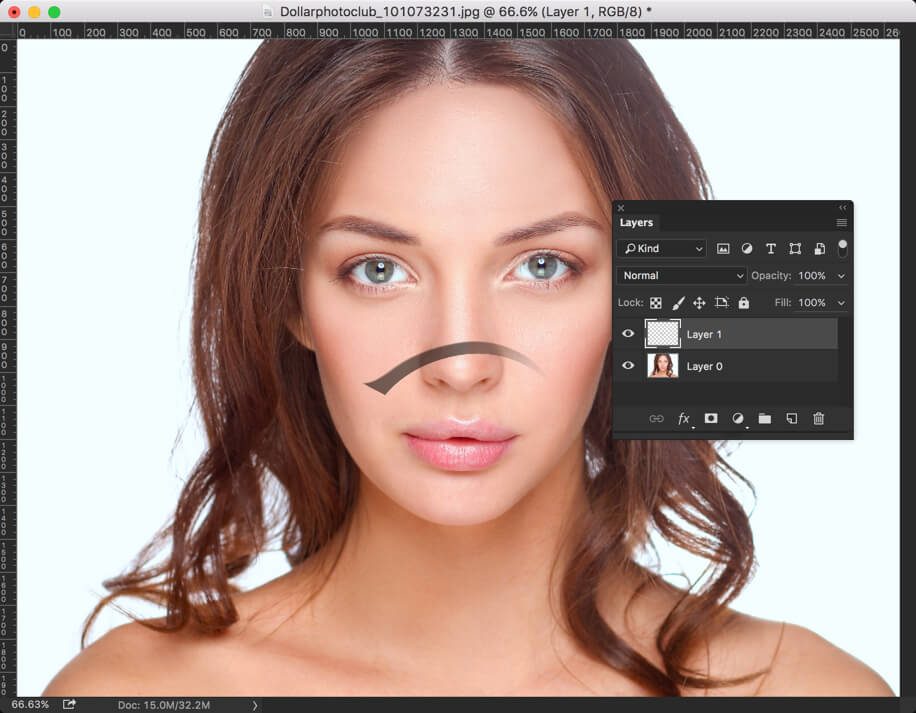
As I used a stock image, I needed to alter same image to create two different photos where one has perfectly exposed foreground and other has perfectly exposed background.
Let’s begin the tutorial
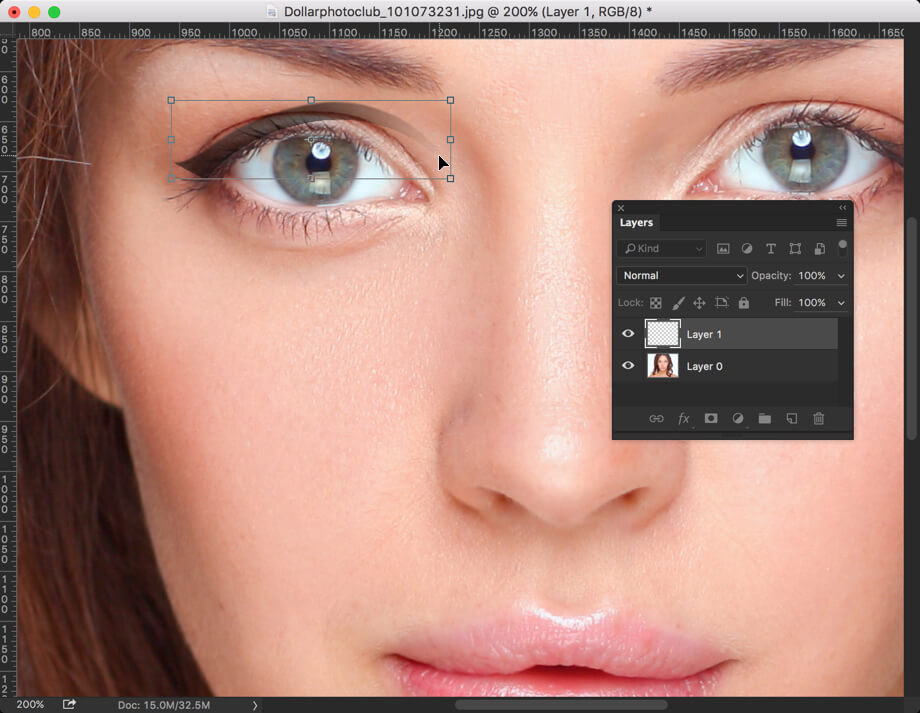
Step 1: Select the Sky in Perfectly Exposed Foreground Photo
We need to replace the overexposed sky with perfectly exposed sky. For that we need to first take it out.
I am going to use Magic Wand Tool to select the sky. You could activate it either from the Tool Panel or press Shift+W again and again until it comes.
Now drag your mouse to select the sky.

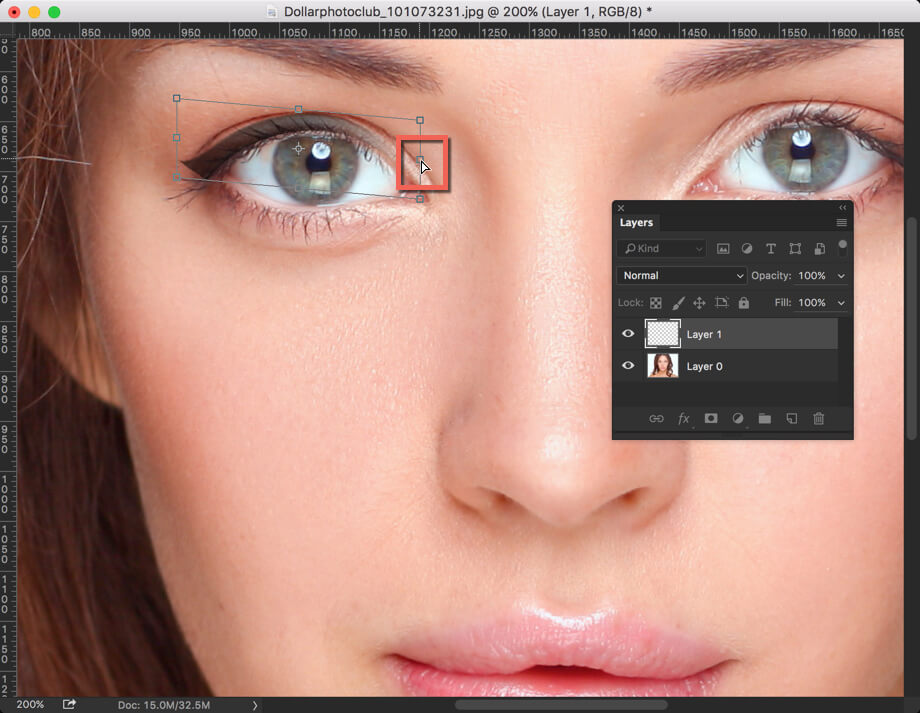
Step 2: Refine the Selection
Invert the selection to select the foreground. You could do it by pressing Cmd+Shift+I/Ctrl+Shift+I.
We are going to use Refine Edge tool to make our selection near to perfect. Go to Select>Refine Edge.
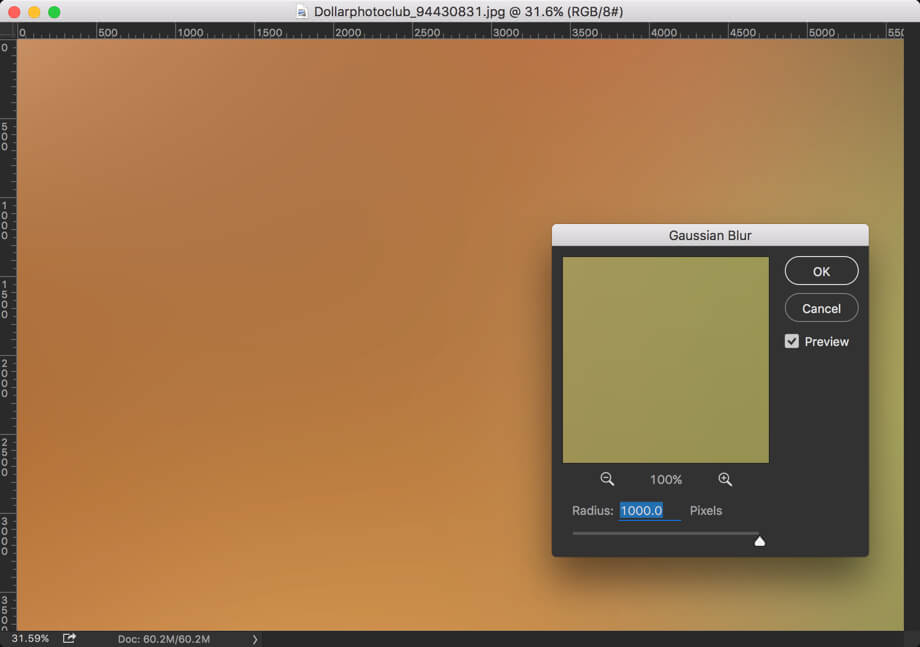
As the photo is pretty much large, I am dragging the radius all the way to 250 pixels. Make sure your Output To is set to New Layer with Layer Mask.

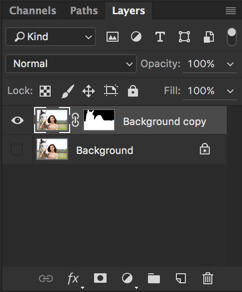
This will create a new layer in the layer panel.
Step 3: Place the Perfectly Exposed Background Photo below the top layer.
Press Cmd+O/Ctrl+O to open a new photo in Photoshop. Browse the photo and open it. Press Cmd+A/Ctrl+A to select the whole image and Cmd+C/Ctrl+C to copy it.

Step 4: Merge Multiple Exposures Photos in Photoshop
Time to paste the recently copied image.
Press Cmd+V/Ctrl+V to paste it onto the image that has perfectly exposed foreground.
Move the layer to below the layer that has perfectly exposed foreground.

And now we’re done with this tutorial.
Here’s the final image again.
I hope that you enjoyed this tutorial.
Please support TrickyPhotoshop by sharing this tutorial with your friends and family on Facebook, Twitter, and Google+.