Eyes are one of the most beautiful parts of a human body. Having a beautiful eyes makes the face very attractive. Well, the shape of the eye matters. But, what matters most is the color of the eyes. No wonder that models wear colored contact lenses during photo shoots to look more attractive. And, the workaround of having a beautiful color eye without wearing lenses is Photoshop. In this tutorial, I am going to how to change eye color in Photoshop.
The tutorial is very easy. All we are going to do is to use the Brush tool.
Before I begin, I want to show you the initial and final pictures.
Initial

Final

Let’s begin
Step 1 – Grab the Brush tool
There are many ways to change eye color in Photoshop. I am going to show you the fastest and the easiest one.
Grab the brush tool from the tool panel or press Shift+B again and again until it comes. Reduce the hardness to 0%.
Change the foreground color to the color you would the eyes to have. I am going to change it to #0076a3.

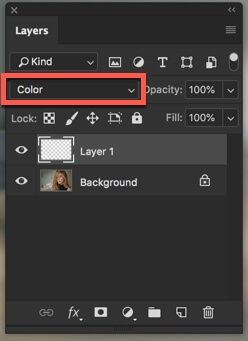
Step 2 – Change the Eye Color in Photoshop
Press F7 to open the layer panel. Alternatively, you can also open it by going to Window>Layers.
Create a new layer by pressing Cmd+Shift+N/Ctrl+Shift+N.
Change the blend mode to Color.
Start brushing the eyes.
If you want, you can first select the iris with the Elliptical Marquee tool and then start brushing. I am skipping that because the end result in my case would be almost same and my hands pretty much know how much should they move the cursor for perfect coloring.

Do it for the second eye also. The second eye is not present in my image so I need to skip that.
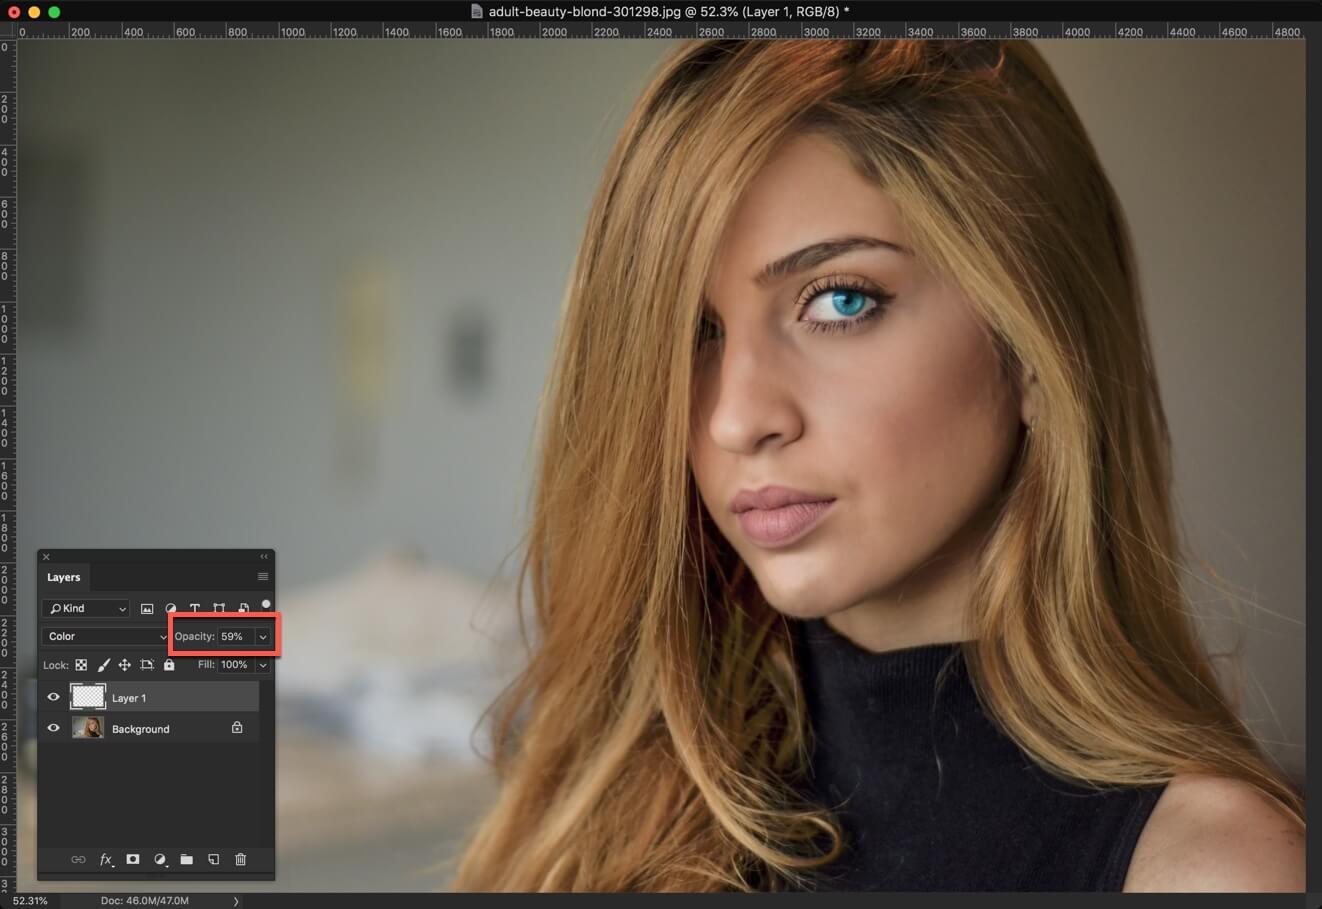
Your image should look like this.

I think that the blue is very vibrant. So, I am going to reduce the opacity to 59% in the layer panel.
That’s it.
Here’s the final picture again.


