You took a photo and the skin looks pale or washed out. You like the background and pose but hate the skin color. Do you know that you can fix the skin tone in Photoshop in less than a minute? Let’s see how to change skin tone color in Photoshop.
In this tutorial, I’ll be using the Color Range and blend mode to change skin tone color in Photoshop. It’ll be a short tutorial.
Brief Steps
- We’ll select the skin ton using the Color Range command
- We’ll fill the selected area with skin color.
- We’ll use Layer Mask for some fine-tuning
Final

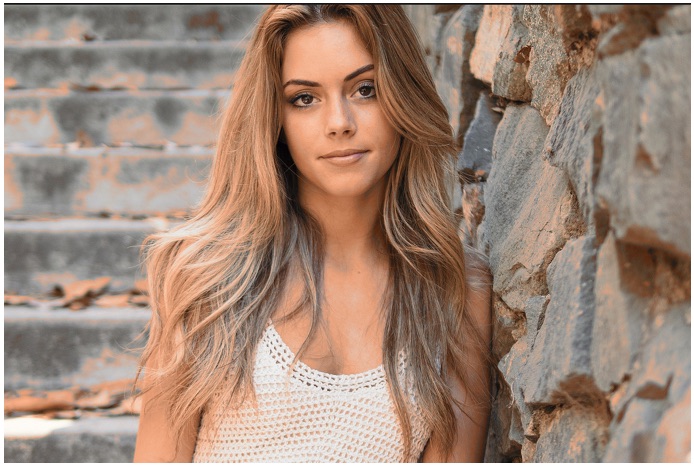
Initial

Step 1 – Select the skin
If you’re using Photoshop CS6 or newer versions, selecting a skin tone is fairly easy. We can easily do it using the Color Range command in Photoshop.
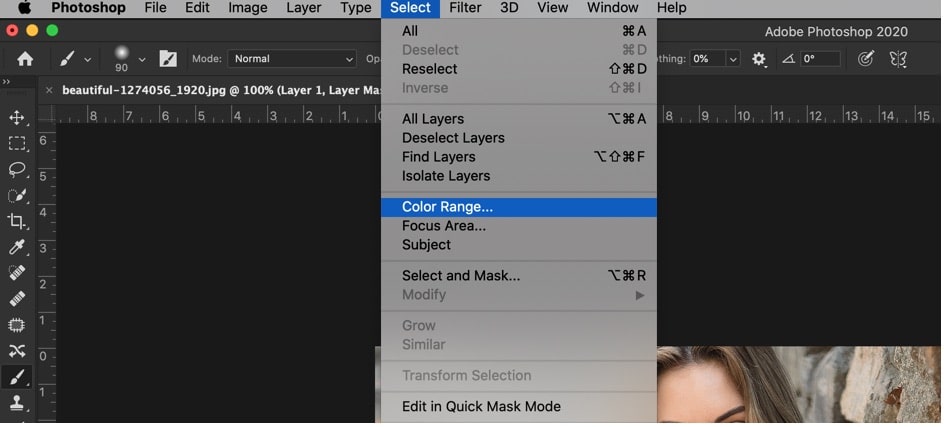
Go to Select > Color Range.
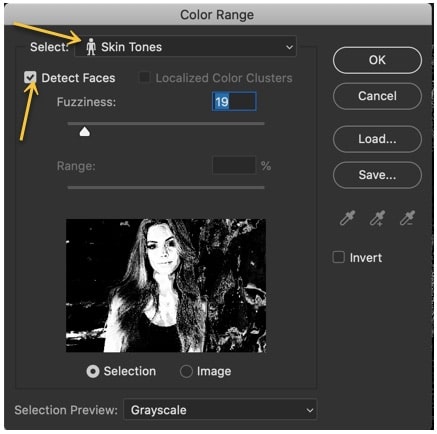
Now, choose “Skin Tones” and turn on “Detect Faces”.
Drag the Fuzziness slider to the left or right to make the selection better. You can see the selection in the preview section below in the same window. White color shows that the area that’s going to be selected and black shows the areas which are not going to be.
Press OK.
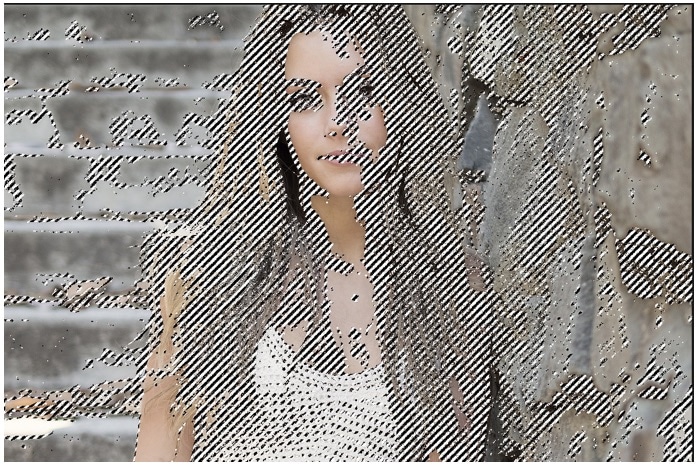
This is my selection. I know that it looks a bit weird.
Step 2: Change the skin tone in Photoshop
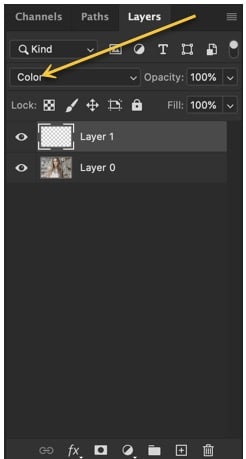
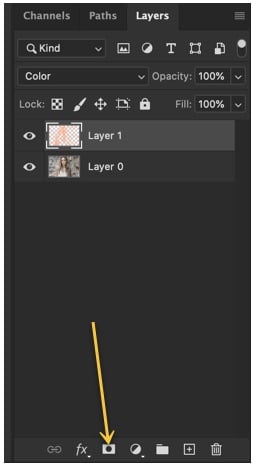
Open the layer panel by going to Window > Layers or by pressing F7.
Create a new layer by pressing Cmd + Shift + N / Ctrl + Shift + N. Change the blend mode to color.
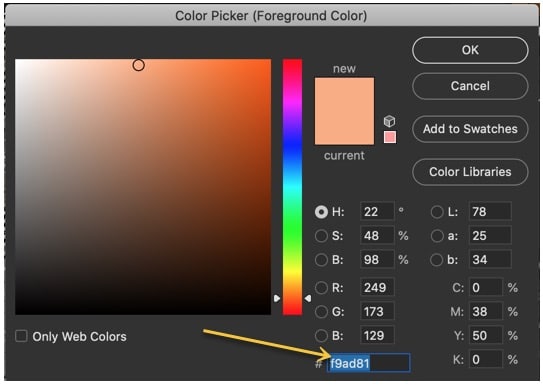
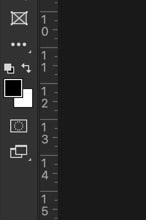
Click on the foreground color.

Choose nice skin color. I am choosing #f9ad81. Put this value in the HEX code. Press OK.
Now, this skin color is your foreground color.
Fill the selection with the foreground color by pressing Opt + Delete / Alt + Backspace. Press Cmd + D / Ctrl + D to deselect.
Here’s the photo.
Step 3 – Finetune the photo
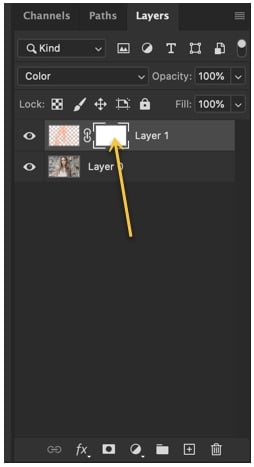
We’ll remove the area where unwanted skin tone color is filled using the Layer Mask. Click on the layer mask in the layer panel.
This will add a layer mask next to the layer which has the skin tone color.
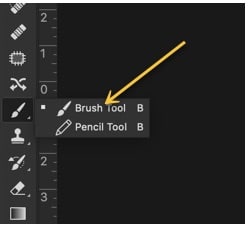
Grab the Brush Tool from the tool panel or press Shift + B again and again until it activates.
Make the foreground color black.
Now start brushing on the area from where you want to remove the skin tone color.

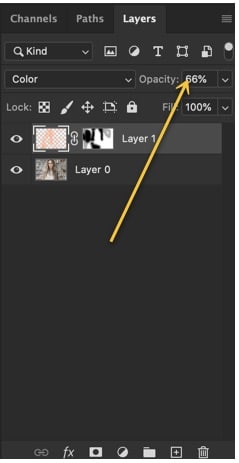
Now, reduce the opacity of the skin tone layer to somewhere between 50-70%.
Here you go.


