Hello guys, in this tutorial I am going to show you how to adjust your image color with adjustment layer using Photoshop.
In this tutorial basically what I am going to do is to create a new layer and then I will use some adjustment layers to achieve the desired effect.
This trick work great with the portrait photo and it adds an eye-catching effect to your photo. I’ll be using only layers and blending mode to enhance the image.
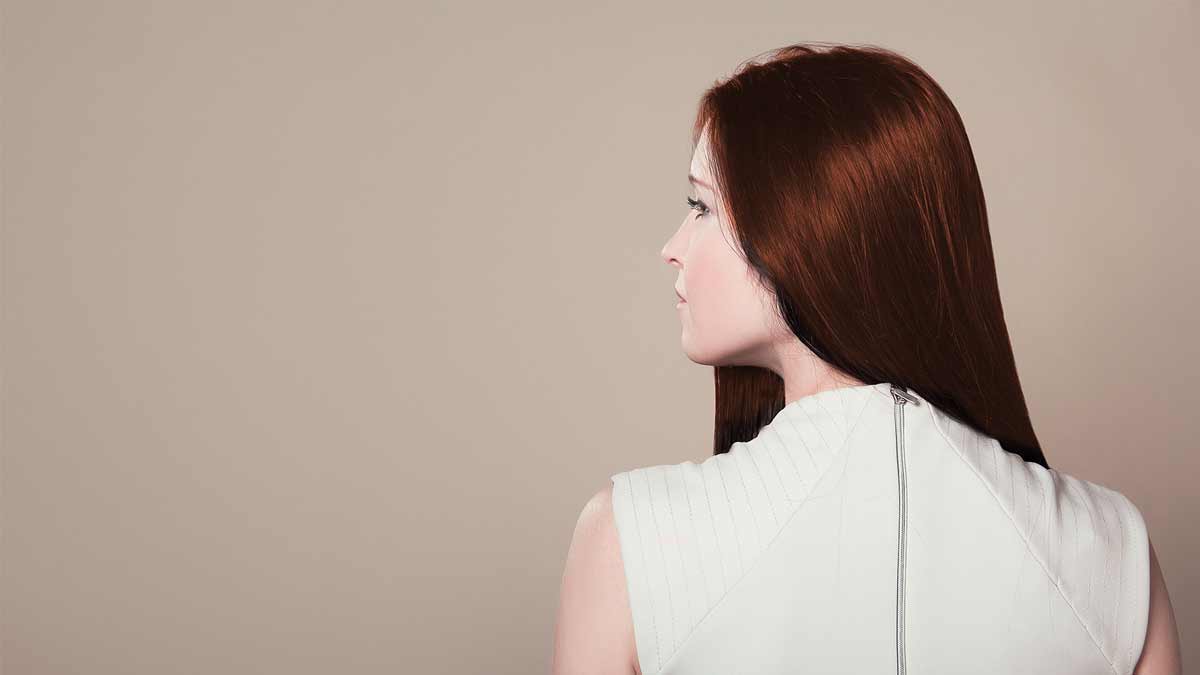
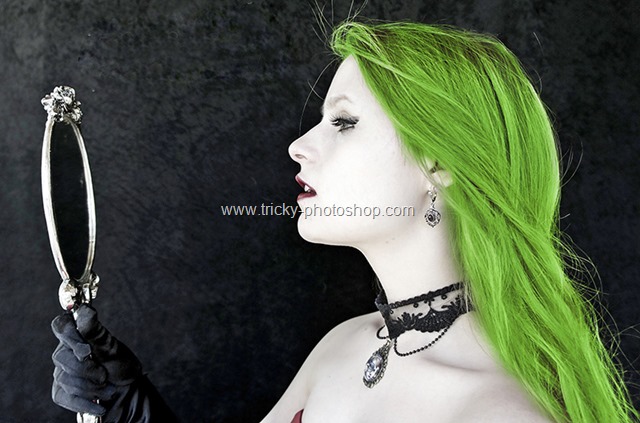
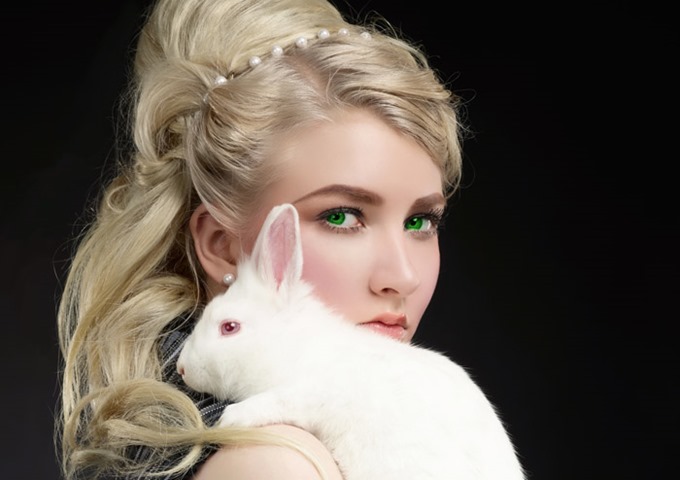
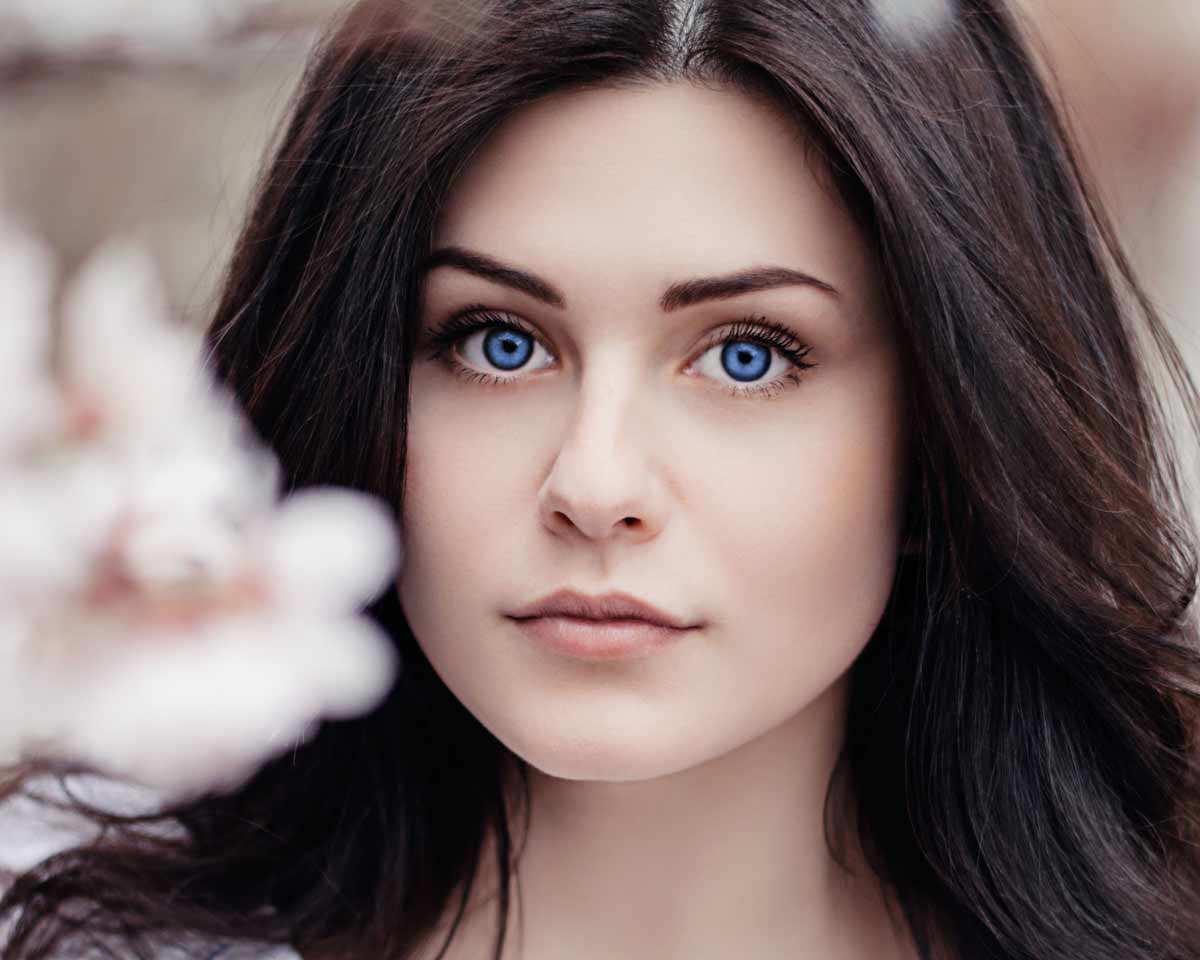
Final (Cold)
Final (Warm)
Initial
Step 1: Add Hue and Saturation
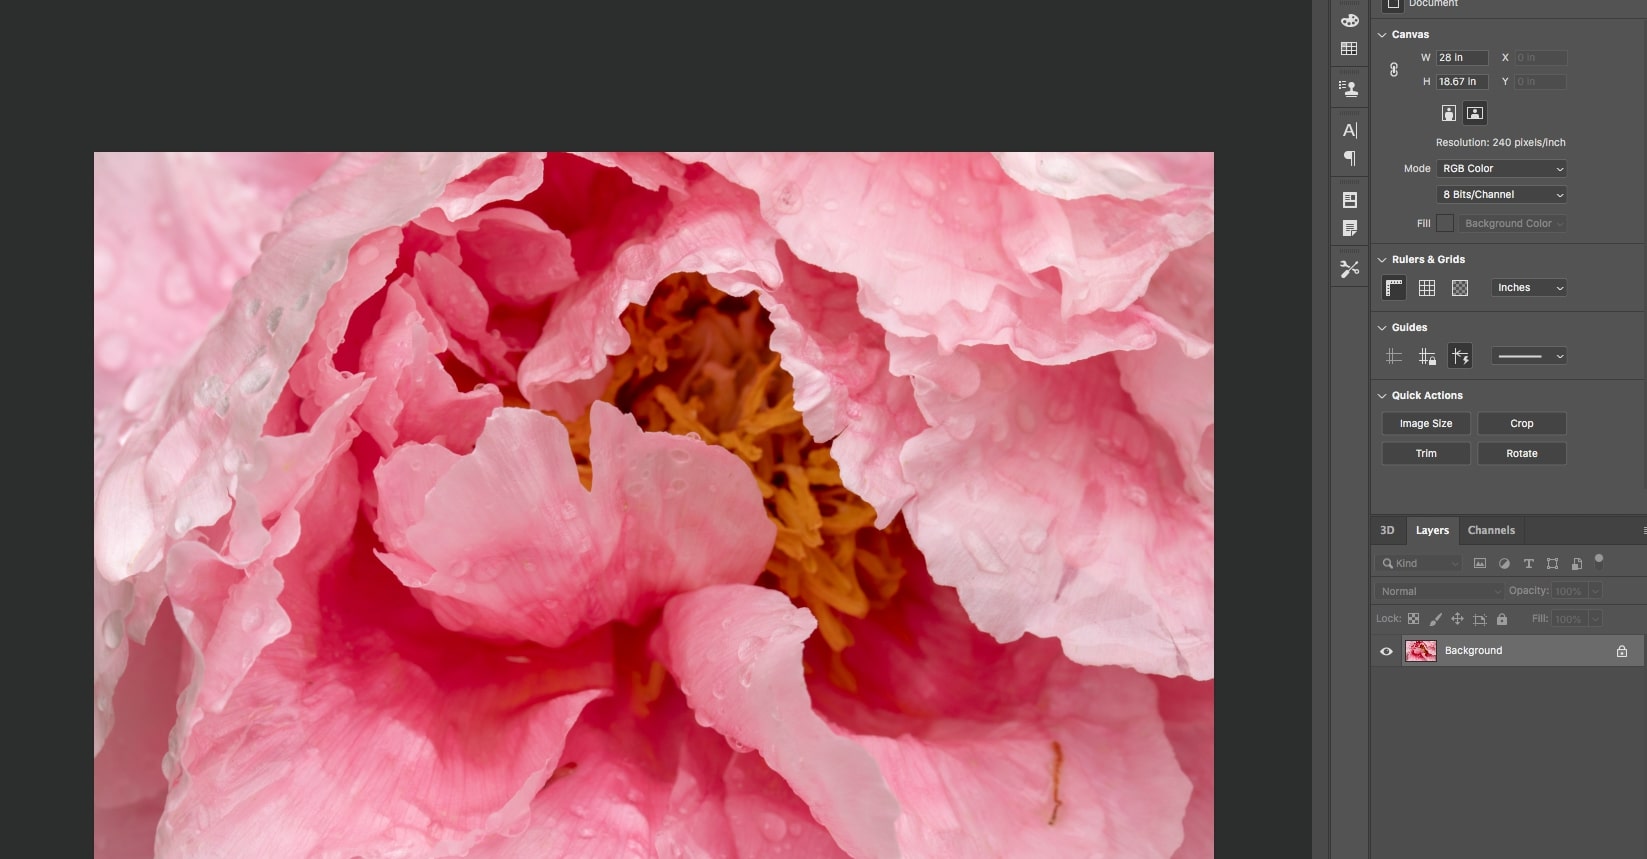
Open your photo in Photoshop press F7 for the layer window. Then click on the add adjustment layer.
Then select on hue and saturation to adjust the color of your photo. This will open the hue and saturation window.
You guys may wondering that why didn’t I just go to Image > Adjustment > Hue & Saturation to adjust the color of the image. The answer is that when you adjust the color by going to image > adjustment then you can’t change the settings in future, but if you add an adjustment layer of then you can readjust the hue & sat anytime in future just by double click on the layer thumbnail as shown below. In simple word, I can say that your retouching becomes non-destructive.
Firstly, click on Colorize. If you want the warm effect to your photo then in your hue & sat window set the hue to 30, saturation to 30 and the lightness to 5.
If you want the cool effect to your photo then set the hue to 210, sat to 50 and lightness to 10.
Step 2: Add Color Lookup
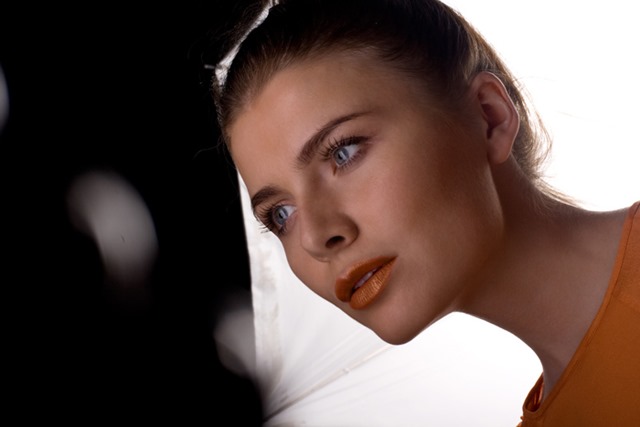
I am thinking that the light in this photo is not so good. I want the face to be more shinny. So I am going to add the Color Lookup adjustment layer. Open your layer window as we did in step 1 then click onthe adjustment layer then click on color lookup. Now you’ll see that your photo looks so weird.
I am going to reduce my opacity to 25% and changing my blending mode to vivid light remove the high contrast. Now the face in my image is looking so shinny as I was expecting. You can adjust the opacity of your photo as per your requirement.
Step 3: Invert the layer mask
Now I am going to invert the layer mask of my color lookup layer. I am going to do it by pressing Ctrl+I / Cmd+I.
You can see that your photo has again lost the luminosity. Set the foreground color to white. Now I am going to select the brush tool by pressing Shit + B and increase the size so that its radius is around more than half of the photo. You can press [ and ] to increase and decrease the radius. Set the hardness to 0%. You can do it by pressing shift+[. Each time you press, the hardness will be reduced by 25%.
In the above photo, the big arc you are seeing is nothing else but my brush. You can expect the radius is more than half of the image.
Step 4: Add Gradient
Now I am going to add a new layer, gradient. Press Ctrl + Shift + N / Cmd + Shift + N to add new layer. Now press D to reset your foreground color to black. Now select the gradient tool from the left panel. You can also select that by pressing Shift + G until it comes. After selecting the gradient, change the mode to the foreground to transparent. Also, don’t forget to select the linear gradient.
Now press and hold down Shift and drag and drop the mouse cursor from extreme left to the center and then release the mouse button as seen below.
Now do the same thing but this time from the right. After doing this reduce the opacity of this layer to 48%.


