Hello guys I am Vaibhav and in this article I am going to teach you what is “channels” in Photoshop and how to use it to enhance our image especially portraits. Last time I discussed about RGB and CMYK Modes in Photoshop which is an extremely important tutorial for graphic designers.
What is Channel?
Well the answer is simple. A channel is like a normal Photoshop panel which stores the color information of your Photoshop document in the form of layers. If you have selected RGB mode than your channel panel will show 4 channel by default(RGB, red, green and blue) and if you have selected CMYK mode than your channel panel will show 5 channel by default(CMYK, cyan, magenta, green and black). You can change the image mode to RGB by going to image>mode>RGB and to CMYK by going to image>mode>CMYK.
Well in the above shown picture you can see lots of labeling that might have scared you. But I am going to explain all the labeling in details so don’t worry guys.
To open channel panel go to window>channel.
Composite Channel:
Basically it is not a channel. This channel shows the combination of all the channels present in your channel panel. It will remain at the top of the layer panel always. When you are working on RGB mode, by default it will be renamed as RGB and if you are working on CMYK mode, it will be renamed as CMYK. You can change the mode of your document by going to image>mode>RGB/CMYK. To know more about RGB and CMYK mode click here.
Color Channels:
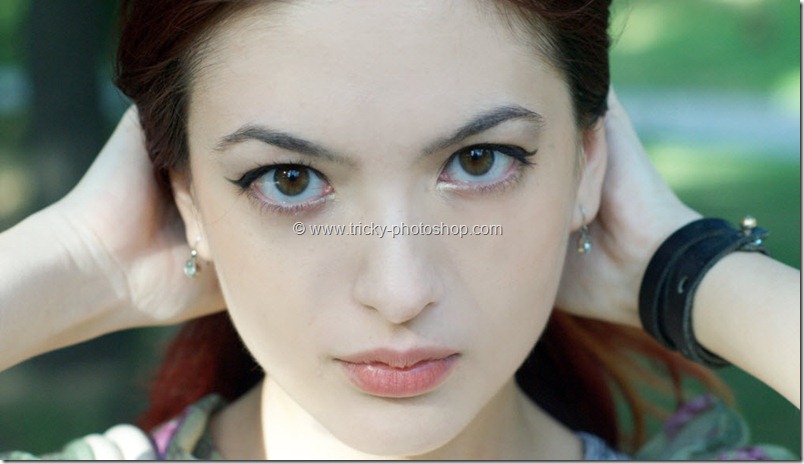
It stores the color information of one particular channel. For example red channel stores the information of red color present in your photo in the scale of 0 to 255. White area shown the amount of red color present. The area that appears to be brighter/whiter contains more red color as compared to the area which is relatively darker. Let me show you an example with red channel. In the below shown figure, skin appears to be brighter than her dress. This is because skin contains more amount of red color as compared to her dress.
Similarly in the green channel the area that appears to be darker contains less amount of green color as compared to the area that appears to be brighter.
Similarly in the blue channel the area appears to be darker contains less amount of blue color as compared to the area that appears to be brighter. You can see that the sky is completely white. It was expected because the sky is mainly appears to be blue due to the scattering of the blue color by the dust particles.
In the CMYK mode your channel panel should look like the one shown below.
Have you noticed that your photo became a bit unsaturated and lost it’s details? It’s because CMYK gives you much less color combinations as compared to RGB mode. CMYK mode is mainly used for printing purpose.
[quote align=”center” color=”#999999″]
It’s better to start your image as RGB and then change it to CMYK for printing. If you start with CMYK and then change it to RGB the result will not be perfect. You can do a simple experiment. Open an image in RGB mode and then convert it to CMYK mode. Click OK on all the dialogue boxes that is going to appear. Then again change your image to RGB. When you observe your image closely than you will notice that your image has lost some amount of saturation and details. So it’s better to start your image as RGB.
[/quote]
Well I guess it’s enough about the color channels.
Alpha Channel:
Whenever you have done a selection using any selecting tools like lasso tool, marquee tool etc. the selection will temporarily be save here. This channel is one of the life saving channel that can saves your lot of time. Just activate the channel then click on “load channel as selection”. This will load the selection that you have selected in past.
If you have saved your selection than you can also see that selection as an alpha channel. Suppose if you want to save your selection then select the area of the image using any selection tool then go to select>save selection.
Load Channel as Selection:
Activate any color channel and then click on “load channel as selection”. This will load that channel as selection.
In the above shown picture I have load red channel. The marching ants shows the selection of red color. You can also load the selection by pressing and holding ctrl/cmd and then click on the layer thumbnail of the red channel.
Save Channel as Selection:
If you have any active selection in your image then click on this button and Photoshop will save it as a channel with prefix “alpha”.
In the above shown image you can see a new channel “alpha 1” which contains the active selection. The white area shows the selected area while the black area shows the unselected area.
Create a New Channel:
This button helps us to duplicate existing channel.
Simply select the channel and then drag and drop that channel to “create a new channel” button and it will duplicate your channel. Duplicating a channel helps us a lot in non destructive editing. You can also create a new channel. When you create a new channel, Photoshop will fill that channel with black color by default.
You can also duplicate your channel by going to panel menu>duplicate channel.
Delete Current Channel:
You might have already guessed its function. It deletes the channel. Simply drag and drop the channel to this icon and it will delete that particular channel. Note that deleting a color channel may destroy your photo. So think twice when you are deleting a color channel.
How to Change the Size of the Channel Thumbnail:
This is one of the most frequently asked question. Well you can do this by clicking on “panel menu” and then click on “panel option”.
There you can see 3 thumbnail sizes. Click on anyone of the thumbnail and it will resizes your channel thumbnail size as per your selection.
The same thing you can do with the thumbnails of “layer panel”. But there you will see more options along with the thumbnail size.
How to turn off visibility of a Particular Channel?
Well you can do this by click on “indicates channel visibility” icon which is present at the left of the layer thumbnail.
In the below shown image, by turning off the visibility of red color we can see how the image looks without red color. If you turn off visibility of any color channel then visibility of RGB channel will automatically be turned off.
And we are done here. Read my next tutorial where I will be discussing about Sharpening an Image Without Adding Noise. Thank you for reading this article. Hopefully we’ll meet again in four days.


