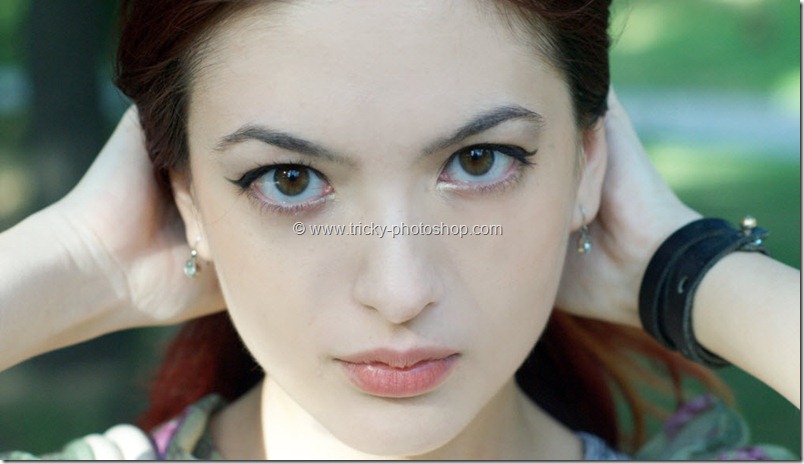
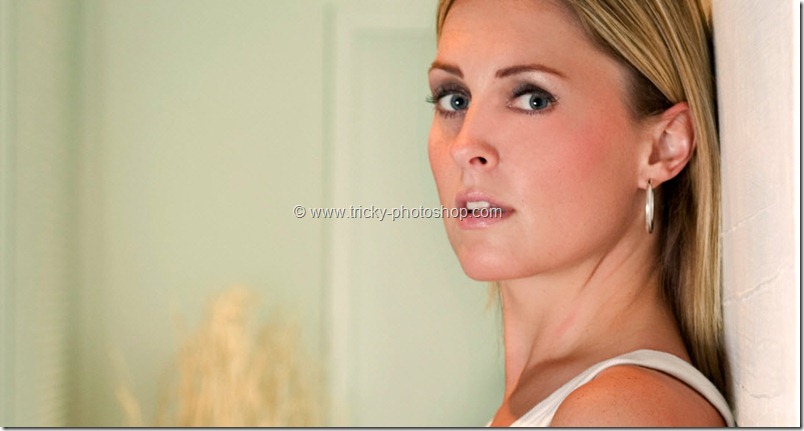
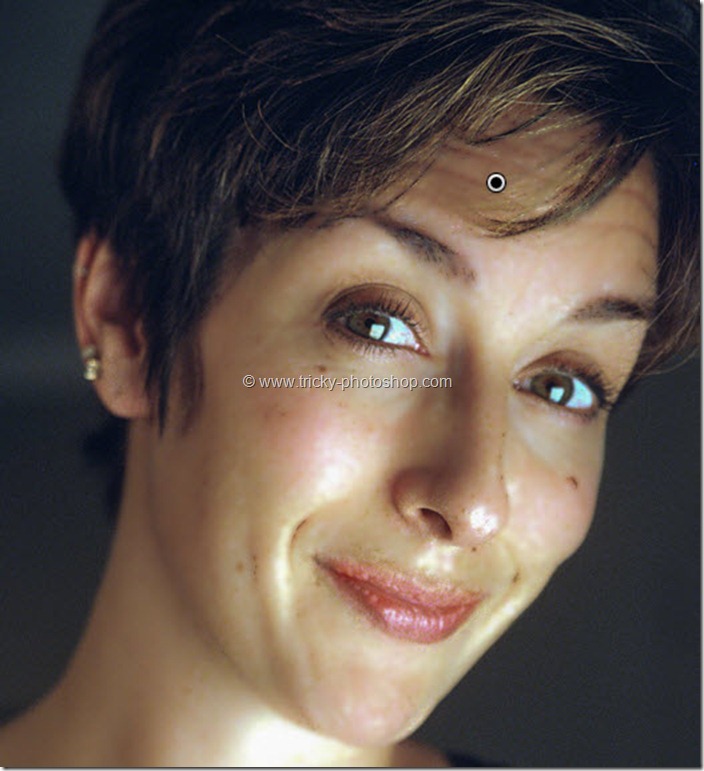
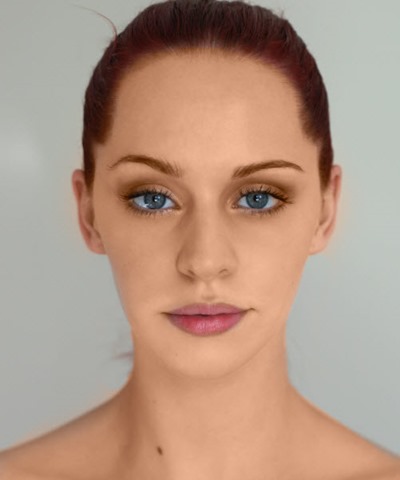
Hello guys I am Vaibhav and in this tutorial I am going to show you how to soften skin using High Pass Filter. Last time I discussed about Removal of Blemished using Photoshop which is a recommended tutorial for studio and fashion photographers. This tutorial is for beginners as well as medium level users. I am going to use Photoshop CS6 but you can also use older versions of Photoshop.Inside Photoshop I am going to use Blend modes, Some filters, Invert Command etc.
FINAL
INITIAL
STEP 1
Open your image using Photoshop. Duplicate your background layer by pressing Ctrl+J/Cmd+J.
Now Invert the duplicate layer by pressing Ctrl+I/Cmd+I and then change the blend mode to Overlay. This will add gray tint to your image.
I have written a whole tutorial on Blending Modes in Photoshop and you should check that tutorial out if you are not aware of the power of Blending Modes.
STEP 2
Now go to Filter>Other>High Pass. Set your radius as 30 pixels such that all the skin smoothens out. Even more than smoothening. Drag your slider to the right until it gives a plastic kind of look to your skin. Press OK.
STEP 3
Now go to Filter>Blur>Gaussian Blur. Set the radius as 7 pixels. One strange thing you might have noticed that as we increase our blur, the photo becomes sharper. This is because the layer we are working on is inverted means anything that we do works in opposite way. That is why if we increase the blur then the photo will become sharper and vice versa. Press OK.
STEP 4
As you can see it has smoothen the whole image. So we need a layer mask to hide out the smoothen effect where smoothen effect is not necessary. Go to Layer>Layer Mask>Hide All. Now you can see a black rectangle is created adjacent to the duplicate layer in your layer panel (If your layer panel is not opened then you can press F7 to open it). This black box is nothing but your layer mask.
Grab Brush Tool from the tool panel or you can press Shift+B again and again until it comes. Set White as your foreground color. Start painting on her skin.
Your image should look like this.
And now you are done here.
Read my next tutorial where I will be discussing about Softening of Skin Using Channels.
Thank you for reading this article. Hopefully we’ll meet again in four days.


