There was a time when apps that do color splash effect, top the chart on Apple’s App Store and Google’s Play Store. This effect was a huge hit. It became a trend for selfies. Since many of you are asking me to write a tutorial on color splash effect in Photoshop, why should not I write one?
This tutorial, Create Color Splash Effect in Photoshop, is for the beginner, medium, and advanced users.
Last time I wrote a tutorial on Creating a Cinematic Effect in Photoshop. You should check that tutorial out.
Final
So let’s begin the tutorial.
Step 1
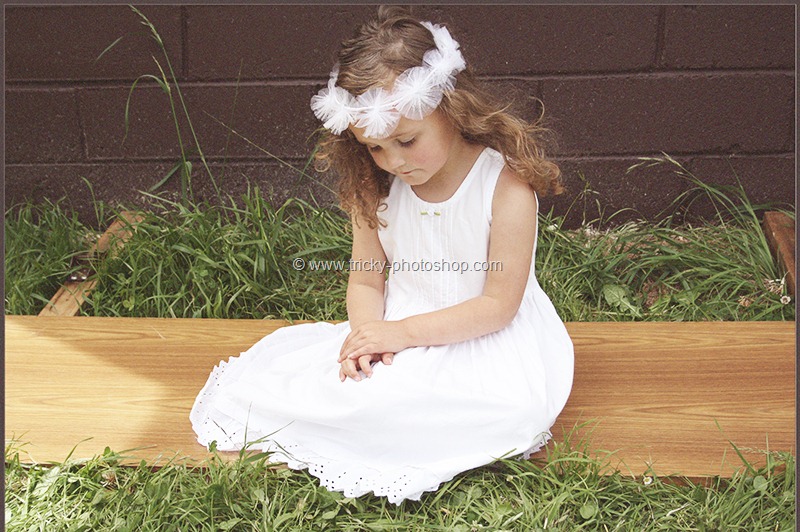
The first thing you need to to is to open your image.
Now I am going to keep the color of her dress while turn every other thing black and white. For this, I first need to select her dress. You can use any selection tool to select her dress but I prefer to use Quick Selection Tool since it is easy and handy to use.
Grab it from the tool panel or activate it by pressing Shift+W again and again until it comes.
Step 2
Optional: You can zoom in to increase your accuracy. To zoom in, press Ctrl+(+)/Cmd+(+) and to zoom out, press Ctrl+(-)/Cmd+(-).
Now drag your mouse cursor over her dress. Based on the edge detection, Quick Selection Tool will automatically set its boundary. In case you want to read about Quick Selection Tool in detail, you should read my tutorial on Quick Selection Tool.
After a few seconds, or minutes, the selection should be completed.
Now we need to invert to selection so that everything would be selected except her yellow dress. To do this, press Ctrl+Shift+I/Cmd+Shift+I. Now you should be seeing those marching ants in the four edges of the image.
Step 3
We are going to convert the selected area i.e. everything except dress to black and white. To do it, I am going to use Gradient Map. Go to Image>Adjustments>Gradient Map.
Your image might be converted to some weird color like mine.
This is because our foreground color and background color are not black and white. To fix it, click on the gradient in Gradient Map panel.
Now choose Black to White Gradient. Press OK.
And your work should be done now.
I hope that you like this tutorial.
Please support TrickyPhotoshop by sharing this article on Facebook, Twitter, and Google+.


