Create Motion Blur in Photoshop

Hey, guys! I posted a tutorial two weeks ago which involves a car and I showed how to create headlights. Since then I am getting a lot of requests to show how to create motion blur in Photoshop. So, I present you a tutorial on creating motion blur in Photoshop. The best part of my tutorials is that they all are short and simple. Whenever I see something which is complex to create in Photoshop, I use my mind to think how to create it in the simplest way. I know that this is what you also want to see.

Today’s tutorial won’t take much of your time and should complete in 10 minutes if you’re not a beginner. If you are, add 5-10 more minutes. I am going to use Clone Stamp Tool and a filter.

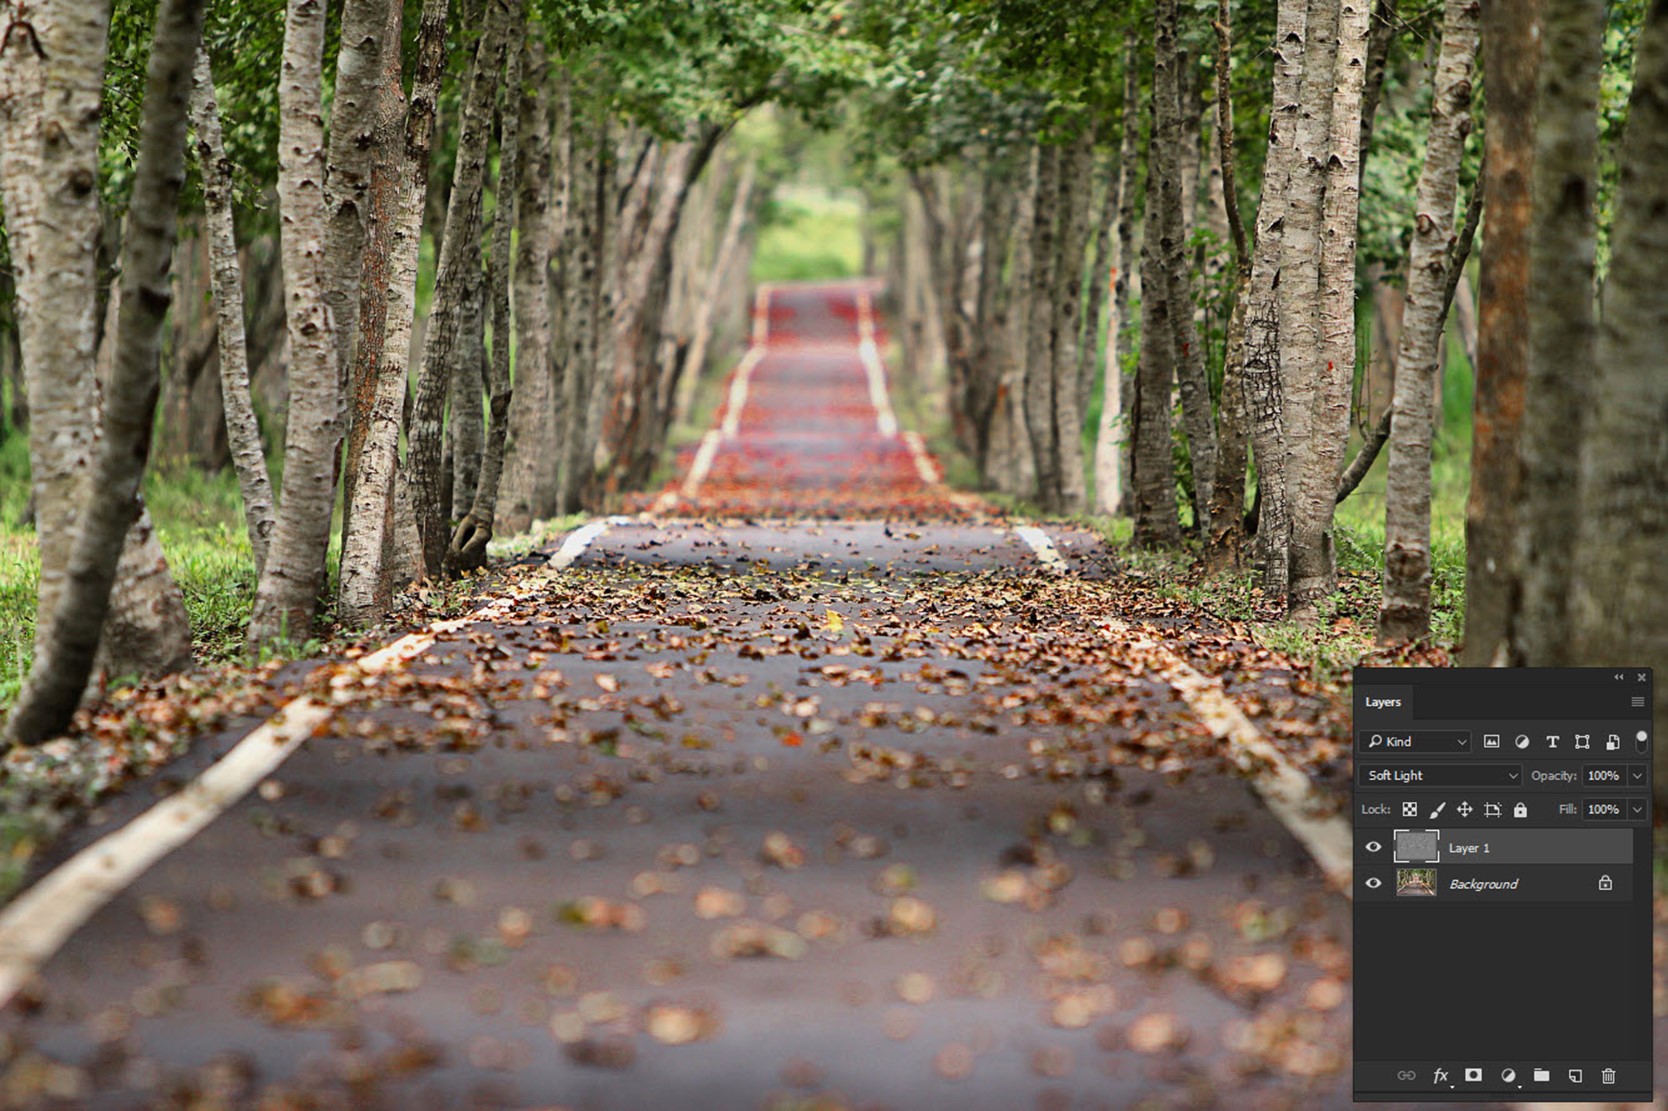
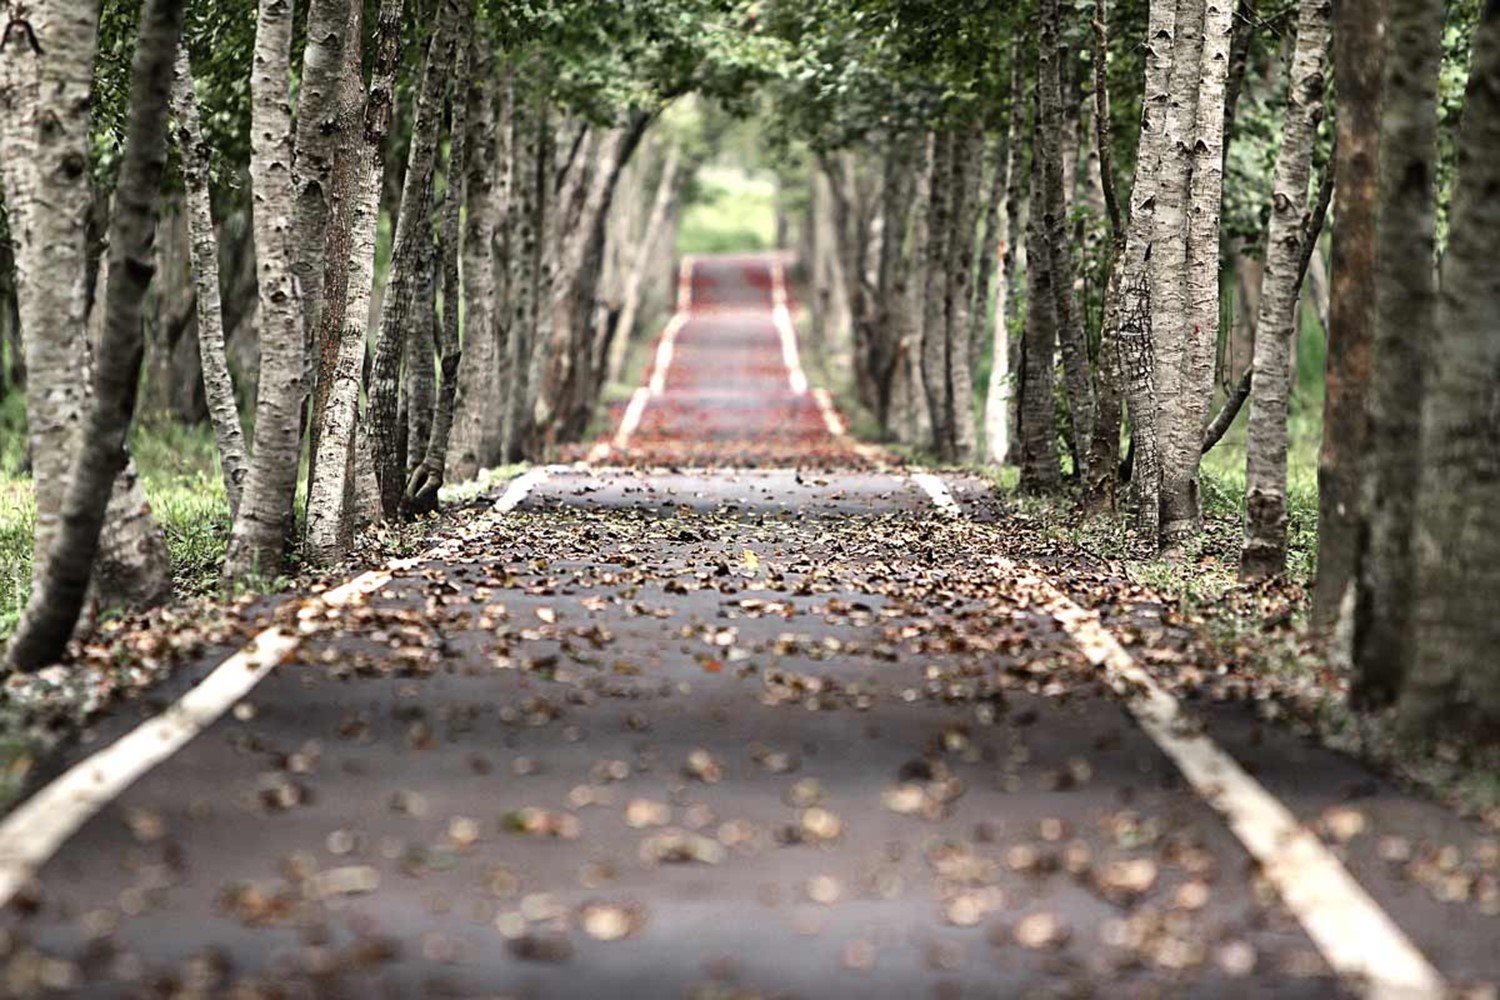
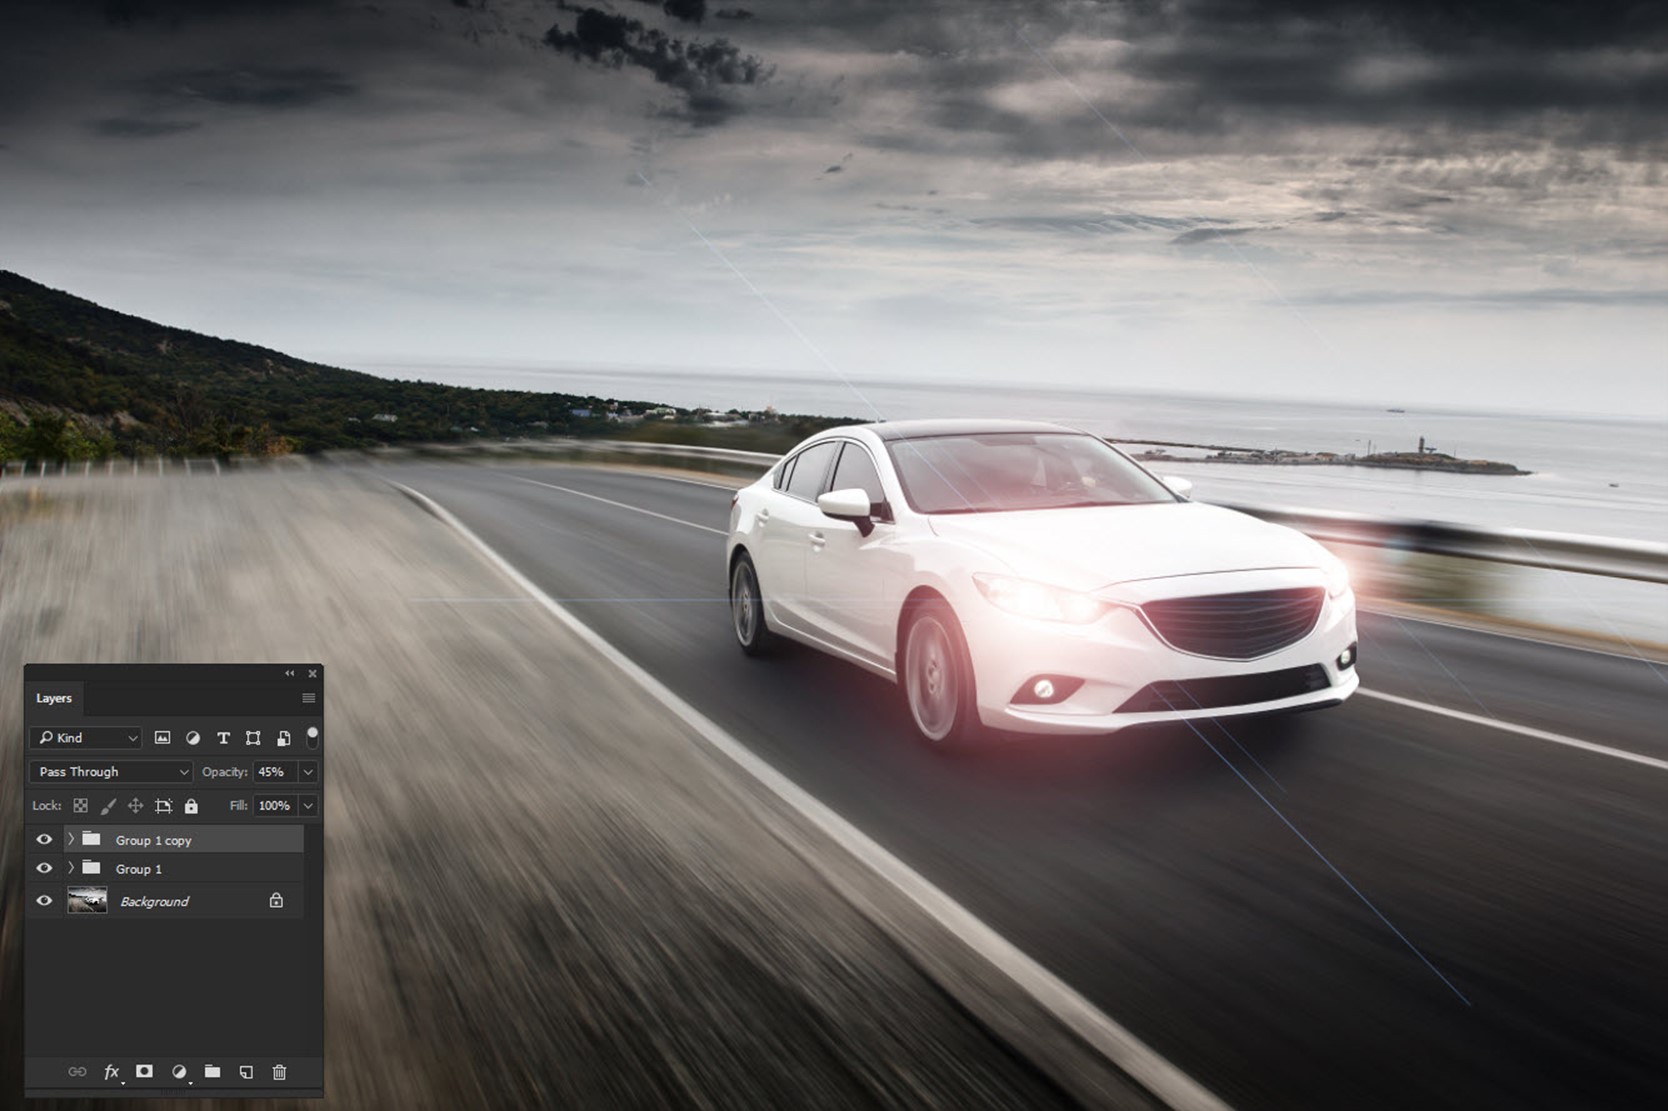
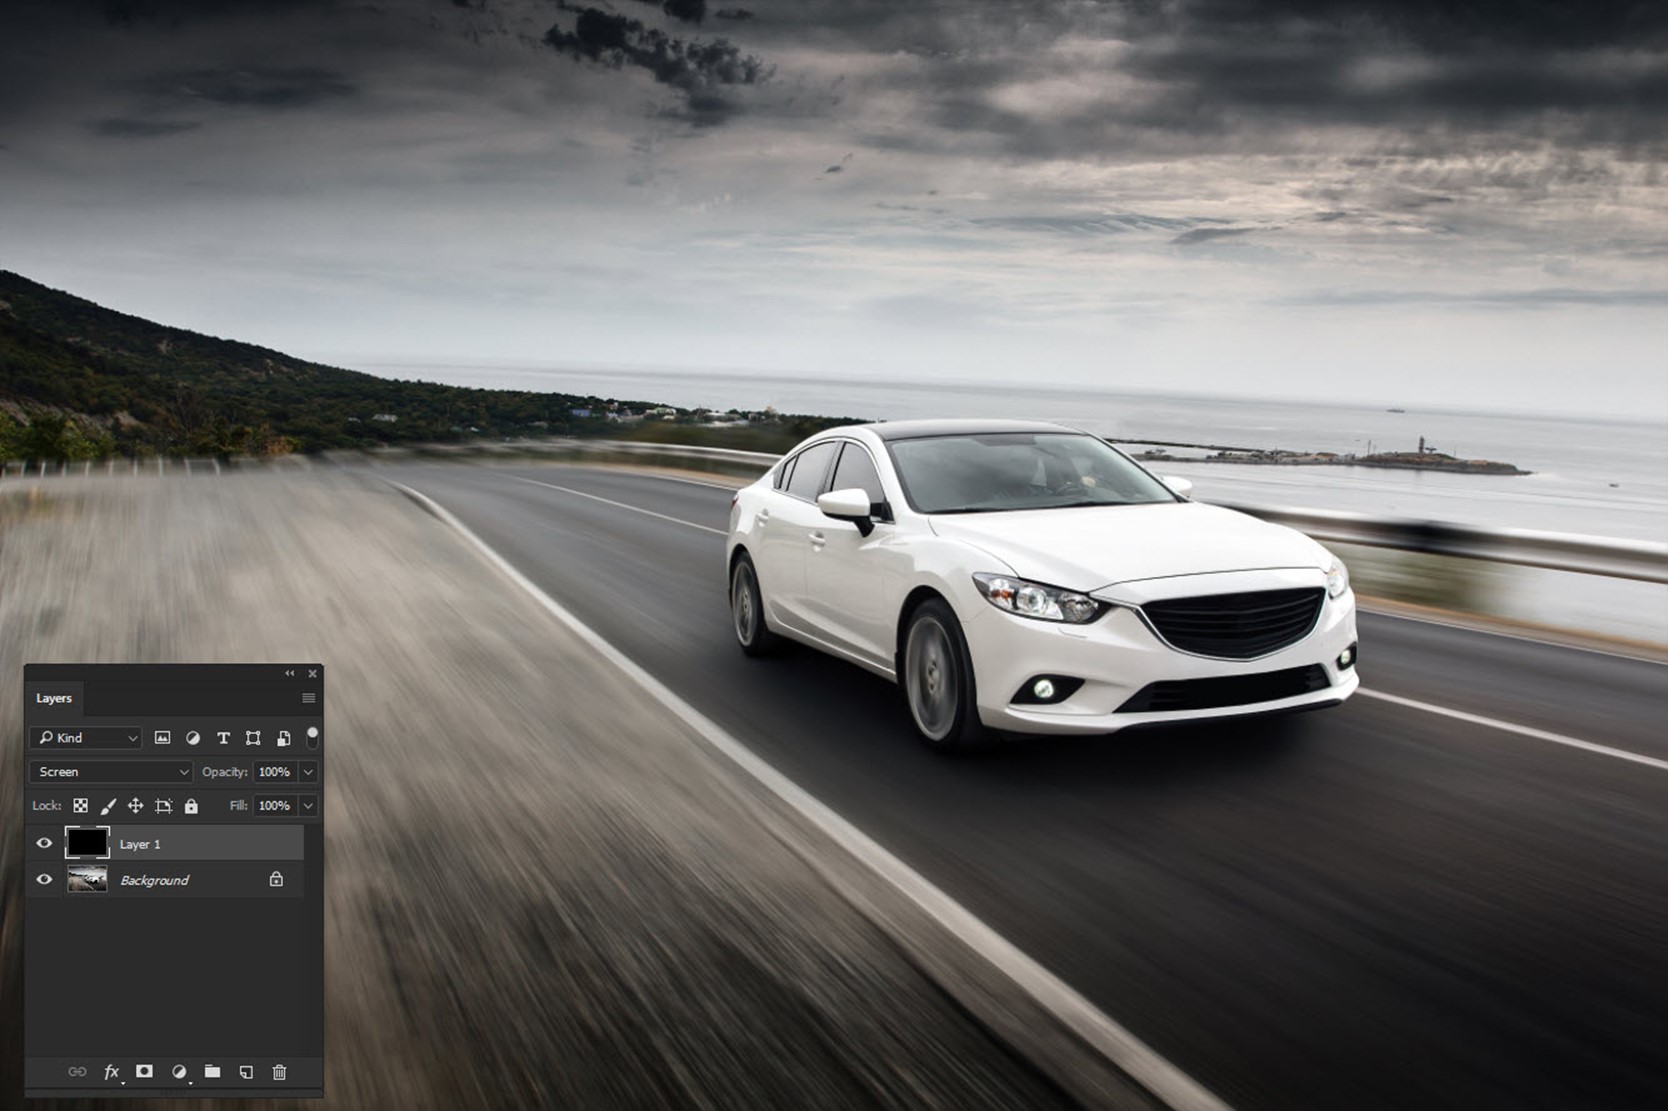
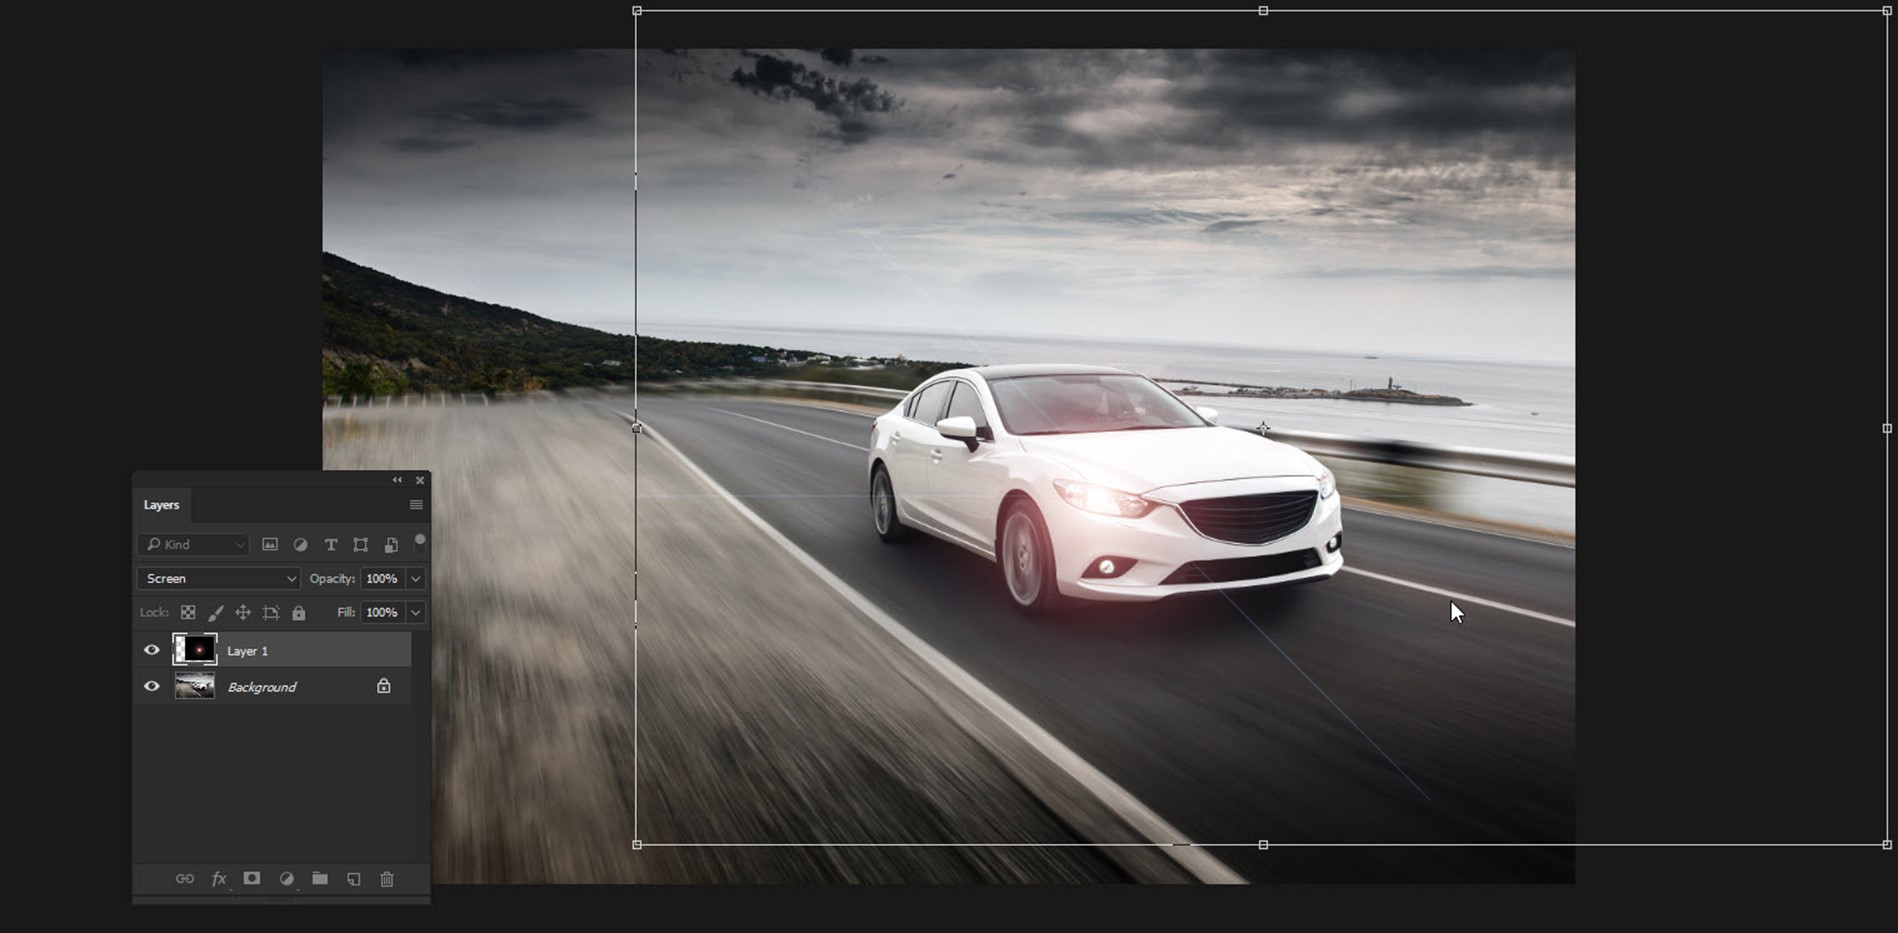
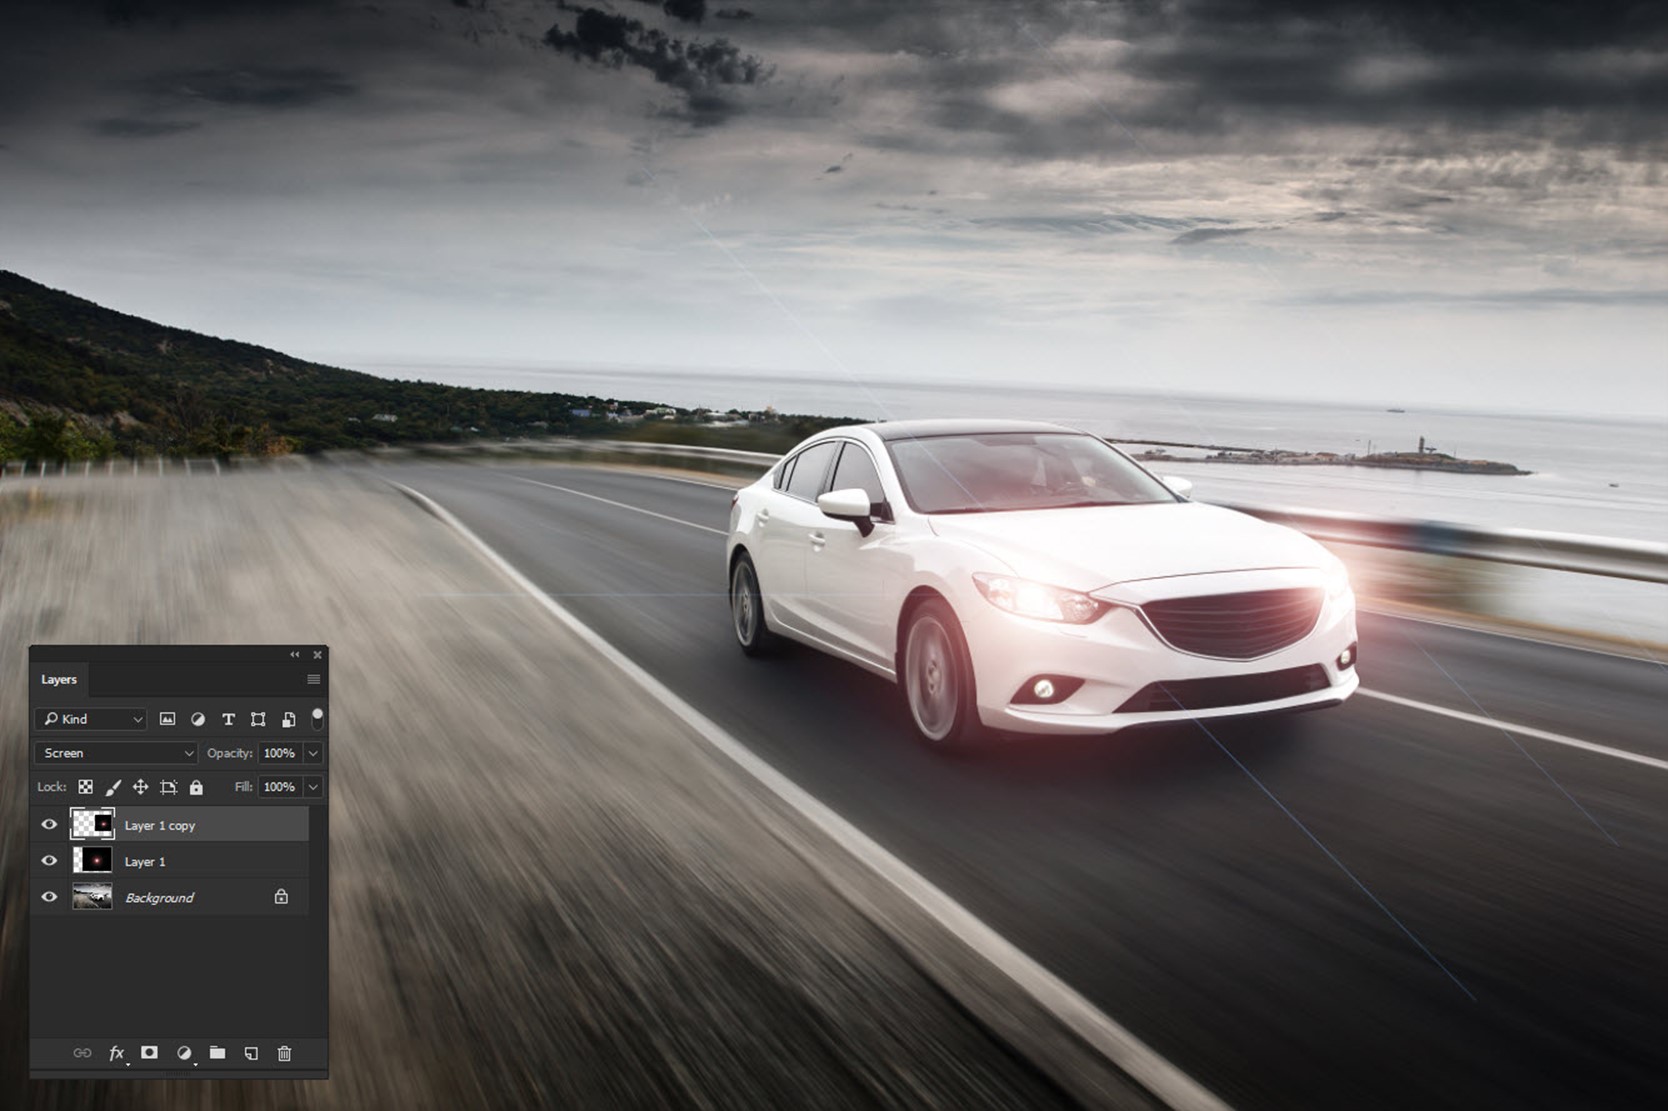
Let me show you the initial and final photo before I proceed. You can easily see that adding motion blue adds life to the photo.

Final

Initial

Step 1: Select the Moving Subject

There will always be a moving subject against which motion blur needs to be added. In my case, it’s the running man.

I am grabbing Quick Selection Tool to select the subject.

Related: How to Use Quick Selection Tool in Photoshop

Then I am going to use Select and Mask to refine the selection. Make sure that the output is a “New Layer”. Press OK.

Related: Learn how to use Select and Mask Tool in Photoshop

Step 2: Use Clone Stamp Tool to Remove the Subject

Hide the newly created layer and activate the “Background” layer.

Grab Clone Stamp tool from the tool panel or press Shift + S again and again until it comes. We need to remove the subject. So, I am going to use the trees as my source and I am going to brush the man.

Related: Learn how to use Clone Stamp Tool in Photoshop

Your photo should look like this.

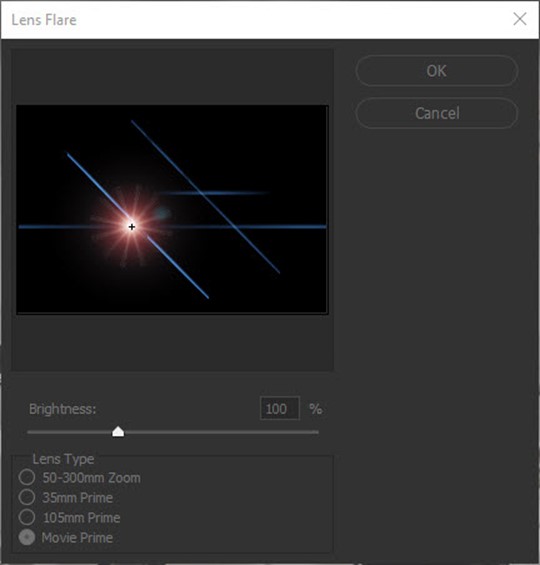
Step 3: Apply Motion Blur in Photoshop

Go to Filter>Blur>Motion Blur.

The angle depends on the motion on the subject. It is horizontal in my case so I am putting the angle as 0. I am keeping the distance as 110 pixels because it suits me the best. You can change as per your preference. Press OK.


Step 4: Unhide the Subject

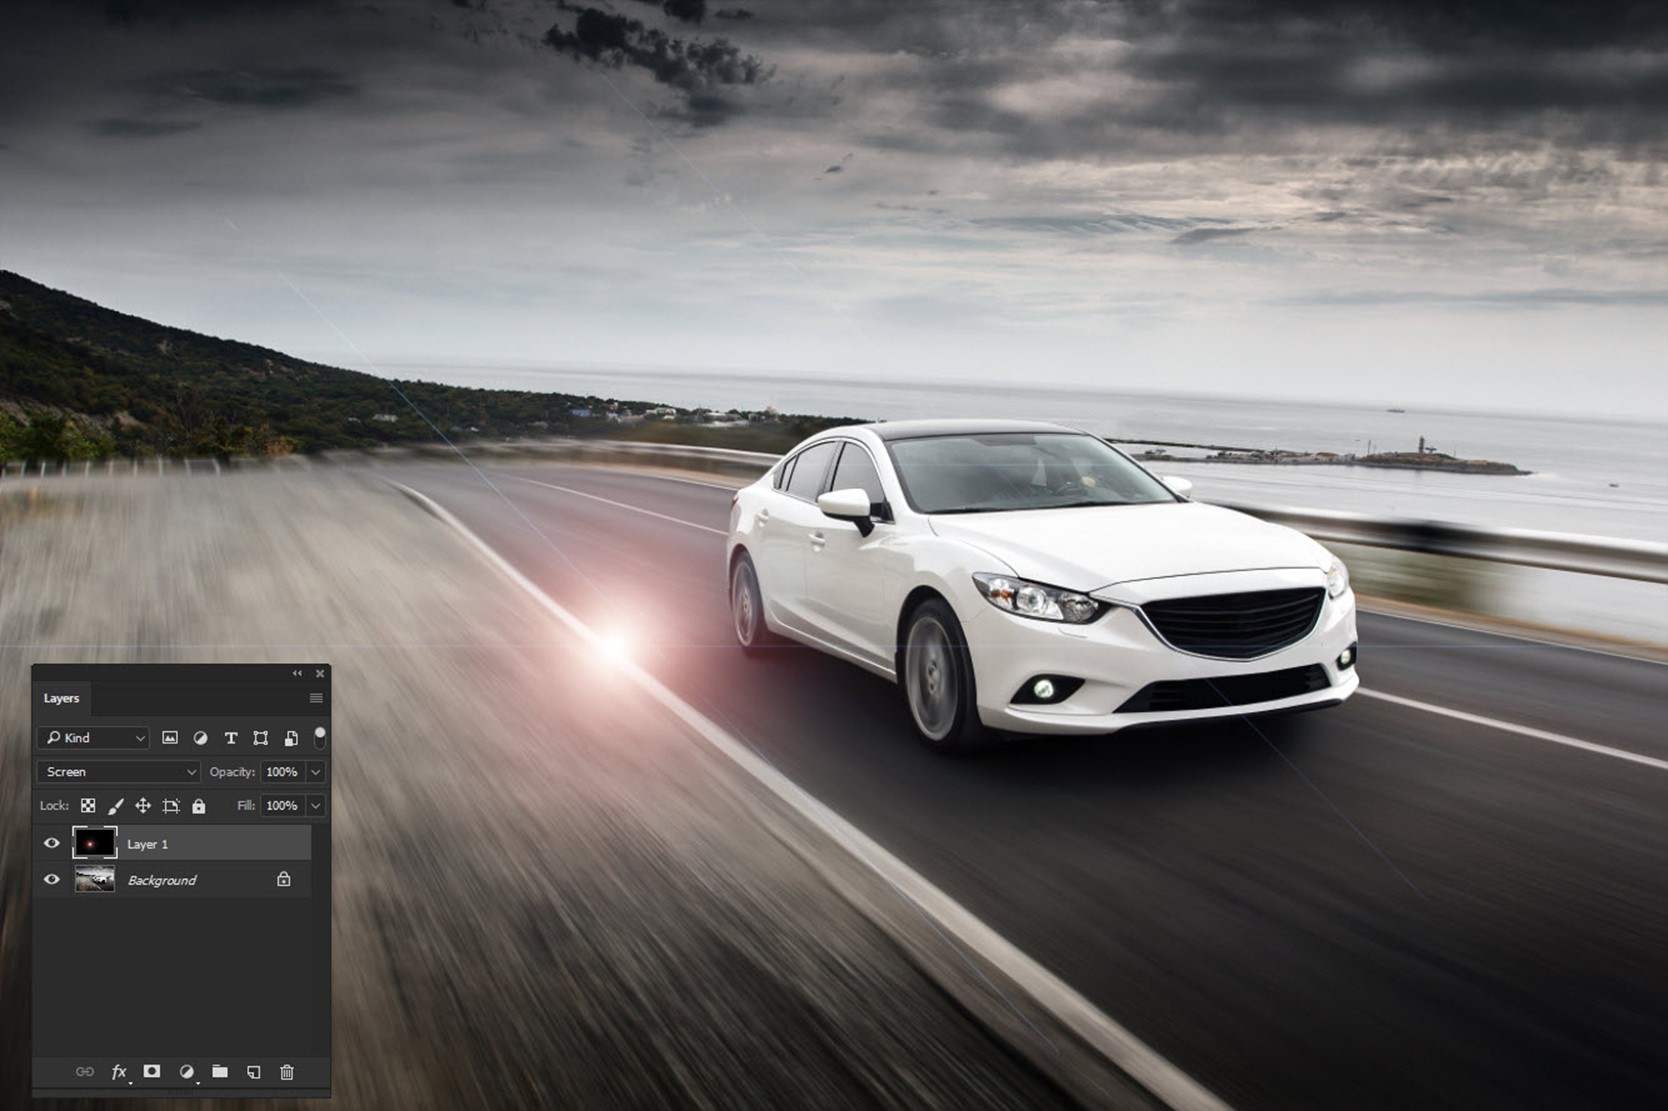
Now, unhide the subject and here you go.

Here is the final photo one more time.

I hope that you like the tutorial. Check out our homepage where you’ll get even more exciting tutorials.

Dragan Effect in Photoshop

Hey guys – What’s up? I received a request from Mariya and she wants to create something like the one shown below. She saw something like this on Instagram and shoot me an email to ask if I can write a tutorial to create this effect. I said “Yes”. I don’t know what’s the name of this effect but this kind of manipulation is usually called as Dragan effect in Photoshop. This is basically used for portraits but I’d like to try it for landscape.

Related: Create Grunge Portrait in Photoshop

I am going to use few adjustment layers in this tutorial and one filter. This tutorial is easy to follow and suitable for beginners.

Final

Initial

Step 1: Create Grunge Effect

The first thing that I am going to do is to create a grunge effect. The best way to add grunginess is by using High Pass filter. Duplicate the layer by pressing Ctrl+J/Cmd+J to duplicate the layer.

Now we’re going to High Pass filter. Go to Filter > Other > High Pass. Set the radius to somewhere where you can see the edges like the one you’re seeing below. Click OK.


Change the Blend mode to Soft Light.

Related: What is Blend Mode in Photoshop.


Step 2: Reduce the Color

You can use Vibrance adjustment layer to reduce the color but that wouldn’t make the effect that we’d like to achieve. Instead, we’re going to use Gradient Map. Go to Layer > New Adjustment Layer > Gradient Map. Click on the place which is named as 1. This will help you change the color. Click on the Black and White gradient is named as 2. Press OK.

Reduce the opacity to 50%.

Step 3: Change Brightness and Contrast

Go to Layer > New Adjustment Layer > Brightness/Contrast. Reduce the brightness to -24 and increase the contrast to 28.

Step 4: Give Final Grunge Effect in Photoshop

We’re going to use Curves to give the final grunge effect. Go to Layer > New Adjustment Layer > Curves. Set the line to a point where the input is 196 and output is 255.

This is all we need to create a grunge effect in Photoshop. Here’s the final photo again.

Hope you like the image. Let me know what you think of it.

Head over to the homepage to find out even more exciting tutorials.

Add Realistic Headlights in Car using Photoshop

Hey, guys! It’s been two weeks since I wrote the last tutorial, and I am sorry for that. To make up your sad faces, I bring to you an awesome tutorial. I am going to add realistic headlights in a car using Photoshop. Guess what’s the bonus point is? Guess it! It just takes 5 minutes to add them No, I am not kidding.

Last Tutorial: Photoshop Mac or Windows: Which One is Better?

Forget about all those long procedures of choosing a brush, using countless blend modes, and applying various filters to get what you want. With this tutorial, you’re just going to use one filter and one blend mode. That’s it. Of course, you need to use Free Transform tool, new layer etc. to place the headlight at the desired position but how much time do they take? Yes, almost zero.

I would like to show you the before and after image before I proceed. Here you go.

Before

After

Now that you have seen the pictures, let’s proceed with the tutorial.

Step 1: Create a New Layer with Black Color

We are going to Lens Flare filter but the filter needs to be placed on a layer which is not blank. So, we’re going to create a layer and fill that with Black color.

Press Ctrl+Shift+N/Cmd+Shift+N to create a new layer. Press D to make black as your foreground color and press Alt+Backspace/Opt+Delete to fill the layer with black color (foreground color).

After that, change the blend mode to screen. You’ll see that the black layer will become transparent. This is because “screen” blend mode shows the lighter pixel between the current layer and the layer just below it. As everything is lighter than black, so everything below the black pixels will be visible.

Sidebar: Read my tutorial on Screen Blend Mode

Step 2: Add Lens Flare Filter

Now, we’re going to add the headlights.

Go to Filter>Render>Lens Flare. Keep the brightness to 100% and change the Lens Type to Movie Prime. This bright ball will be our headlights. Press OK.


It will add a nice-looking lens flare to your image.

Let’s use Free Transform tool to move the flare to the desired position. I am going to fill the right headlight (your left) first.

Press Ctrl+T/Cmd+T to activate the Free Transform tool. Zoom out the image by pressing Ctrl+(-) and place the flare at the correct spot.

Step 3: Duplicate the Layer for Another Side

Duplicate the layer for another side. Press Ctrl+J/Cmd+J to duplicate.

Again, use Free Transform tool to place the flare to the correct spot.

Go to the next page for the bonus step. 🙂

Bonus Step

If you think that light is very bright, you can reduce the opacity. If you think that light needs to be brighter, you can duplicate the two layers.

To duplicate both layers, hold down Ctrl/Cmd and click on both layers. Press Ctrl+J/Cmd+J to duplicate both layers. Now, you can reduce the opacity also if you want to reduce the brightness. I reduced it to 42%.

Here’s the image.

Enjoyed this tutorial, right? Share it with your friends and family and show them that adding a headlight in 2 minutes is possible in Photoshop.

Head over to my home page for more awesome tutorials.

Peace.