3 ways to remove colorcast in Lightroom

I am like you. The first thing I do in my photos is to remove the colorcast or tint. Adobe also knows that most of the photographers prefer to remove colorcast in Lightroom first and then play with other sliders. Maybe that’s why it has put White Balance slider at the top.

Today, I am going to show you the 3 ways to remove colorcast in Lightroom. Colorcast and tint are the same things. This tutorial will stay relevant to you if you want to remove tint in Lightroom.

I will remove the color cast using 3 different ways. In the end, I’ll show you which one gives the best result.

Related: Remove colorcast in Photoshop

(Fastest) Method 1: Remove colorcast in Lightroom using White Balance dropdown preset

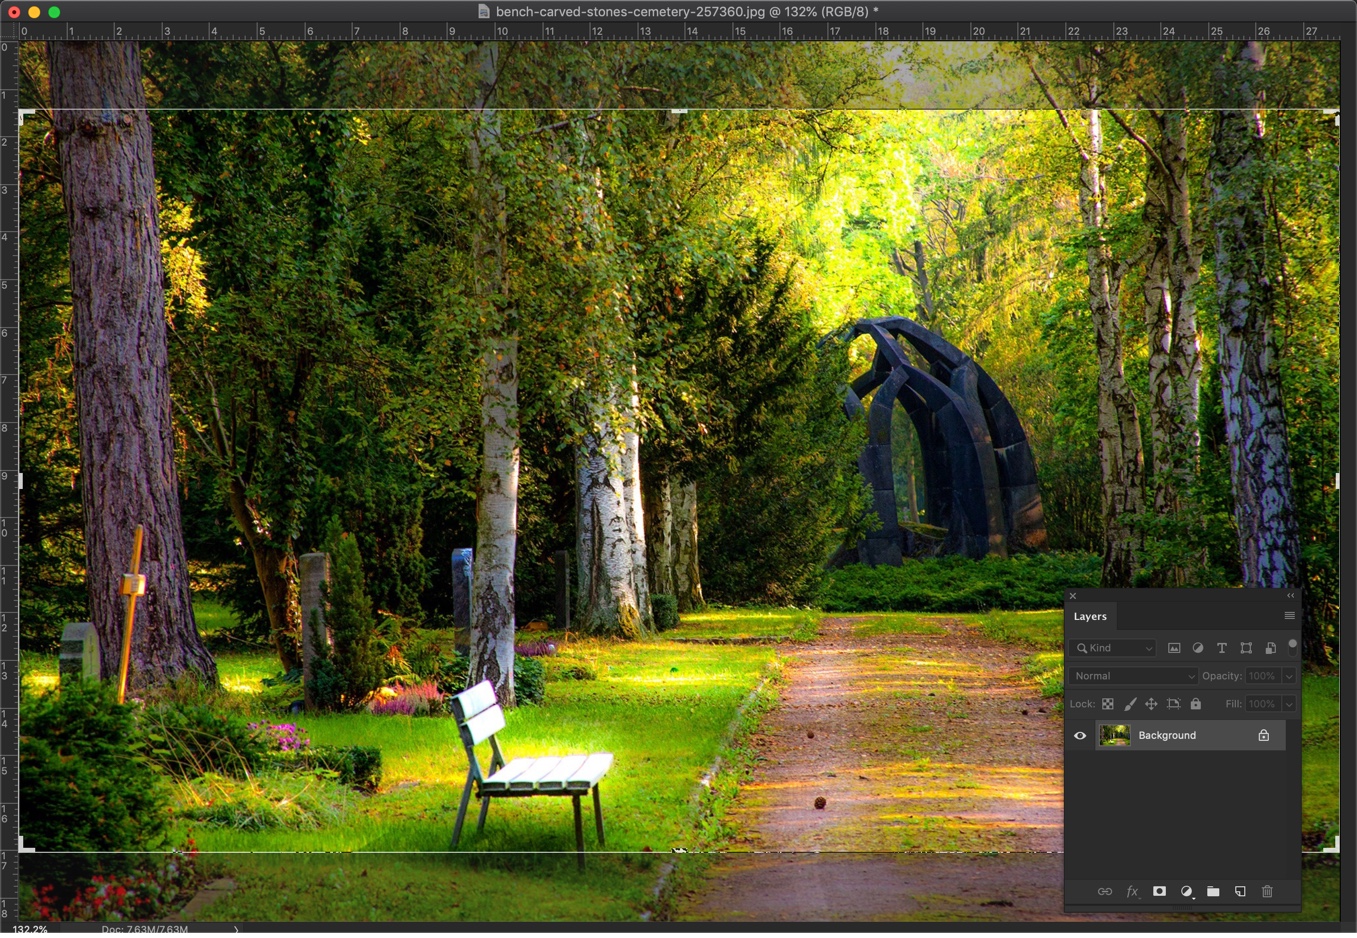
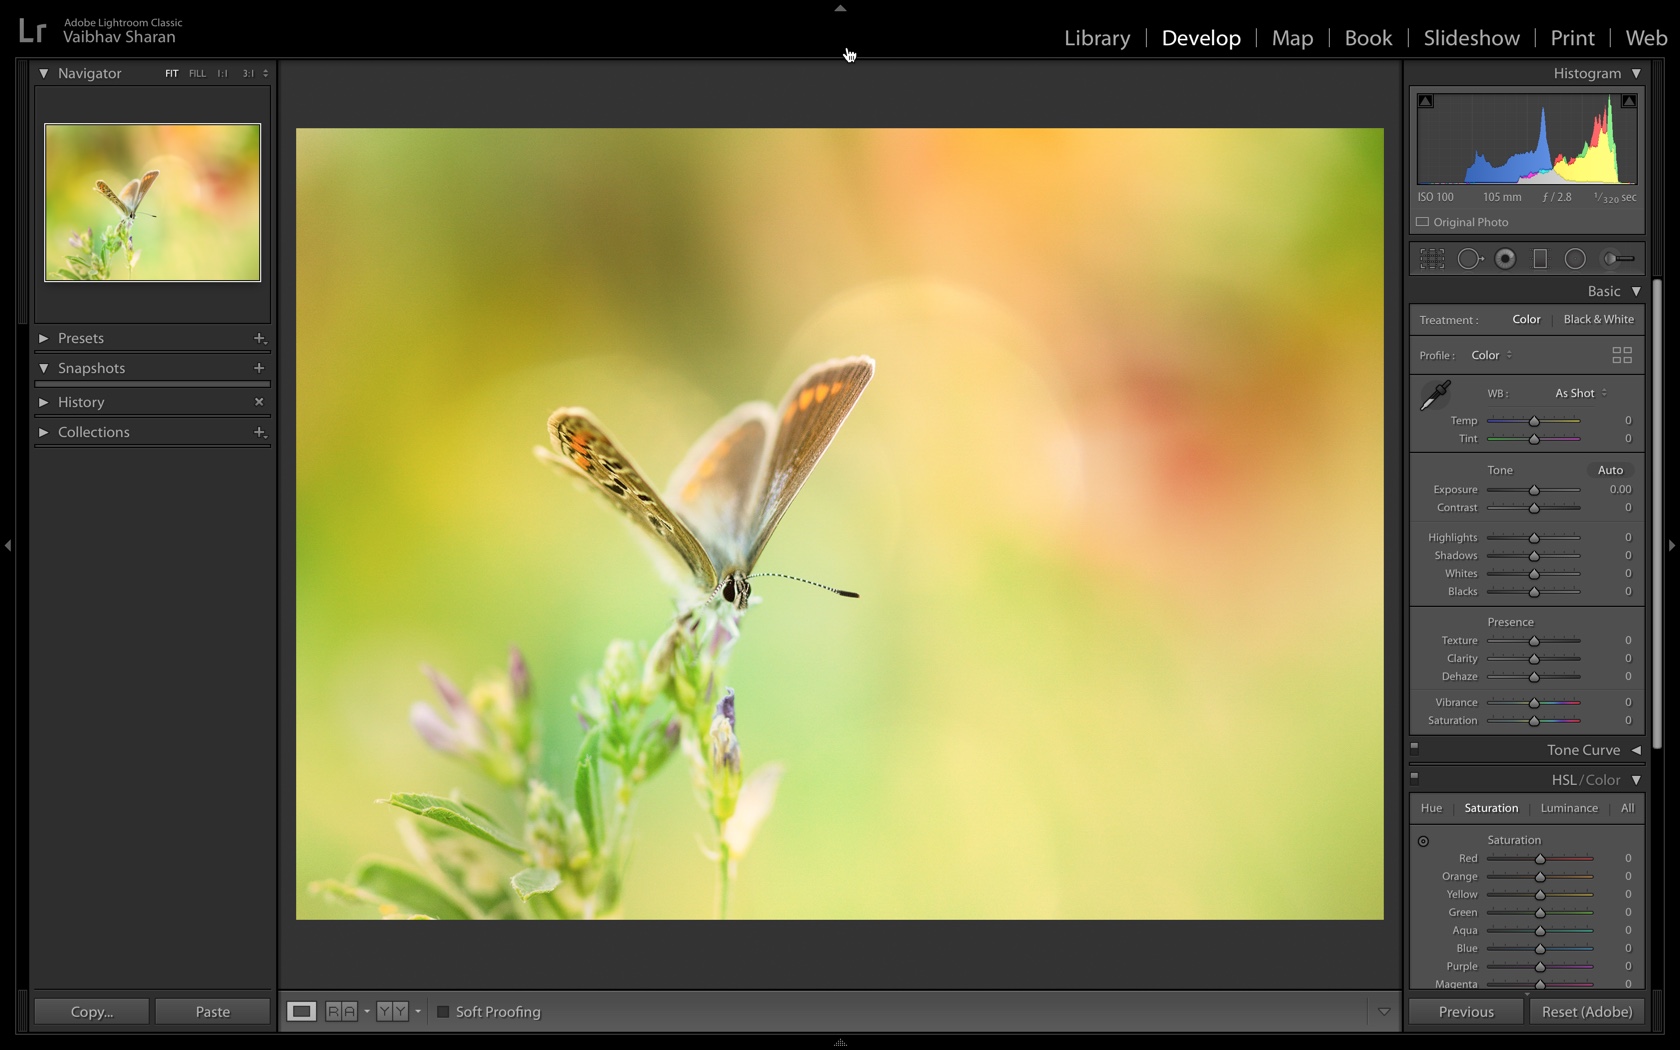
Open the photo in the Lightroom.

1.jpg

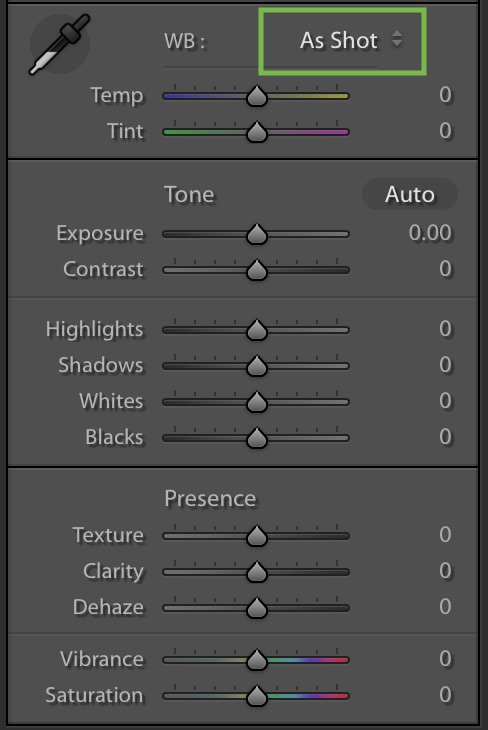
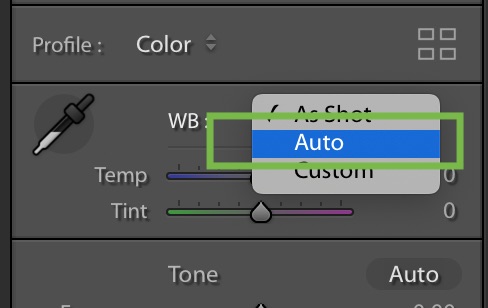
Click on the dropdown that is next to WB.

2.jpg

Choose “Auto”.

3.jpg

Here’s the final photo.

Final Auto WB.jpg

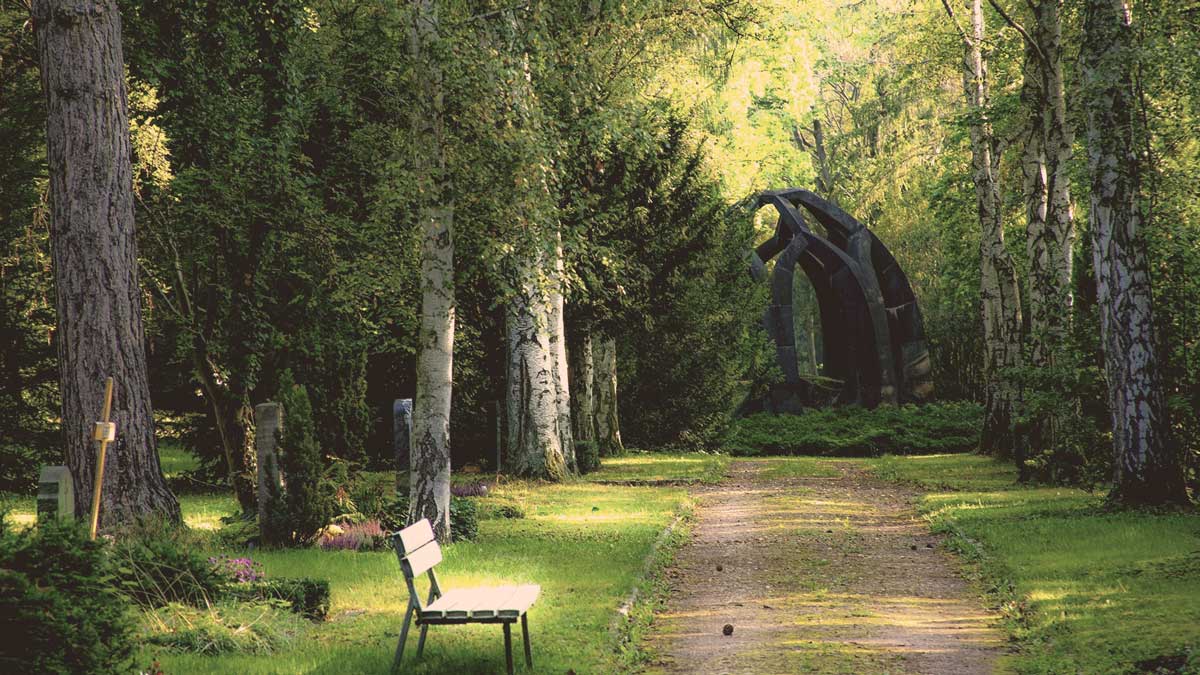
Here’s the before photo.

Raw.jpg

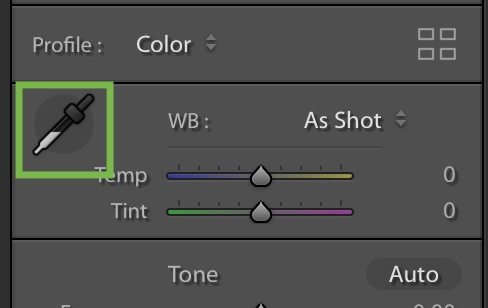
Method 2: Remove color colorcast in Lightroom using the Eyedropper tool

Click on the Eyedropper tool left to the WB.

4.jpg

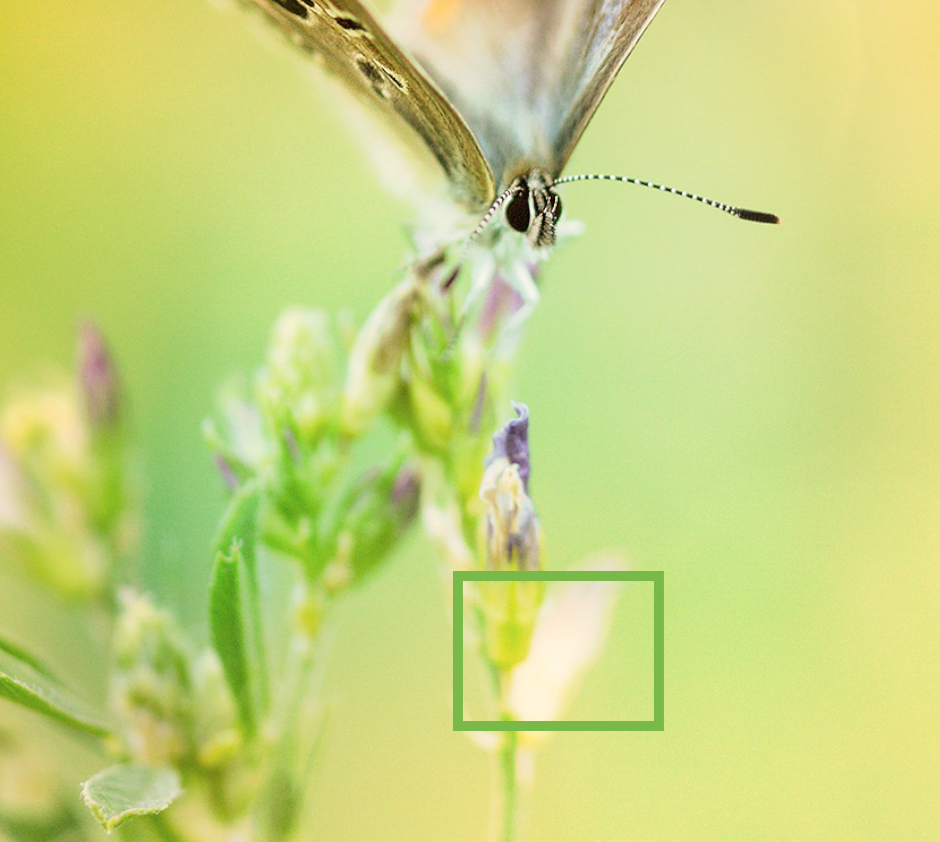
You need to choose the area that should be white but appearing yellow or blue because of the colorcast.

I am going to this leaf. I know that it should not be white but this leaf’s color is very close to white.

5.png

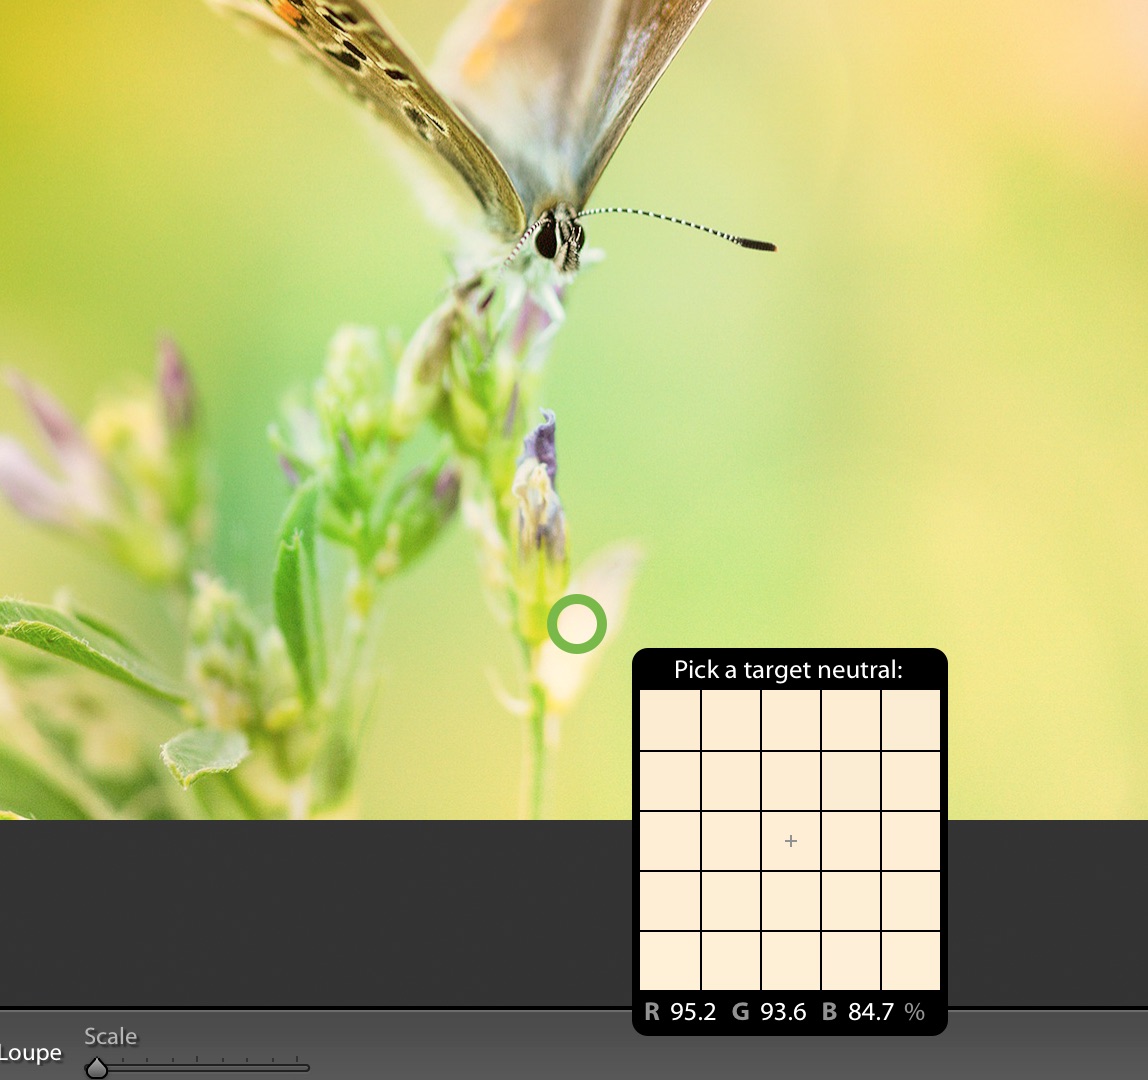
As soon as you put the eyedropper tool on it, Lightroom will show you the average colors. Click on it.

6.jpg

Here’s the final photo.

Final Eyedropper Tool.jpg

Here’s the initial photo.

Raw

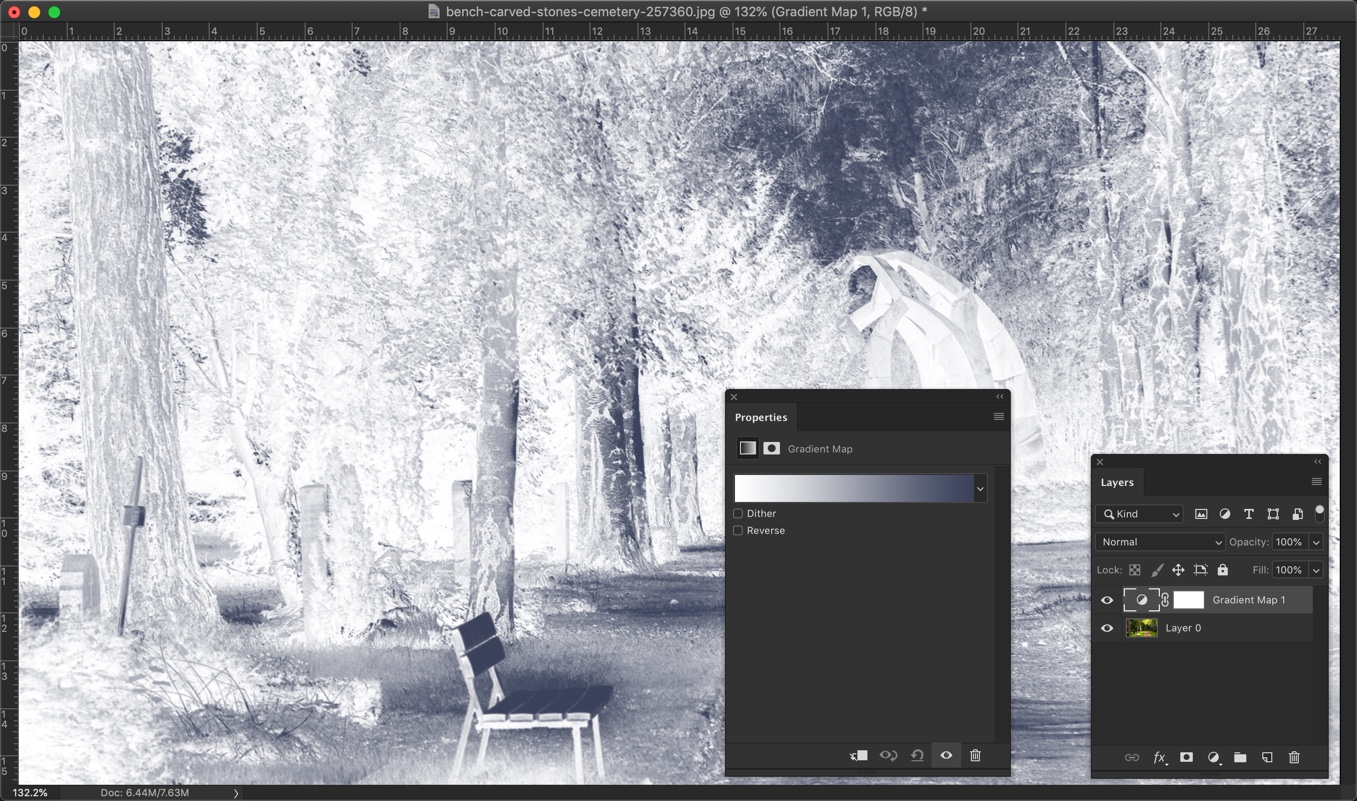
Method 3: Remove color colorcast in Lightroom manually

This is the most powerful method but requires the most amount of time.

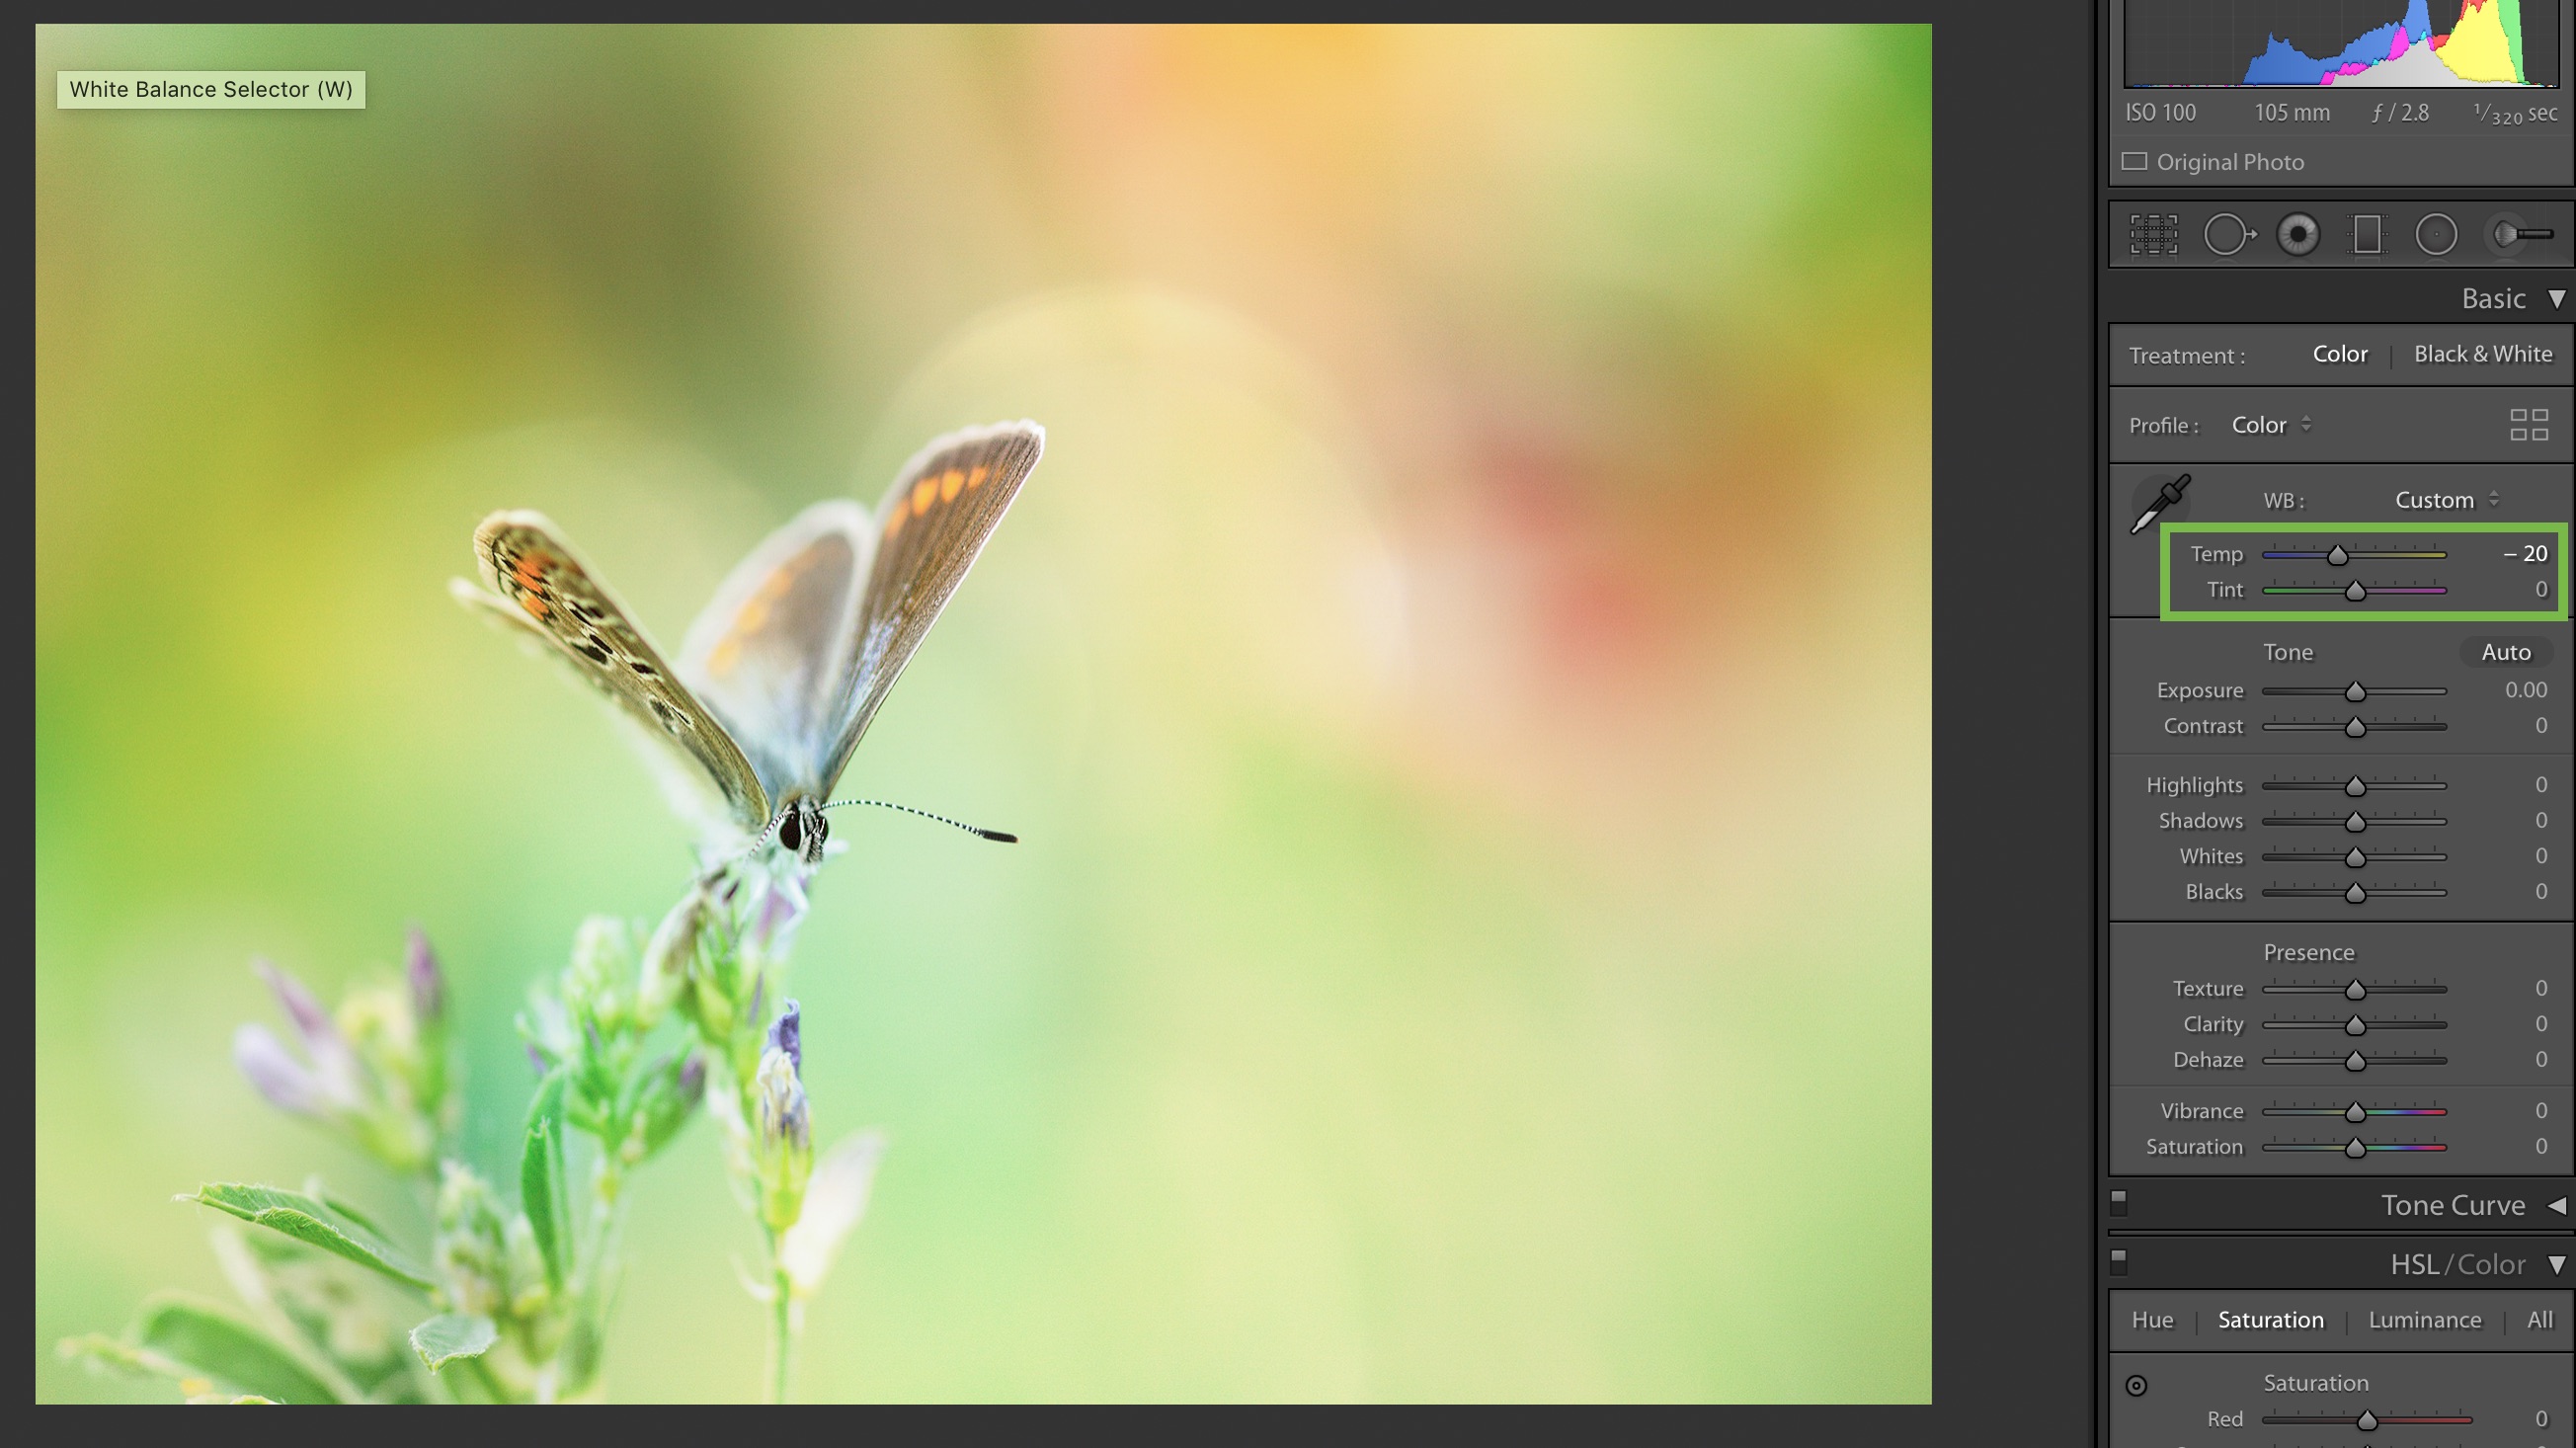
You’ll be playing this these two sliders.

7.jpg

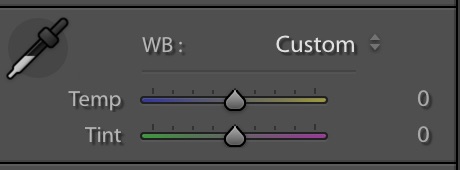
You see that my original photo has a yellow colorcast. The invert of yellow is blue. So, to cancel out yellow, I need to add blur color.

I’m dragging my slider to the left. My photo has already started looking better.

8.jpg

The next thing I’ll do is to drag the Tint slider to the white to add more magenta.

9.jpg

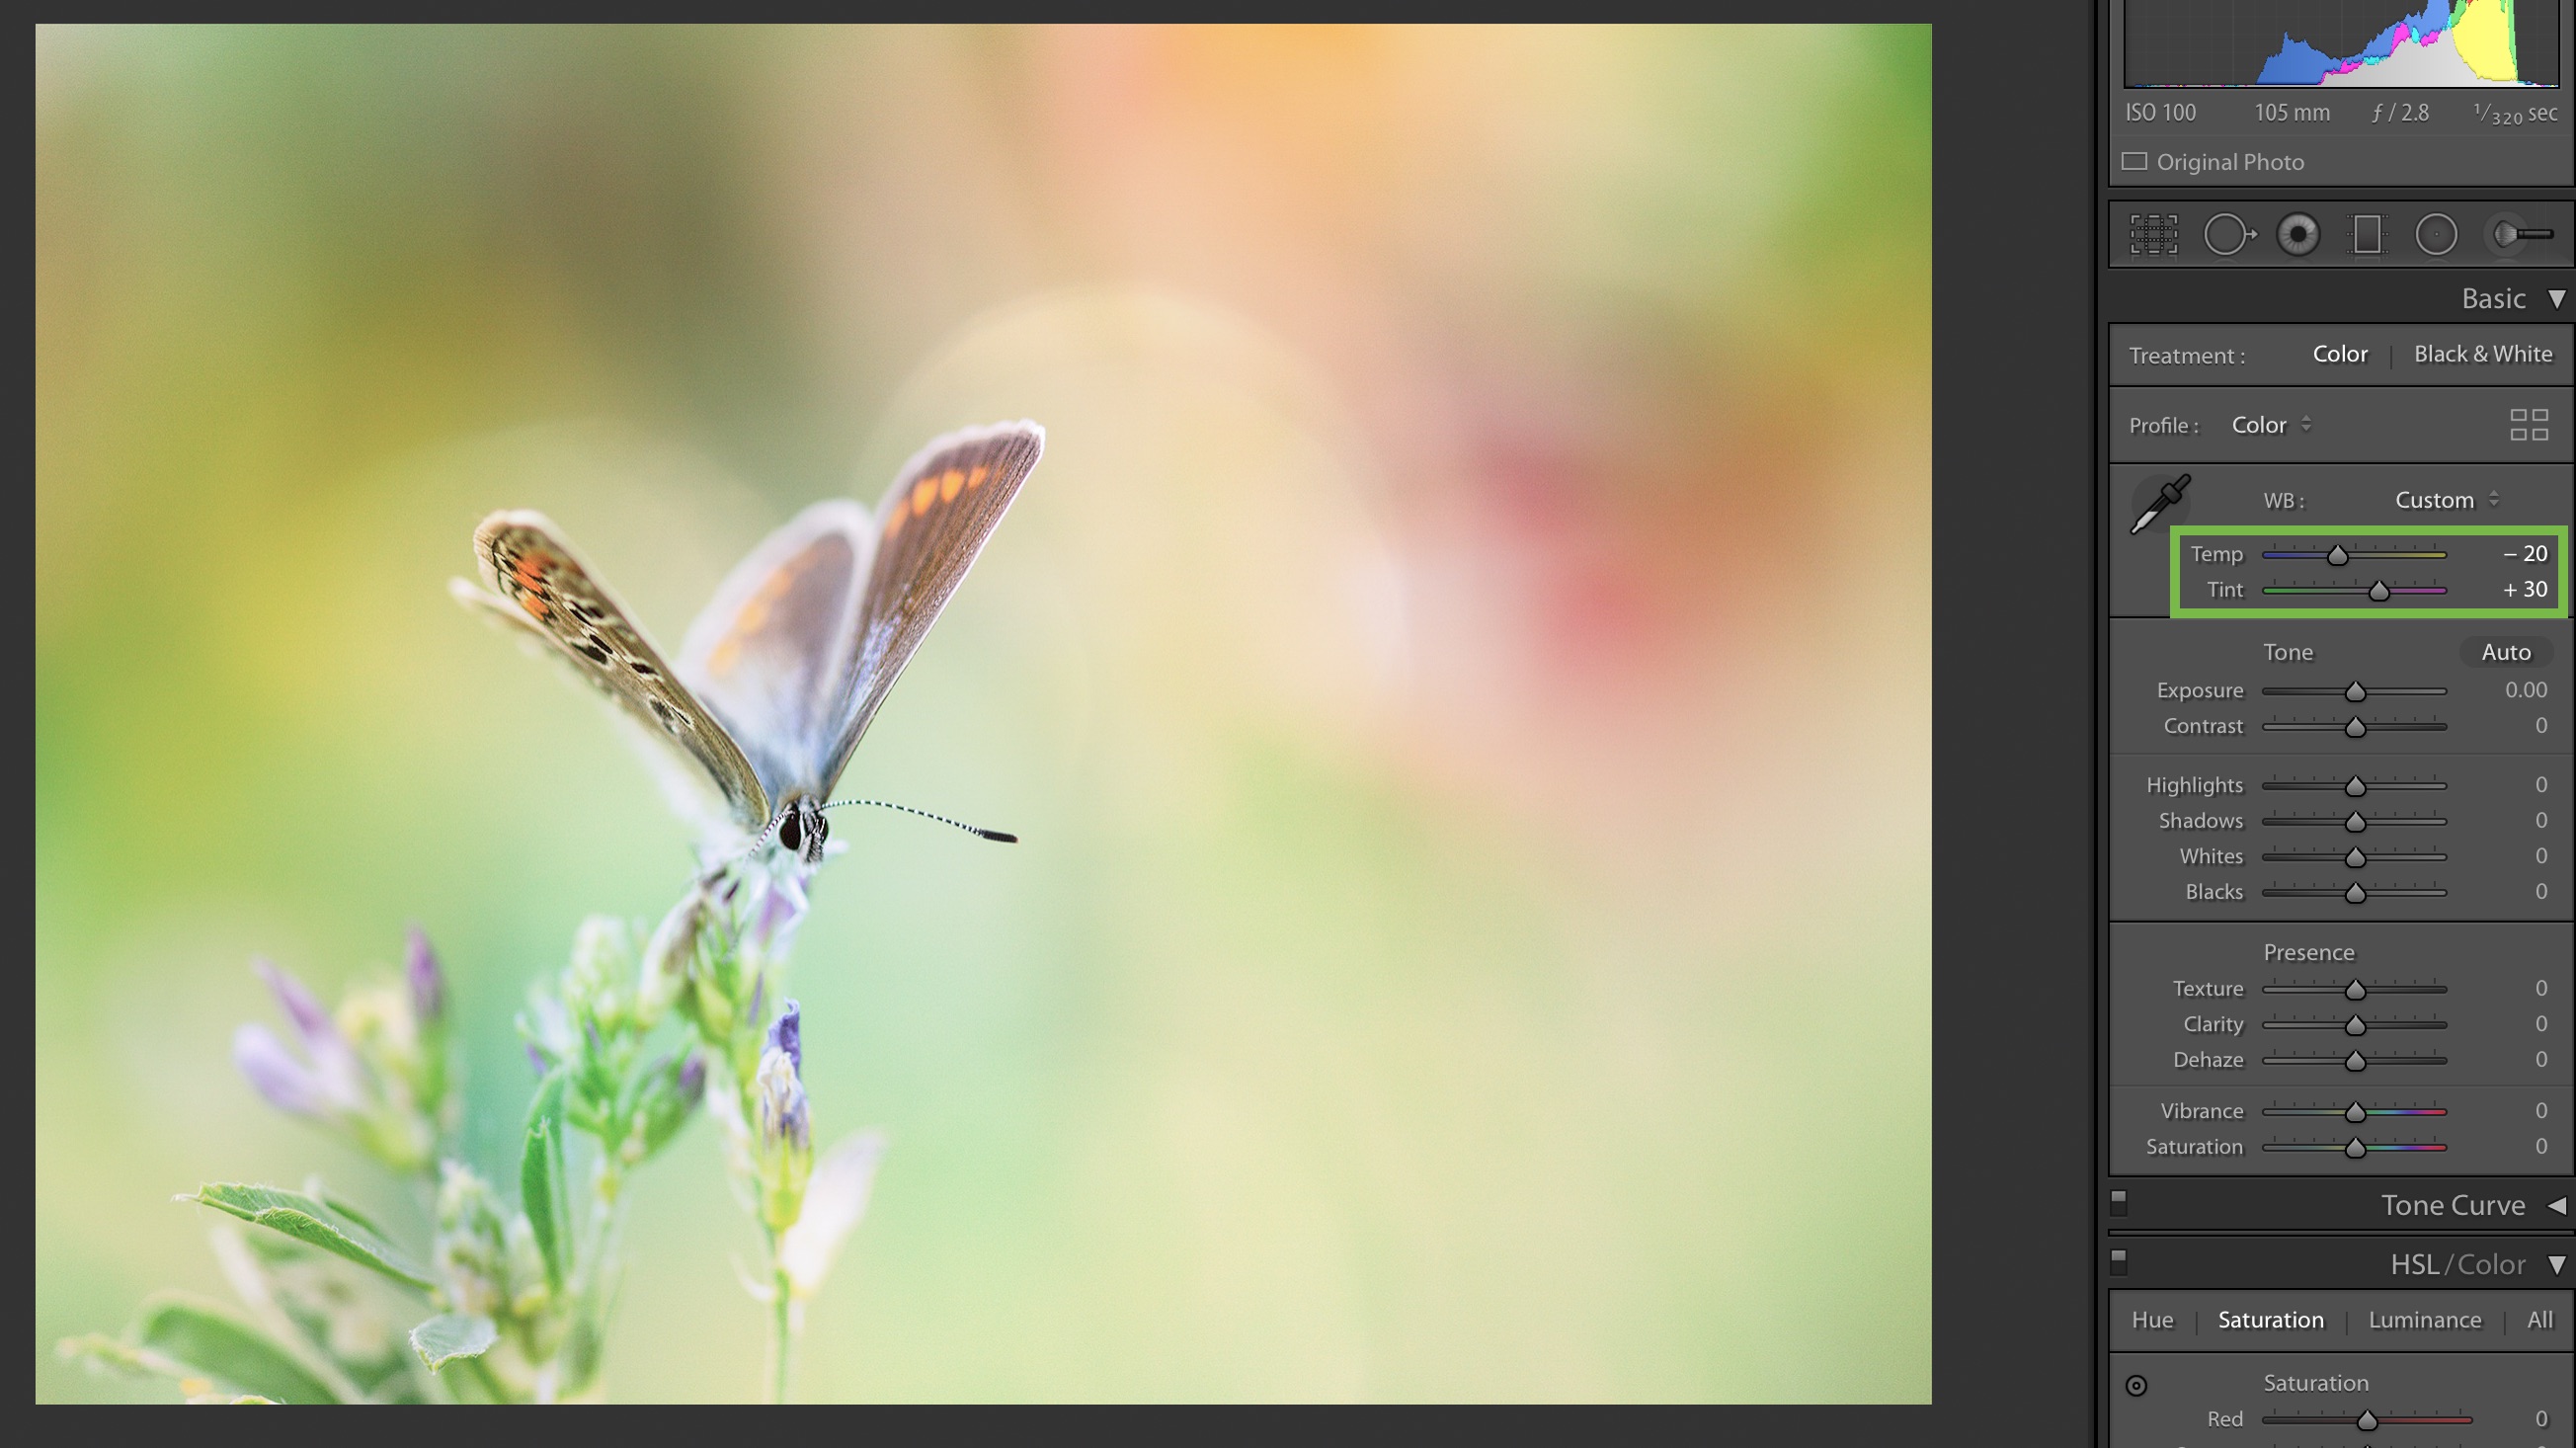
This is the final photo.

Final Manual.jpg

Conclusion

  • Method 1 (Auto White Balance) – the easiest and the fastest. Doesn’t give the best result every time
  • Method 2 (Eyedropper tool) – Gives a good result but you need to have something in the photo which’s color is white or very close to white.
  • Method 3 (Manual) – Time-consuming but gives the result that you like. You need to have an eye that can see at which point the colorcast is removed perfectly.

Here are all three photos again.

Original

Raw

Method 1 (Auto White Balance)

Final Auto WB

Method 2 (Eyedropper tool)

Final Eyedropper Tool

Method 3 (Manual)

Final Manual.jpg

The Ultimate Guide to Cinematic Effect in Photoshop

There was a time when everybody was editing a photo in a cinematic way. They were using Photoshop actions, filters, and some were playing around with adjustment layers to achieve the cinematic effect. With the rise of so many filters, I think that the trend is starting again. So, here I present to you the ultimate guide to cinematic effect in Photoshop.

Let’s understand what we need to have to achieve a cinematic effect. A cinematic effect has to have below things.

  • An aspect ratio of 16:9
  • Blacks are brightened and Whites are darkened; basically a faded look
  • A little tint

We’re going to do the same thing in three different images. The settings of the adjustment layers will change a bit, but everything else will remain the same.

Before we begin, here are few of the before and after photos.

Before

before1.jpg

After

after1

Let’s begin the tutorial

Step 1 – Crop the image to 16:9

Grab the crop tool from the tool panel or press Shift + C again and again until it comes. Choose the 16:9 aspect ratio from the option bar.

1.jpg

You will see 8 handlebars to crop an image. Drag those to keep the area you want to have after cropping.

2.jpg

Press Enter/Return once you have selected the area you want to have.

3.jpg

Step 2 – Add the tint

We are going to add a tint to the photo in this step. The color of tint matters a lot. As a rule of thumb, what is do is that I notice the most dominant color in the photo and add a tint of that color.

We have Green as the most dominant color in this photo. So, we’re going to give green color tint, and we’re going to use Gradient Map for this.

Go to Layer > New Adjustment Layer > Gradient Map

It will colorize the image based on your foreground and background color. Don’t freak out. We will fix this.

4.jpg

We are going to change the colors. Click anywhere in this box.

5.jpg

Photoshop has some predefined gradients for photos which are quite awesome. We are going to use those.

Click on the gear icon and choose “Photographic Toning”.

6.jpg

You will be asked whether to append those gradients into the current selection or add those gradients as a new selection. I choose “Add”, but you also choose “Append”.

7.jpg

Now, it’s just a matter of time to find the gradient that suits your image best. My image as Green as the most dominant color. So, I am going to choose something related to green.

8.jpg

Press OK when you’re done. Reduce the opacity to 40%.

9.jpg

Step 3 – Give the Faded Effect

Faded effect means to make black areas brighter and white areas darker. We are going to use the Level adjustment layer for this. Yes, you can decrease the contrast to give faded effect but Level gives more flexibility.

Go to Layer > New Adjustment Layer > Level.

Drag the sliders to the right which are in the blue rectangle. Drag the sliders to the left which are in the red rectangle.

10.jpg

Here is the image.

11.jpg

Step 4 – Add Warmness to give Cinematic Effect in Photoshop

There is one thing missing. And, that is warmness. The photo needs to be a bit warmer.

Let’s add that with Photo filter. Go to Layer > New Adjustment Layer > Photo Filter. Choose “Warming Filter (85)” and increase the Density. Make sure that “Preserve Luminosity” is turned on otherwise the photo will get darker.

12.jpg

And, here you go. This is all. Here’s the final image.

after1

Let’s see few other images also.

I applied the same setting to the below image.

before2.jpg

and here is the result.

after2.jpg

Here is one more image. The only difference in the below image is that I chose Red dominant color in the gradient map rather than green. This is because the photo has red as the dominant color.

after3.jpg