Lately, I have started posting more on Instagram Filters because I see a rise in people who want to create Instagram filters in Photoshop. More and more users are reading Instagram filters on my website every month. Today, we’re going to see how to create an Instagram X-Pro II filter in Lightroom.
This tutorial is a part of Creating Instagram Filters in Lightroom.
Photoshop tutorial – Check out how to create an Instagram X-Pro II filter in Photoshop.
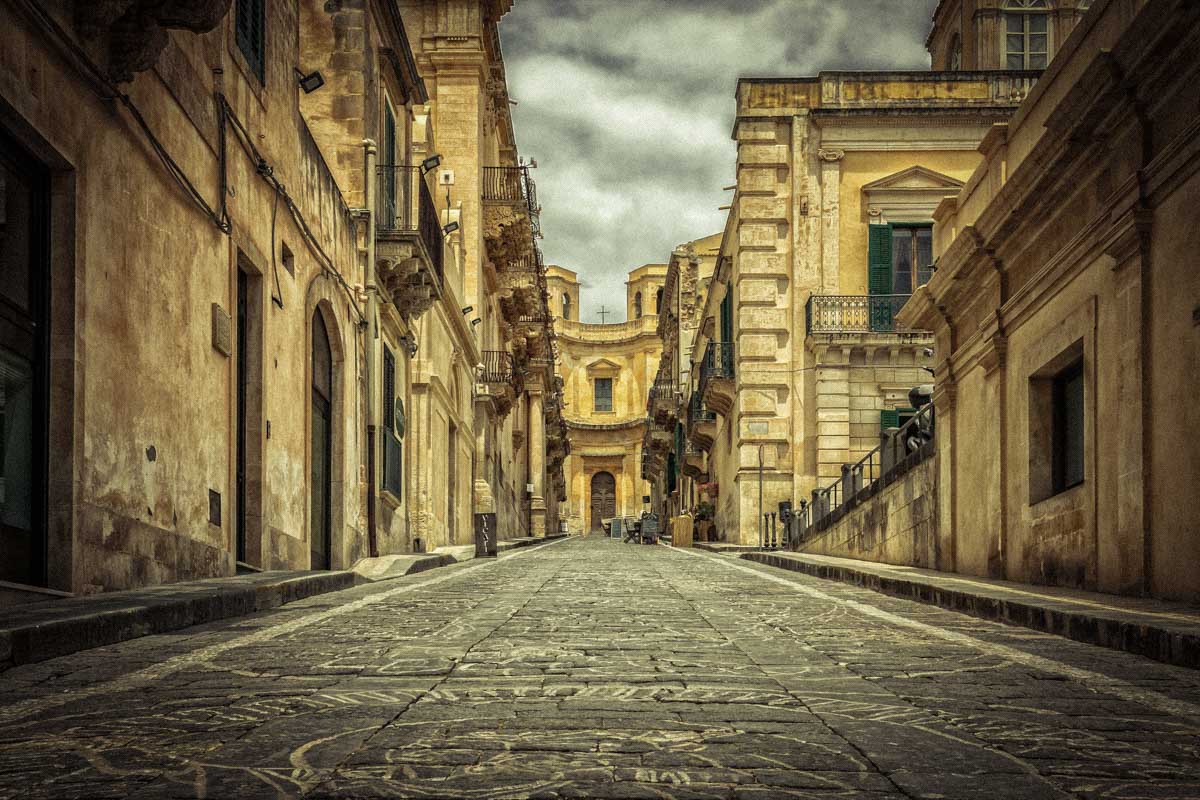
Let’s begin the tutorial. But before we begin, I want to show how the final image would look like.
Table of Content
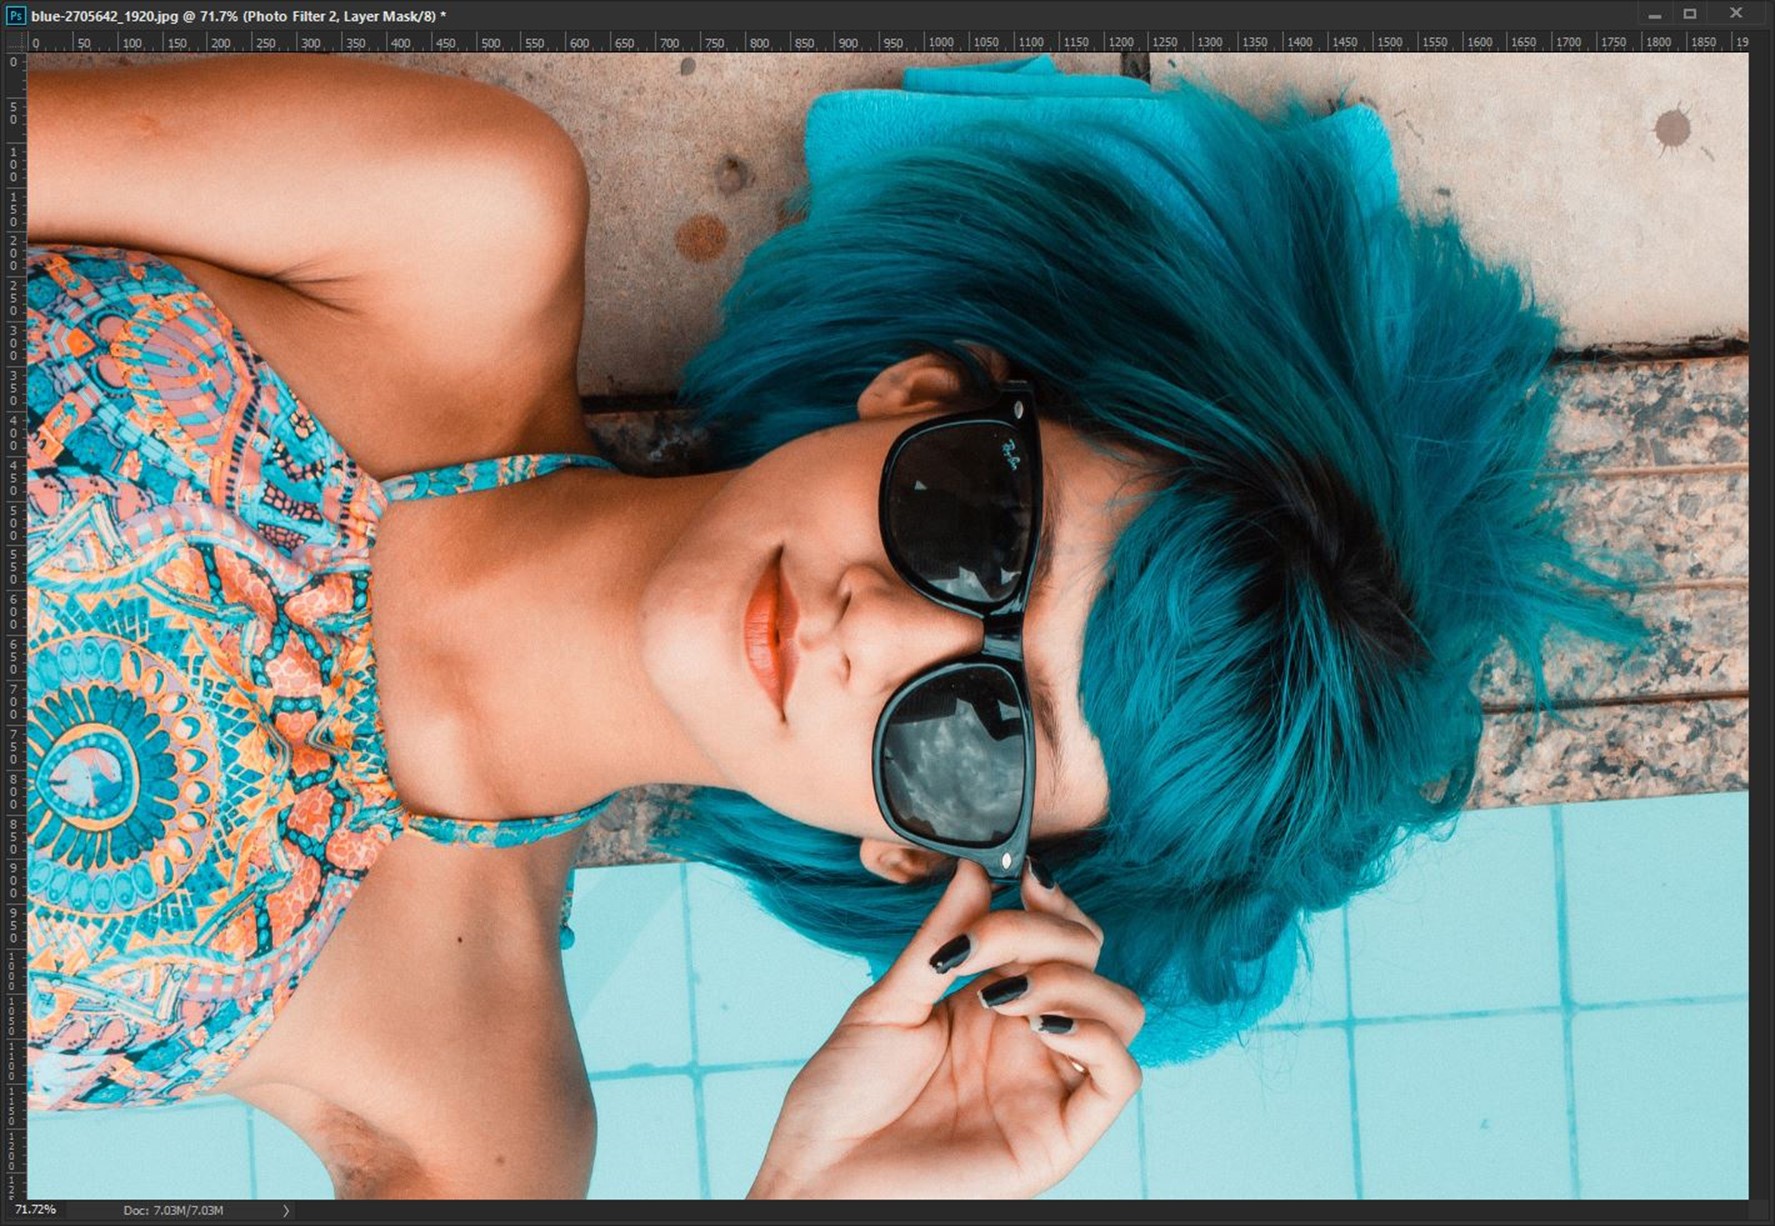
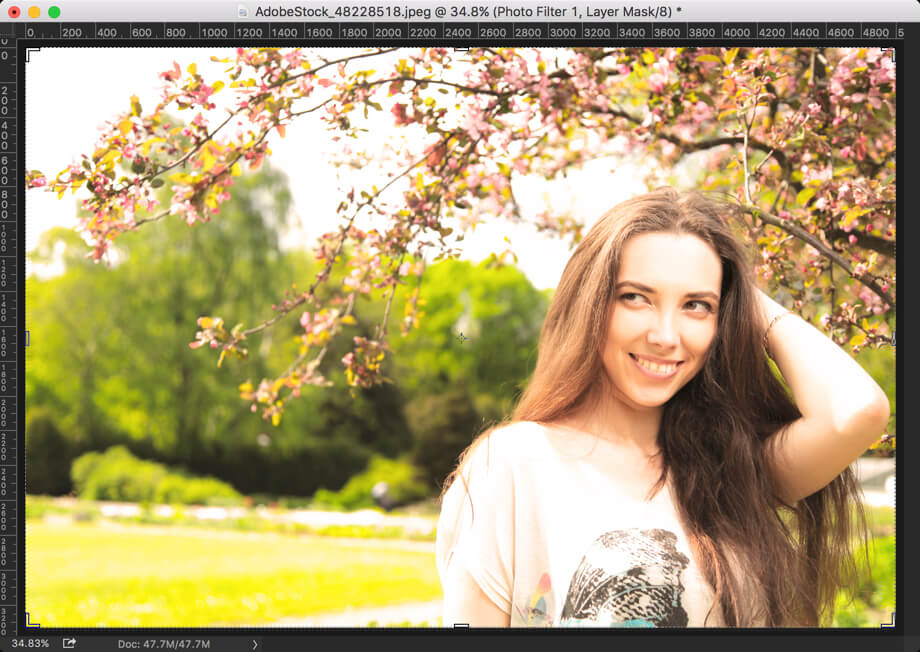
Final
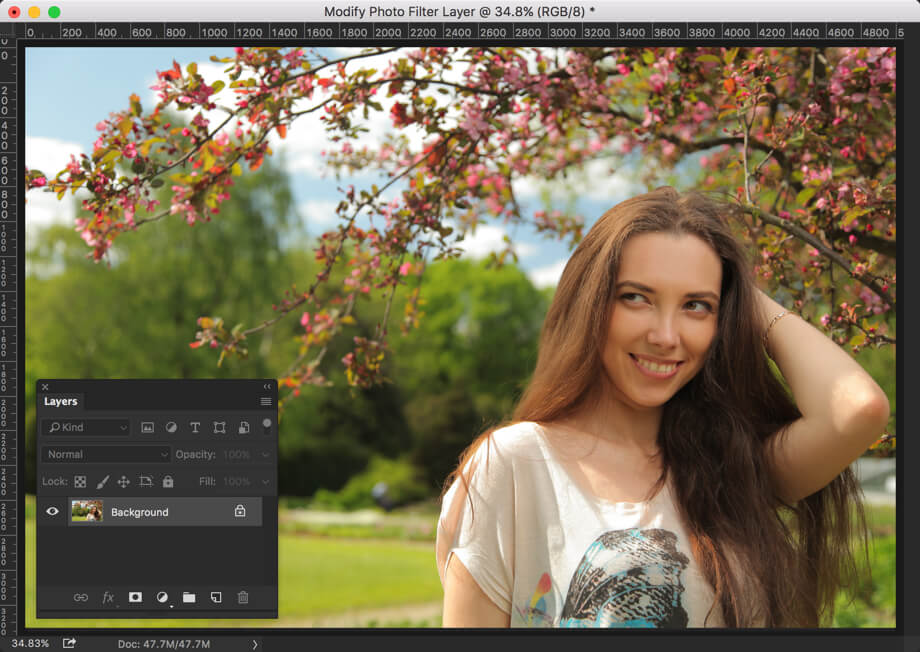
Initial

Step 1 – Add Vignette and Grains to create Instagram X-Pro II filter in Lightroom
Let’s add a black vignette to the photo. If you see Instagram filters, almost all of them add a black vignette. And, the Instagram X-Pro II filter is one of them.
Go to Effects > Post-Crop Vignette > Amount and reduce the amount to -51. This will add a black vignette.

Let’s add some noise. Unlike Photoshop which calls the noise as a noise, Lightroom calls the noise as grains.
Go to Effects > Grain > Amount and reduce the amount to 30. This will add some grains.

Step 2 – Add a yellowish gree hue
Let’s add a yellowish-green tone to the photo. We’ll do it using the Split Tone.
Go to the Split Toning section.
Click on the gray rectangle next to the highlight.
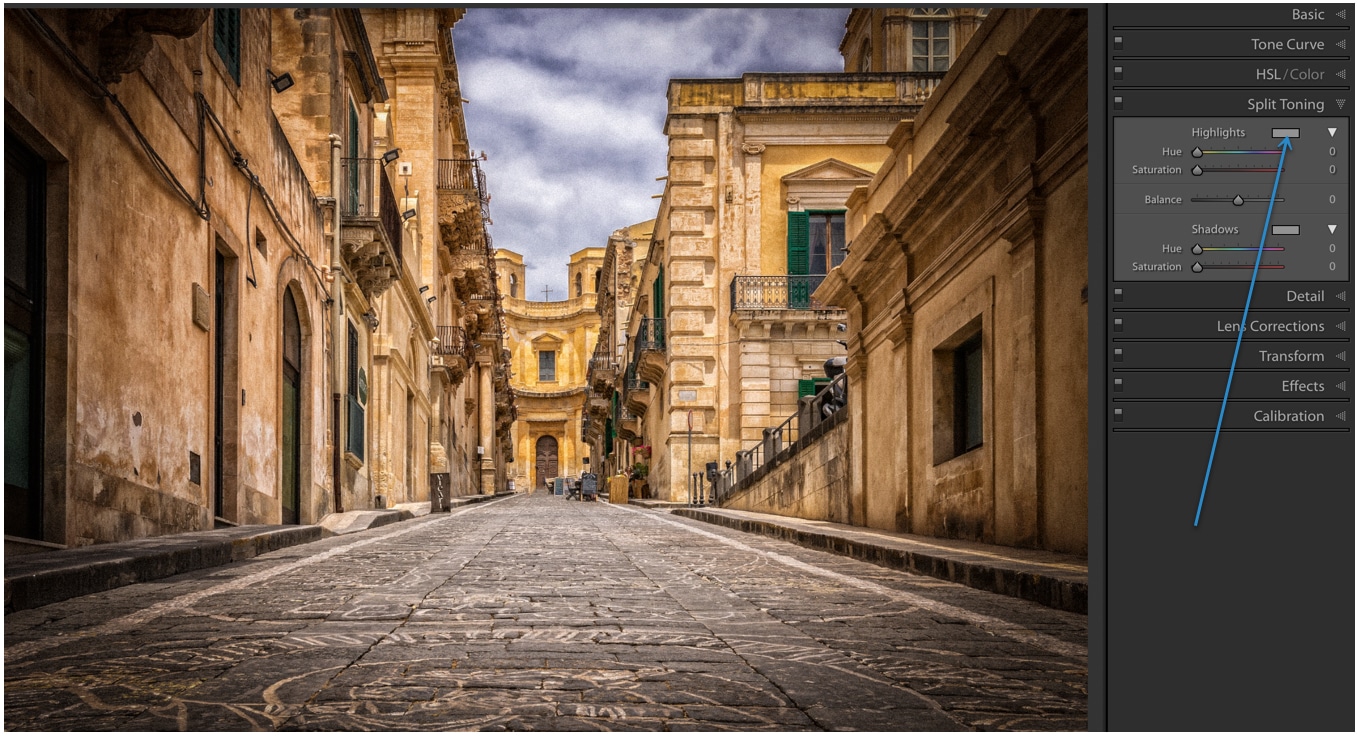
Choose any yellowish-green color. You can either use the numerical that I have shown in the below screenshot or you can choose the one that you like.
Click outside of the box after you choose the color.

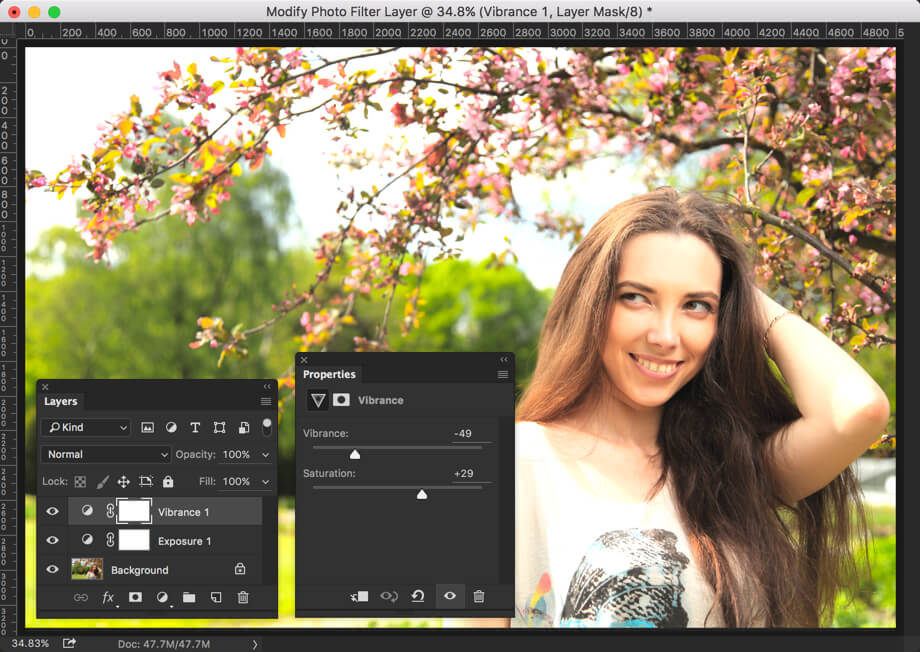
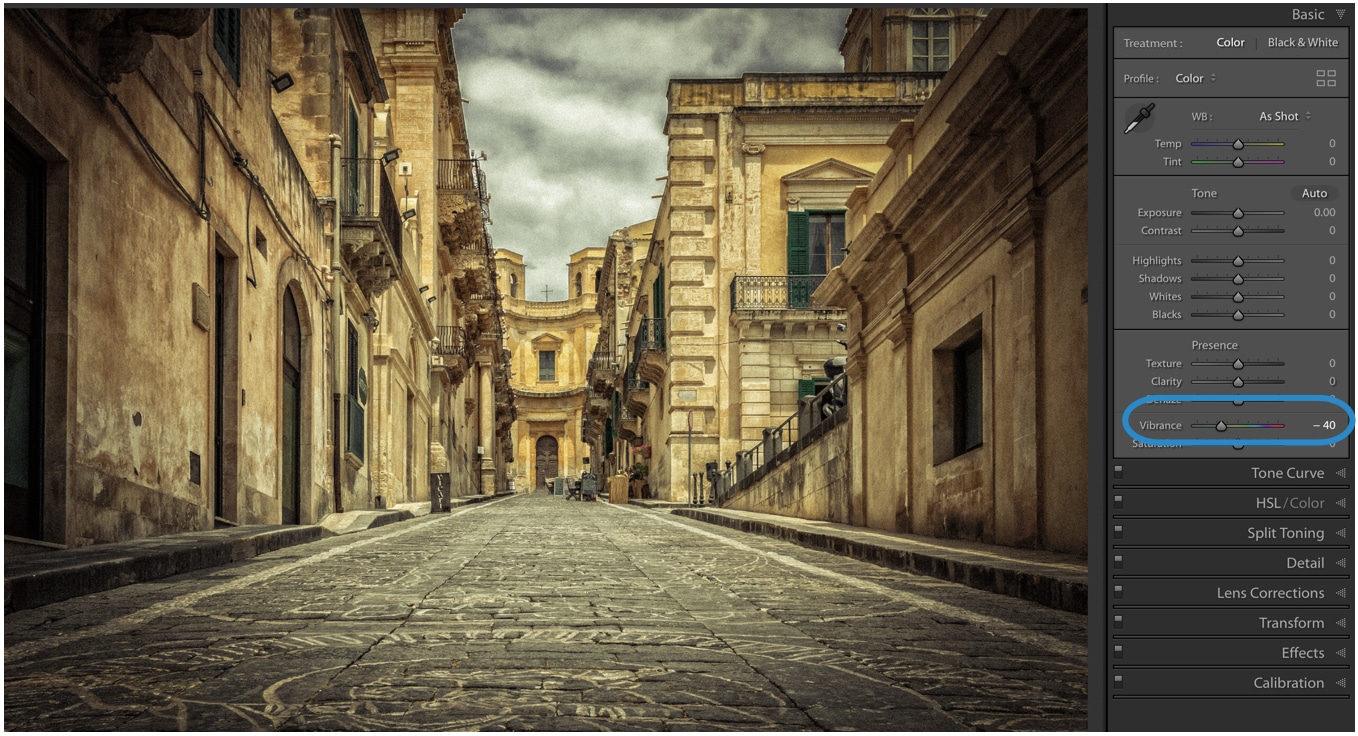
Step 3 – Decrease the vibrance to create Instagram X-Pro II filter in Lightroom
Almost all Instagram filters decrease the colors in a photo. Instagram X-Pro II is again one of them. To achieve Instagram X-Pro II in Lightroom, we’re going to decrease the color. But, we’ll do it using the Vibrance slider.
Go to the Basic section.
Reduce the Vibrance to -40.
This is all guys.
Check out more tutorials of Lightroom on Instagram filters.