
Some of us have puffy eyes or eye bags. Some of us grow as we get older and some of us have it since our birth. Today, I am going to show you how you can reduce puffy eyes or eye bags in Photoshop.
You can also remove it but that’d look too much photoshopped. So, it’s better to reduce it.
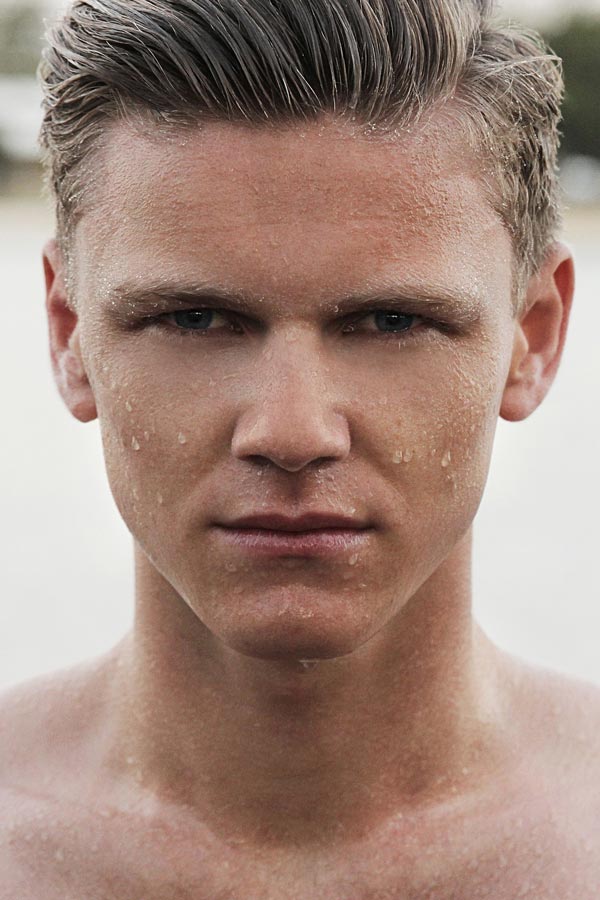
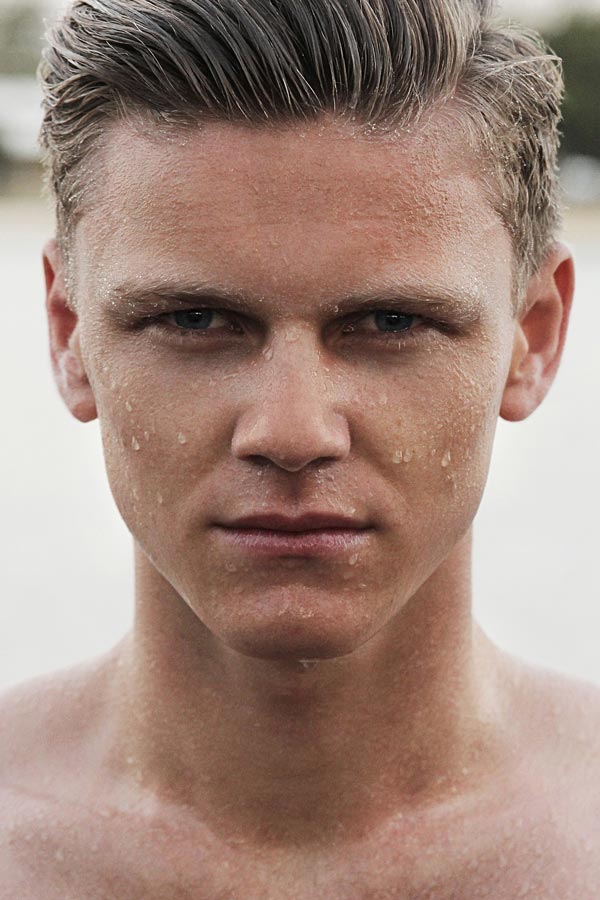
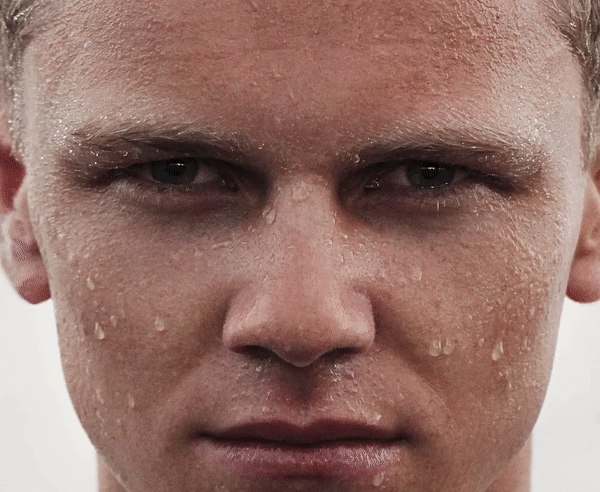
Here is the after and before photos.
After
Before
The photo was taken from Pixabay.
Let’s begin the tutorial.
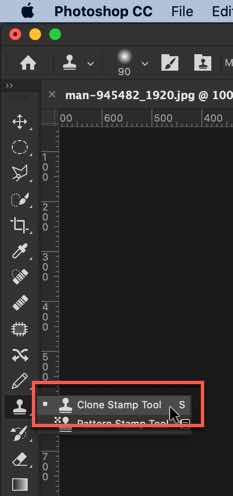
Step 1 – Grab the Clone Stamp Tool
The first thing we need to do is to grab the clone stamp tool from the tool panel.
Related: See how to use the Clone Stamp Tool in Photoshop.
Grab the Clone Stamp Tool from the tool panel or keep on pressing Shift + S again and again until it comes.
Step 2 – Reduce puffy eyes or eye bags in Photoshop
The next thing we need to do is to remove the eye bags or puffy eyes.
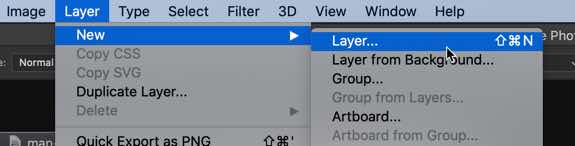
Create a new layer by going to Layer > New > Layer or by pressing Cmd + Shift + N / Ctrl + Shift + N.
Step 2.1: Define the Source
The Clone Stamp Tool is used to copy pixels from one part of the image and paste them on another part. To use the Clone Stamp Tool, you first need to define the source pixels. This will be pixels that are going to be copied. You can do them by holding down the Opt/Alt key.
Once you hold it down, the cursor will change to a sniper cursor.
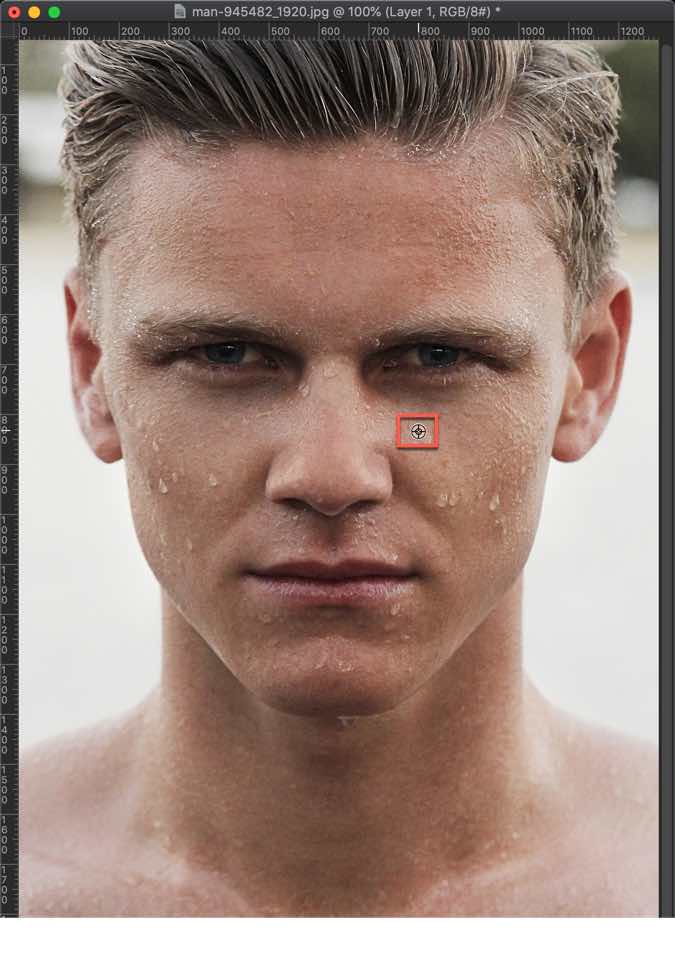
I’ll paint the skin from this location on the eye bags.
Step 2.2: Paint the Target
Now that I have selected my source, I am going to paint those pixels onto my target. When you do that, you’ll see a cursor that moves synchronously with your cursor. This cursor denotes the pixels that are being copied.
This GIF is of 7 MB in size. So, give it some time to load.
Simply, do this all over the eye bags.
For the best result, you may need to define your source multiple times as I did in the GIF.
This is how the photo will look.

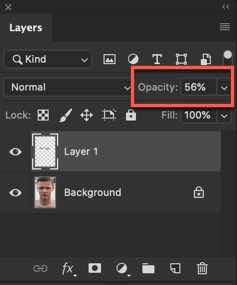
Step 3: Reduce the opacity
Open the layer panel by pressing F7 or going to Window > Layer.
Reduce the opacity to somewhere around 60%.
This is how the final photo looks.