STEP 8
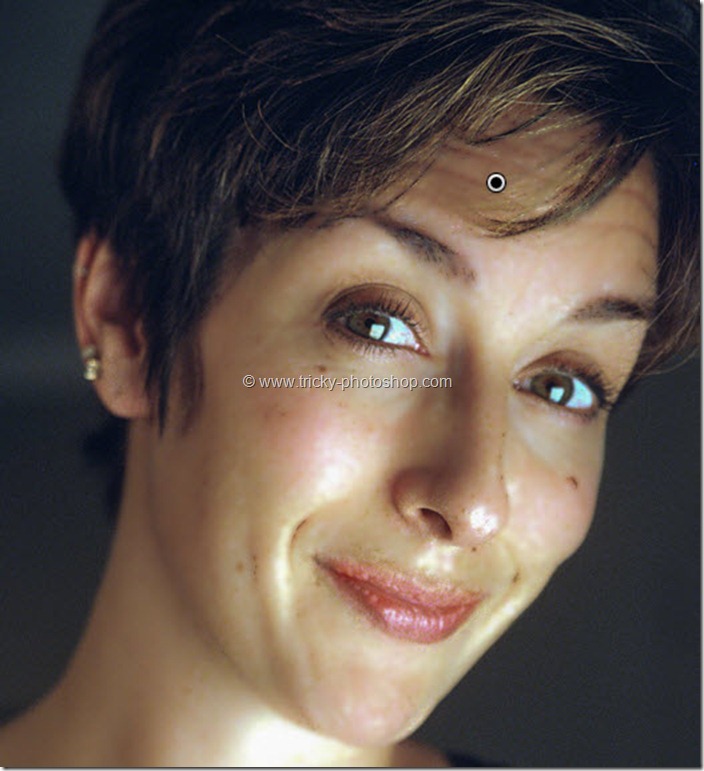
Go to Filter>Other>High Pass. Set your radius as 4.3 pixels. Press OK.
Change the blend mode of “layer 1” to Soft Light. This will add nice texture to her skin.
I have written a whole tutorial on Blending Modes in Photoshop and you should check that tutorial out if you are not aware of the power of Blending Modes.
And guys we are done here. Hopefully we’ll meet next week again with a brand new tutorial.
FINAL
And we are done here.
Read my next tutorial where I will discussing about Extracting a Person using Pen Tool in Photoshop.
Thank you for reading this tutorial. Hopefully we’ll meet again in four days.


