Here comes the awaited tutorial. Many of the people demanded me to write a tutorial on creating a silhouette effect in Photoshop. So, here you go.
This is a short tutorial. I’ll be showing you how to create a silhouette effect in Photoshop. I’ll just be using a selection tool and adjustment layers.
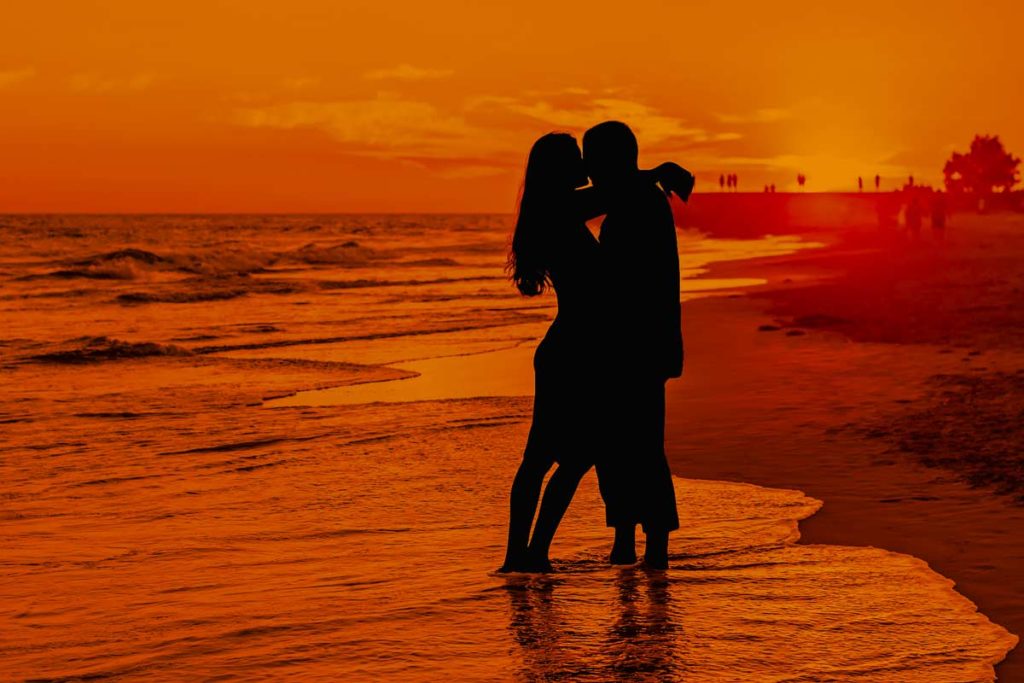
Before we begin, let me show you the before and after photos.
After
Before

Image by adamkontor from Pixabay
Let’s begin.
Step 1 – Select the people
Open the photo in Photoshop.

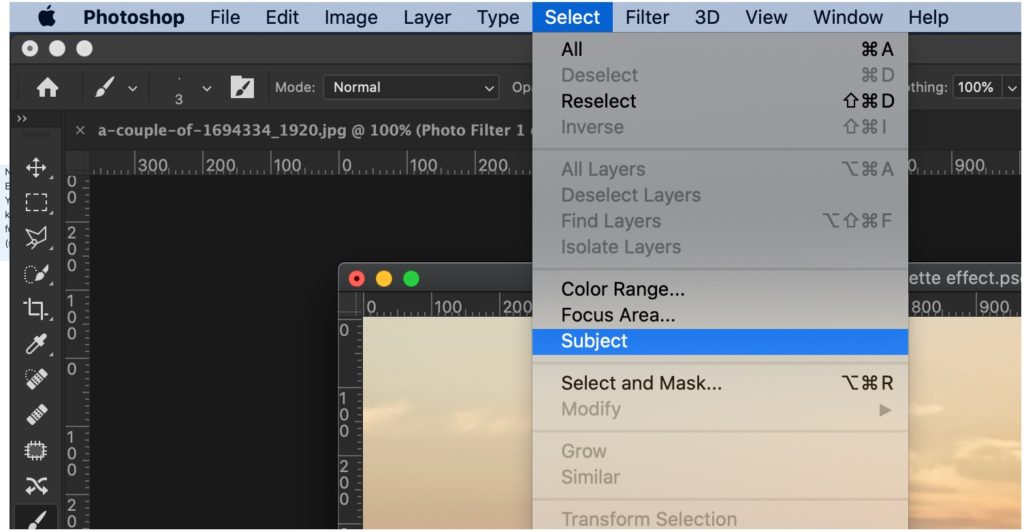
We’re going to use Select Subject to quickly select the people. If you’re using old Photoshop and don’t have Select Subject then you can use the Quick Selection Tool to select the people.
Go to Select > Subject.
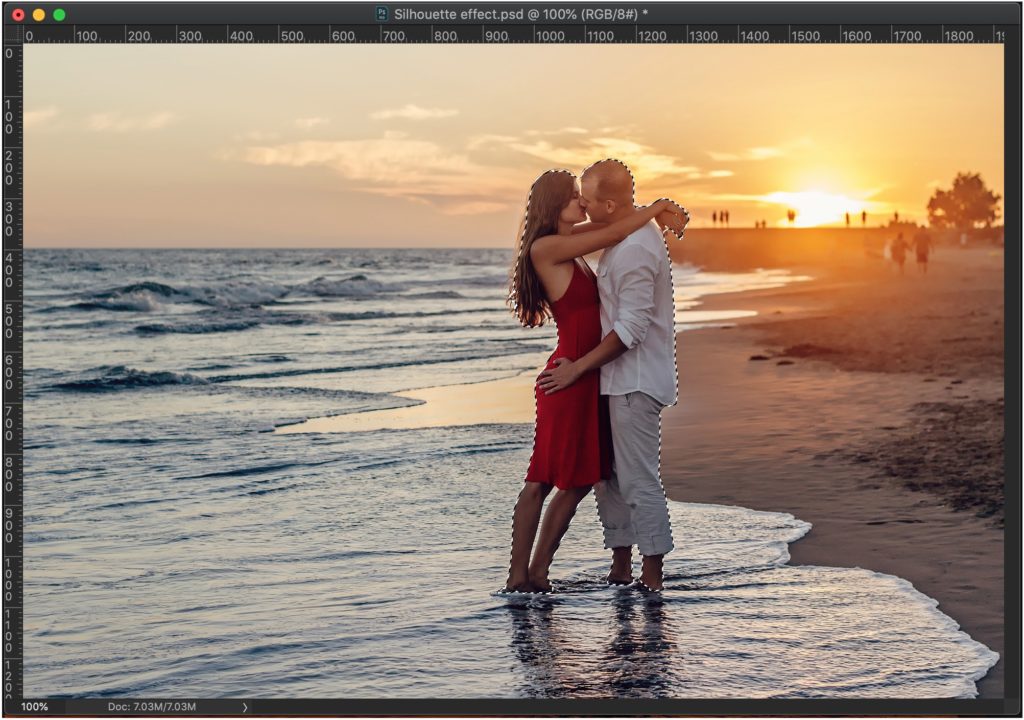
This will roughly select the people. The selection is not at all perfect. See the ocean between their chins, chest, and between her legs. Those areas should not have been selected.
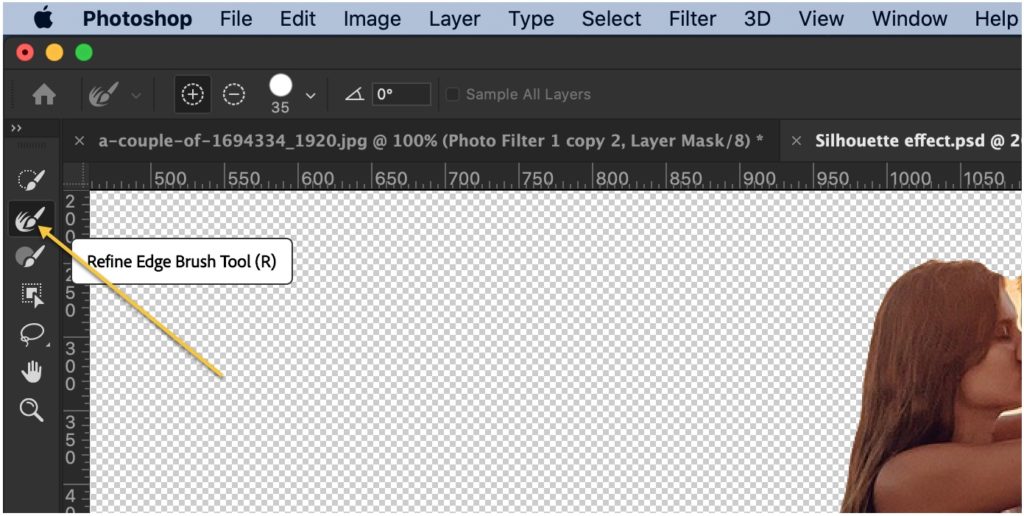
Step 2 – Refine the selection in Photoshop
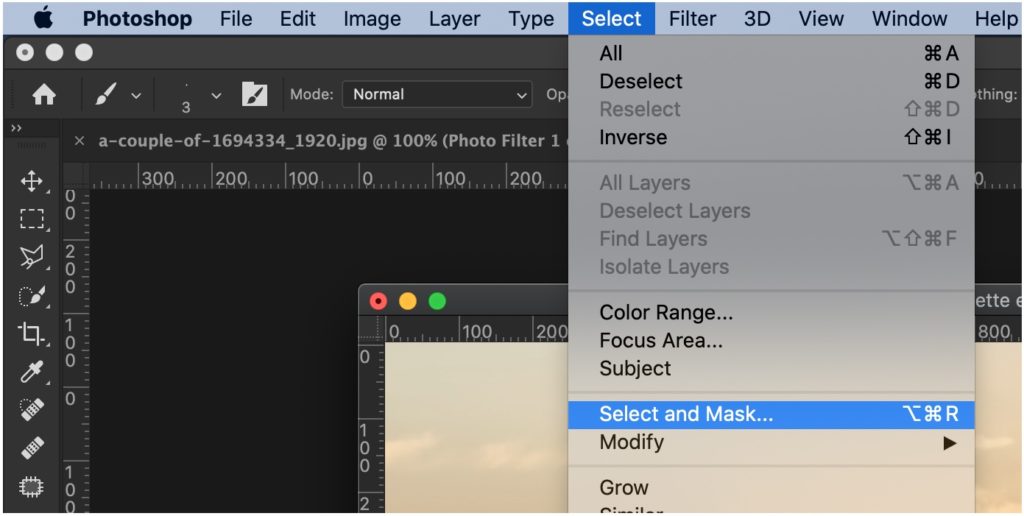
We’re going to refine the selection to deselect the unwanted areas and select the wanted areas. We’re going to do with the help of the Select and Mask tool.
Go to Select > Select and Mask.
Grab the Refine edge brush from the panel. This will show up once Select and Mask is turned on.
Now, start brushing on the edges. See the GIF below. GIF is of 4 MB in size. Give it some time of load. Also, I have increased the speed to two times.
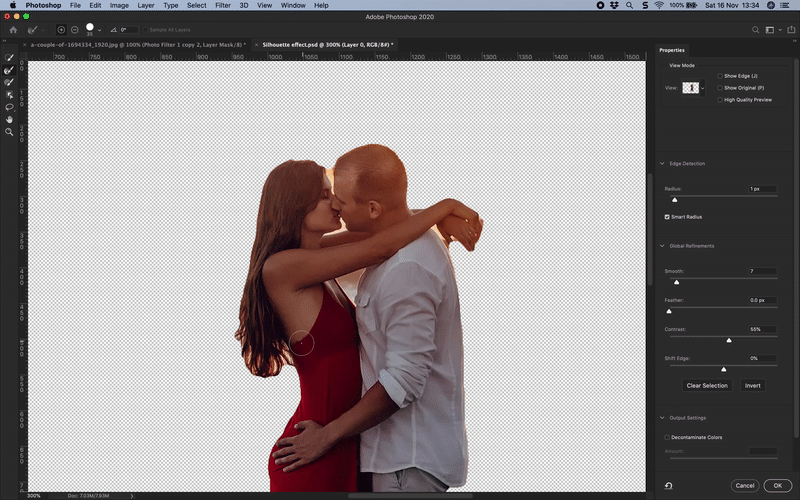
Once that is done, you’ll see the photo without the background.

Step 3 – Give a nice dark effect to the background
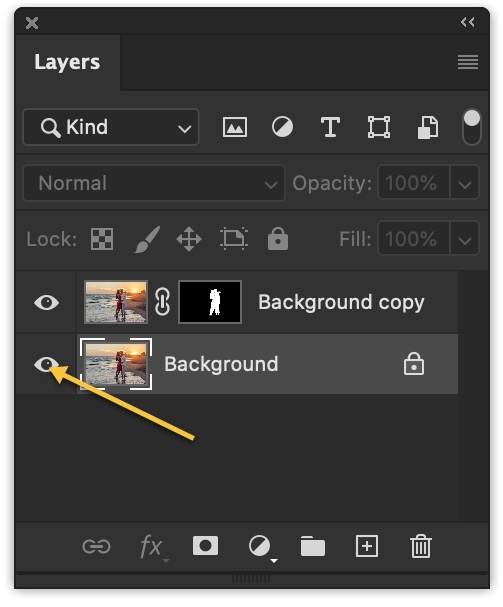
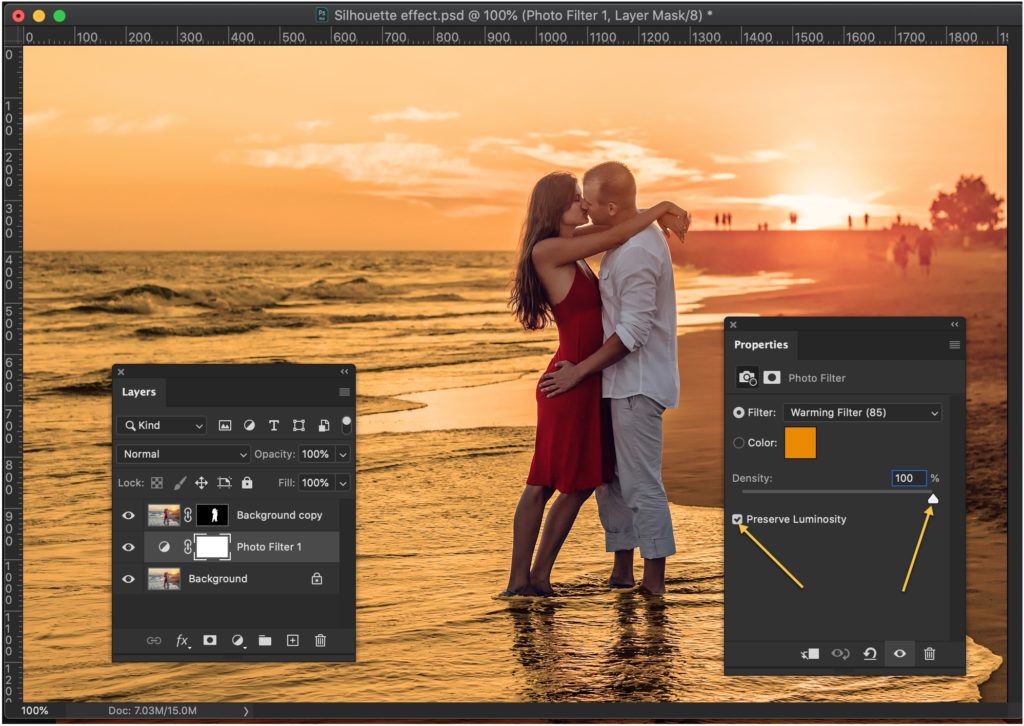
Open the layer panel by going to Window > Layer.
Activate the background layer by clicking on the eye icon.
Go to Layer > New Adjustment Layer > Photo Filter
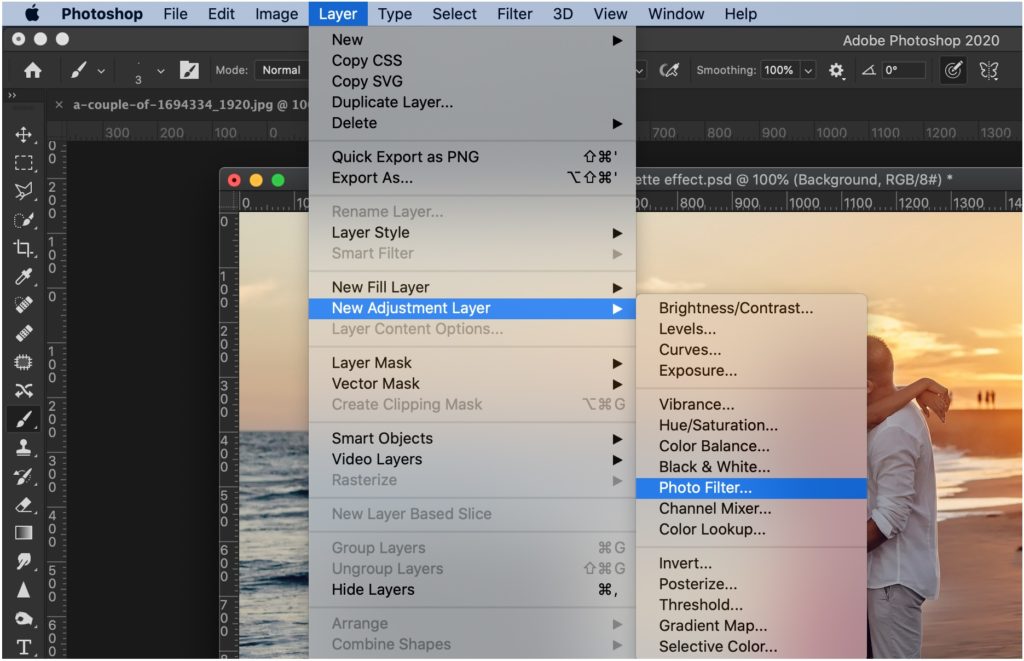
Click on Preserve Luminosity and drag the slider all the way to the right.
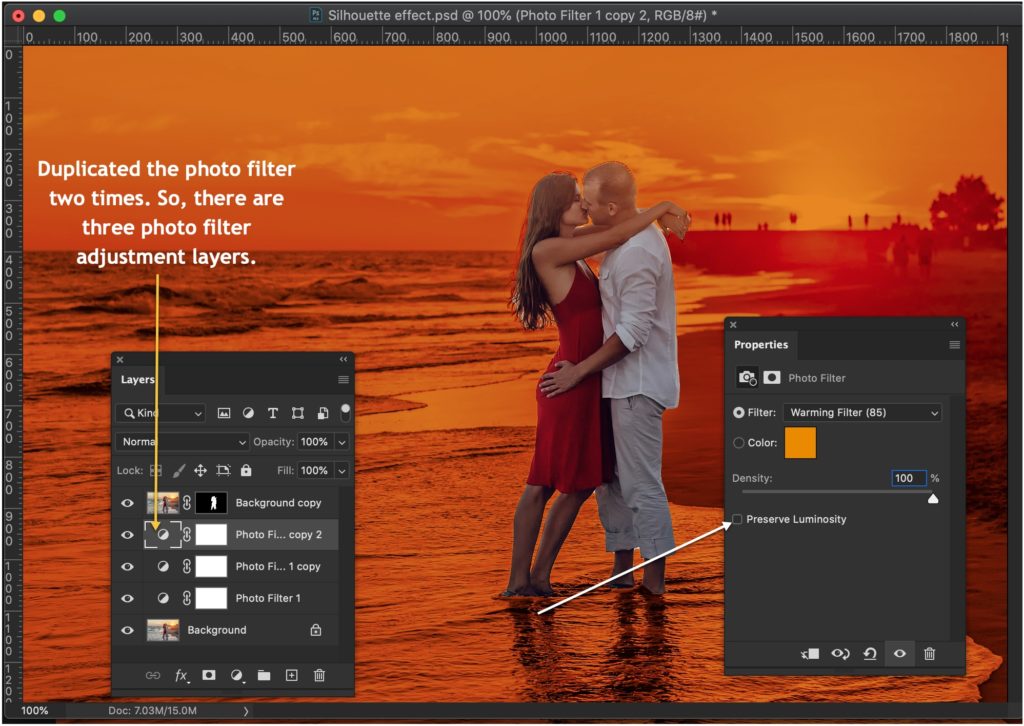
Now, duplicate the photo filter adjustment layer 2 times by pressing Cmd + J / Ctrl + J. In the topmost photo filter layer, turn off the preserve luminosity.
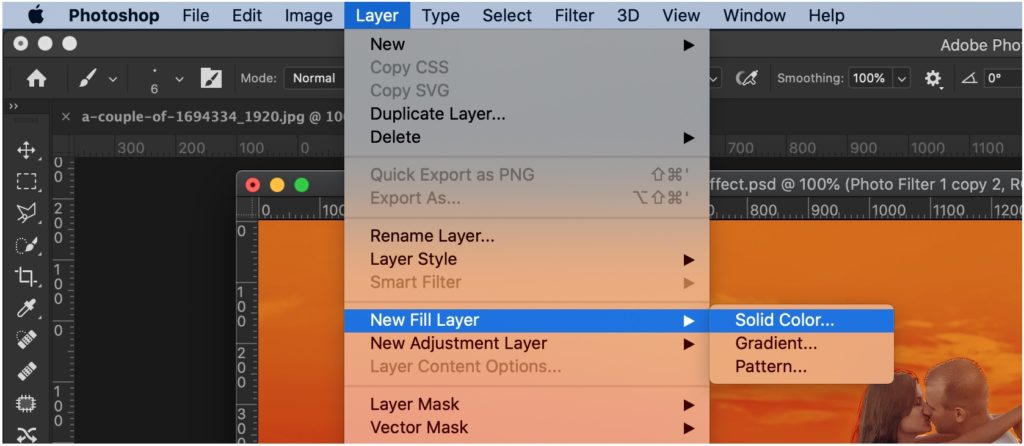
Step 4 – Create a silhouette effect in Photoshop
Time to make the people black.
Go to Layer > New Fill Layer > Solid.
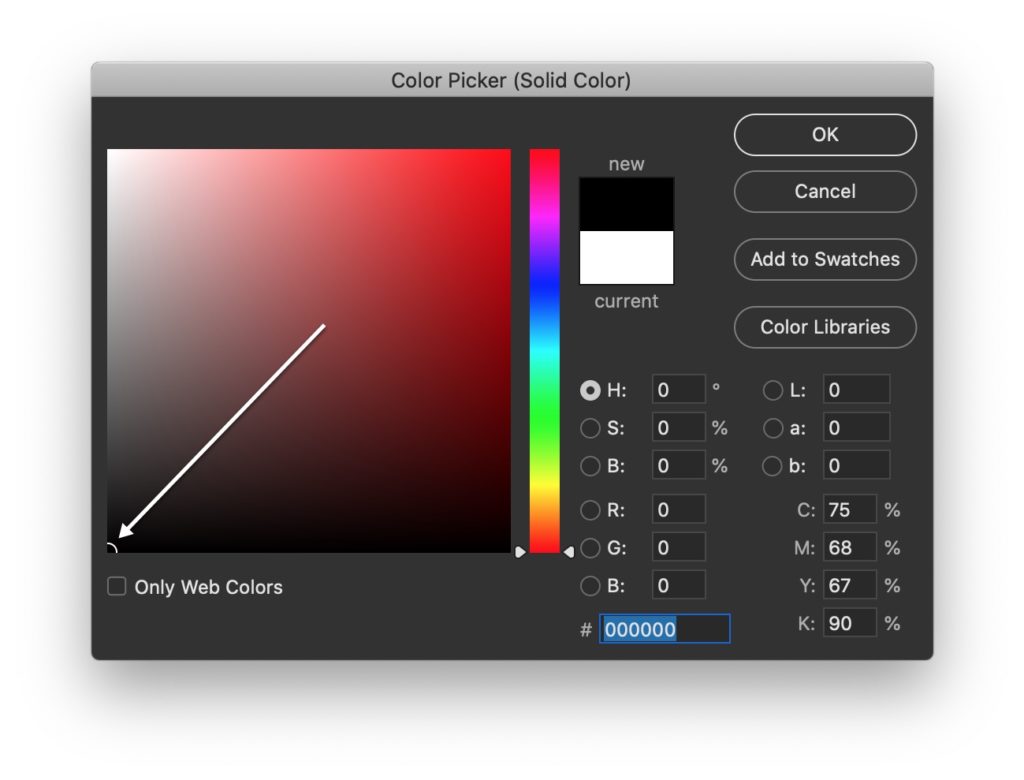
In the next window, choose the black color. Press OK.
In the layer panel, drag the solid color fill layer to the top. Now, hold down Opt / Alt and place the cursor between the Solid Color fill layer and the people layer. The cursor will change to an arrow. Click as soon as the cursor changes. See the below GIF.

And, that’s all. Your work is completed here.


