STEP 9
Click in add adjustment layer which you can find at the bottom of the layer panel. Now click on curves.
Change the preset to medium contrast (RGB).
Once again click on add adjustment layer nut this time click on levels. Drag the gray slider to the right till 0.83.
Once again click on add adjustment layer and click on hue and saturation. Decrease the saturation on –20.
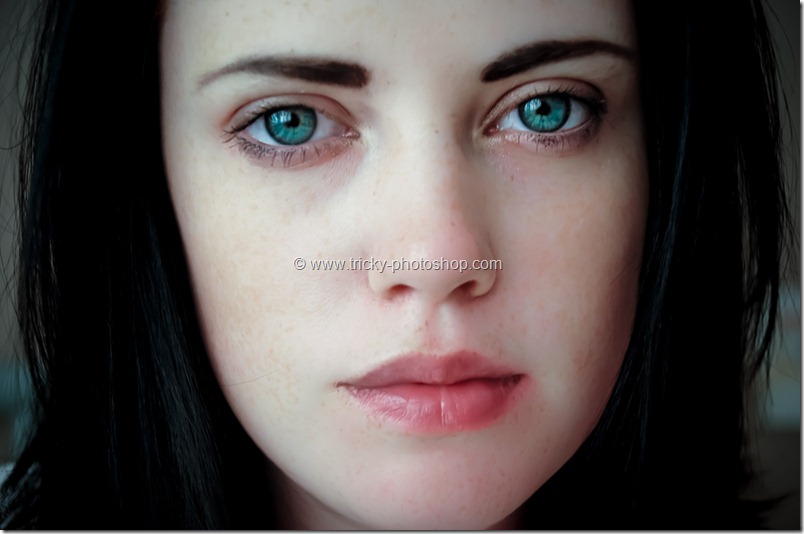
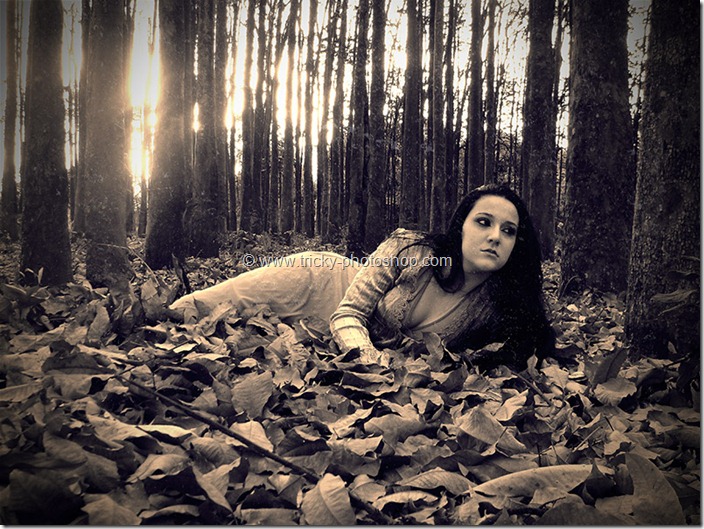
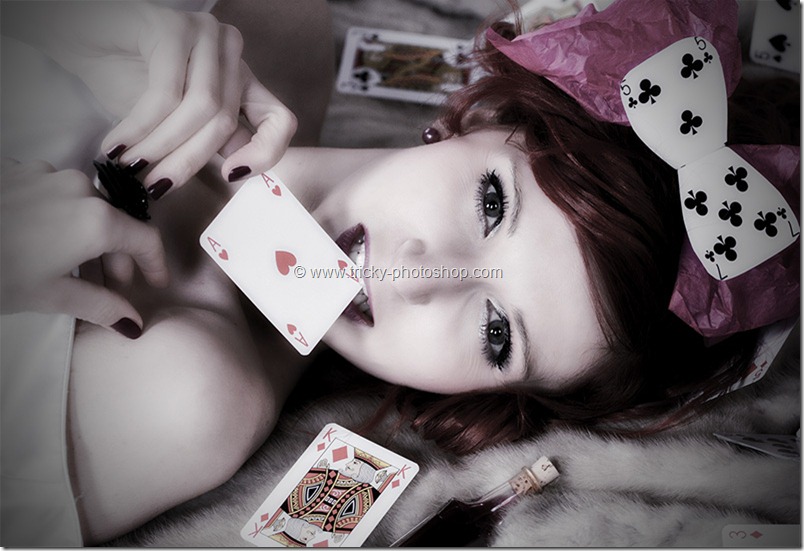
Your image should look like this.
And you are done here.
FINAL
Read my next tutorial where I will be discussing about Extracting a Person in Photoshop CS6.
Thank you for reading this article. Hopefully we’ll meet again in four days.


