STEP 11
Now hold down ctrl/cmd and click on the layer thumbnail of “shape 2” layer. This will select all the pixels present in “shape 2” layer.
Now make white as your foreground color and then press ctrl+backspace/cmd+delete to fill the selected area with your foreground color i.e. white color. Then press alt+D/opt+D to delete.
and you are done here. Now if you want reduce the file size then press ctrl+alt+I/cmd+opt+I to open image resize menu and then reduce the dimensions as per your requirement.
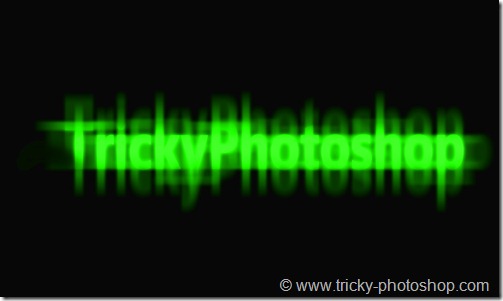
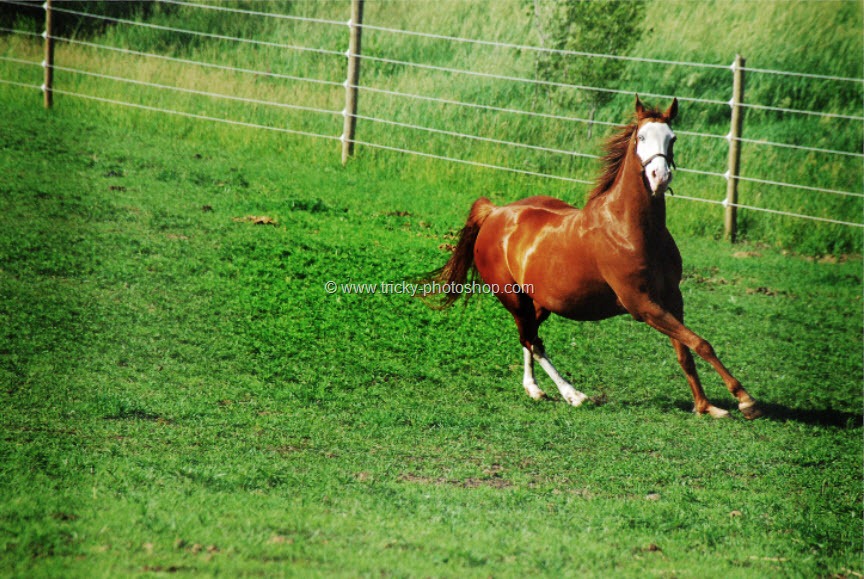
FINAL
Read my next tutorial where I will be discussing about Adding Watermark to an Image in Photoshop.
Thank you for reading this article. Hopefully we’ll meet again in four days.


